We're excited to share a creative and eco-friendly DIY project that transforms a vintage picnic basket into a functional and stylish table, perfect for adding a touch of rustic charm to any room. Our step-by-step guide takes you through the process, from preparing the vintage basket to adding a decorative wood sign, priming and painting the surface, and styling your upcycled table. With a focus on sustainability and personalization, we'll show you how to create a one-of-a-kind piece that tells a story. As we explore the benefits of personalizing the table, we'll discover the unique charm and functionality it brings to any space, and reveal the secrets to showcasing your creativity and promoting sustainable living practices.
Key Takeaways
• Prepare the vintage picnic basket by thoroughly cleaning, identifying damages, and sanding down rough areas for a smooth surface.
• Paint and prime the surface using Rustoleum Flat White Primer and Satin White Spray Paint for a uniform finish.
• Add a decorative wood sign with a personalized message or motif, and securely attach it to the basket using twine or screws.
• Style the upcycled table with complementary decorative elements, greenery, or flowers to create a unique and charming piece.
• Personalize the table by customizing the paint color, incorporating hand-painted patterns, or adding unique decorative elements to reflect individual style.

Multifunctional Wicker Picnic Basket Set for 4 with Blanket and Picnic Table, Insulated Picnic Set with Full Tablewares for Camping Outdoor Couples,Natural
- Hand-woven willow basket: Insulated for 4 people
- Detachable picnic kit: Lid doubles as picnic table
- Compact wicker dimensions: 15.7 x 11.8 x 7 inches
As an affiliate, we earn on qualifying purchases.
As an affiliate, we earn on qualifying purchases.
Gather Materials and Supplies
We'll need a few essential materials to repurpose our vintage picnic basket into a functional table, including the basket itself, sandpaper, paint or varnish, a drill, and screws or nails. These supplies will enable us to transform the picnic basket into a sturdy and stylish table.
The picnic basket, of course, is the foundation of our project, and we'll need to assess its condition to determine the extent of the renovation required. Sandpaper will help smooth out any rough edges or surfaces, preparing the basket for its new life as a table.
A fresh coat of paint or varnish will revitalize the look of the vintage picnic basket, giving it a fresh and modern aesthetic. Meanwhile, the drill and screws or nails will come in handy when attaching legs or a stable base to the basket, ensuring it's sturdy enough to support the weight of our belongings.
With these materials at our disposal, we'll be well on our way to creating a unique and functional table from our vintage picnic basket.
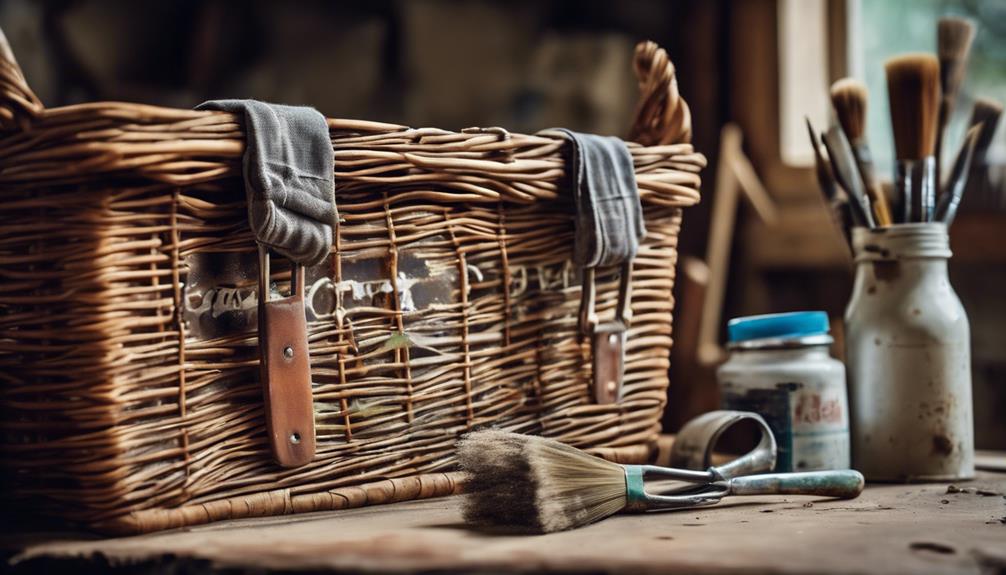
Prepare the Vintage Basket
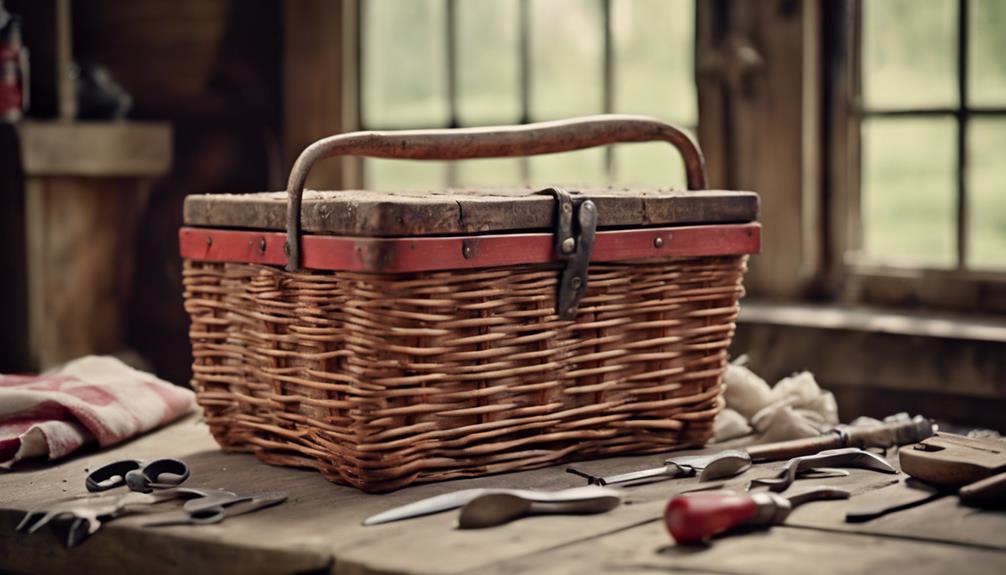
With our materials and supplies in hand, let's start preparing our vintage picnic basket by giving it a thorough cleaning to remove any dirt or debris that may have accumulated over the years. This is an important step in ensuring our basket is in top condition for repurposing.
As we inspect the basket, we'll identify any damages or areas that need repair, making note of any weaknesses in the structure that may impact our design. We'll also consider the design and structure of the basket to determine the best approach for transforming it into a table.
Sanding down any rough areas will ensure the surface is smooth and ready for the next steps. Properly preparing the vintage basket is necessary for a successful repurposing project, and we can't afford to skip this pivotal step.
Paint and Prime the Surface
After carefully preparing the vintage picnic basket, we're ready to prime and paint the surface to achieve a smooth and durable finish. To start, we'll use Rustoleum Flat White Primer to prep the surface, guaranteeing a strong bond between the paint and the basket. Next, we'll apply Rustoleum Satin White Spray Paint in short, even strokes to create a smooth, durable finish.
| Step | Product | Application |
|---|---|---|
| 1 | Rustoleum Flat White Primer | Apply evenly to prep surface |
| 2 | Rustoleum Satin White Spray Paint | Apply in short, even strokes |
| 3 | Elevate Basket | Use paint stands for even coverage |
| 4 | Allow to Dry | Properly dry before handling |
Properly prepping and painting the surface is essential for achieving a professional and long-lasting repurposed table. By following these steps, we'll secure a strong, durable finish that will withstand the test of time. Remember to prime the wood sign and handles before painting to help the paint adhere better and last longer. With a little patience and attention to detail, we'll be one step closer to repurposing our vintage picnic basket into a beautiful and functional table.
Add a Decorative Wood Sign
Now that we've primed and painted our picnic basket, it's time to add a decorative wood sign that complements our table's aesthetic.
We'll explore the various design options, including rustic, vintage, and hand-painted designs, and discuss the best ways to secure the sign to the basket.
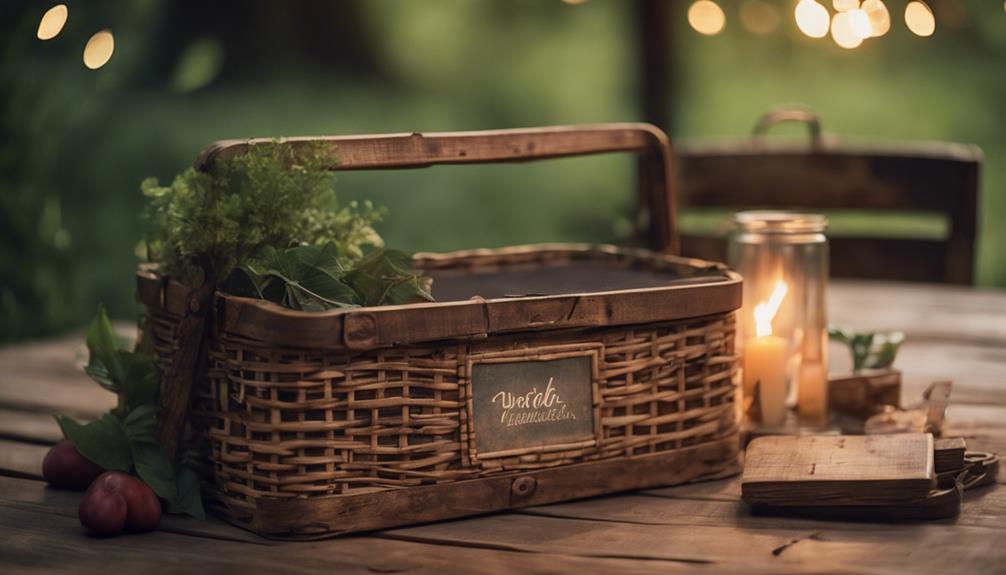
Wood Sign Design
We add a touch of elegance to our repurposed picnic basket table by incorporating a decorative wood sign that echoes the vintage charm of the original basket.
A thoughtful wood sign design can elevate the aesthetic appeal of our table, especially when it incorporates French country elements, such as distressed finishes or rustic typography.
To achieve a cohesive look, we choose a design that complements the overall vintage theme of our picnic basket table. We consider the color palette, font styles, and imagery that will blend seamlessly with our repurposed piece.
A well-designed wood sign can also add a touch of whimsy, especially when personalized with a unique message or motif. By securing the sign to the basket using twine or other creative methods, we create a visually appealing and functional piece of furniture that exudes vintage charm.
With a well-executed wood sign design, our repurposed picnic basket table is transformed into a one-of-a-kind masterpiece that adds character to any room.
Sign Painting Tips
With our wood sign design in place, we can bring its beauty to life by applying a few clever sign painting tips that will make our repurposed picnic basket table truly unforgettable.
To start, we'll choose a decorative wood sign that complements the style of our picnic basket. A rustic touch can be achieved by securing the wood sign using twine or other suitable materials. For added charm, consider using a French transfer or stencil on the wood sign. It's essential to properly attach the wood sign to the basket to guarantee stability.
A well-designed wood sign can enhance the overall aesthetic appeal of our repurposed picnic basket table, making it a one-of-a-kind piece. By incorporating these sign painting tips, we'll be able to create a unique and eye-catching centerpiece for our outdoor gatherings.
As we transform our vintage picnic basket into a functional table, the wood sign will add a touch of personality and whimsy to our Basket Makeover.
Attach the Sign to the Basket
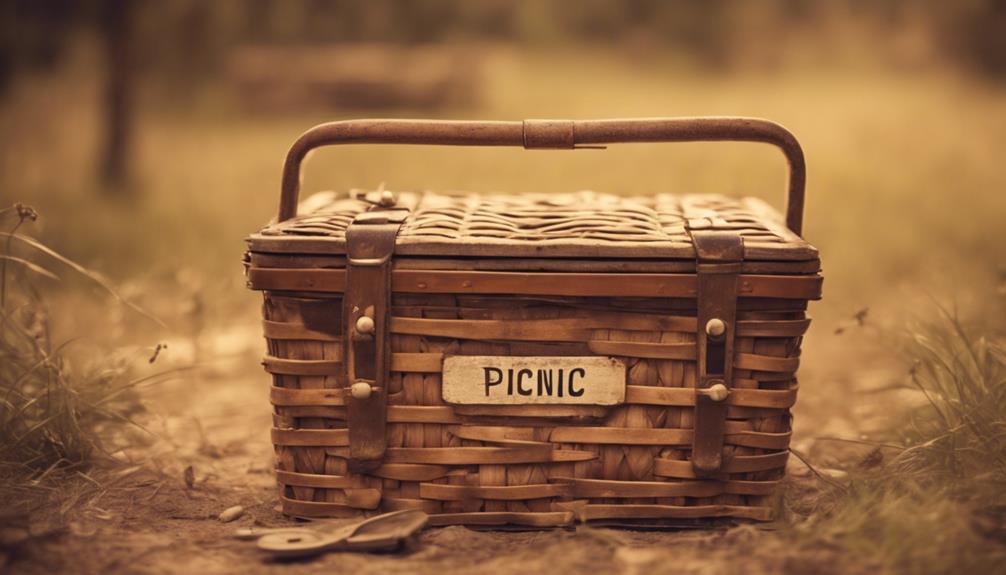
As we prepare to attach the sign to the picnic basket, let's start by cutting a piece of twine from the wood sign to use as the connector. This will SURROUNDS the entire process, ensuring a sturdy hold.
We'll tape the cut end of the twine to make it easy to insert through the handle, a Required field in this process. Next, we'll push the twine through the sign and the basket handle securely, making sure it's snug and even.
To complete the attachment, we'll tie off the twine on both sides, ensuring the sign stays in place. This step adds a decorative element to the repurposed basket and completes the transformation into a functional table.
By following these steps, we can start to see our vintage picnic basket take on a new life. The sign, now securely attached, becomes a focal point, drawing attention to the unique character of our upcycled table.
With this step complete, we're one step closer to having a functional piece of furniture that's both stylish and eco-friendly.
Style Your Upcycled Table
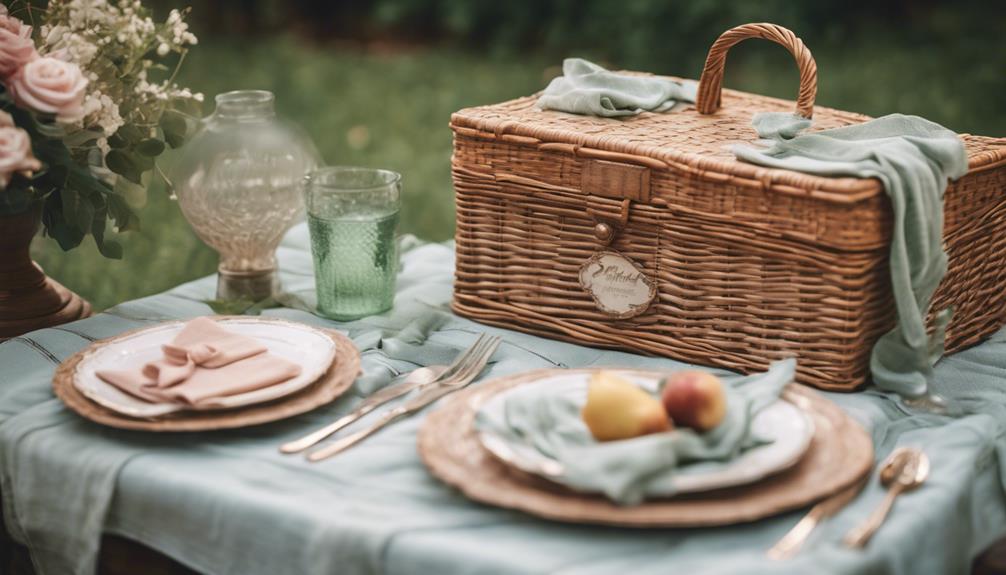
How do we want to style our upcycled picnic basket table to make it a stunning centerpiece in our outdoor or indoor space?
We can start by embracing the neutral color and French country sign, which already add a touch of elegance to our repurposed table.
To LOVE THE SPACE, we can consider adding some decorative elements that complement the vintage charm of our Repurpose a Vintage Picnic basket.
Perhaps we can add some greenery or flowers around the table to bring in a pop of color and freshness.
Alternatively, we could upcycle another basket to create a unique and personalized decor piece that adds to the overall ambiance of our SPACE.
Whatever our style, the key is to have fun and be creative!
Add a Personal Touch
We frequently find that adding a personal touch to our repurposed vintage picnic basket table makes it truly one-of-a-kind. By customizing the paint color or design, we can infuse our unique style into the piece.
To take it to the next level, we like to incorporate unique features like hand-painted patterns or decoupage, which add an extra layer of individuality to the table.
We've also found that using stencils, stamps, or decorative knobs can add a touch of individuality to the repurposed table. Additionally, personalizing with a favorite quote, family monogram, or meaningful symbol can make the table more special and reflective of our personal style.
Furthermore, adding elements like a glass tabletop, mosaic tiles, or a personalized plaque can further personalize the vintage picnic basket table. By doing so, we can create a one-of-a-kind piece that not only showcases our creativity but also tells a story about who we are.
Display Your Masterpiece
By proudly displaying our repurposed vintage picnic basket table, we're not only showcasing our creativity but also adding a touch of unique charm to any room. This stunning piece serves as a functional and stylish conversation starter, perfect for holding decor items or showcasing our favorite knick-knacks.
As we learn how to repurpose an old picnic basket into a table, we're promoting sustainable living practices and highlighting the beauty of upcycling vintage items. By transforming a vintage picnic basket into a table, we get to enjoy a piece of history with a modern twist in our home decor.
As we display our masterpiece, we're not only showcasing our creativity but also sharing our commitment to reducing waste and embracing eco-friendly living. As we proudly display our repurposed vintage picnic basket table, we're inspiring others to learn how to repurpose and upcycle, creating a ripple effect of sustainability and creativity in our communities.
Frequently Asked Questions
What Can I Do With a Vintage Picnic Basket?
"We're wondering what to do with a vintage picnic basket, and honestly, the possibilities are endless – we could sell it, donate it, or even upcycle it into something entirely new and creative!"
How to Use Picnic Baskets?
"What's the most creative way to use picnic baskets? We're excited to explore the possibilities! We can repurpose them as tables, storage containers, or plant holders, adding a unique touch to our living spaces with a dash of vintage charm."
How Do You Make a Picnic Basket for Kids?
We choose a kid-friendly picnic basket size, picking durable materials and including plastic plates, cups, and utensils, plus fun activities, ensuring our little ones can safely carry and enjoy their special outdoor adventure.
Conclusion
As we wrap up this creative project, we're thrilled to have transformed a vintage picnic basket into a unique table. According to the Environmental Protection Agency, the average American generates about 4.4 pounds of trash per day, making upcycling an essential step towards reducing waste.
By repurposing this basket, we've not only given new life to an old item but also contributed to a more sustainable lifestyle.
Now, go ahead and showcase your upcycled masterpiece, proudly displaying your creativity and eco-friendliness!