To ensure LED strip lights, identify the specified cutting points indicated by dashed lines or icons. Utilize scissors or wire cutters at these points to make an accurate cut. Be mindful of the copper terminals to prevent any damage. Measure precisely with a ruler, lay it flat on a surface, and disconnect from the power source prior to cutting. Wire cutters offer better precision for a neat cut. Following the manufacturer’s instructions ensures precision. Precision cutting with wire cutters is advised to maintain circuitry integrity. Customizing the length allows for design flexibility. Adhering to recommended practices guarantees a successful customization. Additional details improve mastery of technique.
Key Takeaways
- Use designated cutting points for precision.
- Measure accurately before cutting.
- Disconnect from power source.
- Use sharp tools like wire cutters.
- Follow manufacturer's guidelines for best results.
Determining Cutting Points on LED Strip Lights
Determining the cutting points on LED strip lights is vital for accurately customizing them to desired lengths. LED strip lights typically have designated cutting points marked by dashed lines or scissor icons. These indicators guide users on where to make the cuts without damaging the lights or circuitry. It's essential to follow these markings to guarantee a clean and precise cut.
When cutting the LED strip lights, using proper cutting techniques is important to avoid any potential damage. One should carefully use scissors to cut along the designated points to achieve the desired length. Additionally, attention should be paid to the copper terminals on the strip lights to prevent any disruption to their functionality.
Measuring and Positioning for Cutting
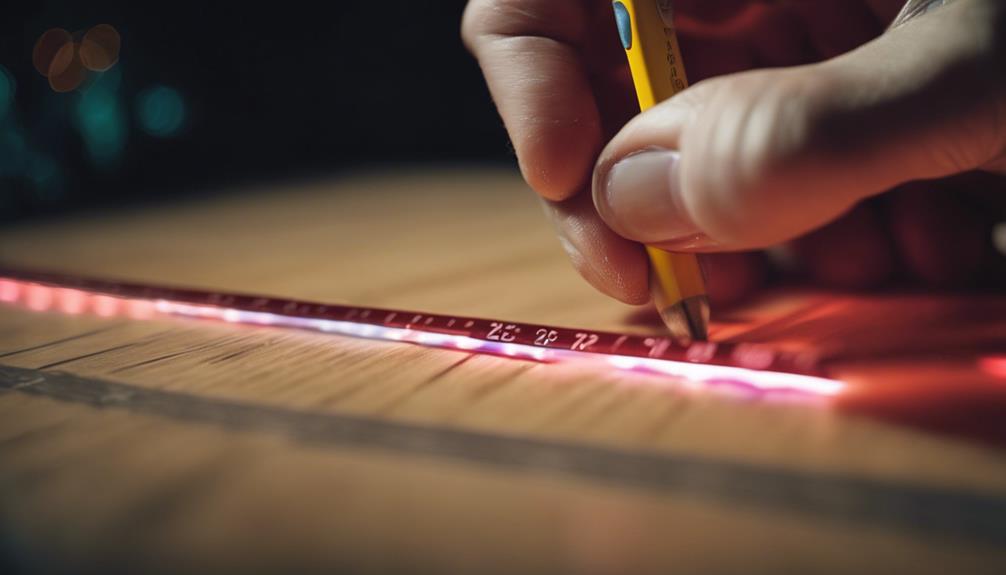
To guarantee precise customization of LED strip lights, accurately measuring the required length and positioning the strip on a flat surface are essential steps before cutting. Start by measuring the length needed for the LED strip lights using a ruler or measuring tape. This guarantees you cut the strip to the exact size required for your project.
Position the strip on a flat surface to ensure a straight and precise cut. Look for designated cutting points on the strip, which are often marked by dashed lines or scissor icons. These points indicate where it's safe to cut the strip without damaging the components.
Before making any cuts, remember to disconnect the strip from the power source. This precaution is important for safety to prevent any accidents. Double-check the cutting points on the LED strip to avoid accidentally cutting at the wrong location, ensuring your final result meets your design needs perfectly.
Cutting Techniques for LED Strip Lights
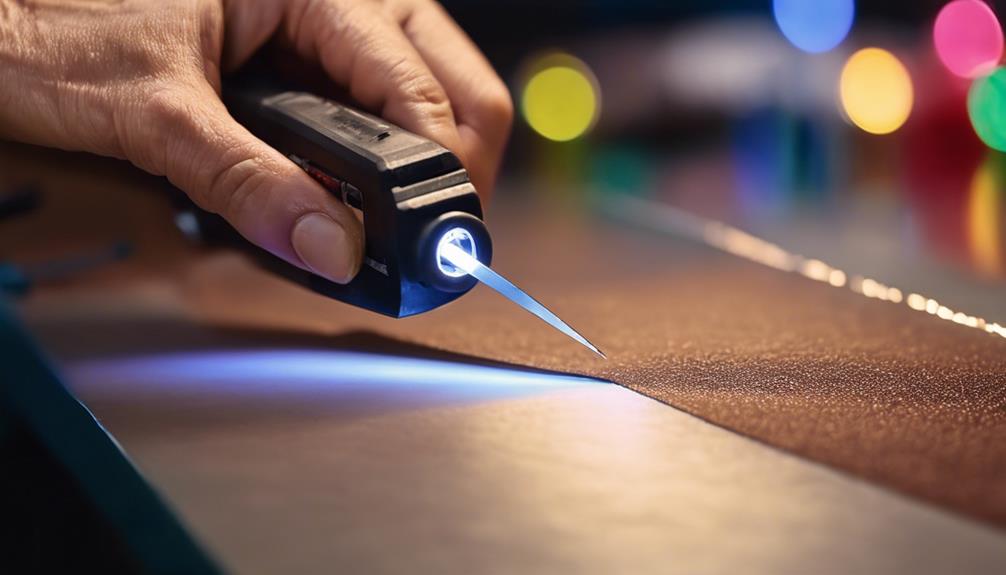
When cutting LED strip lights, precision is vital to avoiding damage to the components and ensuring a clean, accurate customization. LED strip lights can be cut at designated cutting points indicated on the strip itself. These cutting points are often marked by dashed lines, scissor icons, or copper dots at the end of LED units.
Proper cutting techniques are important to avoid damaging the lights or circuitry during customization. To achieve this, using sharp scissors or a utility knife along the designated cutting points is recommended. It's important to follow the manufacturer's instructions for cutting guidelines to maintain the integrity of the LED strip lights.
Using Wire Cutters for Precision
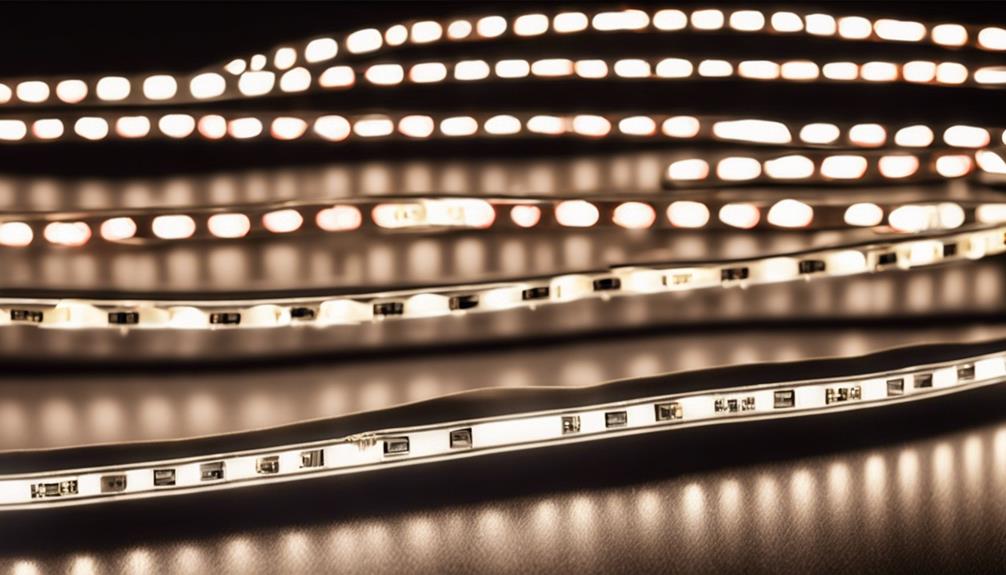
Wire cutters are essential tools for achieving precision when cutting LED strip lights. They provide better control and accuracy compared to other cutting instruments like scissors or knives.
Using wire cutters guarantees clean and straight cuts, maintaining the integrity of the LED circuitry for a professional finish.
Selecting Proper Tools
For precise cutting of LED strip lights, selecting the right tools, such as wire cutters, is vital to guarantee a clean and professional finish. Wire cutters are designed for accuracy, ensuring precise cuts at designated cutting points without causing damage to the LED strip lights or their circuitry.
These tools have sharp blades that can easily trim through the strip, providing a neat outcome when customizing the length of the lights. It's essential to choose the appropriate size and type of wire cutters for the specific LED strip lights being cut to ensure a successful cutting process.
Cutting Techniques
Achieving precision in cutting LED strip lights can be effortlessly mastered by employing the right cutting techniques with wire cutters. Wire cutters provide better control and accuracy, ensuring clean cuts at designated cutting points for customization.
The sharp blades of wire cutters minimize damage to the strip's circuitry, preserving the integrity of the LED lights. By using wire cutters, individuals can achieve a professional finish while maintaining the desired design of the LED strips. This method allows for a more controlled approach to cutting, making it ideal for intricate customization projects.
Cutting LED Strips With Mounting Plate
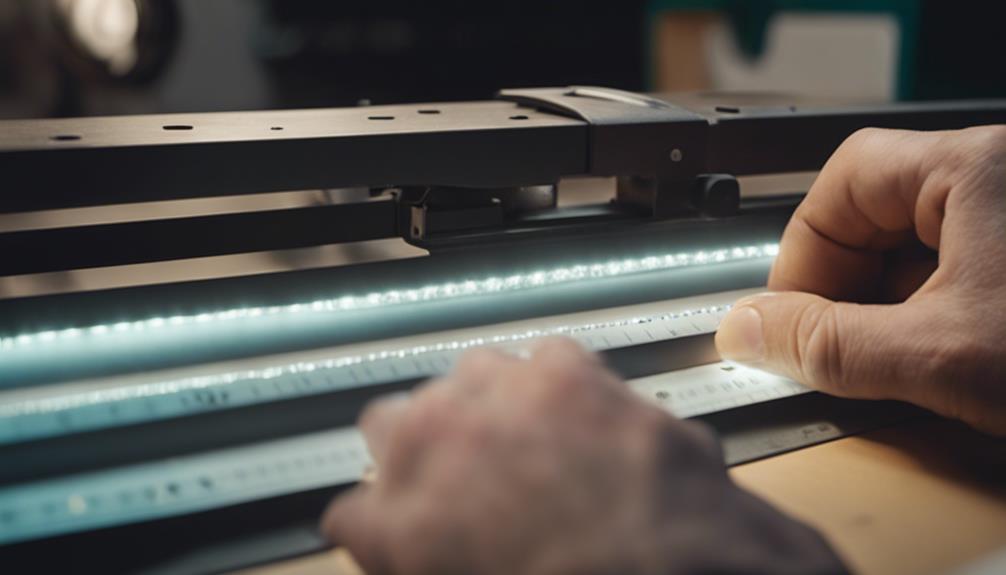
When cutting LED strips with a mounting plate, it's essential to position the LEDs correctly for a precise cut. Using wire cutters guarantees accuracy and neatness when cutting strips with a mounting plate.
Safety precautions should be taken into account to prevent any mishaps during the cutting process.
Precision Cutting Technique
Positioning the LEDs appropriately along the designated cutting points on the mounting plate guarantees a clean and precise cut when cutting LED strips. To achieve this, follow these steps:
- Use wire cutters: Cut the strip along the designated cutting points on the mounting plate.
- Larger soldering pads: These provide ample space for securely soldering the cut LED strip ends.
- Off-center cutting: Doing so makes soldering easier and more convenient for installation.
- Mounting plate configurations: Some profiles eliminate the need for additional mounting accessories, simplifying the cutting and installation process.
Tools Needed for Cutting
For cutting LED strips with a mounting plate, wire cutters are essential for achieving clean and precise cuts. The tools needed for this task include wire cutters that can cleanly sever the strip at the appropriate length.
The larger area on the pads of the mounting plate provides ample space for soldering once the LED strips are cut. It's important to position the LEDs at a suitable increment along the cut line before making the cut.
Some profiles may not necessitate a mounting plate, depending on the design and installation method. By following the same principles as cutting LED strips without a mounting plate, you can guarantee a successful and accurate cutting process.
Safety Precautions to Take
To guarantee safe cutting of LED strips with a mounting plate, securely position the strip to maintain stability during the cutting process. When cutting the LED strip, use wire cutters or sharp scissors to cut along the designated cutting points for a precise cut.
Larger soldering pads on the mounting plate provide a more accessible area for soldering the cut LED strip ends back together. For easier soldering, consider cutting off-center on the strip, especially when dealing with a mounting plate that may obstruct a straight cut.
Off-Center Cutting for Easier Soldering
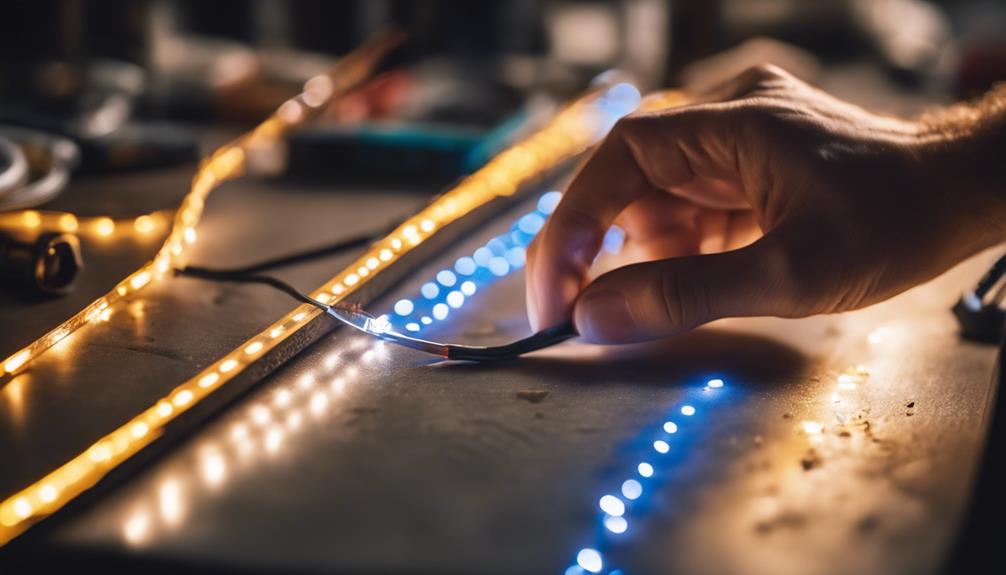
Utilizing off-center cutting when trimming LED strip lights enhances the accessibility and space on the solder pads for streamlined soldering processes.
By cutting the strip slightly away from the solder pads, more working area is provided, making it easier to solder wires or connectors onto the LED strip. This technique guarantees better access to the soldering points while maintaining the strip's integrity. Off-center cutting allows for a secure and reliable soldering connection, guaranteeing the longevity and functionality of the LED strip lights.
When working with delicate components like LED strip lights, precision and care are paramount, and off-center cutting provides a practical solution for enhancing the soldering process. This method not only simplifies soldering tasks but also optimizes the space available for creating strong and durable connections, making it a valuable technique for customizing LED strip lights to specific requirements.
Customizing LED Strip Lights Length
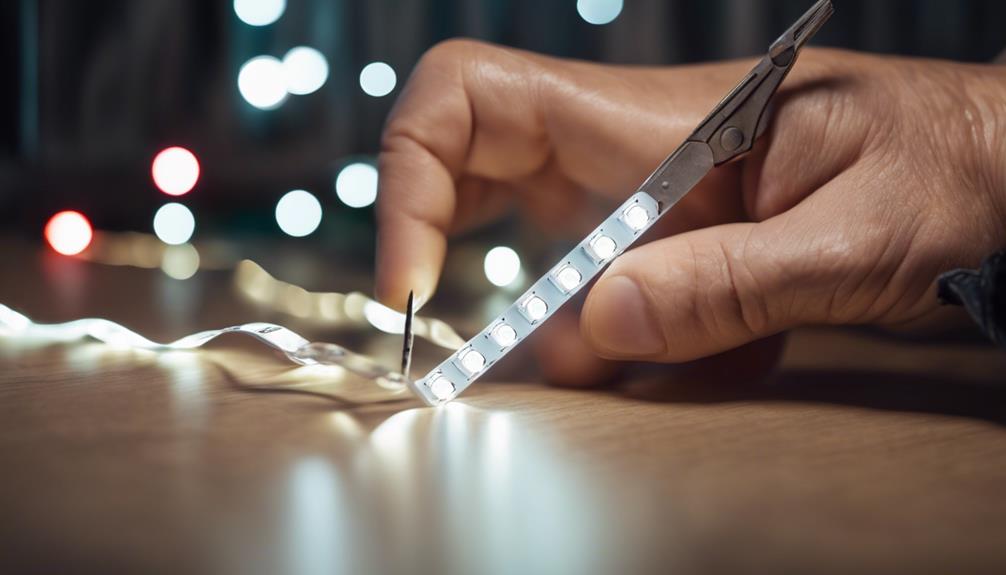
Customizing the length of LED strip lights enables users to tailor the lighting to their specific needs and spaces with precision and ease. When cutting LED strip lights to a customized length, it's important to follow the designated cutting points indicated on the strip and adhere to the manufacturer's instructions. This guarantees a seamless and efficient customization process.
- *Tailoring to Fit Unique Spaces*: Cutting LED strip lights allows for adapting the lighting to fit various spaces and installations, providing a customized solution for different areas.
- *Flexibility in Design*: Customizing the length of LED strip lights offers flexibility in design options, allowing for creative and personalized lighting setups.
- *Precision and Seamlessness*: Customizing the length ensures a precise and seamless lighting solution, meeting specific project requirements accurately.
- *Avoiding Damage*: Following manufacturer instructions for cutting LED strip lights is important to prevent any damage to the lights or circuitry, ensuring a successful customization process.
Best Practices for LED Strip Cutting
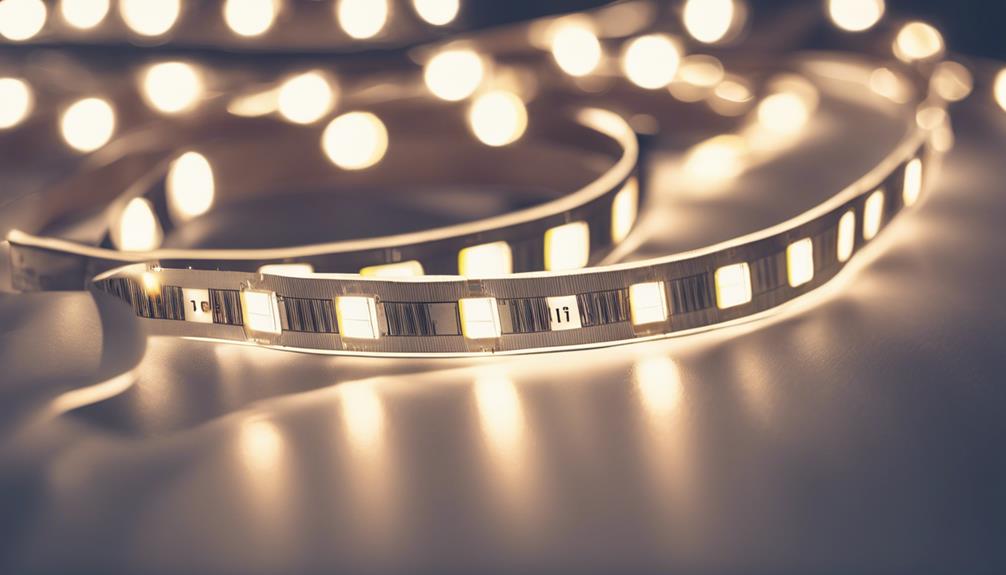
For precise and efficient cutting of LED strip lights, sharp scissors or a utility knife are recommended to avoid damaging the LED lights. It's vital to cut along the designated cutting points marked on the LED strip to guarantee proper functionality. By measuring and marking accurately, individuals can achieve the desired length for customization.
Following the manufacturer's instructions for cutting guidelines is essential for a successful outcome. Adhering to best practices ensures a smooth cutting process without compromising the LED lights. Making clean and precise cuts along the designated cut line will help maintain the integrity of the LED lights and the overall design of the strip.
Taking care during the cutting process will result in a tailored LED strip light that meets specific requirements while functioning optimally. Keeping these best practices in mind can lead to a successful customization process without any unnecessary damage to the LED lights.
Frequently Asked Questions
Can LED Strip Lights Be Cut and Still Work?
LED strip lights can indeed be cut and still work if done correctly. Cutting at designated points is essential to avoid damaging the circuitry.
Properly connecting the cut ends using connectors or soldering can guarantee continued functionality. Following the manufacturer's instructions for cutting is important. This customization allows for fitting specific spaces while maintaining effectiveness.
Proper cutting methods are crucial for LED strip lights to function well after being cut.
How to Cut LED Lights and Connect Them?
When cutting and connecting LED lights, it's vital to use the proper tools and techniques for a clean and secure result. Sharp scissors or a utility knife work best for precise cuts.
Soldering or connectors are needed to reattach cut sections. Reusing cut LED strips demands proper connectors to maintain functionality.
Adhering to recommended cutting practices and safety guidelines is essential to prevent damage during the process.
How to Join Two LED Strip Lights Together?
To join two LED strip lights together, one can utilize solderless connectors for a seamless connection. These connectors offer a simple and efficient way to link LED strips without the need for soldering.
How to Power Leftover LED Strips?
When it comes to powering leftover LED strips, it's essential to match the voltage and current requirements of the strips with a suitable power supply. Connecting the strips to a compatible power source guarantees proper functionality and prevents damage.
Utilizing connectors or soldering techniques can help effectively power and control the LED strips. By confirming the power supply aligns with the specifications of the strips, users can avoid overloading or underpowering them, ensuring continued use and flexibility in custom lighting arrangements.
Conclusion
To sum up, cutting LED strip lights to size is a simple process that can be done with precision and ease. By following the proper techniques and using the right tools, you can customize your lighting to fit any space.
Remember to measure carefully, cut accurately, and solder if needed for a seamless finish. With these best practices in mind, you can create a customized lighting solution that meets your specific needs and preferences.


