When trimming LED lighting strips, it is essential to adhere to the specified cutting points provided by the manufacturer. These cutting points ensure precise and neat cuts, allowing for customization. To trim LED strips, gather sharp scissors or a utility knife, a ruler for measurements, and a soldering iron if wire reconnection is needed. Prepare by examining the cutting points, measuring accurately, and using the correct tools. Carefully cut along the specified points to prevent rough edges, ensuring a successful result. Verify circuitry before and after cutting to ensure functionality. By following these steps, you can ensure a smooth LED strip cut.
Key Takeaways
- Locate designated cutting points on the LED strip for precision.
- Use sharp tools to cut along the marked lines accurately.
- Check circuitry before cutting to ensure functionality.
- Test LED lights before and after cutting to verify operation.
- Follow manufacturer's instructions for proper cutting guidelines.
Identifying Designated Cutting Points
To identify designated cutting points on LED light strips, look for the scissor icon or dotted line markings provided by the manufacturer. These indicators guide users on where to cut the RGB LED strip accurately without causing damage to the circuitry.
Following these designated cutting points guarantees clean and precise cuts, allowing for customization of the strip to fit specific needs. Manufacturers provide these instructions to uphold the functionality and integrity of the LED light strip. By adhering to the guidelines, users can confidently use scissors to cut the strip at the specified points, knowing that they're following the manufacturer's recommendations for a successful outcome.
It's essential to pay close attention to these cutting points to avoid any mishaps and to make sure that the LED strip continues to operate efficiently after customization. Always refer to the manufacturer's instructions for the best results when cutting LED light strips.
Gathering Necessary Tools

Gather the essential tools needed for cutting LED lighting strips accurately, including sharp scissors or a utility knife, a ruler or measuring tape for precise measurements, and potentially a soldering iron for wire reconnection. Using a sharp knife or box cutter will guarantee clean cuts along the designated cutting line, preventing damage to the LED strip lights. It's important to have a power source nearby to test the lights after cutting and to Connect LED Strip lights without any issues. Connecting LED Light Strips may require a soldering iron for reconnection of wires.
| Tools Needed | Description | Purpose |
|---|---|---|
| Sharp scissors/Utility knife | Cutting the LED strip along the designated line | Ensure precise and clean cuts. |
| Ruler/Measuring tape | Measuring and marking cutting points | Accurately measure the desired length. |
| Soldering iron | Reconnecting wires if needed | Guarantees proper connection post-cutting. |
Preparing the LED Strip for Cutting
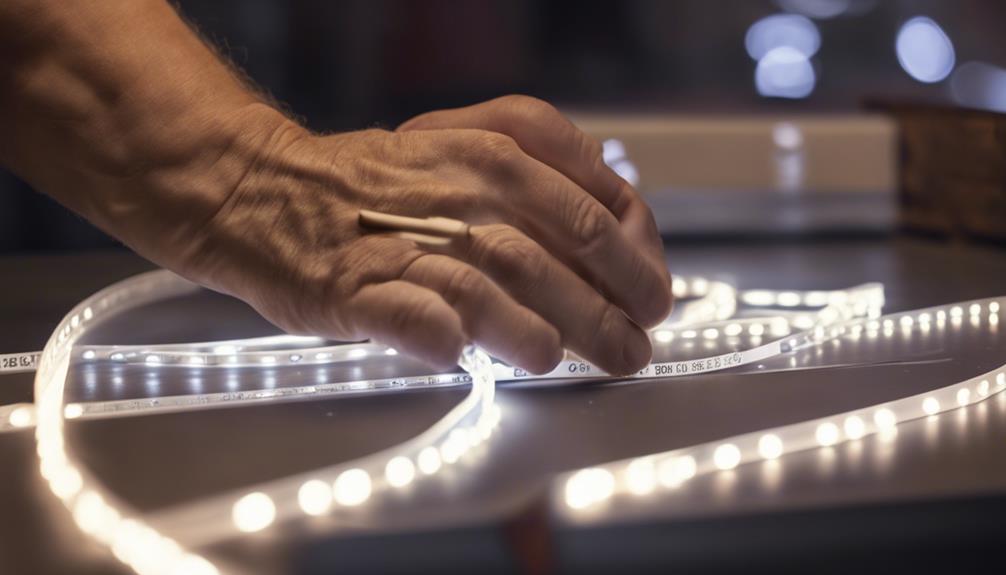
In readiness for cutting the LED strip, assess the designated cutting points for precision and accuracy. It's important to measure and mark the cutting point accurately using a ruler or measuring tape to guarantee clean and precise cuts without damaging the LEDs. Referring to the manufacturers' instructions for specific cutting guidelines is vital to avoid errors and maintain proper functionality. Sharp scissors or cutting tools are essential for achieving the desired results.
Here are some steps to prepare the LED strip for cutting:
- Locate the designated cutting points marked by a scissor icon or dashed lines.
- Measure and mark the cutting point accurately using a ruler or measuring tape.
- Ensure you have sharp scissors or appropriate cutting tools for the job.
- Refer to the manufacturers' instructions for specific cutting guidelines to avoid damaging the LEDs and maintain proper functionality.
Making the Cut
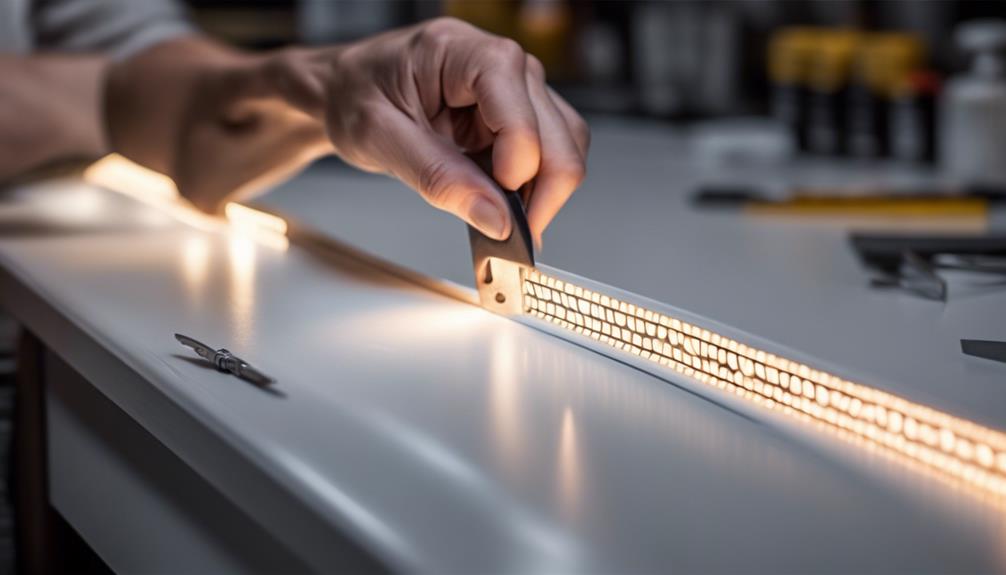
Using sharp scissors or a utility knife, carefully cut along the designated points marked by cutting lines or icons on the LED light strip. This guarantees clean cuts and prevents damage to the circuitry. It's essential to follow the manufacturer's instructions and cutting guidelines to maintain the functionality of the LED strips.
Using sharp tools is vital for precise cuts, so make sure your scissors or knife are in good condition. Apply steady pressure while cutting to avoid jagged edges or uneven cuts. Proper techniques, such as cutting straight along the marked lines, are fundamental for a successful cut.
Checking Circuitry and Functionality
To guarantee the proper functioning of the LED light strip, the user should carefully inspect the circuitry for any signs of damage before proceeding with the cutting process. It's crucial to verify that the LED light strip is in peak condition to prevent any electrical issues post-cutting. Here are some steps to follow:
- Check for Designated Cutting Points: Look for marked cutting points on the LED light strip, typically indicated by a scissor icon or a dashed line.
- Inspect Circuitry: Confirm that the circuitry of the LED strip is undamaged and intact before making any cuts to maintain functionality.
- Test Functionality: Before and after cutting, test the LED lights to confirm that they're operating correctly and as expected.
- Follow Manufacturer's Instructions: Adhere to the cutting guidelines provided by the manufacturer to avoid potential wiring and connection issues that could affect the LED light strip's overall functionality.
Securing the Cut LED Strip
When securing a cut LED strip, it's crucial to utilize adhesive or mounting clips to keep the strip in place. This step guarantees that the strip stays securely attached to the desired surface.
Secure With Adhesive
After cutting the LED strip, make certain the cut end is securely fastened using adhesive to maintain a tidy and professional appearance. Adhesive tape or glue can be used for this purpose, guaranteeing a strong bond and preventing unraveling of the LED strip. Check the adhesive's compatibility with the LED strip material to ensure a secure attachment. Properly securing the cut end is crucial for a neat installation, giving it a professional-looking finish.
- Use adhesive tape or glue to secure the cut end.
- Make sure the adhesive is strong to prevent peeling.
- Verify adhesive compatibility with the LED strip material.
- Properly securing the cut end results in a professional appearance.
Use Mounting Clips
Mounting clips provide essential support for securing cut LED light strips in place, guaranteeing a professional and stable installation. These small accessories play a vital role in preventing the cut ends of the LED strip from peeling off or coming loose. Available in various shapes and sizes to accommodate different types of LED strips, mounting clips contribute to a tidy installation by offering additional support and stability.
Following Manufacturer Guidelines
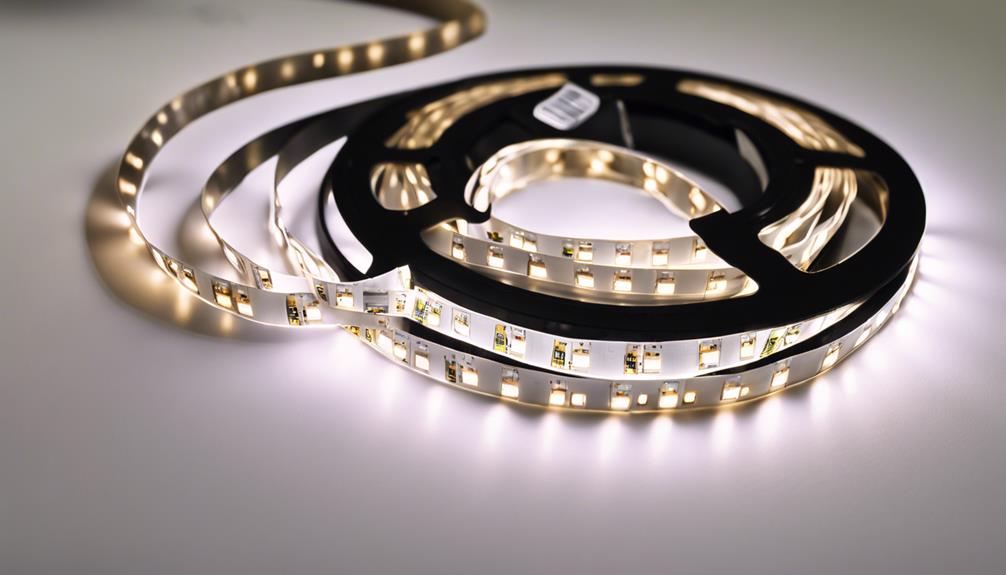
To guarantee the integrity of the LED light strips during cutting, it's essential to meticulously adhere to the cutting guidelines provided by the manufacturer. Following these guidelines not only ensures safe cutting but also helps in maintaining the functionality of the LED strips without causing any electrical issues. Here are some key points to keep in mind when following the manufacturer's instructions:
- Manufacturers provide specific cutting guidelines to avoid damaging the LED light strips.
- Cutting at designated points prevents electrical issues and maintains the functionality of the LED light strips.
- Using sharp tools as recommended by the manufacturer helps in achieving clean and precise cuts.
- Properly adhering to the manufacturer's guidelines is vital for a safe and effective cutting process.
Frequently Asked Questions
How to Properly Cut LED Strip Lights?
To properly cut LED strip lights, one must identify the marked cutting points on the strip. Using sharp scissors or a utility knife, cut along these designated areas to avoid damaging the lights or circuitry.
It's crucial to refer to the manufacturer's instructions beforehand to confirm the LED lights are cuttable.
Following these guidelines and employing precise cutting techniques will result in a successful customization process tailored to specific spaces and design requirements.
Can You Cut LED Light Strips and They Still Work?
LED light strips can indeed be cut and still function properly as long as the cutting is done accurately and at designated points. This process is akin to trimming a hedge precisely to maintain its shape.
Following the manufacturer's guidelines is essential to prevent damage to the circuitry, ensuring the LED strips continue working as intended. By adhering to proper cutting techniques, users can customize their lighting without compromising functionality.
What Line Do I Cut on My LED Lights?
When cutting LED lights, locate the designated cutting line marked by a scissor icon or a dotted line on the strip. Accurately measure and mark the cutting point using a ruler or measuring tape. Cutting at this point is essential to safeguard the circuitry and prevent damage.
Adhering to these guidelines helps prevent electrical issues and guarantees the lights work properly. Always consult the manufacturer's instructions for specific cutting guidelines to avoid any complications.
What Part of the LED Do I Cut?
When deciding what part of the LED to cut, individuals must locate the designated cutting points on the strip. These points are usually marked with a scissor icon or dashed lines.
It's important to identify the copper dots at the end of LED units, as cutting at incorrect points can harm the strip's circuitry. Precision in cutting guarantees proper functionality and prevents connection issues.
Following the manufacturer's guidelines is essential to avoid electrical problems.
Conclusion
To sum up, cutting LED lighting strips can be a straightforward process when following the proper steps.
By identifying designated cutting points, gathering necessary tools, preparing the strip, making the cut, checking circuitry, and securing the strip, one can guarantee a successful outcome.
Remember, as the saying goes, measure twice, cut once, to avoid any mishaps and guarantee a smooth installation process.
Following manufacturer guidelines is crucial to maintaining the functionality and longevity of the LED strip.


