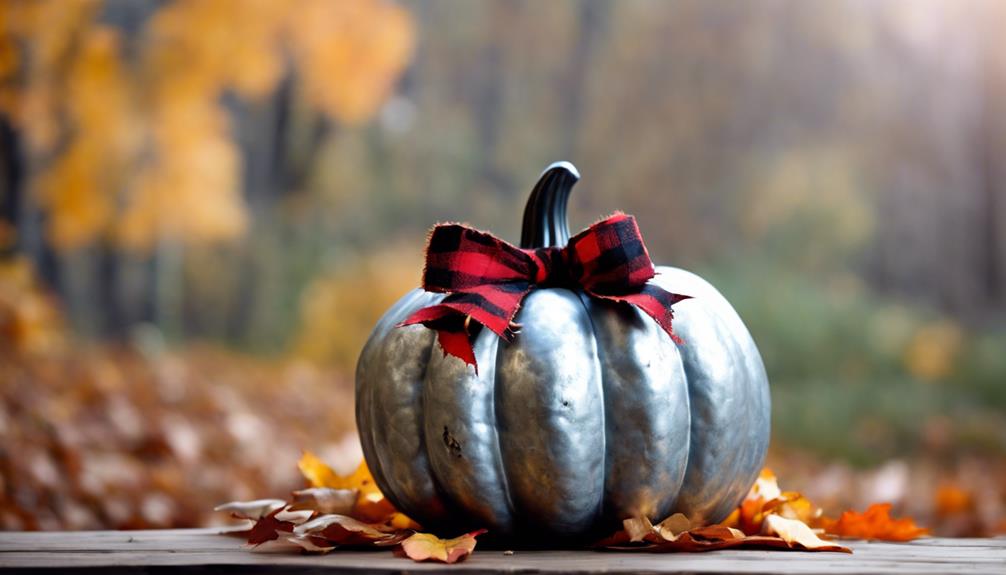
We're excited to share our guide on transforming a plain galvanized pumpkin into a stunning buffalo plaid masterpiece. First, we prepare the pumpkin by cleaning it thoroughly and selecting the right adhesive fabric for the design. Next, we create a buffalo plaid pattern using painter's tape and black paint, applying horizontal and vertical stripes alternately. After adding a stem that complements the design, we apply fabric strips securely using hot glue. Finally, we add finishing touches like a buffalo plaid bow, faux greenery, and a wood stem for rustic charm. Now, let's get crafting and discover the creative possibilities!
Key Takeaways
• Clean and prepare a galvanized metal pumpkin to ensure a smooth surface for painting and decorating.
• Create a buffalo plaid pattern on the pumpkin using painter's tape and black paint, allowing each layer to dry completely.
• Add a realistic stem that complements the design and provides texture and realism to the seasonal decor piece.
• Apply buffalo plaid fabric strips securely to the pumpkin using hot glue, smoothing out wrinkles or air bubbles as needed.
• Embellish the pumpkin with a buffalo plaid bow, faux greenery, and berries to add a festive touch and rustic charm.

One Holiday Way Set of 3 Rustic Galvanized Metal Jack-o-Lantern Pumpkin Decorative Halloween LED Votive Candle Holder Lanterns – Indoor Outdoor Decoration – Spooky Country Farmhouse Party Home Decor
- Set of 3 Candle Holders: Rustic galvanized metal jack-o-lanterns
- Vintage Silver Finish: Matches traditional and modern decor
- Indoor and Outdoor Use: Suitable for porch or entryway
As an affiliate, we earn on qualifying purchases.
As an affiliate, we earn on qualifying purchases.
Prepare the Galvanized Pumpkin
We begin by selecting a galvanized metal pumpkin as the foundation of our project, making sure it's free of dirt, grime, and moisture. This base will provide a clean slate for our buffalo plaid design.
Before we start decorating, we need to make certain our pumpkin is spotless. A quick wipe with a damp cloth should do the trick. This step is essential, as any dirt or grime can impact the adhesion of our paint or fabric.
We're going for a classic look, so we'll focus on a black and white buffalo plaid pattern. While we could use acrylic paint to create the design, we might opt for adhesive buffalo plaid fabric instead. This will give our pumpkin a unique texture and visual interest.
Once we've applied our chosen design, we can further customize our pumpkin with ribbon or faux greenery. The possibilities are endless, and we can't wait to see our galvanized pumpkin transform into a stunning piece of seasonal decor.
Create Buffalo Plaid Pattern
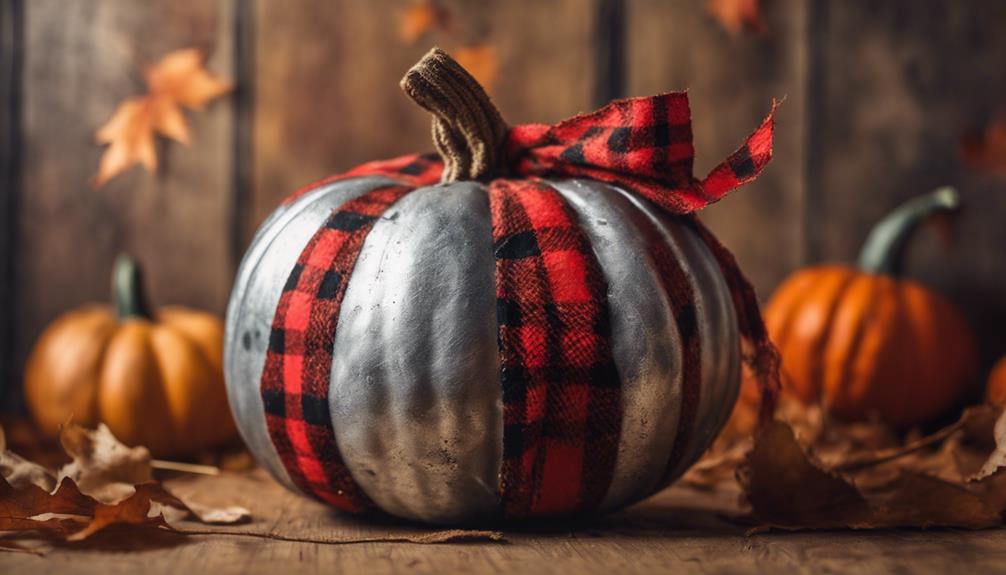
With our galvanized pumpkin clean and ready, let's create the iconic buffalo plaid pattern that'll give our seasonal decor a rustic touch. To achieve this, we'll use black and white paint to create the buffalo plaid pattern. Here's a breakdown of the painting process:
| Step | Description |
|---|---|
| 1 | Apply painter's tape to create clean lines and crisp edges for the buffalo plaid pattern. |
| 2 | Paint horizontal stripes with black paint, allowing each layer to dry completely before adding the next. |
| 3 | Alternate painting horizontal and vertical stripes to achieve the buffalo plaid design. |
Using a small paintbrush for precision, we'll paint the buffalo plaid pattern on the galvanized pumpkin. Remember to allow each layer of paint to dry completely before adding the next layer to prevent smudging or blending of colors. By following these steps, we'll achieve a beautiful buffalo plaid pattern that'll add a rustic touch to our seasonal decor.
Add Dimension With Stem
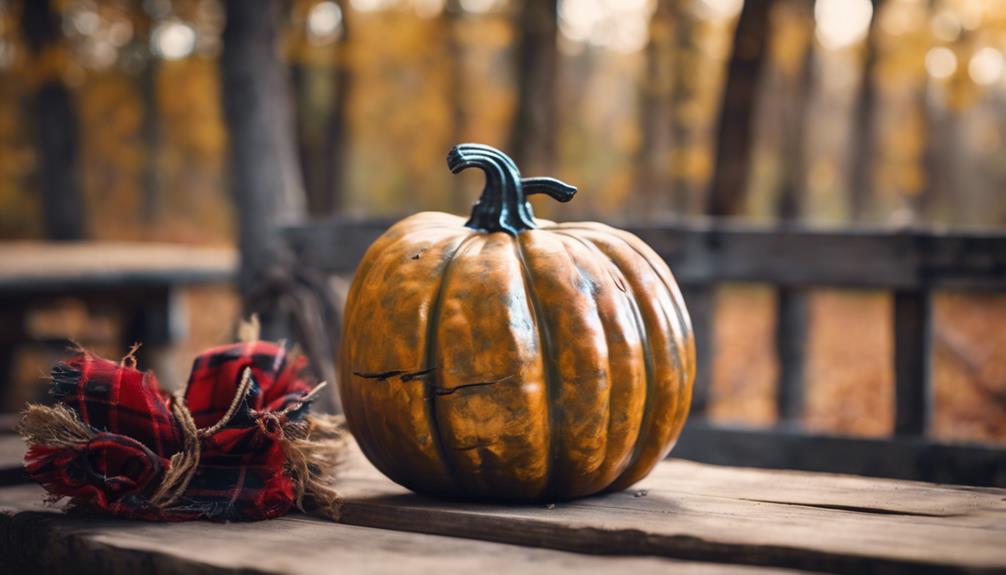
To take our buffalo plaid galvanized pumpkin to the next level, we're adding a stem that not only complements the plaid design but also brings a touch of realism to this seasonal decor piece. The addition of a dimensional stem elevates the visual appeal of our buffalo check pumpkin, making it stand out among other fall decorations.
When selecting a stem, consider the following factors:
- Choose a stem that complements the buffalo plaid design, ensuring a cohesive look.
- Opt for a realistic stem that mimics the texture and color of a real pumpkin stem.
- Select a stem that adds a touch of realism and texture to the galvanized pumpkin.
Apply Fabric Strips Securely
We'll start applying the buffalo plaid fabric strips to our galvanized pumpkin, making sure to secure them tightly to prevent any unraveling. To guarantee a polished look, we'll press down firmly on the fabric strips to make sure they adhere well to the galvanized surface. Any wrinkles or air bubbles must be smoothed out for a clean finish.
| Step | Action | Tips |
|---|---|---|
| 1 | Apply hot glue to the pumpkin | Use a low-temperature glue gun to prevent damage |
| 2 | Place fabric strip on pumpkin | Align the buffalo plaid pattern carefully |
| 3 | Press down firmly on fabric | Ensure the fabric adheres smoothly to the surface |
As we apply the fabric strips, we can use a buffalo check ribbon to add a decorative touch. Securing the fabric strips with hot glue or a strong adhesive is crucial to prevent them from peeling off. By following these steps, we'll achieve a beautiful, evenly covered galvanized pumpkin with a unique buffalo plaid design.
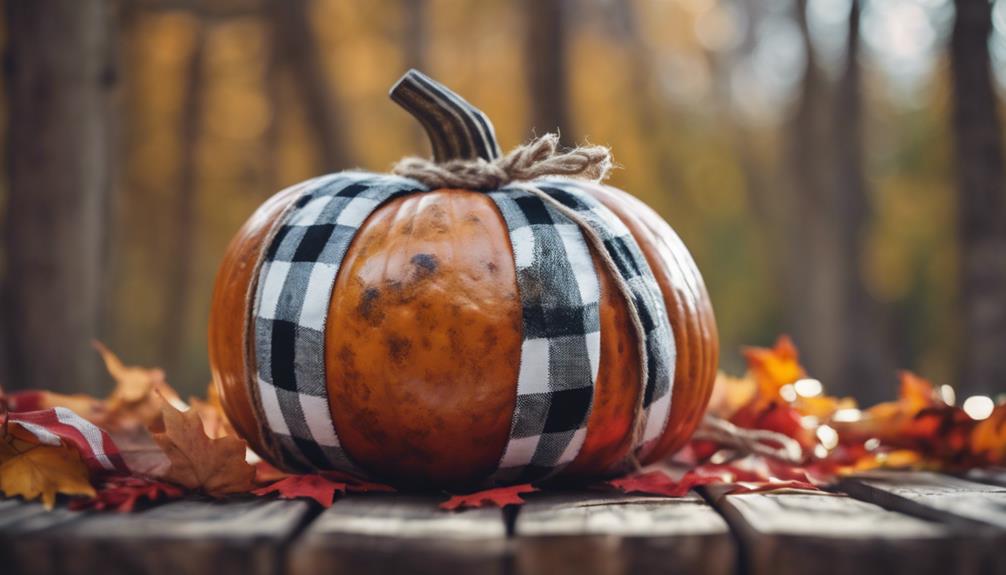
Add Finishing Touches
As we move on to the final stage of our project, we're excited to add those finishing touches that will elevate our simple buffalo plaid galvanized pumpkin from charming to stunning.
Now it's time to focus on the final flourish details, embellishing with ribbons, and adding twine accents that will give our pumpkin a rustic, homespun charm.
Final Flourish Details
Now that our galvanized pumpkin is transformed into a buffalo plaid beauty, let's incorporate some finishing touches to make it truly special. We're almost done, and these final flourishes will elevate our pumpkin from ordinary to extraordinary.
Here are a few ideas worth exploring:
- Add a buffalo plaid bow for a festive touch, perfect for adorning your door or using as a centerpiece for your pumpkin wreath.
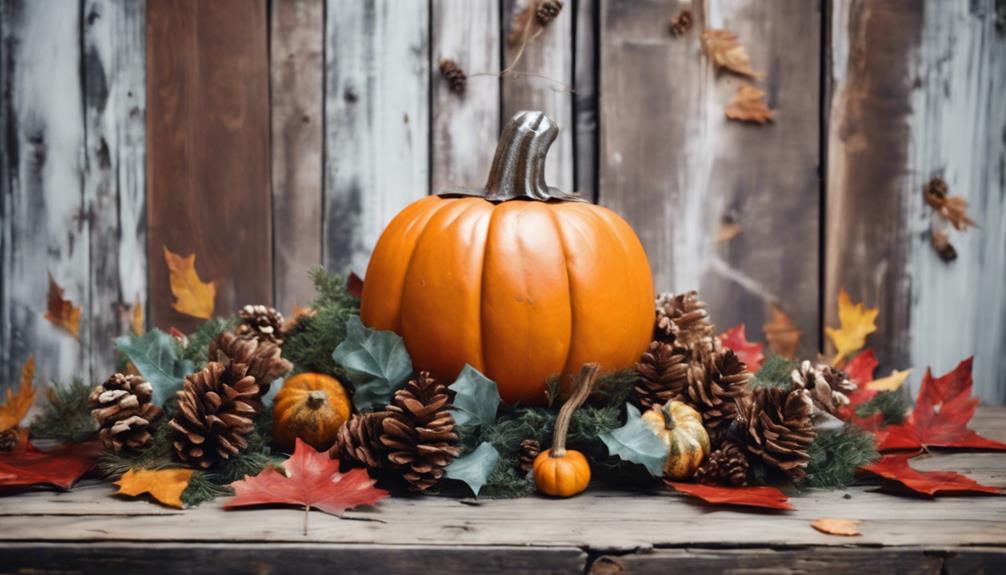
- Ponder embellishing with faux greenery and berries to bring in a natural element, reminiscent of a fall morning.
- Utilize a wood stem for a natural element that complements the galvanized pumpkin, adding a touch of rustic charm to your decor.
These small details will make our buffalo check pumpkin truly one-of-a-kind.
We can experiment with different bead colors or dye them to match our decor, adding a pop of color to our arrangement.
With these finishing touches, our simple buffalo plaid galvanized pumpkin is now a stunning piece of autumnal decor, ready to adorn our door, mantel, or coffee table.
Embellish With Ribbons
With our buffalo plaid pumpkin as the foundation, we're ready to tie everything together with a statement ribbon that adds a burst of color and texture to our autumnal decor.
We opt for a buffalo plaid ribbon, which complements our pumpkin's plaid design perfectly. To add some flexibility to our ribbon, we choose a wired ribbon, allowing us to easily shape it around the pumpkin. We experiment with different ribbon widths and patterns to create a unique look that's all our own.
To secure our ribbon in place, we use hot glue or double-sided tape, ensuring a lasting hold. For added visual interest, we consider layering multiple ribbons, creating a more intricate and textured design.
Add Twine Accent
What's the perfect way to add a rustic touch to our buffalo plaid pumpkin without overpowering its statement ribbon? We think a twine accent is the answer!
This simple yet effective detail can elevate the overall look of our galvanized pumpkin. To add a twine accent, we'll wrap twine around the stem of the pumpkin, securing it with hot glue to make sure it stays in place.
Here are a few tips to keep in mind:
- Wrap multiple layers of twine for a thicker accent or keep it minimal for a subtle look
- Experiment with different colors and textures of twine to match your decor style
- Twine accents can easily be customized or removed for a new look
Display Your Masterpiece
Where will we showcase our beautifully crafted buffalo plaid galvanized pumpkin to maximize its visual impact?
We've put in the effort to create this stunning piece, and now it's time to display it proudly.
As we place our buffalo checked pumpkin on a mantel, shelf, or as a centerpiece, we're adding a rustic touch to our fall decor.
The combination of buffalo plaid and galvanized metal creates a stylish fall accent that's sure to impress.
By showcasing our masterpiece in a prominent spot, we're not only highlighting our crafting skills but also adding a trendy design element to our home.
As we step back to admire our handiwork, we can't help but feel a sense of pride in our creative endeavor.
According to DIY experts, 'displaying your crafts prominently can boost your confidence and inspire you to take on more projects.'
Frequently Asked Questions
How to Make Plaid Pumpkins?
"We're wondering how to make plaid pumpkins, and we're excited to learn! We'll start by choosing a pumpkin, then select a plaid pattern, and finally, add the design using paint, vinyl, or fabric for a unique fall decoration."
How to Make Fake Pumpkins Easy?
"Cut to the chase, we're all about simplicity! For fake pumpkins, we just grab foam or plastic ones from the craft store, and voilà! We're halfway to a stress-free, easy-peasy fall decoration that's a real showstopper."
Conclusion
As we step back to admire our handiwork, the galvanized pumpkin transformed into a symbol of cozy autumn nights, reminiscent of crackling fires and warm apple cider.
The buffalo plaid pattern wraps around the pumpkin like a warm blanket, evoking feelings of comfort and nostalgia.
Our DIY project has come to life, a demonstration of the power of creativity and resourcefulness.
Now, proudly display your masterpiece, a beacon of autumnal charm, and bask in the warmth of the season.