We craft vintage charm by transforming plain corbels and shelves into unique, antique-inspired masterpieces. In three steps, we'll achieve this look. First, we prepare the corbel shelf base by selecting plain corbels, choosing wood stain and paint colors, and applying stain for an authentic look. Next, we add vintage charm and details by distressing the corbels, applying contrasting paint colors, and protecting with clear wax. Finally, we assemble and style our shelf by arranging decorative items and art supplies in a visually appealing display. Want to see how to create rich, layered charm?
Key Takeaways
• Select plain corbels and apply wood stain for an aged effect, ensuring all areas are coated evenly with a foam brush.
• Distress corbels by sanding and apply two coats of contrasting paint colors to achieve a vintage charm.
• Assemble the shelf by arranging decorative items, art supplies, and vintage or antique pieces to create a visually appealing display.
• Enhance the antique effect by applying clear wax to protect the finish and combining different painting techniques for depth.
• Experiment with various arrangements and compositions to showcase your personal style and achieve the perfect balance of form and function.

Vercraft 8 Pcs Wood Corbels Wooden Shelf Brackets, Unfinished Paintable Bracket with Hanging Hook for Doorway Countertop Kitchen Cabinet Book Shelves, Rubber Wood (6 x 6 x 1.75 Inches)
- Complete 8-Piece Set: Includes 8 wood corbels and hanging hooks
- Easy Installation: Simple mounting with optional screws (not included)
- Ideal Size: Measures 6 x 6 x 1.75 inches for versatile use
As an affiliate, we earn on qualifying purchases.
As an affiliate, we earn on qualifying purchases.
Prepare the Corbel Shelf Base
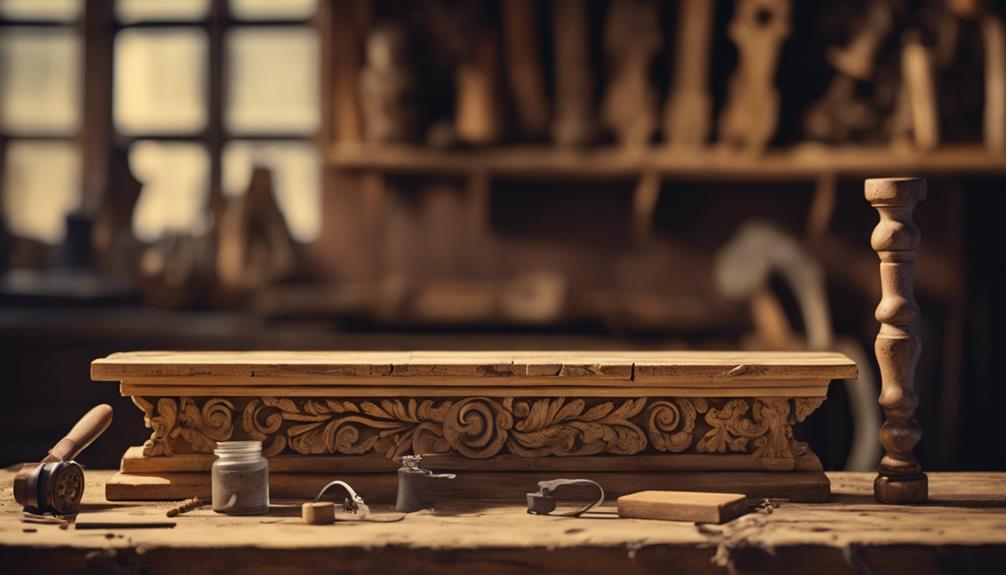
We begin by selecting plain corbels to serve as the base of our antique shelf, setting the stage for our vintage-inspired creation.
I'm gonna transform these plain corbels into a stunning antique piece, and I'm excited to share the process with you.
To start, we choose our wood stain and two colors of paint for the vintage finish.
Next, we use a foam brush to apply the wood stain evenly on the corbels, making sure to cover all nooks and crannies for an aged effect.
If desired, we can wipe off excess stain, leaving some behind for an authentic look.
It's crucial to make sure every area is coated, as this will give our antique shelf its unique character.
Add Vintage Charm and Details
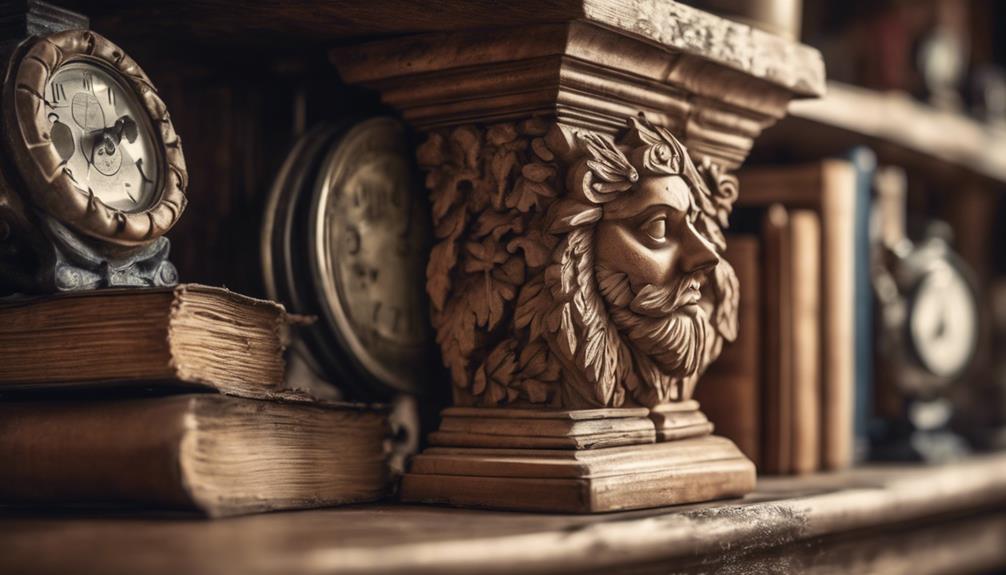
With our corbel bases now stained to perfection, we'll start building on that distressed, aged look by adding layers of paint and wax to give them a rich, vintage charm. To achieve this, we'll use a combination of chalk or latex paint in two colors to enhance the antique effect. Staining the corbels with wood stain before painting adds depth and richness to the finish.
Here's a breakdown of the process:
| Step | Technique |
|---|---|
| Distressing | Sanding to create rough, worn edges |
| Painting | Applying two coats of chalk or latex paint in contrasting colors |
| Waxing | Applying clear wax to protect and enhance the finish |
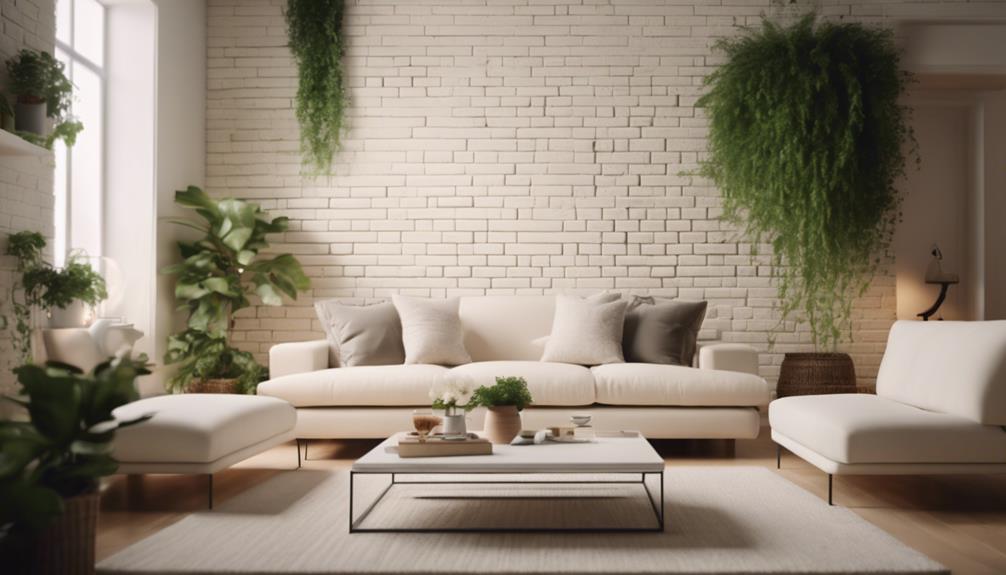
Assemble and Style Your Shelf
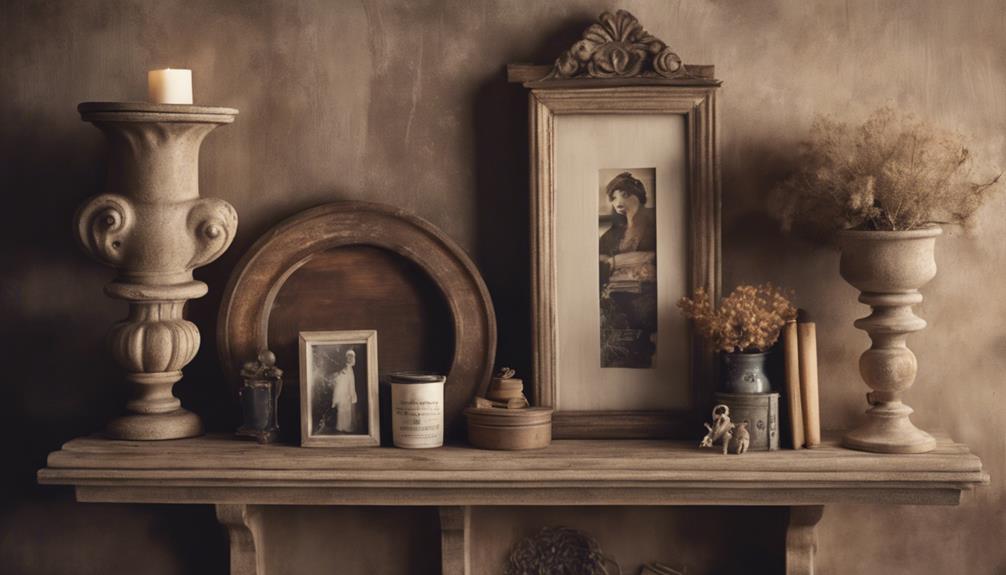
Now that our corbels and shelf are beautifully distressed and painted, it's time to bring everything together by arranging our favorite decorative items and art supplies on the shelf.
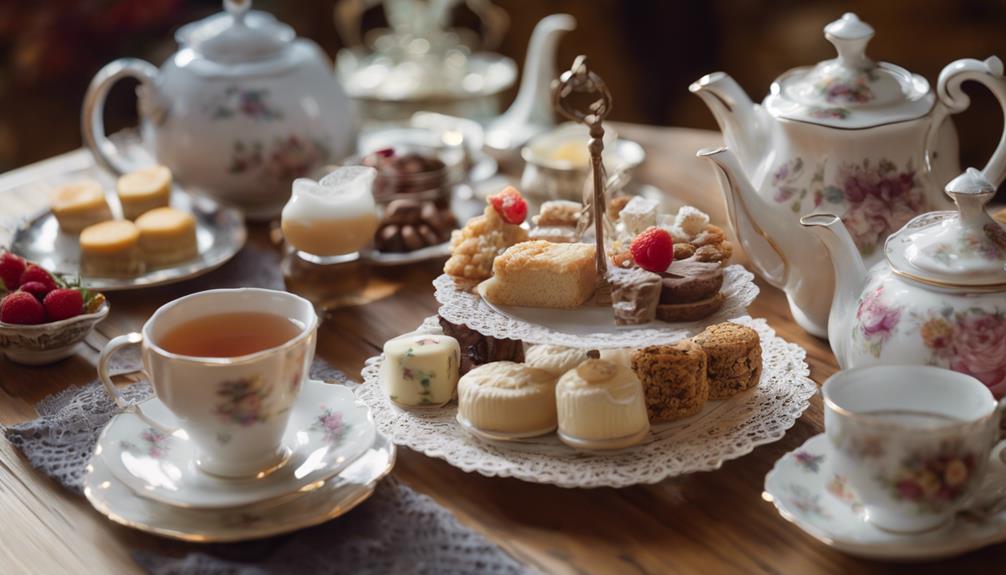
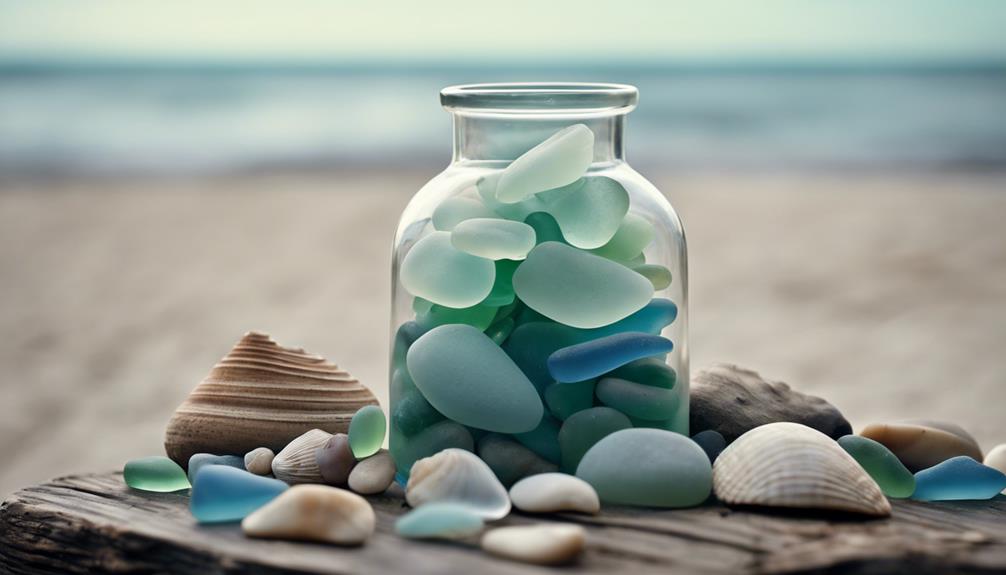
We're excited to create a visually appealing display that showcases our personal style. To add some texture and interest, we'll mix and match different materials and shapes. For instance, we might pair vintage apothecary jars with modern art supplies or antique books with handmade ceramics.
We'll also experiment with different arrangements to find the perfect balance for our space. By incorporating a variety of jar sizes and shapes, we can add both functionality and visual interest to our shelves.
And, of course, we won't forget to incorporate some vintage or antique pieces to enhance the overall charm and character of our shelf. As we play around with different compositions, we'll have fun discovering the perfect blend of form and function for our unique space.
Frequently Asked Questions
How to Make Antique Corbels?
We're often asked how to make antique corbels, and the answer is simpler than you think.
We start by staining or painting plain corbels, focusing on getting into all the nooks and crannies.
Then, we distress them using a medium/coarse sanding block to wear down the corners and high points.
How Do You Use Corbels as Shelf Brackets?
We use corbels as shelf brackets by mounting them to the wall with screws or brackets, ensuring they're securely fastened. This allows the corbels to distribute weight evenly along the shelf's length, providing sturdy support.
How to Make Simple Shelves?
We're excited to explore the world of DIY shelving!
To make simple shelves, we begin with the basics: measuring our space, selecting the perfect wood, and cutting it to size.
Then, we put together the shelves using screws and wood glue, ensuring a strong structure.
Lastly, we sand and stain the wood to match our desired aesthetic.
Voila! Our simple shelves are now ready to display our favorite decorative items.
How to Antique a Wood Shelf?
We're tackling the task of antiquing a wood shelf. To achieve that vintage look, we'll apply wood stain and two colors of paint to our shelf.
Next, we'll distress the surface using sandpaper, focusing on corners and high points.
Conclusion
We've managed to create a stunning antique corbel shelf that's sure to be the envy of all our friends – or at least, our Instagram followers.
With our DIY skills, we've practically fooled everyone into thinking we're design experts.
Now, let's just hope no one asks us to actually build a real antique piece from scratch.
For now, we'll just admire our handiwork and pretend we're vintage design connoisseurs.