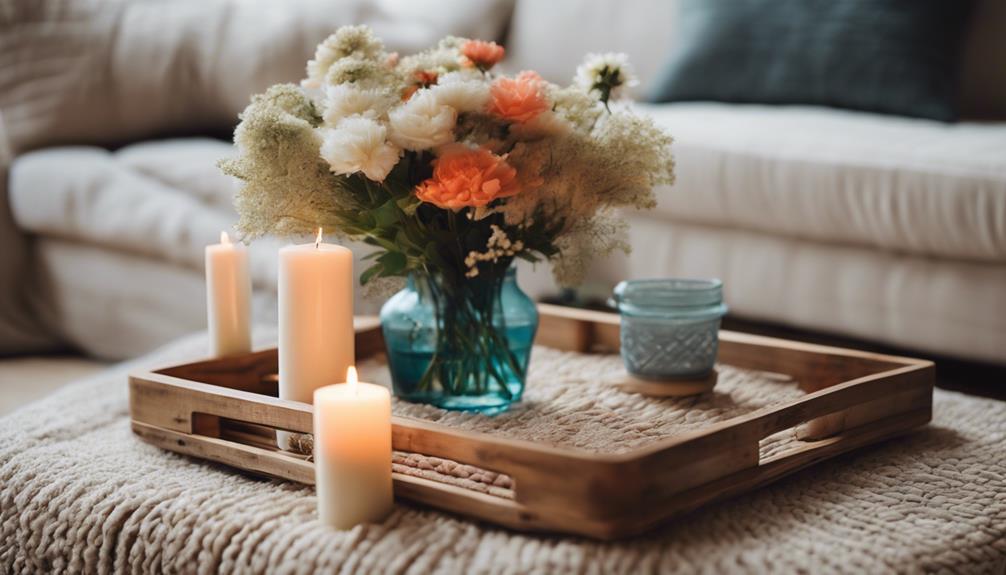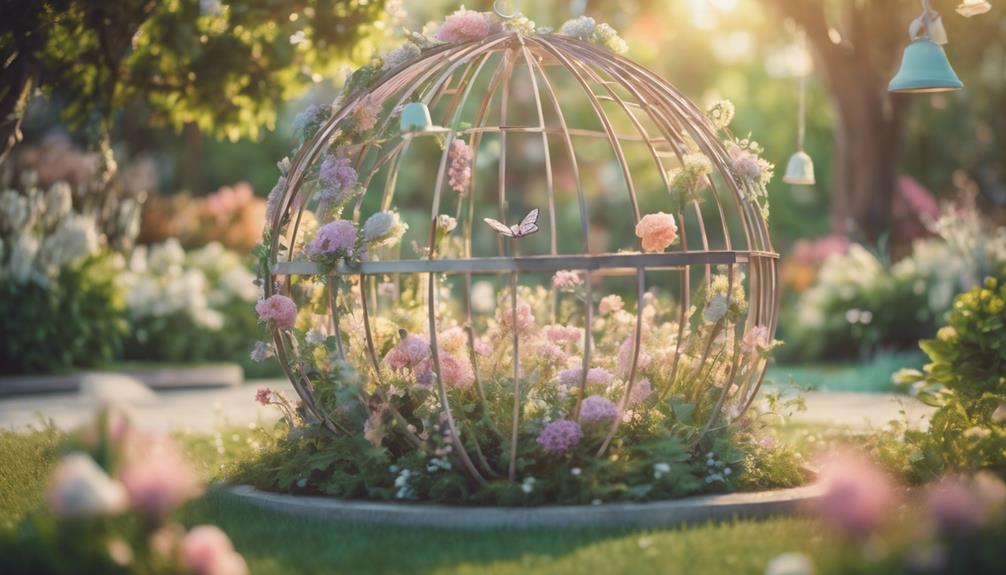
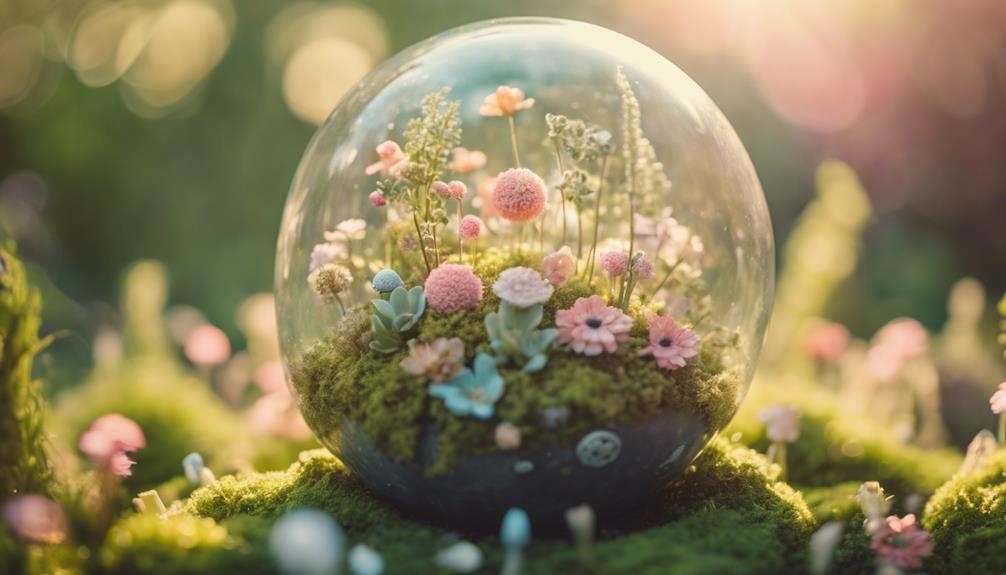
We're creating a stunning DIY springtime garden sphere, combining concrete, wire, and creative assembly techniques to add elegance to our outdoor spaces. Gathering essential materials like glass globes, concrete mix, and protective gear, we'll craft a unique decorative piece. By cutting and assembling wire circles, we'll form the sphere's foundation, adding horizontal wires for structure and visual appeal. With a sturdy structure in place, we can customize designs and patterns within the globe for a personalized touch. Next, we'll explore display options, from hanging to clustering, to create visually appealing arrangements that showcase our handiwork – and the possibilities only begin here.
Key Takeaways
• Use glass globes or create your own concrete sphere molds to form the base of your DIY springtime garden sphere.
• Cut and assemble galvanized steel wire to create the structure and design of your garden sphere.
• Customize your sphere with unique patterns and designs using horizontal wires and different materials.
• Hang or display your garden sphere in creative ways, such as from trees, pergolas, or decorative stands, to add visual interest.
• Experiment with different heights, groupings, and materials to create a stunning and eye-catching springtime garden sphere display.

VCUTEKA Gazing Ball, Glass Gazing Globe Decorative Glass Gazing Globe/Ball/Sphere Lawn Ornament for Gardens, 10-Inch, Blue Swirl
【Outdoor Garden Decor】Garden gazing ball is made of attractive glass with swirls of color for a unique, artisanal…
As an affiliate, we earn on qualifying purchases.
As an affiliate, we earn on qualifying purchases.
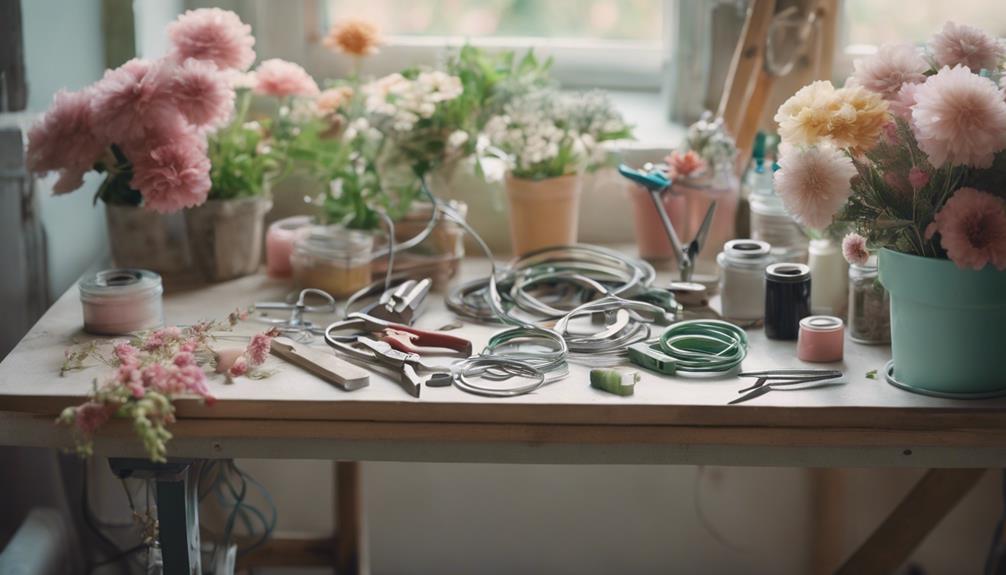
Gathering Essential Materials
We're starting our DIY springtime garden sphere project by gathering the essential materials we'll need to bring our creative vision to life.
For this project, we'll need some fundamental components, including glass globes, concrete mix, mixing containers, and protective gear like gloves and goggles.
The glass globes will serve as the molds for our garden spheres, while the concrete mix will provide the structure and durability we need.
We'll also need mixing containers to combine the concrete mix according to our desired recipe, which may include varying ratios of cement, peat moss, potting soil, and water.
With our materials in hand, we'll be ready to begin creating our unique and visually striking DIY springtime garden spheres. By using these essential materials, we'll be able to bring our creative vision to life and add a touch of elegance to our garden.

Grout 360 Premium Stepping Stone Mix – 8 Pound Box White Concrete Mixture
Versatile Crafting: Create beautiful garden pathways, decorative stepping stones, and personalized garden décor with our premium stepping stone…
As an affiliate, we earn on qualifying purchases.
As an affiliate, we earn on qualifying purchases.
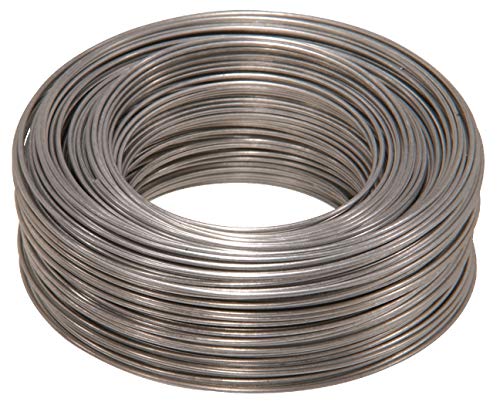
Cutting Wire to Size
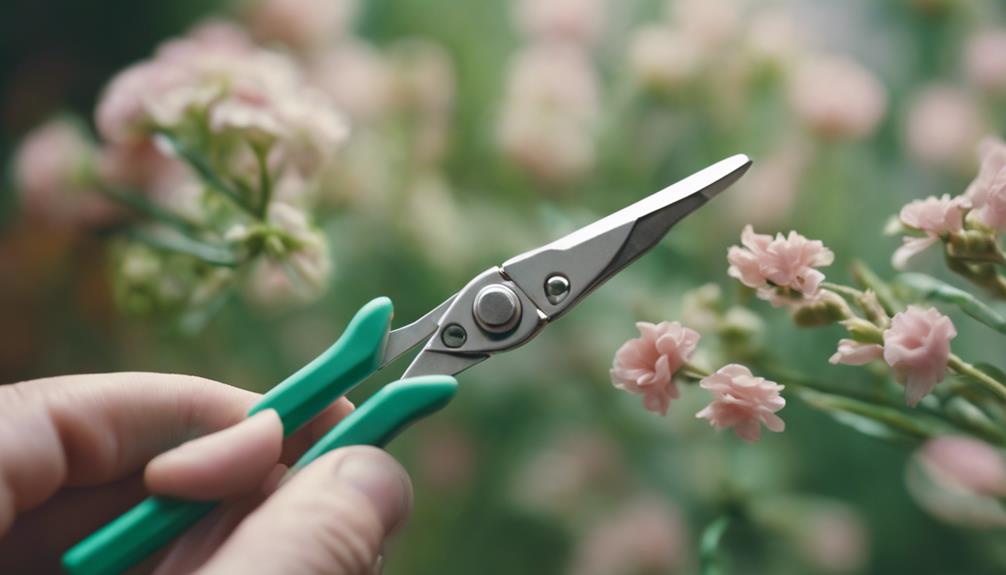
Frequently, the success of our DIY springtime garden sphere project hinges on accurately measuring and cutting the wire to size, as this essential step sets the stage for a sturdy and visually appealing final product.
We're working with two types of wire – 14 gauge and 22 gauge galvanized steel wire – which need to be cut to the desired lengths for our wire garden sphere. To achieve this, we'll use wire cutters to accurately cut the wire to the specified sizes needed for creating the sphere.
Precision in cutting the wire is important for ensuring that the spheres are well-balanced and structurally sound. Cutting the wire to the correct lengths allows for smooth assembly and a visually appealing final product.
Properly sized wire pieces are essential for constructing the framework of the garden sphere effectively and efficiently. By taking the time to measure and cut our wire correctly, we'll be rewarded with a beautiful and durable DIY project that will thrive in our garden.
Hillman Steel Wire Rope 20 Gauge Galvanized Hobby Cable Wire, 20 x 175', Corrosion Resistant, Holds 15 lbs, Ideal for Crafts & DIY, Silver | 123106
Corrosion Resistance: This Steel 20 Gauge Galvanized Hobby Wire cable offers exceptional corrosion resistance, ensuring durability for craft…
As an affiliate, we earn on qualifying purchases.
As an affiliate, we earn on qualifying purchases.
Assembling Circle Frames
To begin assembling our circle frames, we'll use the cut wire pieces to create a series of interconnected circles that will form the foundation of our garden sphere.
We'll start by taking the 14 Gauge and 22 Gauge Galvanized Steel Wire and bending them into circular shapes using our wire cutters and needle nose pliers. As we assemble the wire into circles, we'll make sure to create a sturdy structure that will hold its shape. We'll then connect the circles together, adding horizontal wires for added stability.
To give our garden sphere a sleek and durable finish, we can consider using black hammered spray paint. This won't only protect the wire from the elements but also add a touch of elegance to our DIY project.

Guanlotion Cable Cutter Wire Cutter Heavy Duty up to 5/32" Stainless Steel Aircraft Wire rope for Decking Railing Fencing Bike Bicycle Brake Cutter DIY projects
SPEC – The size is 7.5 inch. It cuts cable up to 5/32” inch in diameter especially suitable…
As an affiliate, we earn on qualifying purchases.
As an affiliate, we earn on qualifying purchases.
Joining Circles Together

With our individual circles assembled, we'll now connect them together to form the core structure of our DIY springtime garden sphere.
To achieve this, we'll utilize galvanized steel wire in 14 and 22 gauge for durability. We'll prepare our wire cutters and needle-nose pliers to cut and manipulate the wire, ensuring a secure connection between the circles.
As we assemble the circles, we'll create a unique design that will set our DIY garden globes apart from others. By joining the circles together, we'll form the foundation of our sphere, which will eventually become a stunning decorative piece for our outdoor space.
With the circles securely connected, we'll have a sturdy base to add additional features, such as horizontal wires, to create a truly one-of-a-kind design.
Adding Horizontal Wires
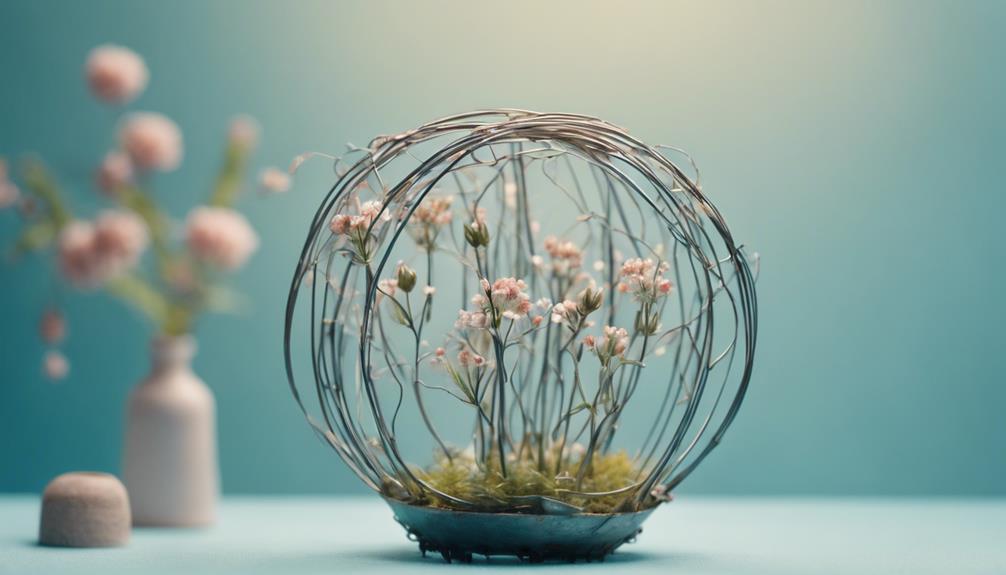
As we move forward, we'll weave horizontal wires through the vertical circles to create a more complex and visually appealing structure. By adding these horizontal wires, we'll not only enhance the overall appearance of our garden globe but also provide additional support to its shape.
This is particularly important for larger garden globes, as they can be prone to sagging or losing their shape over time. By positioning the horizontal wires at different heights, we can achieve unique designs and patterns within the globe structure. This level of customization allows us to create truly one-of-a-kind garden globes that reflect our personal style.
According to experts, 'horizontal wires can add stability and structure to DIY wire garden globes,' making them an essential component of our DIY project. With these wires in place, we'll be able to create a sturdy and visually stunning garden sphere that's perfect for showcasing our favorite springtime flowers and greenery.
Painting the Sphere Black
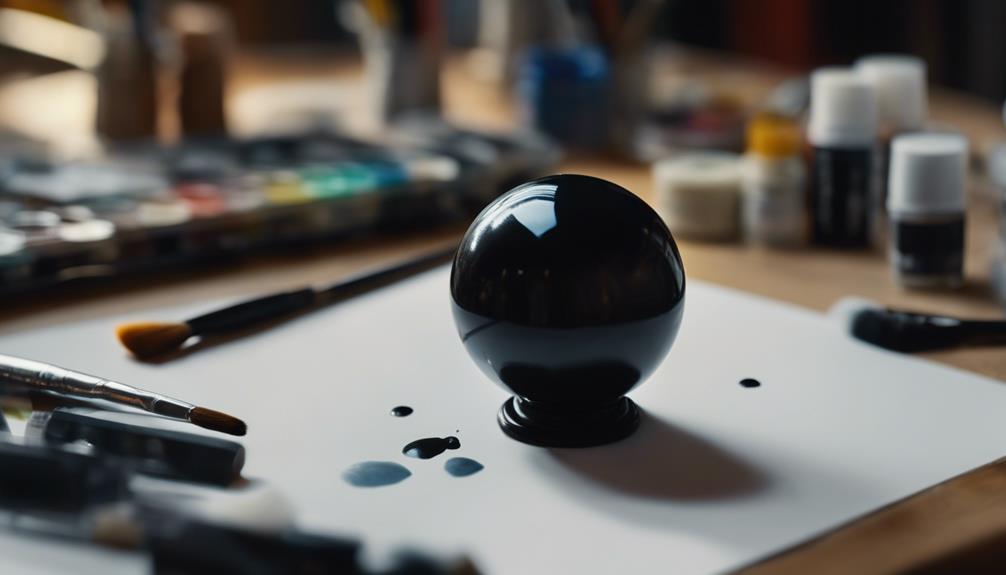
Now that we've added the necessary structure and support to our garden globe, we're ready to give it a sleek, modern makeover by painting it black. A fresh coat of black paint can transform our garden sphere into a stunning focal point in our outdoor space. As we paint, we'll be creating a striking contrast against the lush greenery and vibrant flowers that surround it.
| Benefits of Black Paint | Description |
|---|---|
| Visual Interest | Adds depth and visual interest to the overall garden design |
| Longevity | Guarantees the sphere's longevity with high-quality paint |
| Bold Statement | Makes a bold statement in the outdoor space |
| Contrast | Provides a striking contrast against greenery and colorful flowers |
Adding Decorative Accents
What kind of decorative accents will we wrap around our garden sphere to give it an extra layer of personality and visual flair? We're excited to explore the possibilities!
For a unique, personalized look, we can experiment with different materials wrapped around balloons to create one-of-a-kind decorative spheres. Twine, jute, yarn, fabric strips, or string are all great options for adding texture and interest to our garden spheres.
To guarantee a strong bond, we can use Mod Podge, a reliable adhesive commonly used in decorative ball-making. By applying a coat of Mod Podge, we can secure our chosen materials in place, creating a durable and weather-resistant finish.
As we wrap and shape our materials around the balloon mold, we'll start to see our garden sphere take shape. Once dry and hardened, we can pop the balloon and reveal our beautiful, one-of-a-kind decorative accent.
With a little creativity and experimentation, we can create a truly show-stopping garden sphere that reflects our personal style.
Personalizing Your Garden Sphere
We can take our garden sphere to the next level by incorporating unique designs, colors, and patterns that reflect our personal style and add an extra layer of personality to our outdoor decor.
When personalizing our garden sphere, we can experiment with different painting techniques such as stenciling, marbling, or ombré effects to create a one-of-a-kind piece.
Adding a personal touch can be as simple as incorporating mosaic tiles, glass beads, or decorative stones to give our sphere a distinct look.
We can also customize the size, shape, and materials of our garden sphere to reflect our personal style and creativity in our garden space.
Additionally, adding a personal monogram, symbol, or meaningful quote can make our garden sphere a meaningful and personalized piece of outdoor decor.
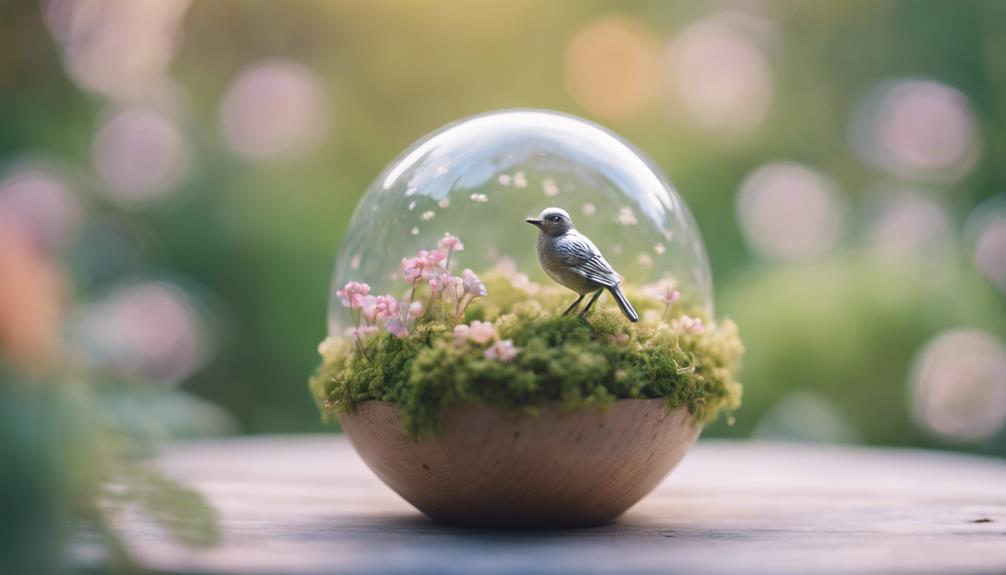
Hanging and Displaying
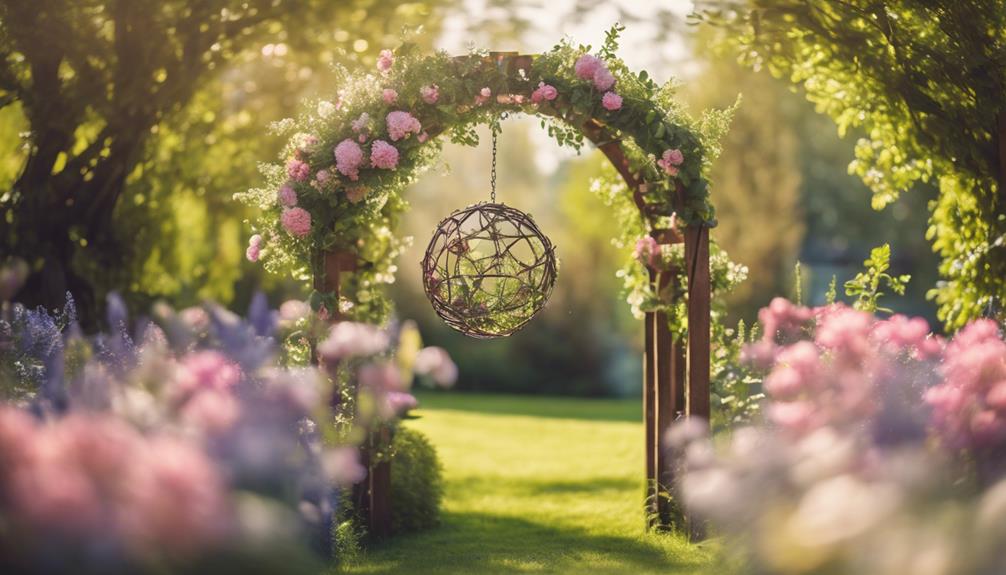
As we move on to the final touches of our DIY springtime garden sphere project, we're excited to explore the various options for hanging and displaying our creations.
From suspending them from trees or pergolas to clustering them together for a dramatic effect, we'll discuss the different ways to showcase our garden spheres and add visual interest to our outdoor spaces.
Sphere Display Options
Let's get creative with our garden sphere displays! As we near the completion of our DIY project, it's time to explore the various sphere display options that will bring our garden to life.
We've several display options to choose from, each offering a unique and whimsical display. For a dramatic effect, we can hang garden spheres from tree branches or pergolas, creating an eye-catching display that adds visual interest to our garden.
Alternatively, we can display garden spheres on decorative stands or pedestals for a stylish and elevated look. Another option is to arrange garden spheres in clusters on the ground or in planters, creating a dynamic and artistic display.
We can also use shepherd's hooks or stakes to place garden spheres at varying heights throughout our garden space. By experimenting with different heights and groupings, we can create visual interest and focal points in our garden design.
With these display options, the possibilities are endless, and we can't wait to see our garden spheres shine!
Sphere Hanging Ideas
Hanging garden spheres from tree branches or pergolas creates a charming, eye-catching display that adds a touch of enchantment to our outdoor spaces. We love experimenting with different hanging ideas to create a visually appealing display in our gardens or on our patios.
By grouping garden spheres together, we can create a stunning focal point that adds depth and interest to our outdoor spaces. To showcase our garden spheres at different heights, we can use shepherd's hooks or tall plant stands, adding a touch of elegance to our displays.
When hanging our garden spheres, we make sure to use strong and durable hooks or brackets to securely hold them in place. We also like to get creative with our hanging materials, using chains, ropes, or decorative ribbons to add a unique touch to our garden spheres.
Frequently Asked Questions
How to Make a Garden Orb?
We're excited to create our own garden orb! To get started, we'll gather materials like wire, concrete, or marbles, then follow tutorials and guides for step-by-step instructions on crafting a beautiful DIY garden orb.
How to Make a Concrete Globe?
"We ditched the expensive store-bought orbs and opted for a DIY approach, crafting our own concrete globes using cement, peat moss, and water – a budget-friendly, customizable alternative that's uniquely ours."
How to Make a Sphere Using Wire?
We're excited to create a sphere using wire! To start, we'll determine the desired size and cut the wire accordingly, then assemble circles and join them together with horizontal wires to form a beautiful sphere.
Conclusion
As we step back to admire our handiwork, we can't help but feel an overwhelming sense of pride and accomplishment – it's as if we've created a miniature masterpiece that's a million times more breathtaking than a store-bought decoration!
With our DIY springtime garden sphere, we've brought a touch of whimsy and wonder to our outdoor space, and the best part? It's uniquely ours, a true reflection of our personal style and creativity.