To create a stunning navy blue shiplap accent wall, start by preparing your wall surface, ensuring it's clean, smooth, and free of imperfections. Next, measure and cut your shiplap boards, factoring in obstacles and desired spacing. Arrange your boards for a unique design, then secure them to the wall using a finishing nail gun or brad nailer. Fill any holes and finish the edges, followed by applying a navy blue paint finish. Finally, add trimwork and finishing touches to elevate the visual appeal of your accent wall. As you complete these 7 steps, you'll be one step closer to a modern, dramatic focal point that transforms any room.
Key Takeaways
• Prepare the wall by ensuring cleanliness, smoothness, and filling any holes or cracks to create a stable surface for the shiplap.
• Measure and cut the shiplap boards accurately, considering obstacles like outlets or switches, and factor in desired spacing between boards.
• Arrange the shiplap boards in a design that suits your style, exploring pattern, angle, and offset options for a unique look.
• Securely attach the shiplap boards using a finishing nail gun or brad nailer, locating and nailing into wall studs for structural stability.
• Finish the accent wall with a navy blue paint job, applying even coats and allowing each coat to dry before adding the next for a stunning focal point.
Prepare the Wall Surface
Before you start installing your navy blue shiplap, make sure to give your wall surface a thorough once-over to confirm it's clean, smooth, and free of imperfections.
Take the time to inspect the wall for any rough areas, holes, or cracks that could compromise the shiplap's adhesion. Sand down any rough spots and fill in holes or cracks to create a seamless base for the shiplap.
Remove any existing trim or molding that may interfere with the installation process. Using a stud finder, locate and mark the studs on the wall, ensuring a secure attachment of the shiplap boards.
Failing to prepare the wall surface properly can lead to a less-than-professional finish, so take your time to get it right.
By taking these essential steps, you'll be rewarded with a stunning navy blue shiplap accent wall that exudes sophistication and style.
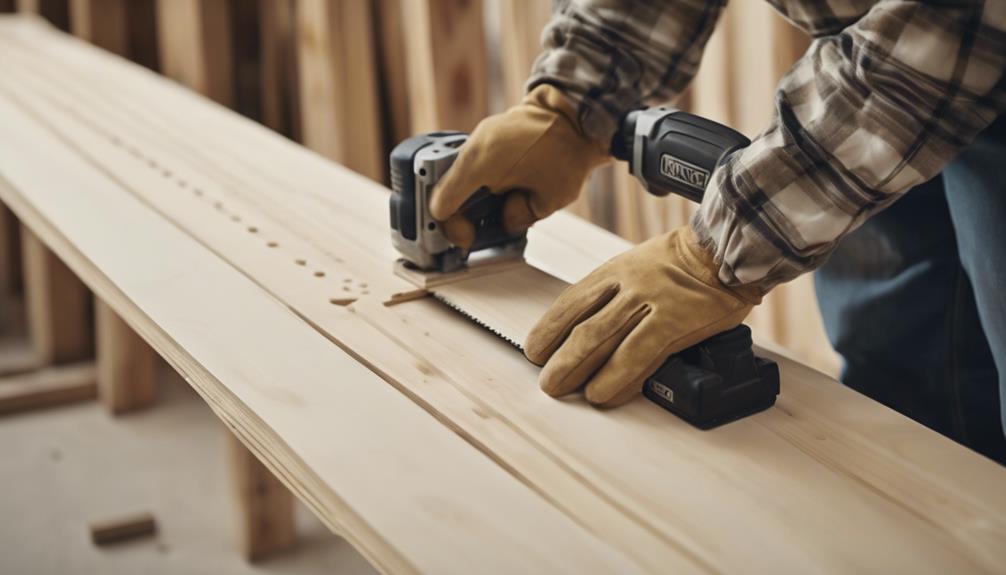
Measure and Cut Shiplap Boards
Measure the wall's height and width accurately to determine the required shiplap board lengths, taking into account any obstacles like outlets or switches that may affect the measurements. You don't want to end up with boards that are too short or too long, wasting time and resources. Take your time to get it right, and double-check your measurements before making the cuts.
| Measurement | Tool | Purpose |
|---|---|---|
| Height and width | Tape measure | Determine shiplap board lengths |
| Obstacles | Pencil and marker | Mark areas to cut around outlets/switches |
| Board spacing | Calculator | Calculate uniform spacing between boards |
| Cut lines | Pencil | Mark cut lines on shiplap boards |
| Precision cuts | Miter saw | Make precise cuts for seamless joints |
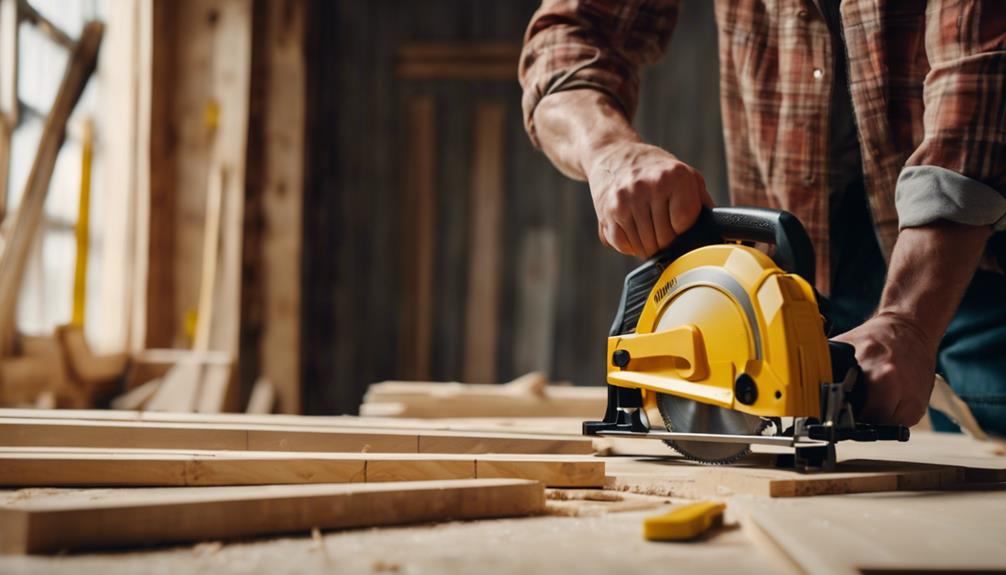
Use a miter saw to make precise cuts, ensuring the boards fit together seamlessly. Factor in the desired spacing between boards when cutting to maintain a uniform look. Remember to account for any obstacles like outlets or switches when measuring and cutting the shiplap boards. With accurate measurements and precise cuts, you'll be one step closer to creating a stunning navy blue shiplap accent wall.
Arrange Boards for Design
As you arrange your shiplap boards, you'll have several design options to explore, including the pattern, angle, and offset of the boards.
You can choose a symmetrical or randomized layout, depending on the look you're aiming for, and experiment with different angles and offsets to create visual interest.
Board Pattern Options
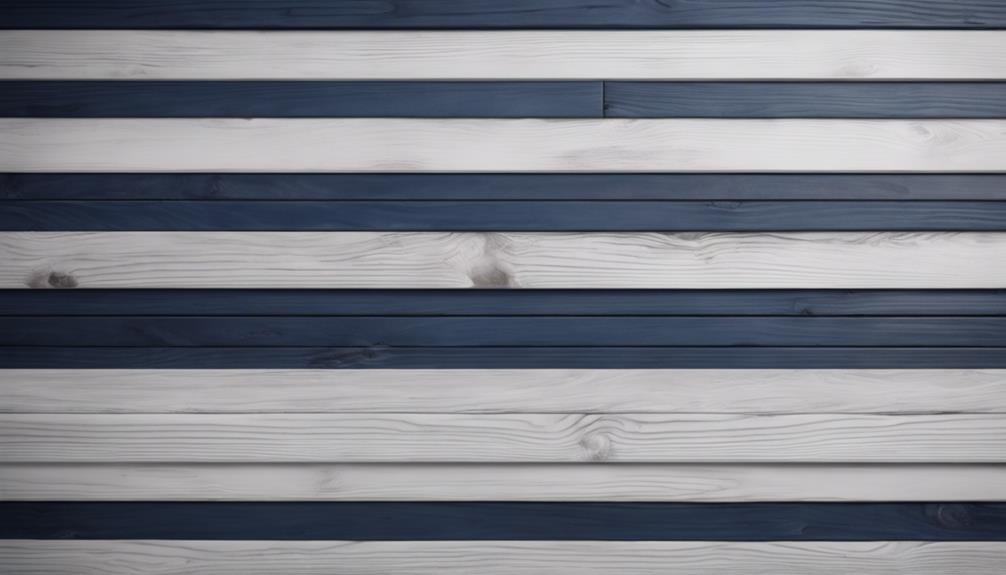
Get creative with your shiplap design by arranging boards in a pattern that reflects your personal style, from classic horizontal or vertical layouts to modern chevron or herringbone designs. You can choose a traditional look or add some visual interest with unique board placements.
Some popular board pattern options to explore are:
- Alternating board widths to create texture and visual interest
- Diagonal or angled board placements for a dynamic element
- Experimenting with different board spacing for a customized look
Angle and Offset
To take your navy blue shiplap accent wall to the next level, you can angle and offset the boards to create a unique and visually appealing design that builds on the pattern options you've chosen. By angling the shiplap boards at 45 degrees, you'll add a fresh twist to your design.
Additionally, offsetting each row of boards will create a staggered pattern that adds depth and dimension to the wall. To take it a step further, alternate the offset between rows to create a visually appealing design that draws the eye.
Experiment with different offset distances to customize the look to your taste. The angle and offset technique can enhance the overall aesthetic of the navy blue shiplap accent wall, making it a standout feature in any room.
Randomized or Symmetrical
When arranging the boards for your navy blue shiplap accent wall, you can choose between a randomized or symmetrical design, each offering a unique aesthetic that can dramatically impact the overall look and feel of the room.
To create a truly personalized design, consider the overall mood and atmosphere you want to achieve in the space. For a more eclectic and unique look, consider randomizing the board placement, which adds a touch of whimsy and character to the room's decor.
On the other hand, symmetrical board arrangement creates a balanced and structured design, ideal for a modern aesthetic.
Here are some key considerations to keep in mind:
- Randomized boards offer a more relaxed, casual feel, perfect for a cozy living room or bedroom.
- Symmetrical placement provides a clean and organized appearance, ideal for a modern, minimalist space.
- Experimenting with different board arrangements allows you to find the perfect balance between randomness and symmetry for your navy blue shiplap accent wall.
Attach Shiplap Boards Securely
With your wall preparation complete, now you're ready to attach the shiplap boards securely to create a stunning accent wall.
To ensure a professional-looking finish, you'll need to attach the boards securely to the wall. Use a finishing nail gun or brad nailer to do the job efficiently.
Before you start nailing, make sure to mark and locate the wall studs. Nailing into these studs provides structural stability and prevents the boards from loosening over time. This step is vital for a long-lasting attachment.
Consider using construction adhesive in addition to nails, especially if the studs are limited. This extra reinforcement will give you peace of mind, knowing your accent wall will remain secure.
By properly securing your shiplap boards, you'll achieve a polished finish that will elevate the entire room. Take your time, and make sure each board is securely attached before moving on to the next step.
Fill Holes and Finish Edges
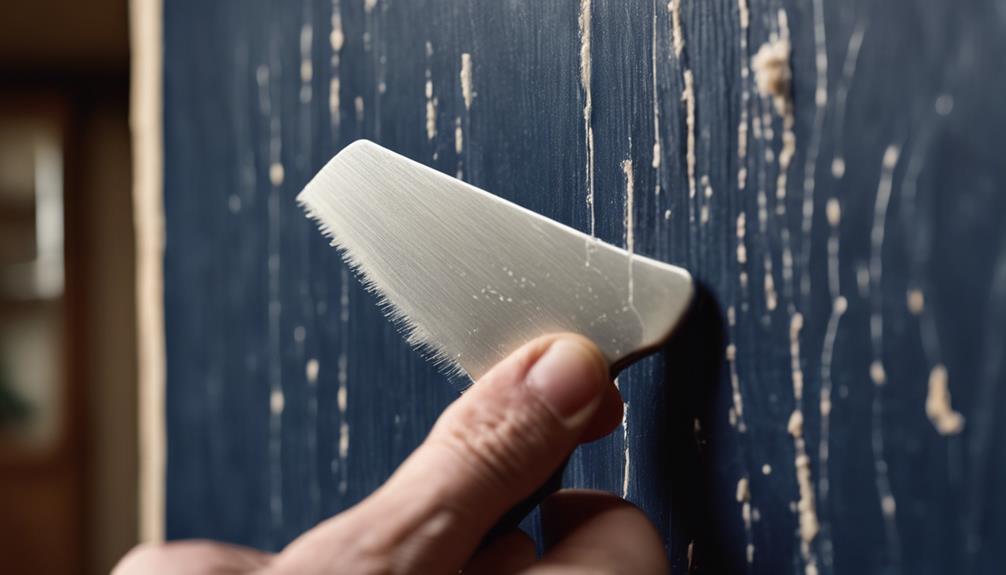
You'll need to fill the nail holes and seams in the shiplap boards to achieve a seamless finish. This step is essential in creating a polished and cohesive look for your navy blue accent wall. To fill the holes, use a spackling paste and apply it to the nail holes and seams. Make sure to fill them completely, but avoid overfilling, as it can create a bump.
Here are some key points to keep in mind:
- Use a putty knife to fill the holes and seams, and smooth out the surface as much as possible.
- Let the spackling paste dry completely before sanding it down to a smooth finish.
- Pay attention to detail when filling holes to achieve a professional look in your shiplap accent wall.
After filling the holes, move on to finishing the edges of the shiplap boards. This will enhance the overall appearance of your navy blue accent wall. By properly filling holes and finishing edges, you'll achieve a stunning and cohesive look that will elevate the design of your room.
Paint With Navy Blue Finish
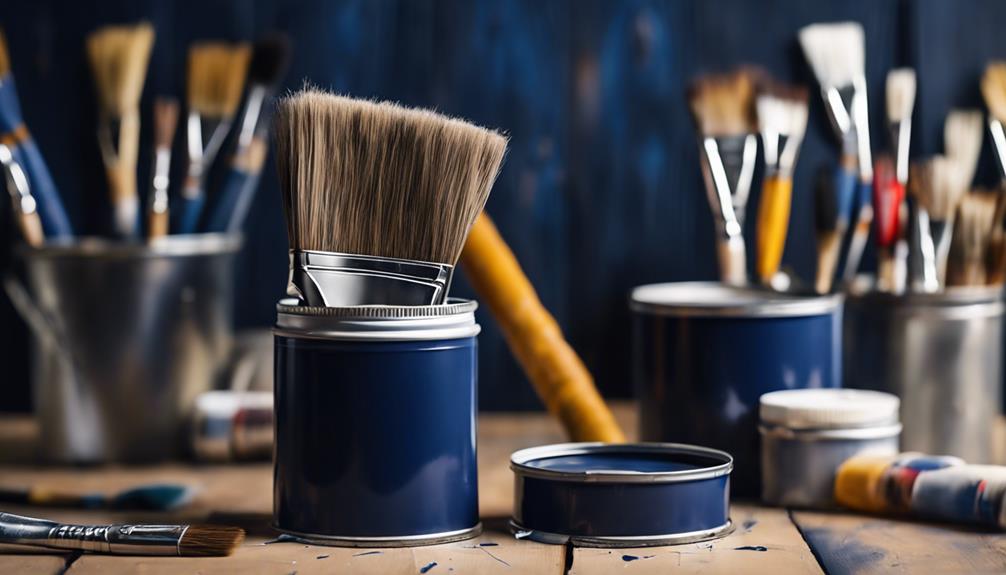
Now that your shiplap boards are perfectly prepared, it's time to bring out the bold, dramatic beauty of navy blue paint. This is where the magic happens, and your accent wall starts to take shape.
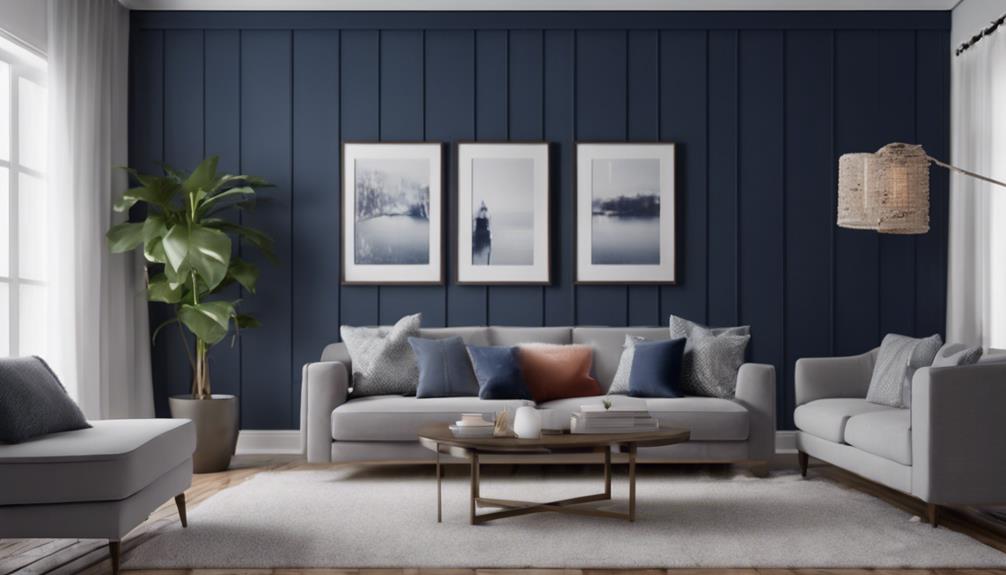
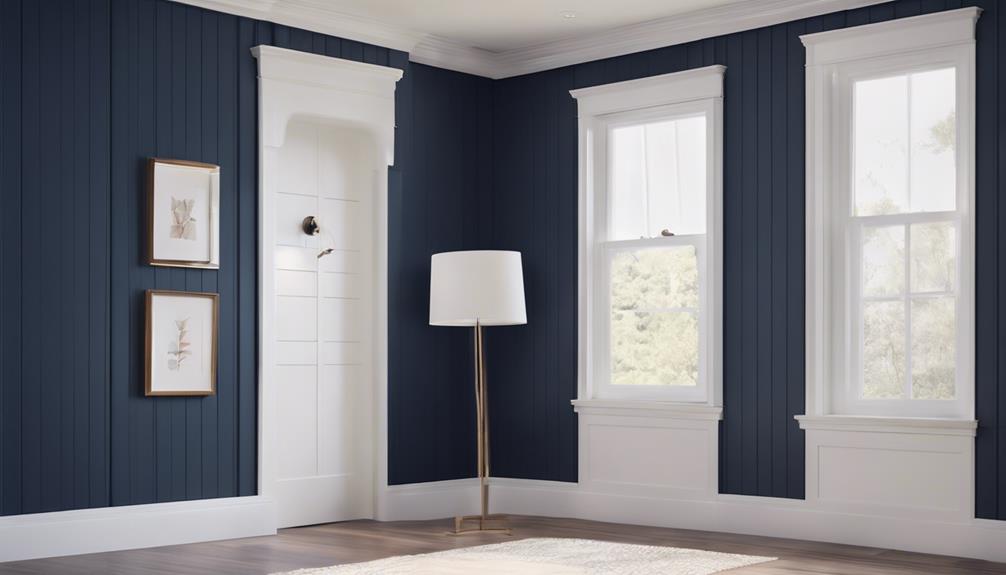
As you apply the navy blue finish, you'll notice how it adds a bold and dramatic touch to the shiplap, creating a stunning contrast with the white or natural wood tones. The deep hue will create a moody and modern atmosphere in the room, perfect for making a statement.
When choosing your paint, consider a satin or matte finish for a sophisticated look. This will help to minimize sheen and emphasize the navy blue color.
As you work, remember that the navy blue shiplap wall will serve as a stunning focal point in any space, drawing the eye and commanding attention. Take your time, and make sure to apply the paint evenly, allowing each coat to dry before adding the next.
With patience and care, you'll be rewarded with a truly show-stopping accent wall that adds depth and drama to any room.
Add Trimwork and Finishing Touches
As you put the finishing touches on your navy blue shiplap accent wall, adding trimwork is the perfect way to elevate its visual appeal and create a polished, professional-looking finish. This is where you get to incorporate the extra details that make your wall truly stand out.
Trimwork can make a huge difference in the overall look of your accent wall. Here are a few things to take into account:
- Choose a trim style that complements the style of your room, whether it's modern, farmhouse, or coastal.
- Use trim to cover any gaps or imperfections between the shiplap panels for a seamless look.
- Don't be afraid to get creative with your trimwork – it's a great way to inject some personality into your space.
Frequently Asked Questions
How to DIY Shiplap Accent Wall?
To DIY a shiplap accent wall, you'll need to measure and mark the wall accurately, then cut plywood boards to the right lengths.
Securely attach them to the wall studs using a nail gun, starting from the bottom and working up.
Don't forget to use spacers between boards for a consistent gap.
Finally, fill nail holes with spackling paste, sand, and paint for a polished finish.
With these steps, you'll be on your way to creating a stunning shiplap accent wall that adds visual interest to any room.
How Do You Start the First Row in Shiplap?
When starting the first row of shiplap, you'll want to align the top edge with the ceiling or starting point of the wall. Use a level to make sure it's straight, and mark the stud locations for nailing.
Begin nailing at the studs, securing each board firmly. Don't forget to use spacers to maintain a consistent gap width between boards for a professional finish.
Is Shiplap Still in Style in 2024?
As you're considering incorporating shiplap into your design, you're probably wondering: is shiplap still in style in 2024?
Coincidentally, shiplap's timeless appeal has managed to transcend fleeting trends, remaining a sought-after design element. Its versatility and ability to add warmth, character, and rustic elegance to modern interiors have solidified its status as a classic design choice.
In 2024, shiplap continues to be a popular and stylish option for creating accent walls and adding texture to rooms.
How to Make Shiplap Look Modern?
You're wondering how to make shiplap look modern. Start by incorporating sleek, dark colors like navy blue, which provide a modern contrast to traditional shiplap. Opt for a matte or satin finish paint to add a contemporary touch.
Clean lines, minimalistic decor, and asymmetrical patterns can also give your shiplap a modern twist. Don't be afraid to mix in contrasting elements like metallic accents or bold artwork to create a unique, modern shiplap aesthetic.
Conclusion
As you step back to admire your handiwork, the navy blue shiplap accent wall rises like a majestic wave, its rhythmic boards echoing the ebb and flow of the ocean's tide.
The rich, dark hue envelops the room, casting a sophisticated ambiance that's both calming and dramatic.
Your DIY masterpiece is now the focal point of the space, drawing all eyes like a siren's call.
Stand proud, for you've successfully navigated the 7-step journey to create a showstopping feature wall that's sure to impress.