To create a stunning DIY navy shiplap wall, you'll need to tackle a few essential steps, starting with locating and marking wall studs, an important coincidence of 16-inch spacing that will greatly simplify your installation process. Next, cut and level your shiplap planks, ensuring a precise fit along your wall. Then, nail and secure the planks using a pneumatic nail gun and construction adhesive. Sand the wall to smooth out rough edges, apply primer and paint, and finally, install baseboards and trim pieces for a polished finish. As you proceed, you'll uncover the intricacies of bringing your navy shiplap vision to life.
Key Takeaways
• Locate wall studs 16 inches apart to ensure a sturdy installation and prevent unnecessary nail holes.
• Cut and level shiplap planks according to wall measurements, smoothing out cut edges with sandpaper.
• Nail planks onto studs using a pneumatic nail gun and construction adhesive for added strength.
• Sand the wall to smooth out rough edges, then apply primer and multiple coats of navy paint for a bold look.
• Reinstall or add baseboards, trim pieces, and proper lighting to conceal gaps and highlight the finished wall.
As an affiliate, we earn on qualifying purchases.
Locating and Marking Wall Studs
To guarantee a secure attachment of your shiplap planks, start by locating the wall studs, which are typically spaced 16 inches apart in most walls. This is important, as studs serve as the anchor points for nailing the shiplap planks in place, ensuring a sturdy and durable installation.
To locate these studs, use a stud finder, a handy tool that makes it easy to detect the studs behind your wall. Once you've found the studs, mark them with tall vertical lines from floor to ceiling for reference. This will give you a clear visual guide as you begin installing your shiplap planks.
When nailing the planks, make sure to hit the studs to avoid creating unnecessary nail holes in your wall. By taking the time to locate and mark your wall studs, you'll ensure a professional-looking finish and prevent potential problems down the line.
Cutting and Leveling Shiplap Planks

Now that you've marked the wall studs, you're ready to start cutting and leveling your shiplap planks to fit your wall's unique dimensions. To guarantee a seamless look, measure the entire wall to avoid ending up with small cuts at the ceiling. Cut and level the first piece of shiplap according to the wall measurements to ensure precise fitting.
Here's a breakdown of the cutting and leveling process:
| Step | Tool | Action |
|---|---|---|
| 1 | Tape measure | Measure wall dimensions |
| 2 | Jigsaw | Cut shiplap planks to fit wall dimensions |
| 3 | Level | Level shiplap planks for a straight fit |
| 4 | Pencil | Mark cut lines on shiplap planks |
| 5 | Sandpaper | Smooth out cut edges |
Remember to maintain consistent spacing between shiplap planks to achieve a uniform and professional appearance on the wall. You'll be using a nail gun to secure the planks in the next step, so make sure they're properly aligned and fitted.
Nailing and Securing Planks

With your shiplap planks cut and leveled, you're ready to secure them to the wall using a pneumatic nail gun, which provides the necessary holding power to keep your DIY navy shiplap wall looking great for years to come.
As you start nailing, remember to use nails specifically designed for fastening planks onto studs, guaranteeing stability and preventing the planks from shifting over time. For added strength and durability, apply construction adhesive along with the nails. It's crucial to maintain proper spacing between nails to prevent splitting or damage to the planks.
Here are some key tips to keep in mind:
- Use a pneumatic nail gun to securely attach shiplap planks to the wall.
- Apply construction adhesive along with nails for added strength and durability.
- Ensure proper spacing between nails to prevent splitting or damage to the planks.
- Utilize spacers to maintain consistent gap width between rows for a professional finish.
- When adding a trim piece, choose a neutral tone that complements your shiplap feature wall, creating a cohesive look.
Sanding and Painting the Wall
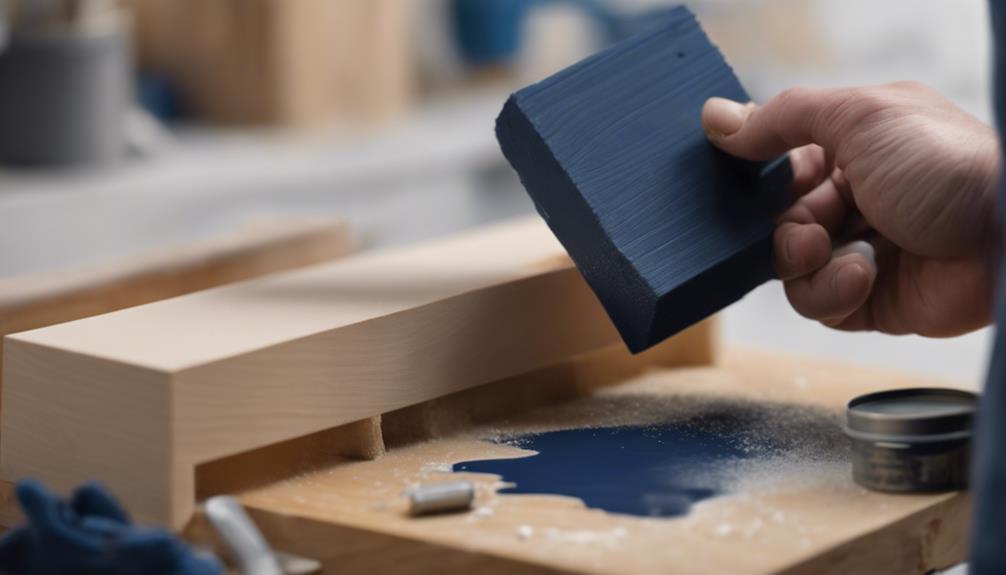
After securing your shiplap planks, you'll want to smooth out any rough edges or imperfections by sanding the wall, guaranteeing a professional finish. Use fine-grit sandpaper to achieve a smooth surface that's ready for painting.
Sanding is an important step, as it removes any imperfections, creating a surface that's ideal for painting.
Next, apply a primer to the wall, which is essential for proper adhesion and coverage of the paint. A good primer will help make sure that your navy paint adheres evenly and lasts longer.
Once the primer is dry, you can start painting. For a bold and dramatic look, apply multiple coats of navy paint to your accent wall. Consider using a satin or semi-gloss finish, which not only looks great but is also easy to maintain.
With these steps, you'll be well on your way to creating a stunning navy shiplap wall that adds depth and character to any room.
Installing Baseboards and Finishing Touches
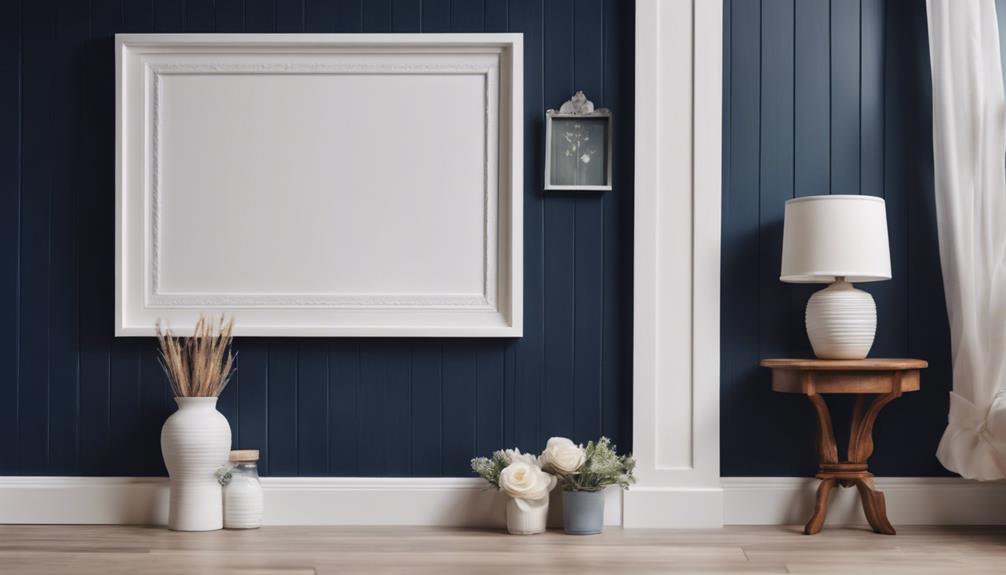
You'll complete the look of your navy shiplap wall by reinstalling or adding baseboards to conceal any gaps between the planks and the floor. This step is important in achieving a polished, professional finish in your living room or any other room where you've installed the shiplap wall.
To guarantee a seamless look, use a finishing nail gun and construction adhesive to secure the baseboards to the wall. Consider painting the baseboards the same color as the shiplap wall for a cohesive finish.
Here are some additional tips to keep in mind:
- Trim pieces can be added to the top of the shiplap wall for a more finished and structured appearance.
- Pay attention to detail when finishing the edges of the shiplap wall to ensure a professional and complete look.
- Add decorative trim or molding to cover any gaps or seams for a flawless finish.
- Make sure the entire wall is well-lit to highlight the beauty of your DIY project.
- Don't forget to add those final finishing touches to complete the transformation of your room.
Frequently Asked Questions
Is It Cheaper to Make Your Own Shiplap?
When considering shiplap, you might wonder: is it cheaper to make your own?
The answer is yes, making your own shiplap can be more cost-effective, especially if you already have the necessary tools and materials. By cutting and installing the shiplap yourself, you can save on customization fees and guarantee a unique look that suits your preferences.
Additionally, you'll have control over the quality of materials used, which can lead to a more affordable and personalized result.
Can I Make My Own Shiplap?
As you envision the rustic charm of shiplap adorning your walls, you wonder: can I make my own shiplap? Absolutely!
With a table saw and compound miter saw, you can precision-cut plywood into planks tailored to your desired width. By doing so, you'll not only save money but also enjoy the satisfaction of customizing your space to your unique taste.
What Is the New Trend Instead of Shiplap?
As you move on from shiplap, you'll notice alternative design trends emerging. Vertical paneling, like board and batten or beadboard, is gaining popularity.
For a sleeker look, tongue and groove wall paneling is a modern alternative. If you're feeling bold, chevron or herringbone wood patterns offer a unique twist.
If you're looking for something entirely different, textured wall coverings or faux wood/brick wallpaper can provide a fresh, contemporary vibe.
Is There Faux Shiplap?
You're wondering if there's a more affordable and easier-to-install alternative to traditional shiplap.
The answer is yes, there's faux shiplap!
For instance, consider a homeowner who wants to add a rustic touch to their living room without breaking the bank.
Faux shiplap, made from materials like MDF or PVC, offers a cost-effective solution.
It's lightweight, easy to install, and comes in various finishes, mimicking the look of real wood shiplap at a fraction of the cost.
Conclusion
You've managed to create a stunning DIY navy shiplap wall, and it's a far cry from the bland, white walls you once had.
Ironically, the most tedious part – locating and marking wall studs – was the key to a successful project.
But now, as you step back to admire your handiwork, you realize that the real challenge lies ahead: resisting the urge to shiplap every wall in your house.