
To create a stunning painted brick accent wall in 7 steps, start by preparing your wall surface by cleaning, inspecting for cracks, and sanding rough areas. Next, apply stucco repair for depth and texture, followed by joint compound to create realistic brick texture and defined grout lines. Install faux brick tiles from the center outward, maintaining consistent gaps and ensuring straightness with a level. Finish with layers of paint and a sealant, inspecting for imperfections and making touch-ups along the way. With these steps, you'll be just a few hours away from a stunning accent wall that elevates your room's style and character. Now, get ready to transform your space with a beautiful, one-of-a-kind feature wall.
Key Takeaways
• Clean and prepare the wall for painting by inspecting for cracks, holes, and imperfections, and sanding rough areas for a smooth surface.
• Create texture and depth on the wall using joint compound and dry brushing with a stiff-bristled brush to achieve a realistic brick appearance.
• Apply faux brick tiles from the center of the wall outward to achieve a balanced and visually appealing look.
• Enhance the grout lines to add depth and definition to the brick pattern, creating a textured and realistic appearance.
• Apply a clear or matte sealant to protect the wall, enhance its longevity, and make maintenance easier.

TORURAL 100 Vintage Brown/Red Faux Brick Wall Tiles, 3D Thin Brick Veneers for Bedroom, Bathroom, Kitchen, Fireplace and Fence Wall Panels (14.2 sq ft)
One box contains 100 cost-effective thin brick veneers, covers 14.2 sq. ft. Each piece is 2.36-in width x…
As an affiliate, we earn on qualifying purchases.
As an affiliate, we earn on qualifying purchases.
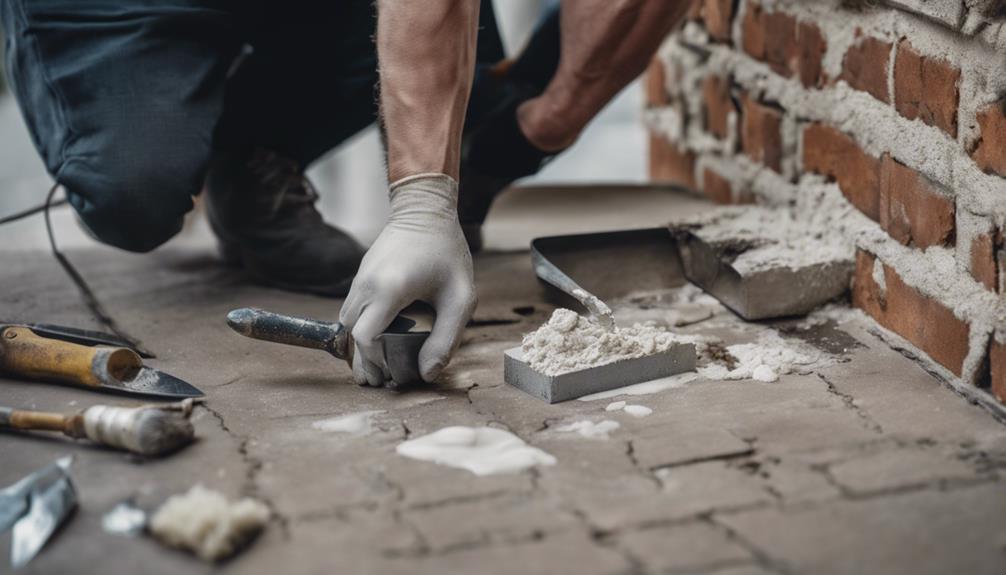
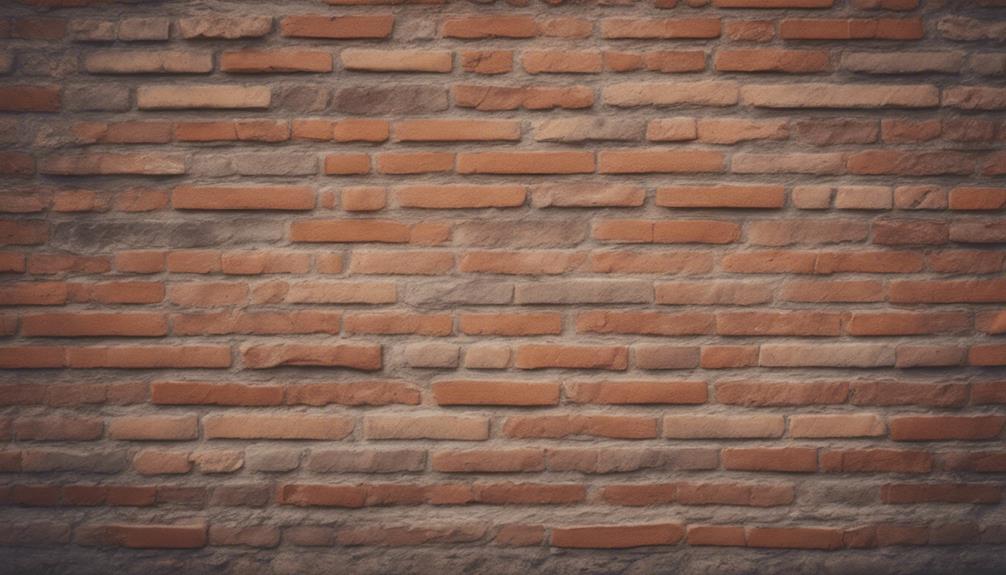
Prepare the Wall Surface
Before you can harness your creativity on that brick accent wall, give the surface a thorough cleaning to remove dirt, dust, and debris that can interfere with paint adhesion. This important step guarantees a strong bond between the paint and the wall, resulting in a long-lasting and stunning finish.
Use a gentle cleaning solution and a soft-bristled brush to scrub away any dirt or grime, working from the top of the wall down to prevent streaks and marks. Once clean, inspect the wall for any cracks, holes, or imperfections that need to be filled with spackling or caulk.
Sand down rough areas to create a smooth and even surface, perfect for painting. A well-prepared wall is essential for a professional-looking finish, so take your time and don't rush this step. By doing so, you'll set yourself up for success and ensure your paint job turns out beautifully.

Transparent Waterproof Coating, TUFINEIN 35oz Invisible Waterproof Agent Indoor & Outdoor Sealant Water-Based Clear Sealant Roofs, Walls, Garden, Terraces
Highly Effective Waterproofing and Anti-Leakage: Clear waterproof sealant is a water-based coating, waterproof coating cures to form a…
As an affiliate, we earn on qualifying purchases.
As an affiliate, we earn on qualifying purchases.
Apply Stucco Repair
With your wall surface now clean and smooth, you can start adding texture and depth to your faux brick wall by applying stucco repair. This pre-mixed material is specifically designed to create a realistic brick-like surface, allowing you to achieve a stunning faux brick accent wall.
Using a putty knife, apply the stucco repair to fill in grout lines and irregularities, defining individual bricks and enhancing the overall texture of your wall. You can layer and manipulate the material to achieve the desired appearance, camouflaging seams and creating a cohesive finish.
As you work, keep in mind that stucco repair is a versatile tool that can be used to enhance the brick texture, hiding any imperfections and creating a beautifully textured surface. By applying stucco repair, you'll be one step closer to achieving a stunning painted brick accent wall that adds visual interest to any room.

DAP Wallboard Joint Compound, White, 12 Lbs (7079810102)
Joint compound for interior surfaces provides a smooth, high quality finishing of gypsum panel joints
As an affiliate, we earn on qualifying purchases.
As an affiliate, we earn on qualifying purchases.
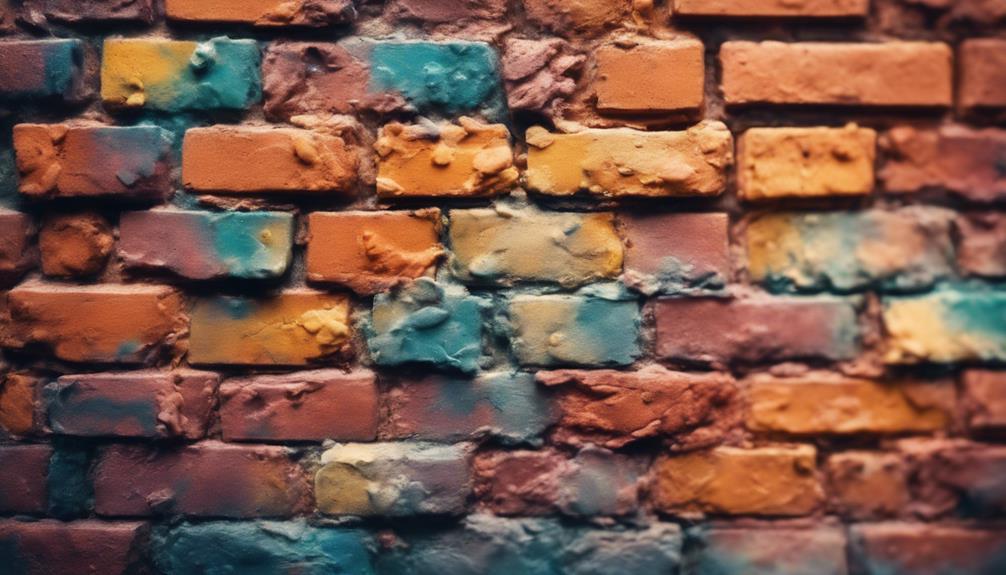
Create Brick Texture
To create a textured finish resembling real brick, you'll use joint compound to add depth and visual interest to your wall. This faux brick technique will give your accent wall a realistic, dimensional look. Apply the compound evenly over the taped-off brick areas, making sure to spread it thoroughly with a spatula to cover each brick completely.
Don't worry if it gets a bit messy – the compound drying process will create a more realistic texture. Guarantee full coverage to obscure the tape outlines effectively, and you'll be left with a brick-like texture that's both convincing and visually appealing.
For an added layer of realism, try dry brushing the compound with a stiff-bristled brush to create subtle texture variations. This step may take some patience, but the end result will be well worth the effort.
With your textured brick finish in place, you'll be ready to move on to the next step in creating your stunning painted brick accent wall.

3M Drywall Sanding Sponge, Fine/Medium Grits, Dual Grit Block, Medium Grit to Remove, Fine Grit to Smooth, Ideal for Sanding and Smoothing of Joint Compounds, 2-5/8 in x 3-3/4 in (9095DC-NA)
IDEAL FOR MODERATE SANDING AND SMOOTHING of joint compounds
As an affiliate, we earn on qualifying purchases.
As an affiliate, we earn on qualifying purchases.
Add Grout Lines
You've achieved a textured, brick-like finish, and now it's time to add grout lines between the faux bricks to further enhance the realistic look of your painted brick accent wall. This step is important in creating a convincing faux brick wall, as grout lines add depth and definition to the overall design.
To create grout lines, simply run a tool or your finger along the edges of the bricks, creating a subtle groove between each brick. This will help separate each brick visually, creating a more textured appearance. Be precise and consistent in adding the grout lines, as this will elevate the overall aesthetic of your painted brick accent wall.
Install Faux Brick Tiles
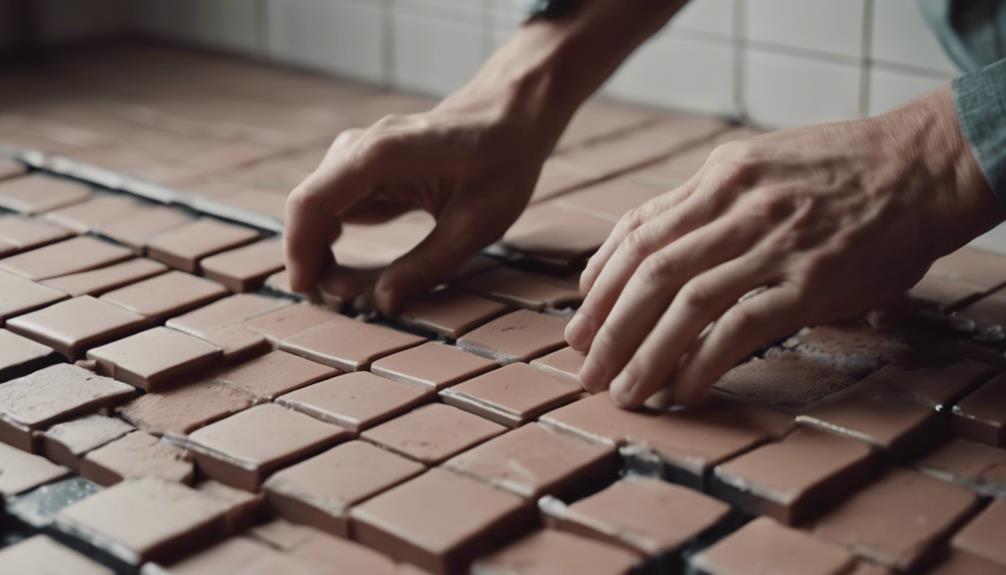
Several faux brick tiles will be needed to cover the entire accent wall, and you'll want to start installing them from the center of the wall, working your way outward to guarantee a balanced look.
For a budget-friendly option, consider using peel and stick faux wood kitchen backsplash tiles from Dollar Tree.
As you begin your DIY project, make sure to clean the wall thoroughly before applying the tiles. Use a brush to remove any dirt or debris that might interfere with the adhesive.
Once you've applied the tiles, use a level to confirm they're straight and even. As you work your way outward from the center, use a spacer to maintain consistent gaps between the tiles.
Remember to leave a small gap around the edges of the wall for caulking, which will help create a seamless look.
With patience and attention to detail, you'll be well on your way to creating a stunning painted brick accent wall that's sure to impress.
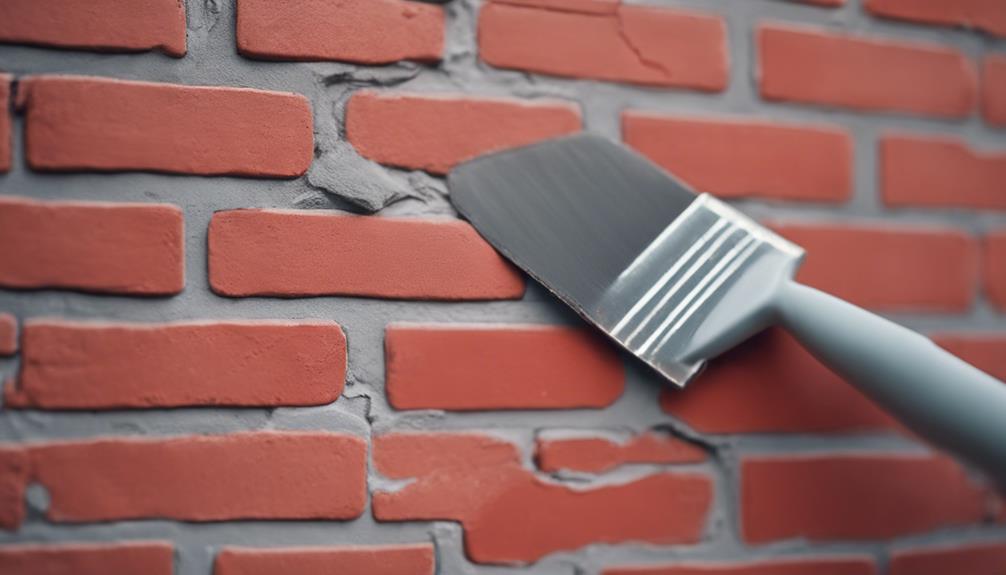
Add Layers of Paint
With your faux brick tiles in place, it's time to transform them into a realistic brick wall by building up layers of paint that evoke the texture and character of aged brick.
You'll want to start with a base coat of paint, covering the entire surface of your wall. From there, you can begin layering on additional coats, experimenting with different shades and techniques to achieve the desired look. Consider using varying shades of the same color or different colors for a unique and visually interesting effect.
Try dry brushing or sponging to create a weathered or aged brick effect with multiple layers. Don't be afraid to mix and match different paint finishes, like matte, satin, or gloss, to enhance the overall look and feel of your painted brick wall.
Finish With a Sealant
As you near the completion of your painted brick accent wall, it's time to think about adding a layer of protection and enhancement with a sealant.
You'll have several options to choose from, but before making a decision, you'll want to take into account factors like the wall's location and the level of wear and tear it'll face.
Next, you'll need to apply the sealant correctly and allow it to dry according to the manufacturer's instructions, followed by a thorough inspection to make sure a flawless finish.
Sealant Options Available
You have three main sealant options to choose from to finish your painted brick accent wall: clear acrylic sealers, polyurethane sealers, and masonry sealers.
Each of these sealant options serves a unique purpose, and understanding their differences is important to maintaining the beauty and longevity of your wall.
Clear acrylic sealers provide a protective finish without altering the color of the painted brick, making them an excellent choice if you want to preserve the original color.
Polyurethane sealers, on the other hand, offer a durable, glossy finish that enhances the appearance of the painted brick, giving it a more vibrant look.
Masonry sealers are specifically designed for brick surfaces, providing protection against moisture and UV damage.
When creating a faux brick accent wall, choosing the right sealant is essential to ensure the wall remains stunning and durable.
Applying the Sealant
Now that you've chosen the perfect sealant for your painted brick accent wall, it's time to apply it correctly to guarantee a beautiful, long-lasting finish. Remember, a quality sealant is essential to protect the painted brick surface from moisture, stains, and wear over time. It enhances the durability and longevity of the painted brick accent wall, making it an important step in the process.
When applying the sealant, follow the paint manufacturer's recommendations for best results. Be sure to choose a clear or matte sealant to maintain the natural look of the painted bricks. This will ensure that the sealant doesn't alter the appearance of your beautiful accent wall.
The sealant provides a protective barrier that makes cleaning and maintenance of the painted brick wall easier. By applying the sealant correctly, you'll be able to enjoy your stunning painted brick accent wall for years to come.
Take your time, and don't rush through this step – a well-applied sealant is vital to the overall success of your project.
Drying and Inspection
Before applying the sealant, thoroughly inspect your painted brick accent wall for any imperfections or areas that may need touch-ups. Make sure to inspect the wall carefully, paying attention to the entire surface area. This is your chance to catch any mistakes or areas where the paint may be uneven.
Allow the painted brick accent wall to dry completely for at least 24 hours before sealing.
Choose a clear matte or satin sealant to protect the painted surface without altering the finish.
Apply the sealant evenly using a brush or roller to guarantee complete coverage over the entire wall.
After inspection, if you find any imperfections, now is the time to address them. Make any necessary touch-ups before moving forward. Remember, the sealant will lock in the paint, so it's crucial to get it right before applying the sealant. Once you're satisfied with the wall's appearance, you can proceed with applying the sealant according to the manufacturer's instructions.
Frequently Asked Questions
How to Paint a Brick Accent?
When you choose to paint a brick accent, make sure to clean the surface thoroughly to guarantee proper paint adhesion.
Next, use a high-quality primer specifically designed for brick surfaces to enhance durability.
Opt for a breathable paint to prevent moisture buildup, and consider using a paint sprayer for even coverage.
Apply multiple thin coats for a smooth finish, and you'll achieve a stunning painted brick accent that adds character to any room.
How to Create a Brick Wall Effect With Paint?
You're looking to create a brick wall effect with paint, and you're wondering where to start.
Imagine transforming a plain wall into a textured, rustic masterpiece.
To achieve this look, you'll need to use a combination of techniques and materials, such as applying joint compound to mimic the texture of brick, and then painting over it with a color that complements your space.
How to Build a Brick Wall Step by Step?
You're looking to build a brick wall from scratch, and you want to know the step-by-step process.
First, prepare a solid foundation, guaranteeing a level and even base.
Next, lay the bricks in a pattern, applying mortar between them for stability.
Level each brick carefully to guarantee uniformity.
Allow the mortar to set, then cure and seal the wall for durability.
How Do You Make a Beautiful Brick Wall?
You're building a beautiful brick wall, and it's like laying the foundation for a masterpiece. You want it to be a showstopper, a focal point that draws the eye.
To make a beautiful brick wall, start by selecting high-quality bricks that fit your design aesthetic. Make sure they're properly cleaned and prepared for installation.
Then, carefully lay each brick, using a level to guarantee straight lines and a sturdy structure.
Conclusion
Now you've transformed a dull wall into a stunning painted brick accent wall that adds character to any room. Can you imagine the impact it'll have on your space?
With these 7 steps, you've not only created a beautiful feature wall but also a conversation starter. By combining texture, color, and creativity, you've achieved a unique look that's sure to impress.
Take a step back, admire your handiwork, and enjoy the fruits of your labor!