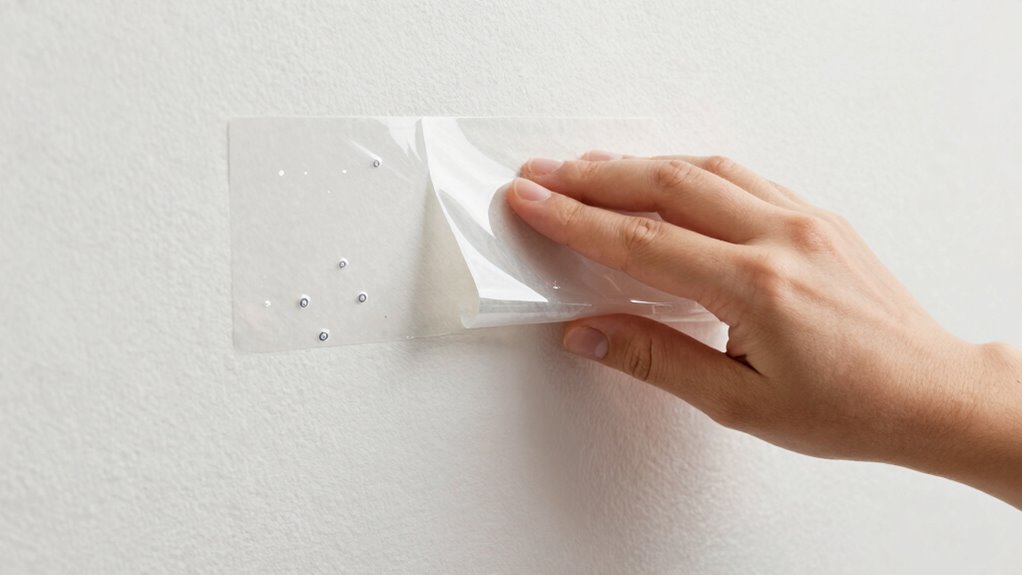
To prevent bubbles when applying peel-and-stick wallpaper, start by thoroughly cleaning your wall to remove dust, grease, and dirt, then smooth out any bumps, dents, or imperfections with sanding or patching. For glossy or textured surfaces, use a gentle cleaner and light sanding to improve adhesion. Applying a suitable primer can also help attain a bubble-free finish. If you keep these steps in mind, you’ll guarantee a sleek, professional look—continue for more tips on perfect prep.
Key Takeaways
- Clean walls thoroughly with a mild cleaner or water to remove dust, dirt, and grease before applying peel-and-stick wallpaper.
- Smooth out any bumps, dents, or imperfections with spackle or joint compound, then sand for a flat surface.
- Lightly sand glossy or semi-gloss surfaces to enhance adhesion and prevent bubbles.
- Use a suitable primer, especially on non-porous surfaces, to promote better sticking and reduce bubble formation.
- Ensure the wall is completely dry and free of debris to achieve a strong, bubble-free bond.

Art3d Smoothing Tool Kit for Applying Peel and Stick Wallpaper, Vinyl Backsplash Tile
【Set of basic tools】: Package includes craft art knife with 5 replaceable blades, red smoother, blue smoother with…
As an affiliate, we earn on qualifying purchases.
As an affiliate, we earn on qualifying purchases.
Why Wall Prep Is Key to Bubble-Free Peel-and-Stick Wallpaper

Proper wall preparation is essential for achieving a smooth, bubble-free finish with peel-and-stick wallpaper. Your wall’s texture plays a big role—rough or uneven surfaces make it harder for the adhesive to stick evenly, leading to bubbles. It’s important to smooth out any bumps or irregularities before applying the wallpaper. Additionally, the paint sheen affects adhesion; a matte or eggshell finish provides a better surface than glossy or semi-gloss finishes, which can repel the adhesive. If you’re dealing with high-gloss paint, lightly sanding the surface will help the wallpaper stick properly. Taking these steps ensures your wallpaper adheres smoothly, preventing bubbles and wrinkles, so your finished look is professional and flawless. Proper prep makes all the difference. Understanding surface adhesion helps ensure your wallpaper stays smooth and bubble-free over time. Ensuring surface porosity is appropriate is also key, since a porous surface can improve adhesive grip and longevity.
ROMAN’s Wallpaper Smoothing Tool for Home Improvement, Wallpaper Smoother for Installation, 7.75-Inch Wide, Plastic, White
PROFESSIONAL SMOOTH – The tool’s flexible tapered edges will create a professional smooth finish, eliminating stubborn bubbles on…
As an affiliate, we earn on qualifying purchases.
As an affiliate, we earn on qualifying purchases.
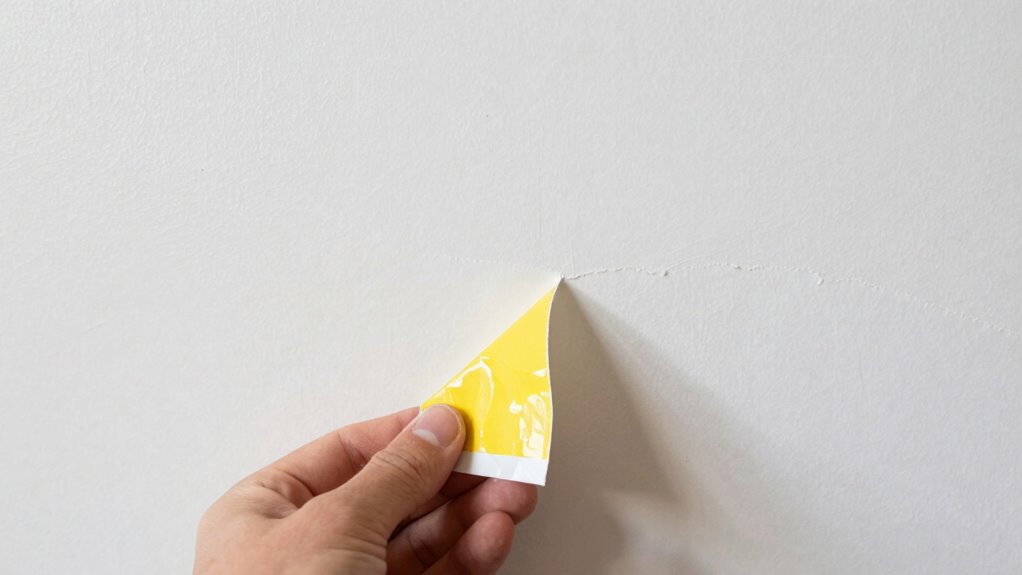
How to Spot and Fix Wall Bumps, Cracks, and Surface Flaws
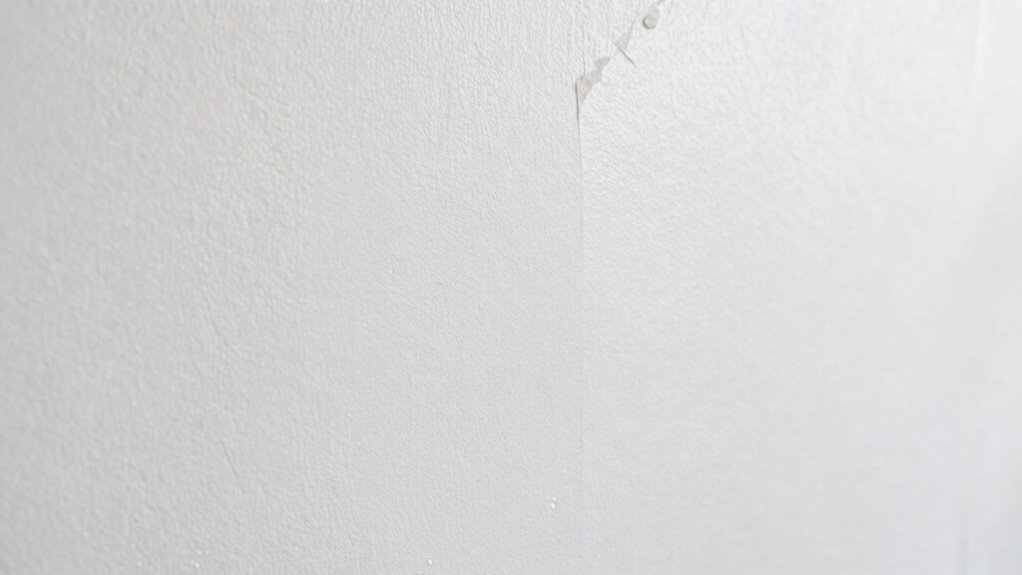
Before applying peel-and-stick wallpaper, it’s essential to identify and address any wall imperfections. Start with wall bump detection by gently feeling the surface for any uneven spots, which can cause bubbles or wrinkles later. If you find bumps, sand or smooth them out with fine-grit sandpaper. For cracks, choose appropriate crack repair methods such as filling them with spackle or joint compound, then sanding smooth once dry. Inspect the surface carefully for other flaws like dents or rough patches. Ensuring a flat, smooth wall surface helps the wallpaper adhere properly, preventing bubbles and ensuring a sleek finish. Taking the time to fix these imperfections now saves you from frustration and rework later. Proper wall prep is key to a flawless peel-and-stick wallpaper installation. Additionally, understanding projector calibration can help optimize your setup for a perfect viewing experience.
qt Zinsser 2104 Clear Shieldz Water-Based Acrylic Wallpaper Primer
Prepares all painted or glossy surfaces for wallpaper or borders
As an affiliate, we earn on qualifying purchases.
As an affiliate, we earn on qualifying purchases.
The Best Ways to Clean Your Walls for Better Adhesion
Cleaning your walls thoroughly before applying peel-and-stick wallpaper is essential for ensuring strong adhesion. Dirt, dust, or grease can prevent the adhesive from sticking properly, leading to bubbles or peeling. Start by evaluating your wall’s texture and paint finish—smooth, matte, or semi-gloss surfaces may require different cleaning methods. Use a gentle cleaner or a mixture of water and mild detergent, and avoid harsh abrasives that could damage certain finishes. Here’s a quick guide:
| Wall Texture | Paint Finish | Cleaning Method |
|---|---|---|
| Smooth | Matte/Semi-gloss | Damp cloth, mild detergent |
| Textured | Flat/Dull | Soft brush, vacuum first |
| Glossy | Satin/High-gloss | Alcohol-based cleaner |
Proper cleaning creates a clean surface, ensuring your wallpaper adheres seamlessly. According to market standards, using the appropriate cleaning techniques helps maintain your wall’s integrity and enhances adhesive performance. Additionally, understanding wall prep techniques can further improve the longevity of your wallpaper application. For optimal results, consider surface preparation steps like patching holes or smoothing imperfections before cleaning. Ensuring the wall is free of oils and residues, including from piercing aftercare, can also contribute to better adhesion and prevent future issues. Regular cleaning of walls can also reduce the buildup of residues that may interfere with adhesive bonding.

3M Drywall Sanding Sponge, Fine/Medium Grits, Dual Grit Block, Medium Grit to Remove, Fine Grit to Smooth, Ideal for Sanding and Smoothing of Joint Compounds, 2-5/8 in x 3-3/4 in (9095DC-NA)
IDEAL FOR MODERATE SANDING AND SMOOTHING of joint compounds
As an affiliate, we earn on qualifying purchases.
As an affiliate, we earn on qualifying purchases.
Which Primer and Sealant Work Best for Peel-and-Stick Wallpapers

Choosing the right primer and sealant can considerably enhance the adhesion and durability of peel-and-stick wallpaper. When selecting primer options, look for those specifically designed for smooth, non-porous surfaces like vinyl or laminate walls. A high-quality, adhesion-promoting primer guarantees the wallpaper sticks firmly without bubbles or peeling. Sealant compatibility is equally important; opt for sealants that work well with your primer and wall type, such as acrylic or latex-based sealants. These provide a flexible, protective layer that prevents moisture and surface imperfections from compromising the wallpaper’s adhesion over time. Proper primer and sealant choices create a strong, lasting bond, ensuring your peel-and-stick wallpaper looks flawless and stays put. Additionally, choosing products that are compatible with your specific wall surface can prevent issues related to improper adhesion and surface reactions, and understanding surface preparation techniques can further improve your results. Being aware of surface compatibility helps in selecting the right products for your wall type, which is crucial for long-term success. Conducting a patch test before full application can also help identify potential adhesion issues early, saving time and effort later. Incorporating proper surface cleaning can further improve the overall adhesion process, especially on dusty or greasy walls.
How to Smooth Walls and Remove Dust Before Applying Wallpaper
A smooth, dust-free wall surface is key to achieving a flawless peel-and-stick wallpaper application. Start by inspecting your walls for texture or imperfections, and remove any rough patches through gentle texture removal with fine-grit sandpaper. This step ensures the wallpaper adheres evenly and prevents bubbles. Next, wipe down the walls with a damp cloth to remove dust, dirt, and grease. Check paint compatibility; if your walls have a glossy or semi-gloss finish, lightly sand them to dull the surface for better adhesion. Avoid applying wallpaper over peeling or cracking paint, as it can cause bubbles and peeling later. Once the walls are smooth, dust-free, and compatible with your paint type, you’re ready for the next step in your wallpaper project. Understanding surface preparation is essential for a successful wallpaper application, as proper surface prep directly impacts the adhesion quality and final look. Incorporating professional services can also help ensure the surface is properly prepared for optimal results. Additionally, ensuring proper lighting conditions during application can help you spot imperfections and achieve a seamless finish.
Planning Your Wallpaper Layout for a Seamless Look
To achieve a seamless look with your peel-and-stick wallpaper, careful planning of your layout is essential before you start hanging. Begin by measuring your wall accurately and deciding on the starting point, ensuring the pattern aligns properly. Pay close attention to wall pattern alignment, especially if your wallpaper has a repeating design, so seams stay hidden. Check the color matching across different sections to maintain a uniform appearance, avoiding mismatched edges. Use painter’s tape to temporarily position panels and visualize the final look. Take your time to plan the placement, making adjustments as needed. Proper planning minimizes the risk of misaligned patterns or color inconsistencies, resulting in a professional, seamless finish that enhances your space. Additionally, consider the installation process to ensure the wallpaper adheres smoothly and stays securely in place. Being aware of common installation mistakes can help you troubleshoot issues early and achieve a flawless result. For best results, review your wall preparation to ensure the surface is clean, smooth, and properly primed before application. Incorporating a detailed layout plan can further streamline the process and reduce errors during installation.
Common Wall Prep Mistakes That Cause Bubbles and How to Avoid Them
One common mistake is not preparing the wall properly, which can cause bubbles to form under the wallpaper. Rushing the application process also leads to uneven adhesion and air pockets. To avoid these issues, take your time to smooth out the surface and work carefully during installation. Additionally, understanding proper surface preparation techniques can help ensure your project stays organized and stress-free. Being aware of wall surface conditions beforehand can make a significant difference in the final outcome. For example, knowing the wall material can influence the type of primer or adhesive you choose.
Improper Surface Preparation
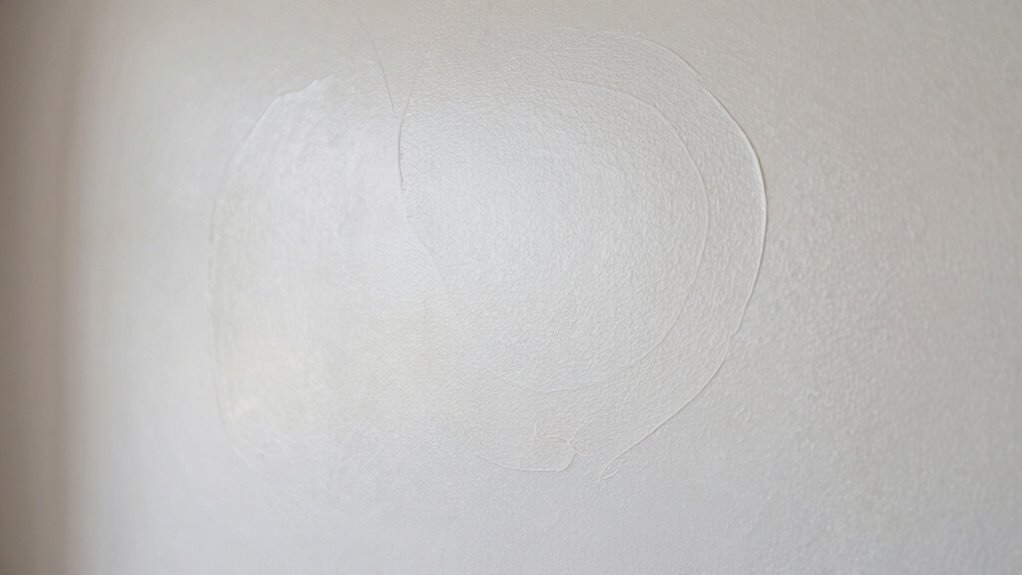
Improper surface preparation is a leading cause of bubbles and bubbles forming under peel-and-stick wallpaper. If your wall has uneven wall texture, the wallpaper won’t adhere smoothly, increasing the risk of bubbles. Similarly, a glossy paint sheen can prevent proper adhesion because the smooth, reflective surface resists the adhesive. To avoid these issues, make sure your wall is clean, smooth, and free of dust or grease. Lightly sanding glossy paint creates a matte finish that helps the adhesive grip better. Check for wall texture irregularities, filling any holes or bumps before applying the wallpaper. Proper surface prep guarantees a flat, even surface, which is essential for a bubble-free, professional-looking finish. Skipping these steps compromises adhesion and leads to avoidable bubbles. Using the right wall preparation techniques can significantly improve the longevity and appearance of your wallpaper.
Rushing the Application
Rushing through the wallpaper application often leads to bubbles and wrinkles that are hard to fix later. Take your time to smooth out each section, paying attention to texture considerations and adhesive compatibility. Skipping steps or rushing can cause air pockets and misalignment. For example, uneven textures or rough patches need extra care to ensure proper adhesion. Use a smoothing tool steadily, working from the center outward. Here’s a quick guide:
| Step | Focus Area | Common Mistake |
|---|---|---|
| Preparation | Surface texture | Overlooking texture checks |
| Application | Adhesive spread | Applying too quickly |
| Smoothing | Air bubbles | Not working from the center out |
| Final Checks | Edges & seams | Overlooking small bubbles |
Slow, deliberate work ensures bubbles are minimized and the wallpaper adheres perfectly.
Step-by-Step: Preparing Different Wall Types for Wallpaper
Preparing your wall surface properly is essential for a smooth and long-lasting wallpaper application. First, identify your wall texture—smooth, lightly textured, or heavily textured—as this influences prep steps. For smooth walls, cleaning with a mild detergent and sanding any imperfections suffices. For lightly textured surfaces, smooth out bumps with a fine-grit sandpaper. Heavily textured walls may require a skim coat of primer or joint compound to create an even surface. Next, assess your paint finish; matte or eggshell finishes tend to work best, while semi-gloss or high-gloss paints can make adhesion tricky. If your paint is glossy, lightly sand and clean the surface to improve sticking. Properly preparing different wall types ensures the peel-and-stick wallpaper adheres smoothly, preventing bubbles and wrinkles.
Final Checks for a Smooth, Bubble-Free Wallpaper Finish
Before finishing, make certain you’ve used proper smoothing techniques to eliminate any air bubbles. Carefully inspect the wallpaper for flaws like wrinkles or gaps that may need fixing. Taking these final steps ensures a flawless, professional-looking result.
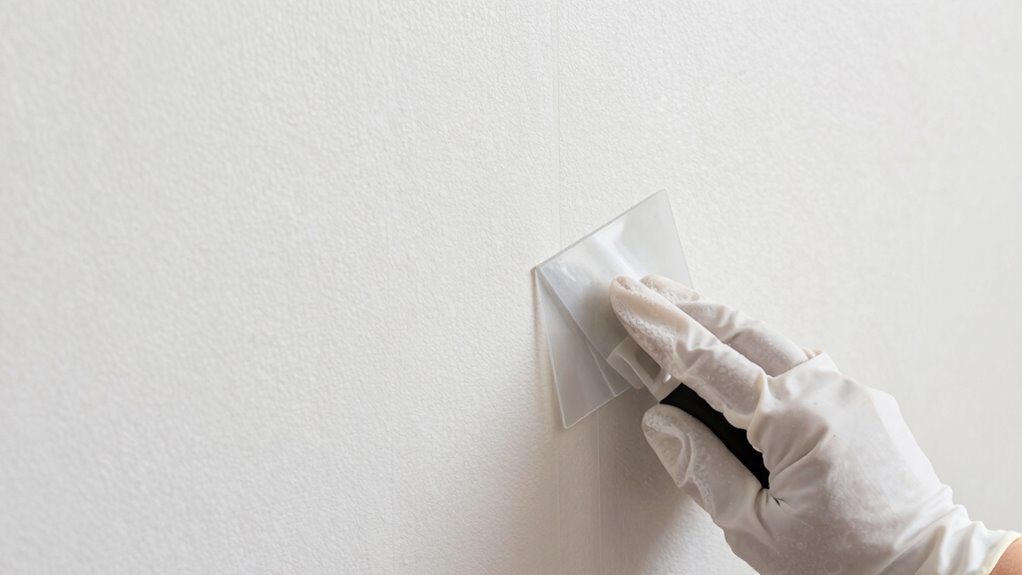
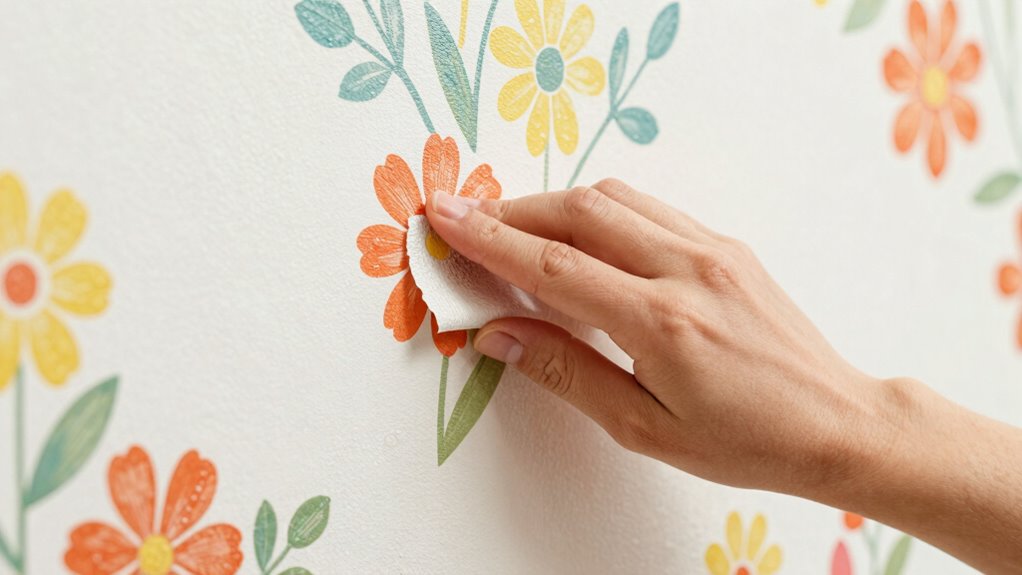
Proper Smoothing Techniques
To achieve a flawless finish, it’s essential to carefully smooth out the wallpaper during the final checks. Start by applying even pressure with a smoothing tool or roller, working from the center outward to eliminate bubbles and wrinkles. Pay attention to texture considerations; textured walls may require additional smoothing to ensure the wallpaper adheres evenly. Also, verify paint compatibility if you plan to paint over the wallpaper later—some adhesives or textures can affect paint adhesion. Use a clean cloth or smoothing tool to press out any remaining air pockets gently. Be cautious not to stretch or distort the wallpaper, which can cause wrinkles. Taking your time during this step ensures a professional-looking, bubble-free finish that lasts.
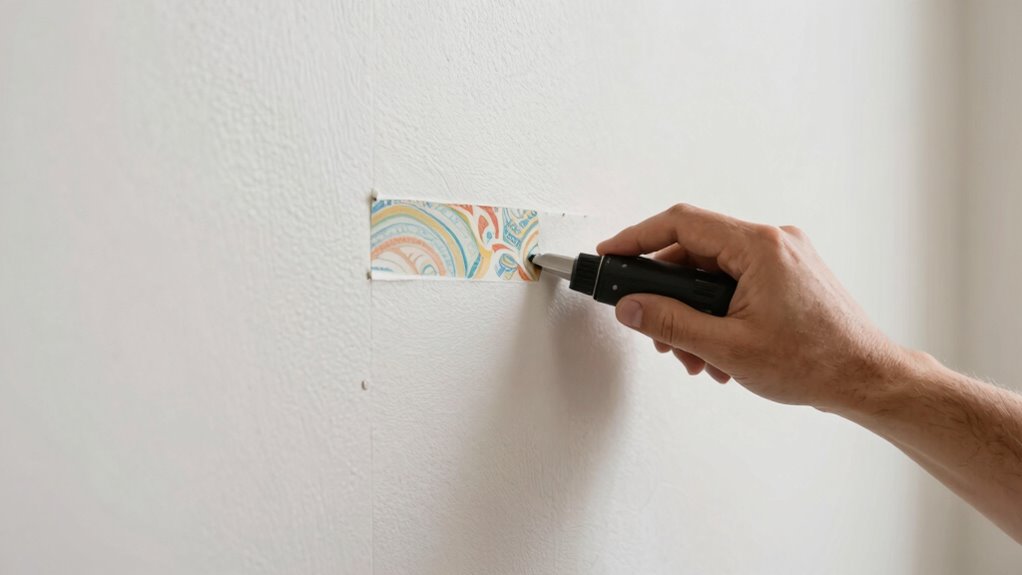
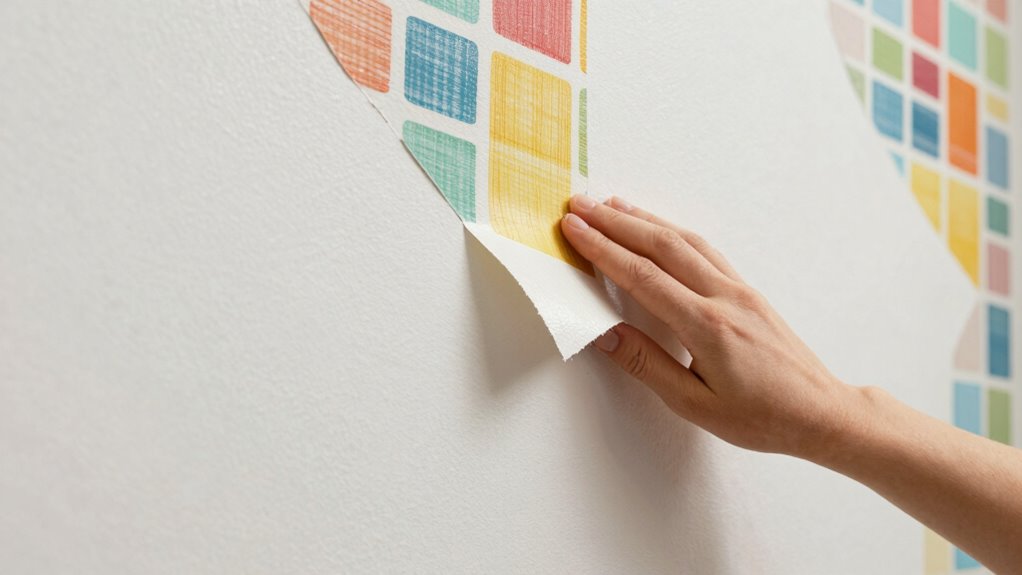
Final Inspection for Flaws
After smoothing out the wallpaper, it’s time to carefully inspect your work for any flaws. Look closely for bubbles, wrinkles, or seams that haven’t adhered properly. Check the wall texture beneath the wallpaper—any imperfections may show through the finish. Ensure the paint finish is even and free of streaks, which can highlight uneven wallpaper application. Use good lighting to catch subtle flaws that might be missed in dim light.
Here are your final checks:
- Confirm there are no bubbles or wrinkles.
- Ensure seams are fully adhered and seamless.
- Verify the wall texture and paint finish look smooth and consistent.
Address any issues immediately to maintain a flawless, bubble-free, professional-looking wallpaper finish.
Frequently Asked Questions
Can Peel-And-Stick Wallpaper Be Applied Over Textured or Uneven Walls?
Yes, you can apply peel-and-stick wallpaper over textured or uneven walls, but success depends on the surface. You should smooth out major bumps and fill in deep imperfections first, as textured walls and uneven surfaces can cause bubbles and wrinkles. Use a primer or adhesion-promoting product to guarantee better sticking. Taking these prep steps helps your wallpaper lay smoothly and last longer, even over challenging surfaces.
How Long Should I Wait After Cleaning Before Applying Wallpaper?
You should wait at least one to two hours after cleaning your wall to ensure it’s completely dry before applying peel-and-stick wallpaper. Proper wall drying time is essential for effective surface prep, preventing bubbles and ensuring the adhesive sticks well. Use a clean, dry cloth to remove excess moisture, and check that the wall feels dry to the touch before starting. This helps create a smooth, bubble-free application.
Is It Necessary to Use a Primer if Walls Are Already Painted?
You don’t always need a primer if your walls are already painted, but it depends on the wall’s condition. Good wall preparation involves cleaning and smoothing surfaces first. If your paint is fresh, glossy, or uneven, using a primer can improve adhesion and prevent bubbles. For most painted walls, especially matte finishes, skipping primer is fine, but applying it guarantees better sticking and a bubble-free look.
What Tools Help Achieve a Bubble-Free Application?
To achieve a bubble-free application, you’ll want to use smoothing tools like a wallpaper smoothing brush or a plastic application squeegee. These tools help press out air bubbles and smooth the wallpaper evenly against the wall. When applying peel-and-stick wallpaper, an application squeegee is especially effective, ensuring a tight seal and preventing bubbles from forming. Just work slowly, starting from the center and moving outward for the best results.
How Do Temperature and Humidity Affect Wallpaper Adhesion?
A stitch in time saves nine, and understanding temperature effects and humidity impact can safeguard your wallpaper project. When it’s too hot or cold, adhesive may not stick well, leading to bubbles or peeling. High humidity can cause moisture to get trapped, compromising adhesion. To guarantee perfect results, apply wallpaper in moderate temperature and dry conditions. Keep your space well-ventilated and avoid working during extreme weather for the best outcome.
Conclusion
Proper wall prep is your secret weapon against bubbles, ensuring a smooth, professional-looking finish. Did you know that poorly prepared walls can cause bubbles in up to 70% of peel-and-stick wallpaper installations? Taking the time to clean, smooth, and prime your walls makes all the difference. So, don’t skip these steps—your beautiful, bubble-free wall will thank you for it! With the right prep, you’ll enjoy stunning results that last.