We're excited to join the 10th edition of the Home Imagined Link Party, where Rachel, Anna, and Meagan bring together DIY enthusiasts, bloggers, and home decor aficionados to share inspiration and creativity. This vibrant community showcases unique DIY projects, thrifting makeovers, and home decor inspiration, offering a platform for bloggers to connect with like-minded individuals. By participating, we can expand our audience, drive traffic to our blogs, and engage with diverse topics. As we explore this community, we'll discover fresh inspiration, build relationships, and uncover budget-friendly tips for designing stylish workspaces and homes, and much more to come as we explore further.
Key Takeaways
• The Home Imagined Link Party is a platform for bloggers to share DIY projects, home decor inspiration, and connect with like-minded individuals.
• Rachel, Anna, and Meagan, the hostesses, specialize in DIYs, thrifting makeovers, and home decor inspiration through their blogs and social media.
• The party features DIY projects, handmade home decor crafts, outdoor decor inspiration, and budget-friendly room decor ideas.
• Bloggers can expand their audience, drive traffic to their blogs, and collaborate with others through the Home Imagined Link Party.
• The community celebrates individuality and creativity in home decor, providing a supportive platform to showcase unique style and flair.
Meet the Hostesses of HILP

We're thrilled to introduce the creative minds behind the Home Imagined Link Party: Rachel from The Antiqued Journey, Anna from Sky Lark House, and Meagan from Decorative Inspirations. These talented hostesses bring their unique perspectives and expertise to the table, making the Home Imagined Link Party a go-to destination for home decor enthusiasts.
Rachel's The Antiqued Journey is a treasure trove of DIYs, thrifting makeovers, and antique/vintage items, showcasing her passion for restoring and repurposing old items. Anna's Sky Lark House is a haven for decorating tips and inspiration, while Meagan's Decorative Inspirations offers a wealth of creative ideas for home makeovers.
Through their blogs and social media platforms, including Pinterest, Facebook, and Instagram, these hostesses engage with their audience, sharing their knowledge and expertise. By participating in the Home Imagined Link Party, bloggers can connect with these hostesses and other like-minded individuals, gaining visibility and exposure within the home decor community.
Share Your DIY Projects Here
As we share our DIY projects here, we're excited to highlight our creative endeavors, whether it's a furniture makeover or a thrifting transformation, and explore the diverse range of home-related content that inspires us.
We'll showcase our creative space designs, which often become the backdrop for our DIY projects, and find inspiration in the work of others.
DIY Project Highlights
We've scoured our homes, workspaces, and creative minds to bring you the most inspiring DIY projects that will elevate your space and spark your imagination! In this link party, we're excited to share a curated selection of DIY project highlights that showcase the best of home decor, furniture makeovers, and creative crafts.
Here are some of the amazing DIY projects you can expect to see:
- DIY Macrame Plant Hangers: Add a bohemian touch to your home with these easy-to-make plant hangers.
- Upcycled Furniture Makeovers: Breathe new life into old furniture with creative makeovers that will make you rethink thrift shopping.
- DIY Room Decor on a Budget: Transform your space without breaking the bank with these budget-friendly decor ideas.
- Handmade Home Decor Crafts: Get crafty and create unique decorative pieces that reflect your personal style.
- Outdoor Decor Inspiration: Take your outdoor space to the next level with these inspiring DIY projects.
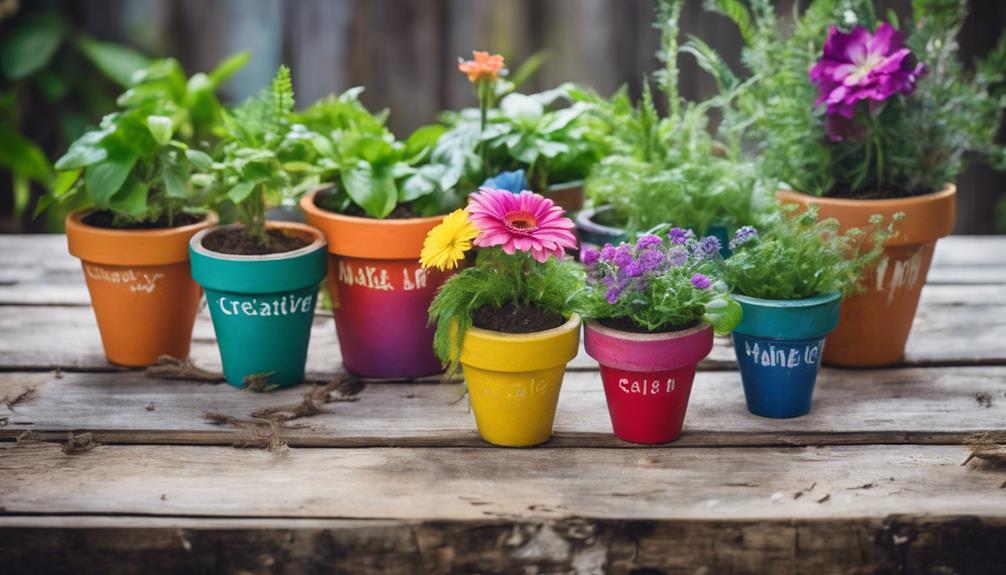
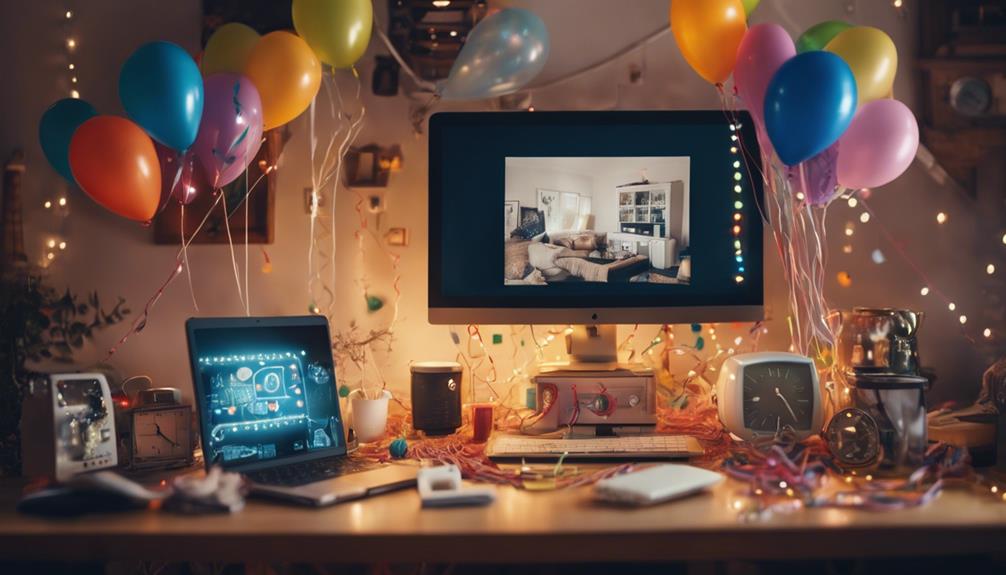
Creative Space Design
In our pursuit of creative expression, a well-designed workspace is essential to spark imagination and productivity. As crafty individuals, we grasp the importance of a functional and aesthetically pleasing creative space. That's why we're excited to share our DIY projects and tips for designing a space that inspires creativity and boosts productivity.
When it comes to organizing crafting supplies, we've learned that a well-planned space can make all the difference. We've discovered innovative ideas for maximizing storage, utilizing vertical space, and repurposing everyday items to create functional storage solutions.
From upcycled shelves to clever drawer organizers, we're excited to share our favorite DIY projects that will transform your workspace. By incorporating these budget-friendly tips and ideas, you'll be able to create a stylish and inspiring area that fuels your artistic endeavors.
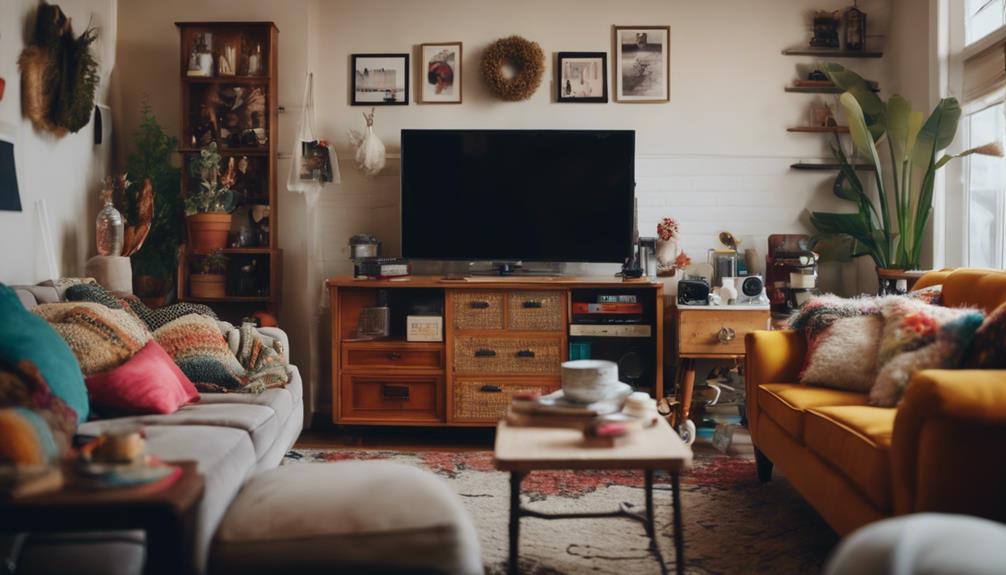
Home Decor Inspiration
We're delving into the world of home decor, moving from the creative space to the heart of our homes, where personal style and DIY flair come together in a beautiful display of home decor inspiration.
As we explore the realm of home decor, we're thrilled to share our latest DIY projects and connect with fellow bloggers who share our passion for decorating and DIY.
Here are just a few reasons to join the Home Imagined Link Party 10:
- Share your latest DIY home decor projects and receive feedback from a supportive community of home decor enthusiasts.
- Discover a variety of DIY ideas, decorating tips, and thrifting makeovers from fellow bloggers.
- Engage with other bloggers and find inspiration for your home decor projects.
- Showcase your creativity and receive feedback from a community of like-minded individuals.
- Take part in a vibrant online gathering centered on home decor inspiration and DIY projects.
Link Party Rules to Follow
To guarantee a fun and engaging experience for all participants, let's review the rules to follow for a successful Home Imagined Link Party. We're excited to share our link party rules, ensuring everyone has a great time.
Initially, we require participants to follow our hosts on at least one social network to participate in the link party. This helps us stay connected and share our love for home-related topics.
When sharing links, please avoid posting advertisements, giveaways, or roundup posts, as they detract from the party's purpose. Instead, focus on sharing DIYs, decorating ideas, thrifting makeovers, or antiques/vintage items that inspire and delight.
To foster engagement, we ask that you comment on at least two other blog posts in the link party. This helps build a supportive community where we can learn from each other.
Remember, our link party is open from 9 am on Tuesday to 5 pm on Thursday, giving you three days to share your blog posts and engage with others.
Home Decor Inspiration Abounds
As we explore the world of home decor inspiration, we're excited to discover the abundance of creative ideas that await us.
From Cozy Winter Vibes Ahead, where we'll uncover the secrets to creating a warm and inviting atmosphere, to Designing a Dream Space, where we'll learn how to bring our unique vision to life, we're about to set out on a journey of discovery and creativity.
With the collective expertise of our community, we'll uncover the tips, tricks, and trends that will transform our living spaces into havens of comfort and style.
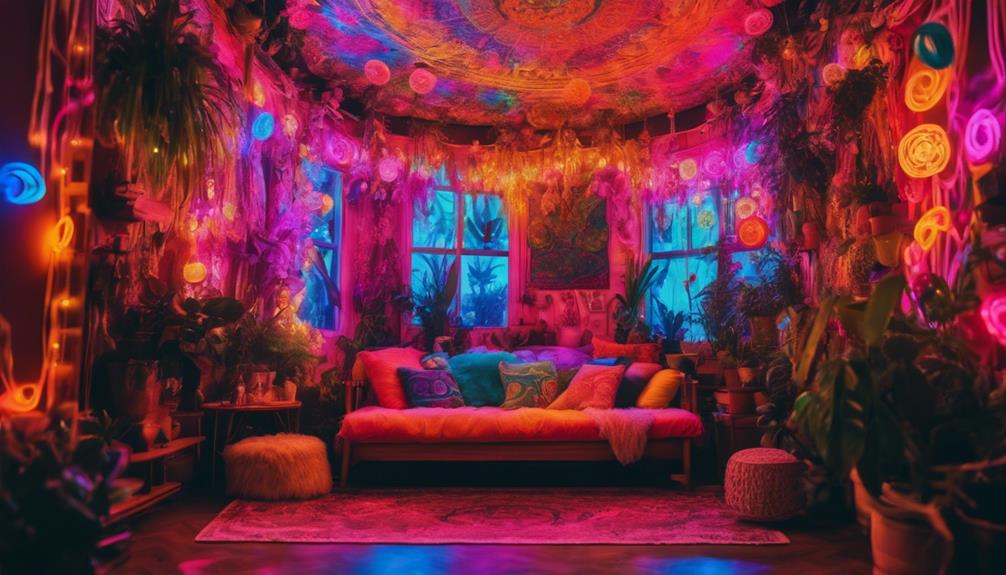
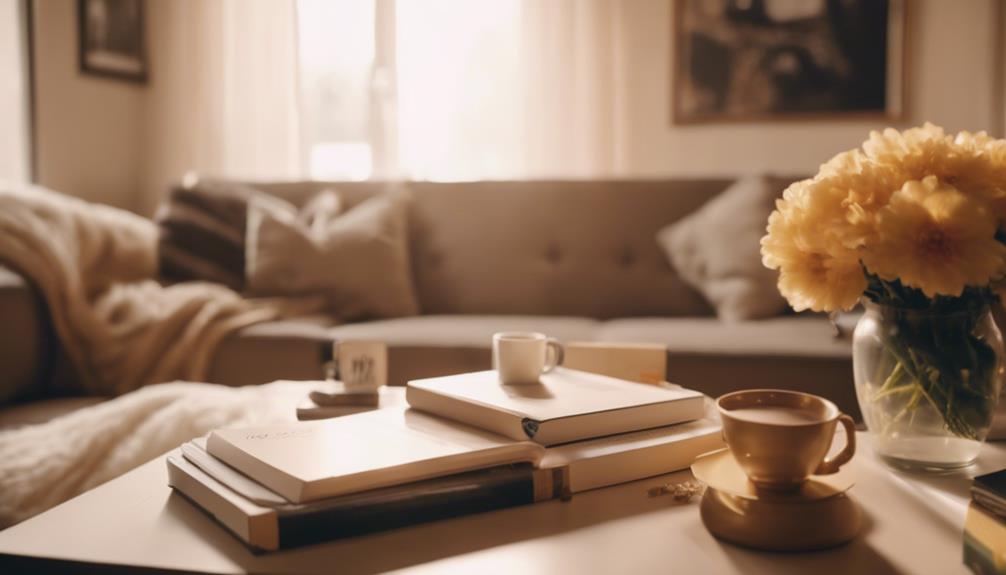
Cozy Winter Vibes Ahead
Gathering 'round the virtual fireplace, let's immerse ourselves in the coziest winter decor inspiration that'll make our homes feel like a snug retreat during the chilly months. As we explore the world of cozy winter vibes, we're excited to delve into the endless possibilities of DIYs, decorating tips, and thrifting makeovers that'll transform our spaces into a winter wonderland.
Here are just a few highlights of what we're loving this season:
- Cozy winter vibes that'll make you want to snuggle up by the fire with a warm cup of hot cocoa
- Antiques and vintage items that add a touch of nostalgia to your winter decor
- Furniture makeovers that'll give new life to old pieces
- Decorating tips to create a warm and inviting atmosphere in your home
- Thrifty finds that'll help you achieve a cozy winter look on a budget
With the Home Imagined Link Party 10, we're connecting with talented bloggers who are sharing their creative projects and ideas to help us achieve a cozy winter atmosphere. Join us as we explore the world of cozy winter decor inspiration and get ready to create a warm and inviting space that'll be the perfect retreat from the cold winter months.
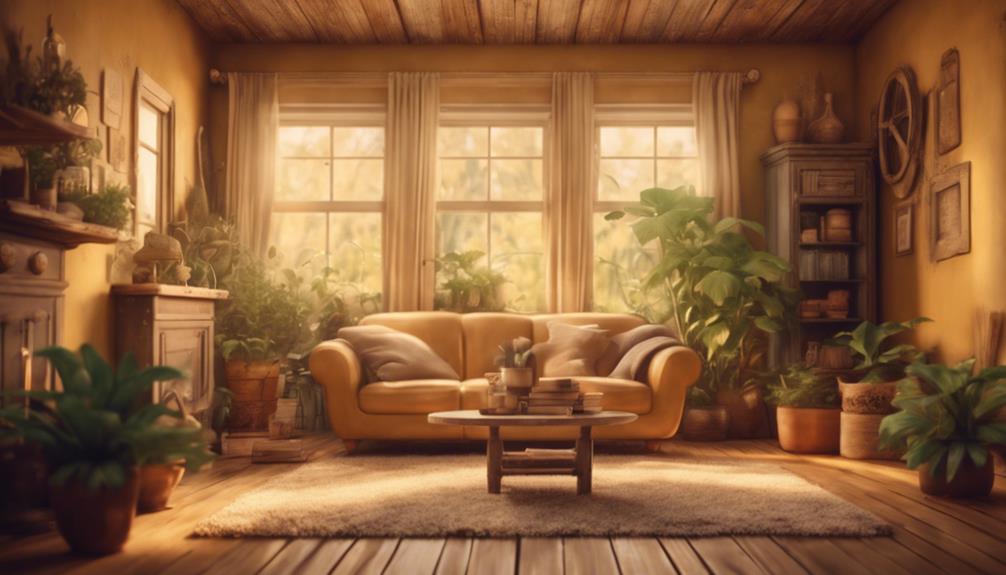
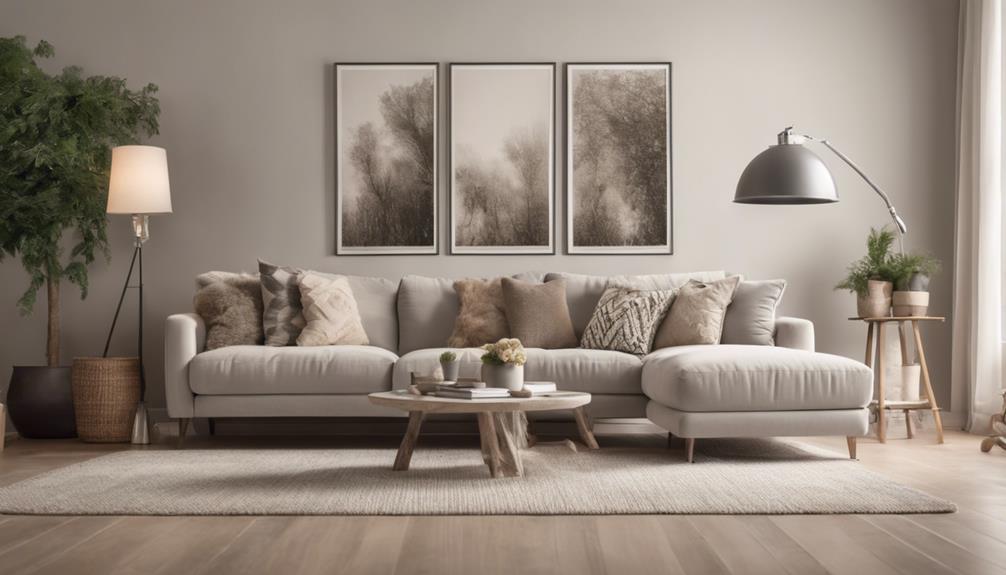
Designing a Dream Space
We're diving into the world of home decor inspiration, where creativity knows no bounds and imagination runs wild, as we explore the endless possibilities of designing a dream space that reflects our unique style and personality. From DIY projects to thrifting makeovers, we're excited to see the creative ideas shared by bloggers at the Home Imagined Link Party.
| Decorative Inspirations | Design Elements |
|---|---|
| Antique and Vintage Finds | Add character and charm to your space |
| Furniture Makeovers | Upcycle old pieces to fit your style |
| DIY Projects | Get creative with thrift store finds |
| Home Decor Tips | Elevation your space with expert advice |
Through the link party, we connect with like-minded individuals who share our passion for home decor, exchanging ideas and tips for creating beautiful living spaces. With a diverse range of content, we'll discover new ways to elevate our home decor style and transform our space. Whether it's incorporating antique and vintage items or finding inspiration from decorative inspirations, we're excited to explore the endless possibilities of designing a dream space that truly reflects who we are.
Networking for Bloggers Unite

Through the Home Imagined Link Party, we're connecting with fellow bloggers who share our passion for home-related content, sparking meaningful collaborations and friendships. As we unite, we're not only increasing our online visibility but also opening doors to new opportunities.
By participating in the link party, we're able to:
- Expand our audience and drive traffic to our blogs
- Engage with diverse topics, from DIYs to antiques and vintage items
- Discover fresh inspiration and ideas from fellow bloggers
- Build relationships and support each other's content
- Foster collaborations, guest posting opportunities, and new friendships within the blogging community
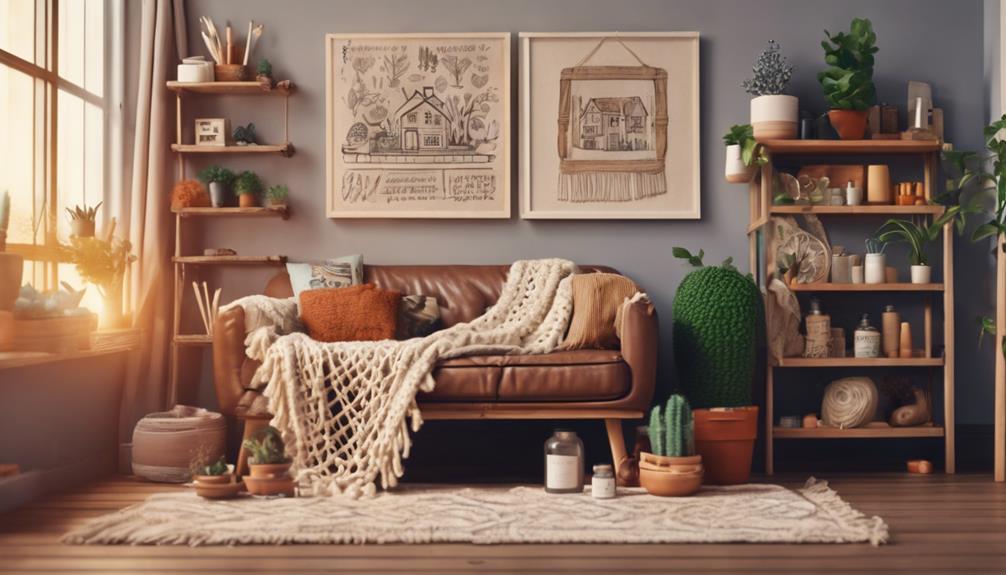
Showcasing Your Creative Side
As we unite with fellow bloggers, we're thrilled to shift our focus to the creative aspects of home decor, where imagination knows no bounds. In this domain, DIY projects take center stage, allowing us to express our unique style and flair.
Through the Home Imagined Link Party 10, we're excited to showcase our creative sides, sharing innovative ideas and inspiration that bring our homes to life. From upcycled decor to handmade accents, we're enthusiastic to highlight the endless possibilities in home decor.
By sharing our DIY projects, we hope to spark creativity in others, encouraging them to think outside the box and try something new. As we share our creative endeavors, we're not only inspiring others but also learning from one another.
Through this collaborative effort, we're building a supportive community that celebrates individuality and creativity in home decor. By embracing our creative sides, we're turning our homes into unique reflections of ourselves, and we can't wait to see what everyone has in store!
Get Ready to Be Inspired
Exploring unique DIY projects, clever decorating tips, and ingenious makeovers is just the starting point for a journey that will leave you feeling energized and motivated to transform your living space.
As we immerse ourselves in the world of home decor and DIYs, we're excited to share the inspiration that awaits us.
Here are just a few reasons to get excited:
- Explore a curated selection of home-related blog posts, showcasing the best of DIYs, decorating tips, and more
- Connect with fellow bloggers and homeowners, sharing ideas and inspiration
- Take advantage of increased visibility and traffic to your blog, thanks to our consistent link party schedule
- Get motivated to tackle that long-overdue home project, with a dash of creativity and a sprinkle of fun
- Join a community of like-minded individuals, passionate about creating a beautiful and functional home
Frequently Asked Questions
Can I Share a Project That's Not Diy-Related?
We're often asked if we can share projects that stray from DIY. Honestly, we think it's totally fine to share non-DIY projects, as long as they're still related to home decor, organization, or lifestyle.
How Often Can I Link up to the Party?
"As we step into the vibrant world of creative expression, we're often left wondering… How often can we share our masterpieces? The answer is simple: we can link up to 3 projects per week, giving everyone a chance to shine!"
Are There Any Specific Image Requirements?
We're glad you asked! For image requirements, we prefer vertical images at least 600 pixels wide, with a 2:3 aspect ratio, and in JPEG or PNG format, making them easy to view and share.
Can I Link up a Post From My Archives?
"Ugh, we're so tired of digging through our old posts, but yes, we can finally exhale – you can link up a post from your archives, because who doesn't love a good blast from the past?"
Will My Linked-Up Post Be Shared on Social Media?
We usually don't share linked-up posts on social media, but we might occasionally feature one if it really catches our eye. Typically, we focus on promoting the party itself, not individual links.
Conclusion
As we wrap up this Home Imagined Link Party extravaganza, we're left with a treasure trove of DIY projects, home decor inspiration, and networking opportunities.
'The most important thing in communication is hearing what isn't said,' as Peter Drucker once said. So, let's get down to business: share your projects, follow the rules, and get ready to be inspired.
In this creative community, we're not just linking up, we're building a supportive network of bloggers and DIY enthusiasts.

Aurora – Your Creative Guide Aurora serves as your creative guide, igniting inspiration and offering innovative design solutions for your home. With her keen eye for aesthetics and passion for creating beautiful spaces, she’s here to help you turn your vision into reality.