We'll master chalk paint and antiquing wax in 10 steps. First, we'll prepare the surface by cleaning, repairing, and priming if needed. Next, we'll choose a chalk paint color that fits our style and theme. Then, we'll apply thin, even coats, allowing each to dry completely. After that, we'll add coats for richness and distress for a weathered look. We'll enhance with antiquing wax, applying it in small sections and controlling buildup. A protective coat will seal our work, and a final check will guarantee perfection. With these steps, we'll create a beautiful, one-of-a-kind piece – and that's just the beginning of the creative journey.
Key Takeaways
• Clean and prepare the surface by degreasing, repairing, and sanding to ensure a smooth application of chalk paint.
• Choose a chalk paint color that matches your desired style and theme, and consider customizing with diverse options.
• Apply thin, even coats of chalk paint, allowing each coat to dry completely, and adjusting based on desired coverage.
• Use antiquing wax to add depth and character, applying it to crevices and working in small sections for a vintage look.
• Seal and protect your finish with a clear wax or lacquer, ensuring durability and longevity with regular maintenance.

Oasbira Outdoor Dining Set, HDPS + Aluminum Patio Table and Chairs Set with U-Shaped Base, 7 Piece Outdoor Furniture Set with Umbrella Hole, Patio Dining Table Set for Garden, Backyard (Gray-Teak)
Exceptionally Stable U-Shaped Base: The outdoor table and chairs is featured a sturdy U-shaped leg design that provides...
As an affiliate, we earn on qualifying purchases.
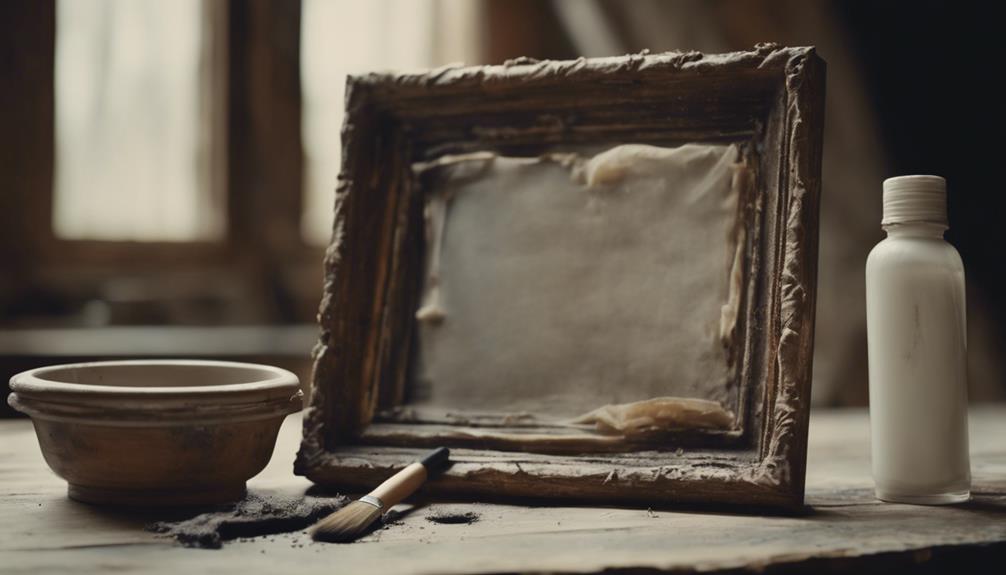
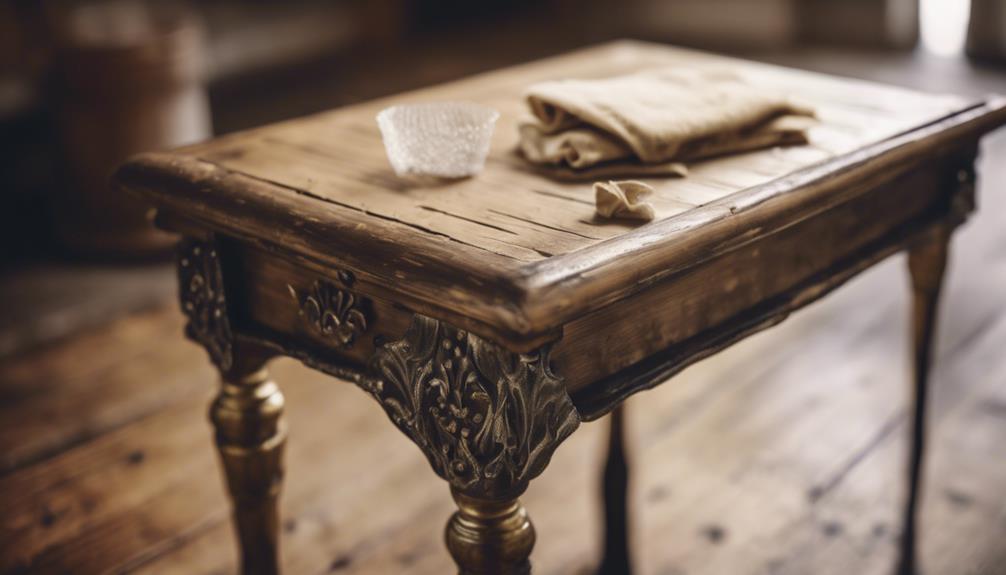
Prepare the Surface
Before we immerse ourselves in the world of chalk paint and antiquing wax, we need to make sure that our furniture's surface is properly prepared, which means giving it a thorough cleaning to remove dirt, grime, and any other substances that might interfere with the painting process.
We'll start by using a degreaser like White Lightning or TSP Degreaser to wipe down the entire surface. This prep work is essential to guarantee the chalk paint adheres properly.
Next, we'll make any necessary repairs to the furniture, such as filling in cracks or holes, before starting the distressing process. A quick sanding will remove any rough spots, creating a smooth surface for painting.
If the furniture has been previously painted or stained, we might need to prime it to make sure the chalk paint adheres correctly. With our lint-free cloth, we'll wipe down the furniture one last time to remove any dust or debris.
Now, our surface is ready for the chalk paint, and we can finally start bringing our vision to life.

AIWOEN 9-Piece Cast Aluminum Patio Furniture, Outdoor Dining Sets for 8 Include 87" Rectangular Patio Dining Table and 8 Stackable Chairs with Cushions & Umbrella Hole (Bronze)
Premium Craftsmanship & Lasting Durability: This 9-piece cast aluminum outdoor dining set is crafted using high-temperature fusion casting,...
As an affiliate, we earn on qualifying purchases.
Choose Your Chalk Paint Color
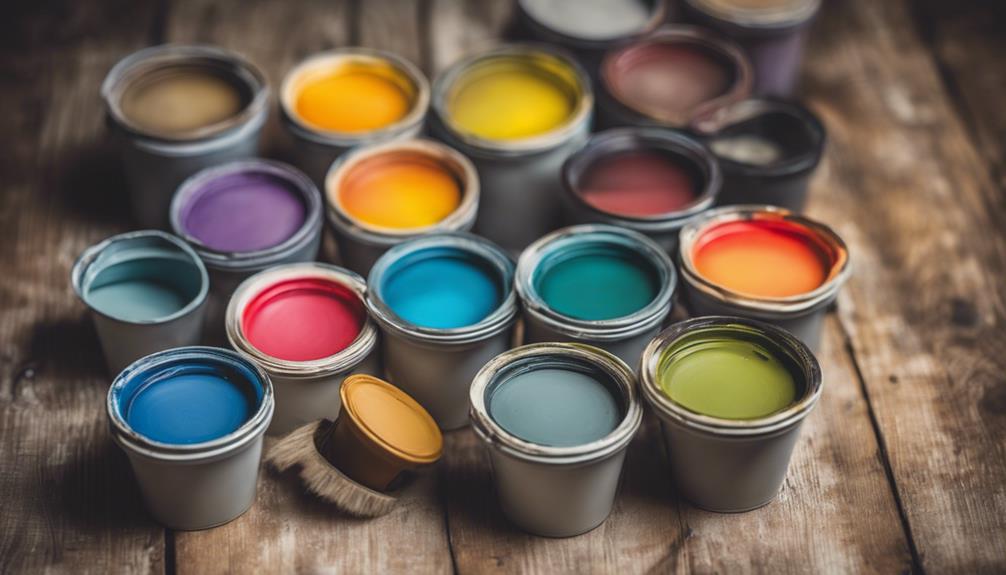
As we move forward with our project, we're excited to explore the world of chalk paint colors. With a vast array of options available, we can choose from popular brands and shades to achieve the perfect look for our space.
From soft pastels to bold statements, we'll consider our style and theme to select the ideal hue.
Color Palette Options
We're spoiled for choice when it comes to selecting the perfect chalk paint color, with popular options like Annie Sloan Napoleonic Blue, Chicago Grey, Old White, and Lacquer offering a diverse range of styles and finishes.
Each color provides a unique aesthetic, allowing us to customize our furniture with chalk paint to fit our personal taste and decor. Whether we're aiming for a vintage vibe or a modern twist, experimenting with different chalk paint colors can help us achieve the look we want.
We can choose a color that complements our existing furniture and decor, or go bold and create a statement piece. Ultimately, the right chalk paint color is a matter of personal preference, and we should consider the overall aesthetic we want to achieve.
Chalk Paint Brands
When selecting a chalk paint brand for our furniture project, we consider factors like color range, ease of use, and finish quality, leading us to popular options like Annie Sloan, Rust-Oleum, and Dixie Belle.
We weigh the pros and cons of each brand, considering our specific needs and preferences. For instance:
- Annie Sloan offers a vast color palette, including unique shades like Napoleonic Blue and Chicago Grey, perfect for creating a distinct style.
- Rust-Oleum is a budget-friendly option that's easy to apply, making it ideal for DIY beginners.
- Dixie Belle provides a smooth, even finish and excellent coverage, suitable for both novice and experienced painters.
Ultimately, our choice of chalk paint brand depends on our desired outcome, including the color scheme and finish we want to achieve. By considering these factors, we can select the perfect brand for our project, ensuring a beautiful and professional-looking result.

YEFU HIPS Patio Table Set: 7 Piece Outdoor Table and Chairs Dining Furniture Set with Umbrella Hole - Teak Modern Plastic Dining Sets 6 Person for Outside Deck with Metal Aluminum Frame
Easy Assembly and 85% Pre-Assembled Outdoor Table and Chairs: YEFU patio dining sets have all necessary tools (allen...
As an affiliate, we earn on qualifying purchases.
Apply the First Coat
Now that we've chosen our perfect chalk paint color, we're ready to apply the first coat.
To get started, we need to prep the surface, choose the right tool, and apply a thin coat of paint – these essential steps will set the foundation for a beautiful, professional-looking finish.
Prep the Surface
We clean the furniture surface thoroughly to remove dirt, grime, and old wax, making it receptive to the first coat of chalk paint. This important step ensures a smooth, even application, setting the stage for a beautiful, distressed look.
To achieve a professional finish, we take the time to:
- Make sure any repairs are done and rough spots are sanded lightly for a smooth finish
- Use high-quality chalk paint and apply it evenly in thin, even coats for best results
- Allow each coat to dry completely before applying the next coat to prevent smudging or uneven coverage
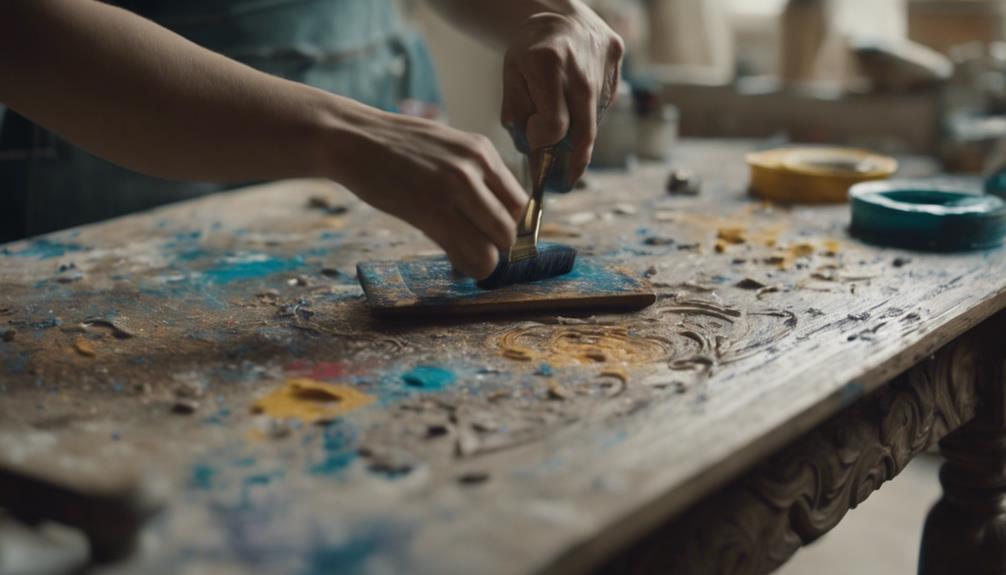
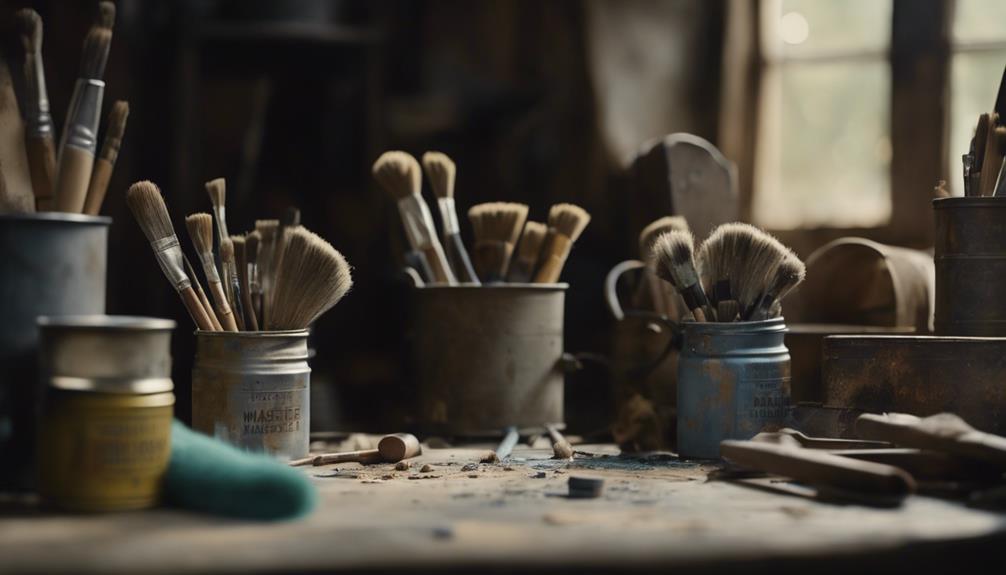
Choose the Right Tool
With our surface prepped and repaired, we grab a high-quality chalk paint brush to apply the first coat smoothly and evenly. We opt for a premium brush to guarantee streaks or brush marks in the paint. Before starting, we make sure our brush is clean and dry to secure a flawless application.
When applying the first coat, we keep in mind the importance of thin layers. This approach helps us avoid drips or clumps in the paint, ensuring a professional finish. We take our time, working in small sections to maintain even coverage. As we apply the paint, we gently sweep the brush in smooth, consistent strokes.
Once we've completed the first coat, we let it dry completely before applying additional coats for full coverage. This patience pays off, as the end result is a beautifully painted surface that's ready for the next steps in the process.
Apply Thin Coat
Applying a thin first coat of chalk paint sets the stage for a flawless finish, and we're ready to take this critical step. When working with Sloan chalk paint, it's crucial to apply a thin, even coat to achieve a smooth finish with chalk. This guarantees that our final result looks professional and polished.
To get it right, we'll follow some simple guidelines:
- Use a quality chalk paintbrush to apply the paint in long, even strokes for better coverage.
- Start painting from the top of the furniture piece and work your way down to avoid drips and uneven application.
- Apply the paint in thin, consistent layers, allowing each layer to dry completely before adding more.

Wisteria Lane Patio Outdoor Table and Chairs Set, Rattan Outdoor Patio Furniture Set with Removable Cushions, Outdoor Patio Dining Sets with Acacia Wood Tabletop for Deck Garden Backyard, Brown
【Premium Acacia Wood for Natural Charm】Crafted from FSC-certified acacia wood, the tabletop and armrests showcase beautifully unique wood...
As an affiliate, we earn on qualifying purchases.
Add Additional Coats
To build rich, vibrant color and achieve the desired level of opacity, we'll need to add additional coats of chalk paint. This is particularly important if we're aiming to cover a dark or bold color underneath. We may need to apply two coats, or even multiple coats, depending on the look we want to achieve.
| Coats | Coverage | Opacity |
|---|---|---|
| 1 | Sheer | Low |
| 2 | Medium | Medium |
| 3+ | High | High |
When adding additional coats, it's crucial to allow each coat to dry completely before applying the next one. This ensures the paint adheres properly and prevents unevenness. We'll know it's time for a second coat if the first coat doesn't provide adequate coverage. By adding more coats, we can enhance the durability and longevity of the painted surface. Consider the look you want to achieve and adjust the number of coats accordingly for best results.
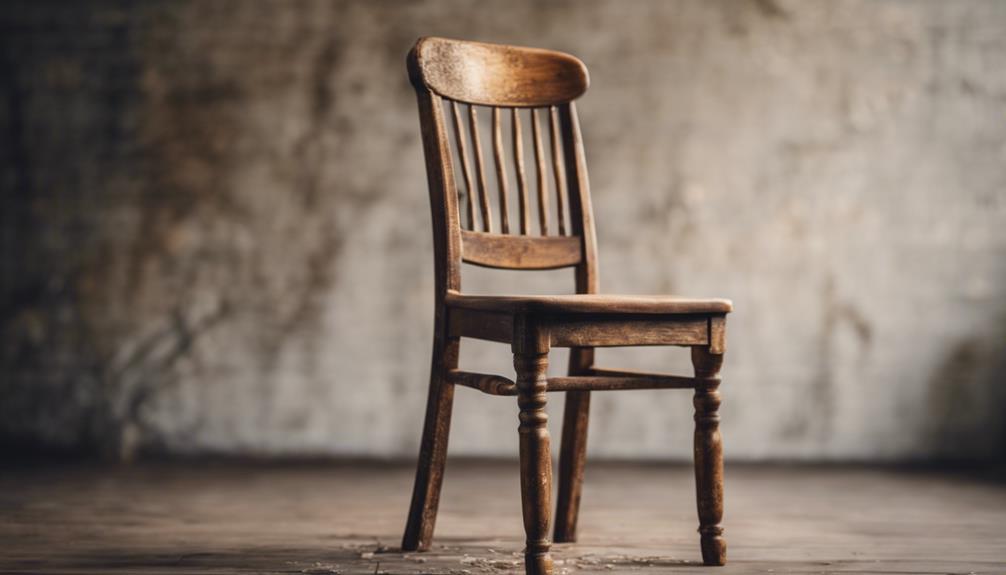
Distress for a Weathered Look

We take our chalk-painted furniture to the next level by distressing it to achieve a beautifully weathered look. Distressing creates a worn appearance, revealing layers of paint or wood underneath. We can experiment with different techniques to achieve the desired weathered look on our furniture.
We can choose between dry distressing and wet distressing. Here are some options to consider:
- Dry distressing: Use sandpaper to sand edges and corners for a naturally weathered effect.
- Wet distressing: Use a damp cloth to soften the paint and achieve a more subtle, aged appearance.
- Combination: Mix and match techniques to create a unique, one-of-a-kind look.
Apply Antiquing Wax
When applying antiquing wax to our chalk-painted furniture, we need to take into account a few key techniques to achieve the perfect vintage look.
We'll explore the best ways to apply the wax, from using the right tools to working it into all the right crevices.
Wax Application Techniques
We dip our wax brush into the antiquing wax, scooping up a small amount to start our application process. As we work with the wax, we're aiming to create an aged appearance on our furniture. To achieve this, we'll work in small sections, applying the antiquing wax in a controlled and even manner.
Here are some key techniques to keep in mind:
- Apply a thin, even layer of wax to avoid pooling or globs
- Use gentle, sweeping motions to cover the entire surface
- Focus on crevices and details, where the wax can add extra depth and dimension
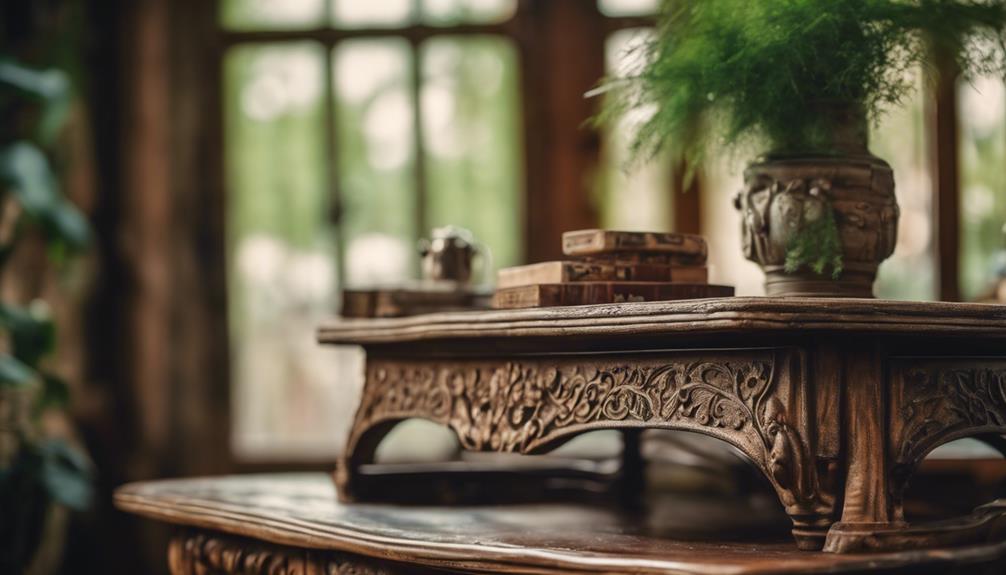
Enhancing Texture Details
Applying antiquing wax to enhance texture details brings out the intricate patterns and crevices on our furniture, adding depth and character to the overall design. By using a wax brush, we can work the antiquing wax into the crevices and details, creating a beautiful, distressed look. It is crucial to apply the antiquing wax after clear wax to achieve the desired effect.
Here's a summary of the antiquing wax application process:
| Step | Action | Result |
|---|---|---|
| 1 | Apply clear wax | Protects the chalk paint and creates a base for the antiquing wax |
| 2 | Apply antiquing wax | Enhances texture details and adds depth to the design |
| 3 | Wipe off excess wax | Controls the level of distressing on the furniture |
| 4 | Allow wax to dry and cure | Ensures a durable finish |
Controlling Wax Buildup
To control the amount of distressing on our furniture, we apply a thin layer of antiquing wax, working in small sections to prevent excess buildup. This allows us to achieve a subtle, aged look without overwhelming the piece.
When applying antiquing wax, we need to be mindful of wax buildup. To avoid this, we use a lint-free cloth or wax brush to apply the wax, buffing off any excess for a subtle, aged effect.
Here are some key takeaways to keep in mind when working with antiquing wax:
- Apply a thin layer of wax to control the level of distressing
- Work in small sections to prevent excess buildup
- Experiment with different techniques and amounts of wax to achieve your desired level of distressing
Enhance With Buffing
As we work to achieve a professional finish, buffing becomes an important step in enhancing the beauty of our chalk-painted pieces. By buffing, we can create a smooth and polished surface that showcases our hard work.
To buff, we use a clean, dry lint-free cloth to gently rub the waxed surface in circular motions. This process helps distribute the wax evenly and removes excess wax, giving our piece a luxurious sheen. The more we buff, the shinier the finish will become, adding a level of sophistication to our furniture.
Buffing is essential in achieving a professional and polished look, and it's surprising how much of a difference it can make. By taking the time to buff our piece, we're ensuring a finish that's truly exceptional.
Add a Protective Coat
We're now ready to lock in our hard-won finish with a protective coat that will safeguard our beautiful chalk paint and antiquing wax work. This essential step ensures our furniture piece remains vibrant and protected for years to come.
To achieve this, we'll apply a clear wax or lacquer that provides a durable finish and prolongs the life of our painted furniture.
Here are a few key considerations when choosing a protective coat:
- Select a clear wax or lacquer that suits the desired sheen and level of protection needed for our furniture piece.
- Confirm the seal is proper to maintain the distressed finish over time.
- Choose a protective coat that enhances the antiquing wax, adding depth and character to our furniture piece.
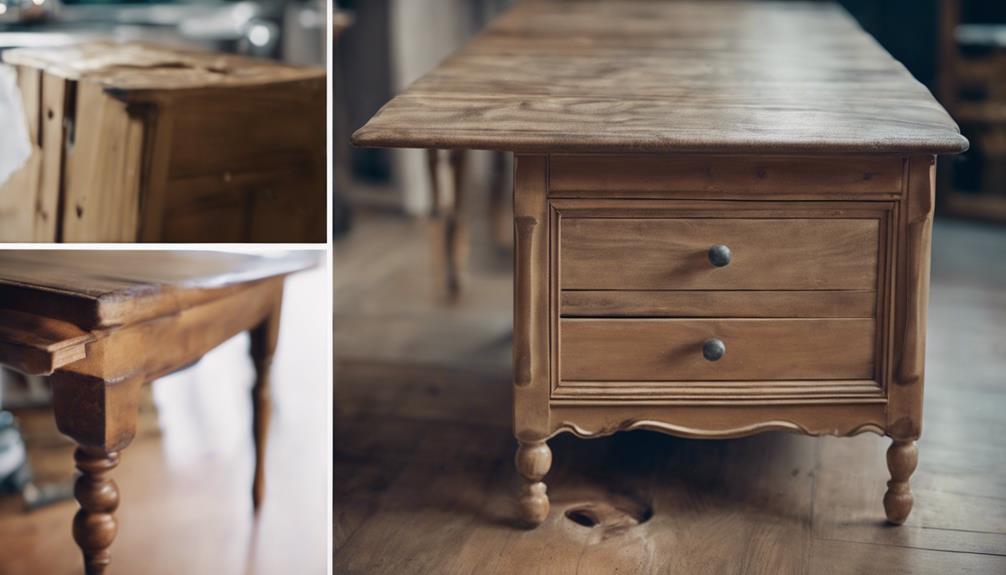
Inspect and Refine
Before applying chalk paint and antiquing wax, we meticulously inspect the furniture piece to identify any imperfections or areas that require refinishing. This important step guarantees a flawless finish with our antiquing wax.
We take our time to refine the surface, sanding down rough spots or imperfections to create a clean canvas for the chalk paint and antiquing wax application. We use a lint-free cloth to remove any residue or particles from the furniture surface, ensuring a smooth and even finish.
It's necessary to take our time during this step, as proper inspection and preparation are critical for a successful chalk paint and antiquing wax application. We don't rush through this process, as it's important to address any imperfections before moving forward. By refining the furniture piece, we set ourselves up for success and ensure our antiquing wax application turns out beautifully.
Seal and Enjoy
Now that we've refined the surface, it's time to seal our beautifully chalk-painted furniture with a clear wax to protect and enhance its finish. This step is essential in achieving a durable and protective finish that will withstand the test of time.
Here are a few things to keep in mind as we seal and enjoy our newly antiqued piece:
- Apply a thin layer of clear wax to protect the finish and enhance its beauty.
- Use antiquing wax to add depth and character to our piece, highlighting details and creating an aged look.
- Make sure the wax is fully dried before using the furniture to prevent smudges or damage.
With our furniture now fully transformed, we can finally enjoy the fruits of our labor. We can proudly showcase our DIY skills and creativity in our home, and with regular maintenance, our piece will remain a stunning conversation starter for years to come.
Frequently Asked Questions
How Do You Use Chalk Paint and Antiquing Wax?
We use chalk paint to transform furniture by applying thin coats with a brush. We let each layer dry before distressing or waxing.
Then, we add antiquing wax with a brush or cloth to create a vintage look. We wipe off excess wax with a lint-free cloth, focusing on edges and details to enhance the distressed effect.
How Long Do You Leave Wax on Chalk Paint Before Buffing?
As we explore the world of chalk paint and wax, we ask ourselves, how long do we let the wax sit before buffing?
The answer is simple: at least 24 hours. This allows the wax to cure properly, ensuring a smooth, even finish. Rushing the process can lead to unevenness and streaks.
How Many Coats of Wax Over Chalk Paint?
We typically apply one to two coats of wax over chalk paint to achieve a beautiful, protected finish. This guarantees our piece looks great and withstands wear and tear.
We've found that multiple thin coats, allowing each to dry before adding the next, provides even coverage and durability. By following this approach, we achieve a smooth, polished finish that we're proud to show off.
How to Get the Antique Look With Chalk Paint?
We achieve the antique look with chalk paint by focusing on a flawless base coat. We apply thin, even coats for a smooth finish, ensuring a strong foundation.
Then, we carefully select a compatible antiquing wax to add depth and age to our piece. By applying the wax to crevices and edges, we create a beautifully aged appearance that's full of character.
Conclusion
We've mastered the art of chalk paint and antiquing wax in 10 easy steps. With these simple techniques, we can transform any piece of furniture into a stunning work of art.
Did you know that 77% of homeowners prefer DIY furniture restoration over buying new? This statistic highlights the growing trend towards sustainability and creativity in home decor.
By following these steps, we can join the ranks of these eco-friendly DIY enthusiasts and create unique, one-of-a-kind pieces that tell a story.