To create a stunning white feature wall, start by preparing the surface by cleaning, filling holes, and priming the wall. Next, design and install frames, spacing them 12 inches apart, and securely attaching them to the wall. Assemble the feature wall by measuring and cutting boards, nailing them to the wall, and filling gaps with caulk and sanding. Paint the wall with precision, ensuring full coverage, and address visible seams and nail holes. Finally, add finishing touches, perform touch-ups, and inspect the wall to guarantee a seamless appearance. As you follow these steps, you'll uncover the secrets to creating a truly show-stopping feature wall that elevates your space.
Key Takeaways
• Prepare the wall by cleaning, filling holes, and applying primer to ensure a smooth surface for your feature wall.
• Design and install frames 12 inches apart, securely attaching them to the wall with precise measurements and 45-degree angled cuts.
• Assemble the feature wall by measuring, cutting, and nailing 1×4 primed boards to the wall, ensuring each board is securely attached.
• Fill gaps and sand the surface, using spackling, fine sandpaper, and caulk to achieve a polished look.
• Paint the feature wall with even coverage, allowing it to dry and inspecting for complete coverage before finishing with touch-ups and final approval.

1 Quart Bulls Eye 1-2-3 Primer Sealer Stain Killer
Designed for interior and exterior surfaces
As an affiliate, we earn on qualifying purchases.
As an affiliate, we earn on qualifying purchases.
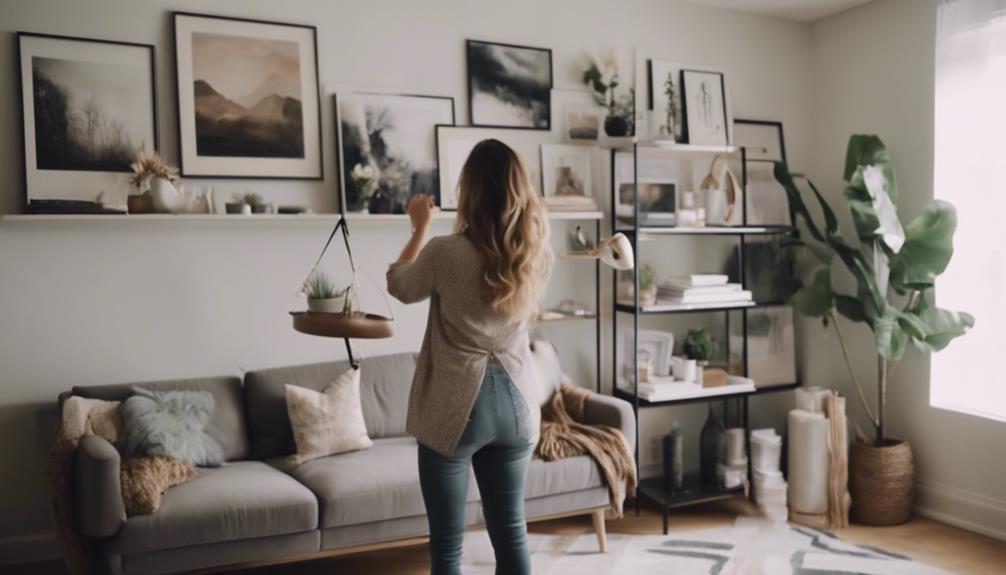
Prepare the Wall Surface
Before you start painting, clean the wall surface thoroughly to remove dirt, dust, and debris that can impact paint adhesion. This vital step will guarantee a smooth, even finish for your stunning white feature wall.
Fill any holes or imperfections with spackling compound and sand the area smooth for a seamless finish. You'll want to mask off areas like baseboards, trim, and outlets with painter's tape to protect them from paint splatter.
Next, apply a coat of primer to the wall surface to ensure proper adhesion and even coverage of the white paint. Don't forget to smooth out any rough areas with sandpaper to create a flawless canvas for the feature wall painting.

DEWALT 12-Inch Miter Saw, 15-Amp, Single Bevel, Compound (DWS715)
Stainless-steel miter detent plate of 12-inch miter saw blade comes with 14 positive stops
As an affiliate, we earn on qualifying purchases.
As an affiliate, we earn on qualifying purchases.
Design and Cut the Frames

As you move forward with designing and cutting the frames for your stunning white feature wall, you'll need to take into account a few key factors.
You'll have to decide on the best frame material options for your project, taking into account durability, aesthetic, and budget.
Next, you'll need to measure carefully for accuracy and cut the frames with precision to guarantee a professional-looking finish.
Frame Material Options
When designing your stunning white feature wall, you'll want to choose the right frame material options to create a cohesive look, and 1×2 or 1×4 primed boards are excellent choices for framing. These boards provide a clean, crisp finish that complements the accent wall's white color.
To guarantee a professional finish, measure and cut the boards at 45-degree angles using a miter saw, which allows for precise cuts and consistent angles. This attention to detail will elevate your feature wall's overall aesthetic.
Once you've cut the frames, create a pattern by spacing them 12 inches apart for a visually appealing design. Don't forget to securely attach the frames to the wall for durability and stability.
With the right frame material options and precise cutting, your stunning white feature wall will be the focal point of any room. By following these steps, you'll create a beautiful accent wall that adds texture and depth to your space.
Measuring for Accuracy
To ensure your stunning white feature wall turns out flawless, measure the height of the accent wall accurately to determine the exact length of the frames you'll need. This step is vital in achieving a professional-looking finish. Take your time to measure the wall carefully, ensuring you get precise measurements. Remember, measuring for accuracy is key to creating a stunning white feature wall that's both visually appealing and well-balanced.
As you measure, keep in mind that each frame should be spaced 12 inches apart to create a uniform look. This consistent spacing will give your feature wall a polished, high-end appearance.
Additionally, consider using a spacer to maintain consistent spacing between the frames, ensuring a seamless design. By taking the time to measure accurately, you'll be able to cut your frames to the exact length needed, avoiding costly mistakes and ensuring a flawless finish.
Cutting the Frames
Now that you've taken precise measurements, you're ready to cut the frames that will bring your stunning white feature wall to life. This is where your creativity shines, and your design vision takes shape.
To achieve a visually striking design, create a pattern with 45-degree angles using a miter saw set at a 45-degree angle to cut the 1x2x8 frames.
Here's what you need to keep in mind while cutting the frames:
- Precise cuts matter: Guarantee precise cuts and consistent angles with the miter saw for a professional finish.
- Even spacing is key: Utilize a 12-inch spacer to maintain even spacing between the frames for a cohesive look.
- Accentuate the design: Design the frames in a way that complements the overall aesthetic of the room and enhances the wall's appearance.
- Test on a scrap piece of wood: Before cutting the actual frames, test your miter saw on a scrap piece of wood to ensure accuracy and avoid mistakes.

YOUEON 12 Pack Unfinished Wood Blocks for Art and Crafts, 4 X 4 X 1 Inch MDF Wood Board Wooden Square Blocks Craft Panels, Great for Crafts, Painting, DIY Projects, Carving, Engraving
YOUEON set of 12 unfinished wood blocks for crates will go perfect for arts and crafts. Each wood…
As an affiliate, we earn on qualifying purchases.
As an affiliate, we earn on qualifying purchases.
Assemble the Feature Wall

With your materials ready, measure and cut the 1×4 primed boards to the appropriate length for your stunning white feature wall. This will create the foundation for your accent wall, which will become a focal point in the room.
As you assemble the feature wall, bear in mind that the goal is to create a seamless and polished look.
To achieve this, use a stud finder to locate studs and mark their positions for attaching boards securely. Then, nail the boards to the wall using a finish nailer and 1 1/2' finish nails for a professional finish.
As you work, keep in mind that the key to a stunning feature wall is attention to detail. By taking the time to make sure each board is securely attached and properly aligned, you'll create a beautiful accent wall that draws the eye and adds visual interest to the room.
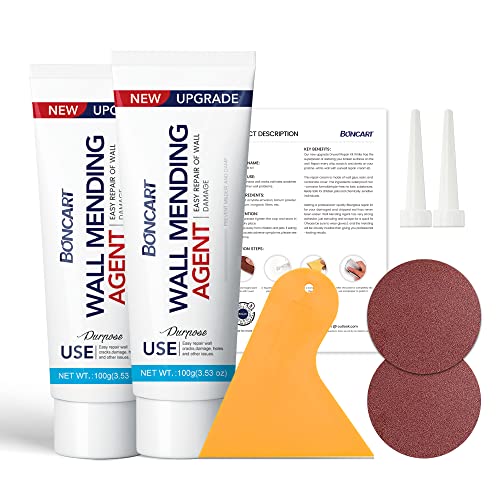
Drywall Repair Kit,2 Pack Wall Mending Agent,Wall Spackle with Scraper, Wall Surface Hole Fill Quick and Easy Solution
The drywall repair kit includes 2x Wall mending agent (100g), 2x Nozzle Extender, 1x Scrapers, and 2x Sandpaper.
As an affiliate, we earn on qualifying purchases.
As an affiliate, we earn on qualifying purchases.
Fill and Sand the Gaps
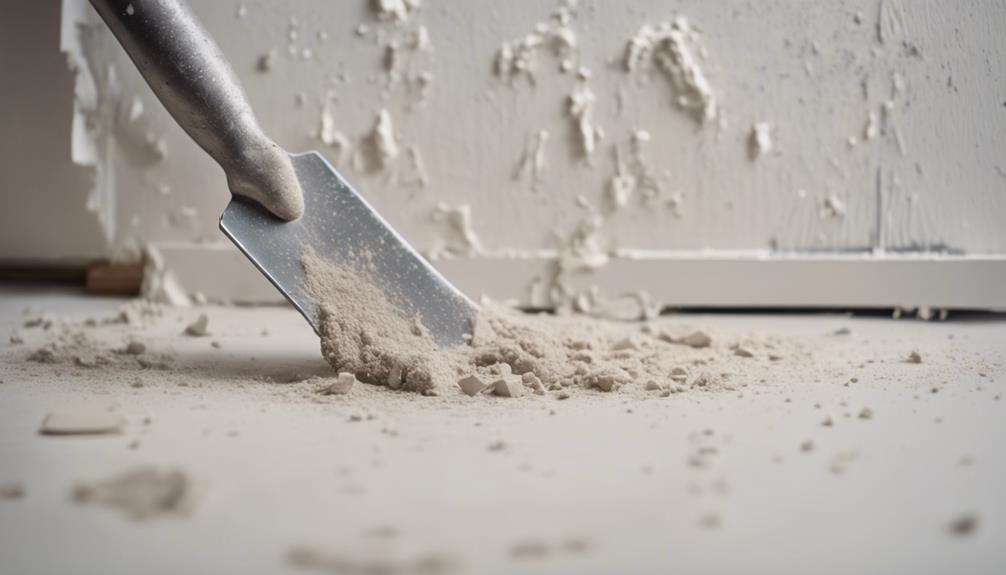
You've successfully assembled your feature wall, but for a truly polished look, it's essential to fill and sand the gaps between the boards and walls. Now it's time to tackle those imperfections and create a seamless surface.
To achieve this, follow these essential steps:
- Fill nail holes with spackling, leaving a bit of excess for easier sanding.
- Sand battens with fine sandpaper to guarantee a smooth finish on the wall.
- Caulk gaps between boards and walls to create a polished, cohesive look.
- Properly fill and sand gaps to enhance the overall aesthetic of your feature wall.
Paint the Wall With Precision
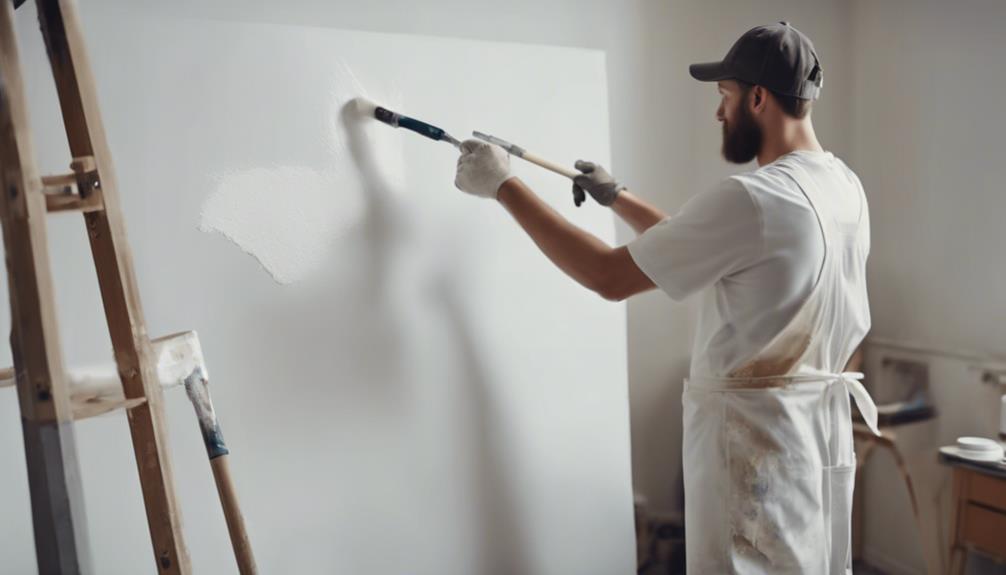
To achieve a flawless, snow-white finish, grab a foam roller and get ready to paint the wall with precision. As part of this step-by-step guide to creating a stunning white feature wall, making sure to follow these essential steps will guarantee a professional-looking result.
| Step | Action | Tips |
|---|---|---|
| 1 | Apply paint evenly | Work in sections to maintain consistency |
| 2 | Guarantee full coverage | Don't forget the edges and corners! |
| 3 | Allow to dry | Wait for the recommended time before adding coats |
| 4 | Inspect and repeat | Check for any imperfections before adding more coats |
| 5 | Final inspection | Double-check for complete coverage before moving on |
When painting the wall with precision, remember to work methodically, ensuring each section is fully covered before moving on. By following these steps and taking your time, you'll achieve a smooth, even finish that's the perfect backdrop for your stunning white feature wall.
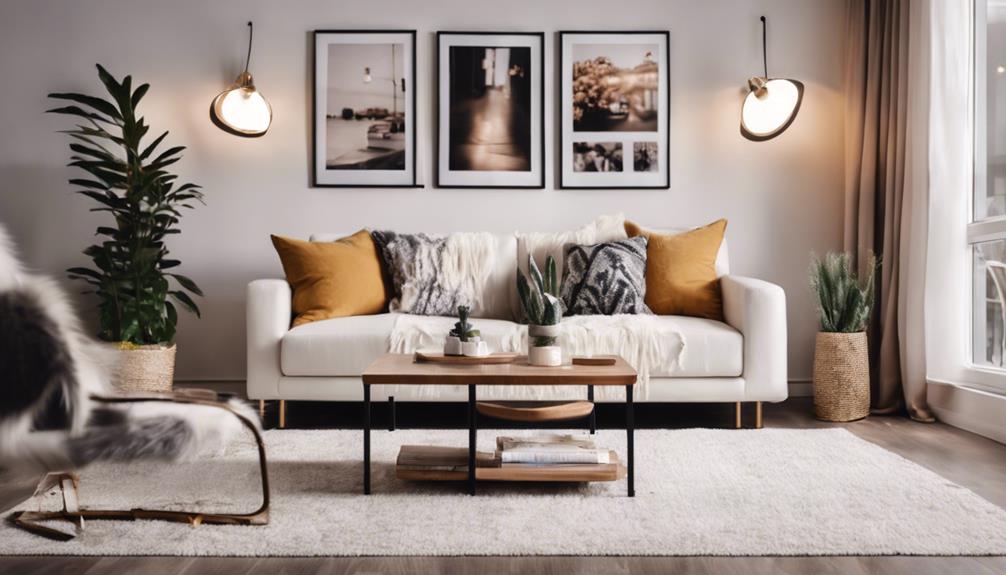
Add Finishing Touches
Now that your wall is painted to perfection, it's time to add those finishing touches that will elevate your white feature wall to the next level. To achieve a stunning feature wall that becomes the focal point of your room, you need to pay attention to the details.
Here are the essential finishing touches to take into account:
- Clean edges: Use a baby wipe to clean excess caulk for a neat and tidy finish.
- Precise caulking: Employ the baby-wiping trick for precision when caulking gaps between boards.
- Seamless look: Ensure edges are clean and sharp by wiping away excess caulk.
- Polished design: Achieve a polished and cohesive design by filling gaps with caulk.
Final Inspection and Touch-ups

With a discerning eye, inspect the accent wall for any imperfections or areas that require touch-ups. This is your last chance to guarantee your feature wall looks stunning in your living room, transforming it from a plain wall to a focal point. Use a critical eye to identify any uneven paint coverage or visible seams. Take note of any areas that need attention.
| Imperfection | Solution |
|---|---|
| Uneven paint coverage | Reapply paint to even out the finish |
| Visible seams | Apply additional caulk to seal gaps |
| Nail holes | Fill with spackling compound and re-paint |
Address any visible nail holes or caulk gaps for a flawless finish. Perform touch-ups with matching paint and caulk to ensure a seamless appearance. Finally, step back and assess the overall look of the feature wall before giving it your final approval. With these final checks, you'll be confident your stunning white feature wall is perfect for your living room.
Frequently Asked Questions
What Is the Rule of Thumb for Accent Walls?
When it comes to accent walls, you'll want to focus on one main wall in a room to create a focal point.
The rule of thumb is to choose a wall that naturally draws attention, like the one with a fireplace or the wall behind the bed in a bedroom.
This approach helps create a striking visual effect, adding depth and interest to the room.
How Do You Make a Good Feature Wall?
To craft an engaging feature wall, you'll want to carefully curate a cohesive look. First, select a statement-making spot in the room to showcase your design.
Next, precision-cut wood pieces at 45-degree angles to create a visually striking pattern. Then, fill gaps and seams with caulking for a seamless finish.
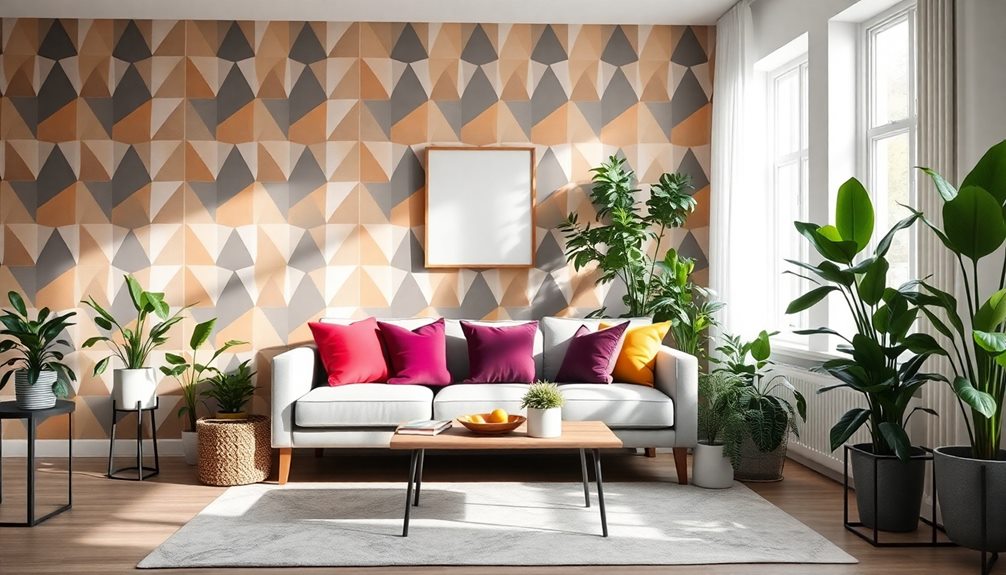
What Is the Best Accent Color for White Walls?
When selecting an accent color for white walls, you have several options to ponder. Navy blue adds sophistication, mustard yellow brings warmth, emerald green offers luxury, blush pink provides romance, and charcoal gray creates a modern contrast.
Each accent color can drastically alter the atmosphere of your space. Take into account your personal style and the room's purpose to choose the perfect hue that complements your white walls and enhances the overall ambiance.
How to Make White Walls Less Boring?
'Break a leg' and tackle the task of making your white walls less boring!
You can add some excitement by introducing texture with shiplap or board and batten, incorporating architectural details like molding or trim, or experimenting with different shades of white paint.
These elements will create visual interest and depth, making your space feel more dynamic and engaging.
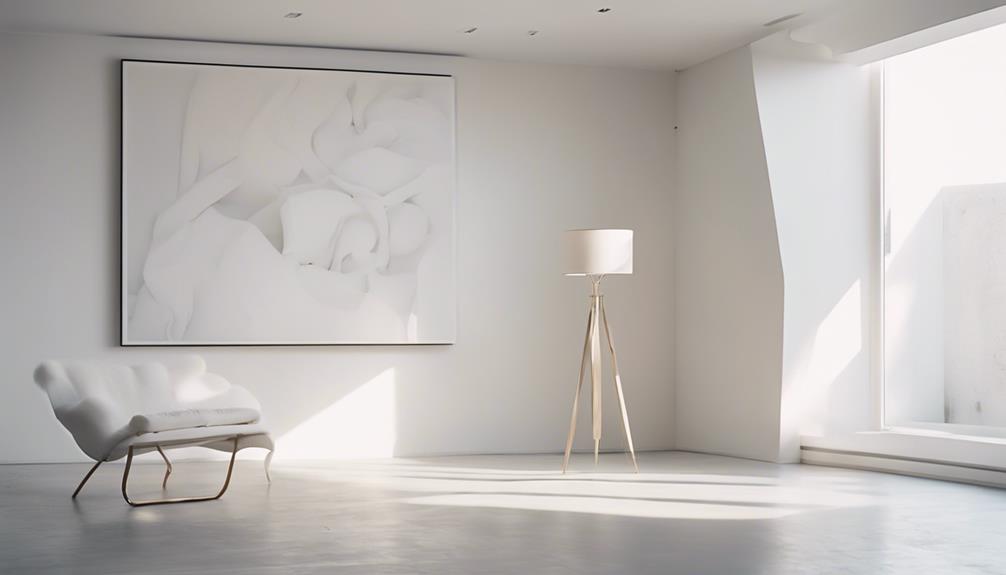
Conclusion
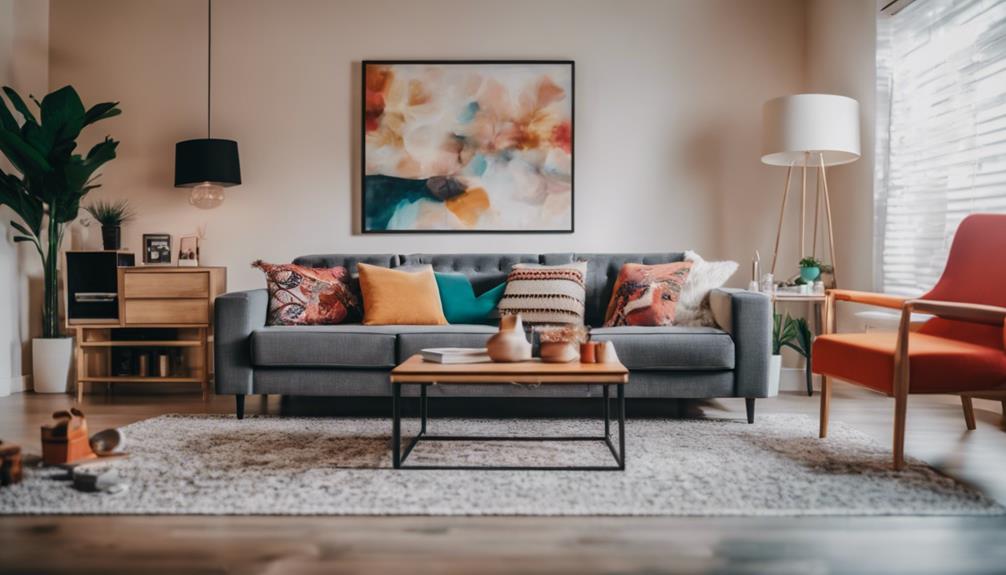
As you step back to admire your handiwork, you can't help but feel a sense of pride and accomplishment. The once-bland wall now radiates elegance, its crisp white hue and precision-crafted frames drawing the eye.
But don't get too comfortable – there's still one final hurdle to clear. Will your masterpiece withstand the scrutiny of friends and family? The verdict is still out, but one thing's for sure: you've created something truly special.