Basement waterproofing is essential for preventing moisture damage in your home, and with this complete DIY guide, you can successfully tackle the challenge yourself. Start by identifying the causes of moisture, like foundation cracks and improper grading. Prepare your space by drying the area and cleaning the walls. Use effective waterproofing techniques, such as sealing cracks and applying waterproof coatings. Don't forget to install a sump pump to manage water accumulation. Regular maintenance is key for long-term protection. Keep going, and you'll discover detailed steps and tips to guarantee your basement stays dry and secure.
Key Takeaways
- Identify causes of basement moisture such as foundation cracks, hydrostatic pressure, and improper grading to address issues effectively.
- Regularly inspect for signs of water damage, including visible cracks, musty odors, and water stains.
- Prepare the basement by drying it out, using dehumidifiers, and cleaning surfaces with antifungal cleaners before waterproofing.
- Utilize waterproofing techniques such as sealing cracks, installing sump pumps, and applying waterproof membranes for long-term protection.
- Maintain gutters, check foundation grading, and test sump pumps regularly to prevent future moisture problems.

Liquid Rubber Basement and Foundation Repair Sealant – Waterproof Concrete Sealer & Crack Filler – Flexible Coating for Indoor & Outdoor Use – Waterproofing Paint – Black, 5 Gallon
SUPERIOR FLEXIBLE SEALANT: Liquid Rubber's foundation sealer creates a permanent waterproof membrane for basement waterproofing, foundation leak repair,…
As an affiliate, we earn on qualifying purchases.
As an affiliate, we earn on qualifying purchases.
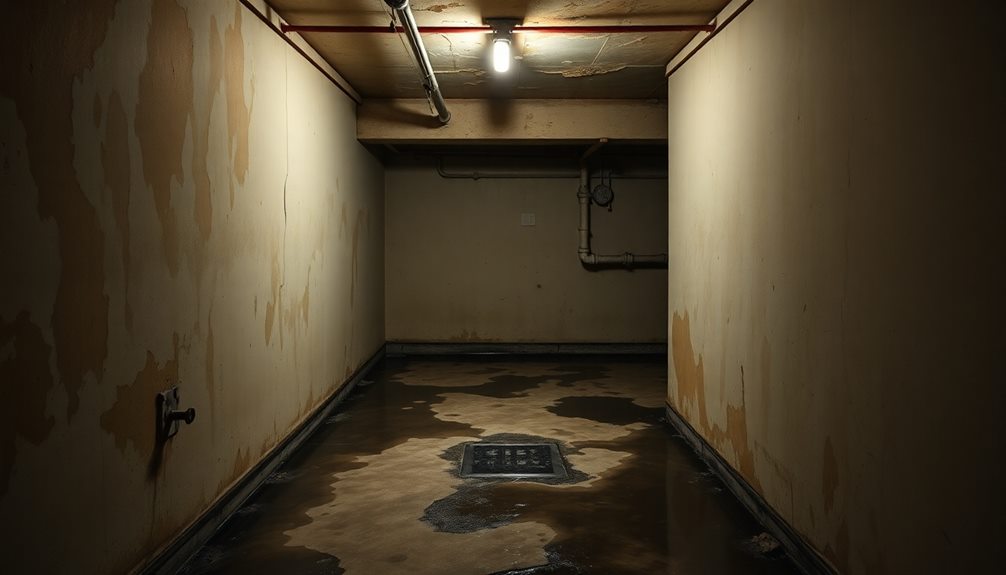
Causes of Basement Moisture
Basement moisture can stem from several common causes that homeowners should be aware of. One major culprit is foundation cracks, whether vertical or horizontal. These cracks can allow water to seep into your basement walls and floors.
Horizontal cracks, in particular, may signal more serious structural issues. Hydrostatic pressure from groundwater can exacerbate moisture problems, especially if you live in an area with a high water table, pushing moisture through foundation walls.
Improper grading of your landscaping can also be a significant factor. If your yard slopes toward your foundation, it can direct rainwater directly at your home, increasing the risk of water intrusion.
Clogged gutters and downspouts can worsen the situation by preventing proper drainage, causing overflow and pooling around your foundation. Heavy rainfall and melting snow can amplify these conditions, often leading to damp spots in your basement.

Aquastrong Sump Pump 1 HP 4500 GPH Submersible Water Pump Thermoplastic Portable Utility Pump High Flow Water Removal for Swimming Pool Garden Pond Basement Window Wells with 10ft Long Power Cord
Efficient Sump Pump: Aquastrong sump pump with 1HP powerful motor. Draining water up to 4500GPH Per Hour( 75…
As an affiliate, we earn on qualifying purchases.
As an affiliate, we earn on qualifying purchases.
Signs of Water Damage
When you're in your basement, pay attention to visible cracks in the walls or floors; they can signal moisture problems.
You should also notice any musty odors, which often indicate mold or mildew growth.
Visible Cracks Identification
Identifying visible cracks in your basement is vital for preventing water damage and maintaining structural integrity. These cracks in your basement walls or floors often indicate water seepage and potential structural issues.
Pay close attention to horizontal cracks, as they're typically more severe than vertical ones. If you notice cracks wider than 1/8 inch, don't ignore them—they can lead to significant water intrusion and may require a professional assessment.
While inspecting for cracks, also look for efflorescence, that white chalky substance forming on your walls. It signals moisture problems, appearing when water evaporates and leaves mineral deposits behind.
Check around door frames and uneven floors; these could reveal signs of structural shifts caused by water damage.
Regular inspections after heavy rains are essential. They help you identify new cracks or worsening conditions, allowing for timely intervention before the damage escalates.
Musty Odor Detection
A persistent musty odor in your home often signals hidden moisture problems in your basement, indicating the potential presence of mold or mildew.
These odors are a clear warning that moisture levels may be above 60%, creating an ideal environment for mold growth. It's crucial to act quickly and investigate.
Here are some signs to look for:
- Visible Water Damage: Check for any discoloration or stains on walls and ceilings.
- Efflorescence: Look for a white, powdery residue on your basement walls, indicating ongoing moisture issues.
- Mold and Mildew: Inspect for any patches of mold or mildew, especially in corners and behind furniture.
- Health Issues: Be aware of respiratory problems or allergies that could be aggravated by mold exposure.
Regular inspections and maintenance, like cleaning gutters and ensuring proper drainage, can help prevent water intrusion and the musty odors that come with it.
Don't ignore these signs; addressing them early can save you from costly repairs and health issues down the line.
Stay vigilant and keep your basement dry!
Water Stains Observation
Persistent musty odors often lead homeowners to inspect their basements for hidden moisture issues. One of the first signs to look for is water stains on walls or ceilings. These stains, which can appear as yellow, brown, or dark patches, usually form around windows, doors, or plumbing fixtures. Their presence often indicates moisture intrusion, which, if ignored, can lead to serious structural damage.
Additionally, homeowners should be aware that moisture problems can also contribute to air quality issues and respiratory health risks, similar to the effects of wood-burning pollutants air quality concerns.
You should also be on the lookout for efflorescence, a white, powdery substance on masonry surfaces. This is another clear signal that water is present behind your walls. Pay special attention to stains that expand or change color after heavy rainfall; these indicate ongoing water problems that require immediate action.
Regular inspection for water stains is essential in identifying leaks early. By catching these issues before they escalate, you can prevent costly repairs and potential mold growth.
Implementing proper waterproofing measures can safeguard your basement from future water issues. Don't wait until you see mold or significant damage—stay proactive and keep your basement dry and safe.

Whitecap Dimple Drainage Matting 4' x 50' – Heavy Duty Foundation Drainage Membrane for Crawl Space & Basement, Protects Vapor Barriers, Improves Water Flow, Waterproof Floor Underlayment
IMPROVES WATER FLOW & DRAINAGE Raised dimple design creates a continuous air gap that directs water toward drains…
As an affiliate, we earn on qualifying purchases.
As an affiliate, we earn on qualifying purchases.
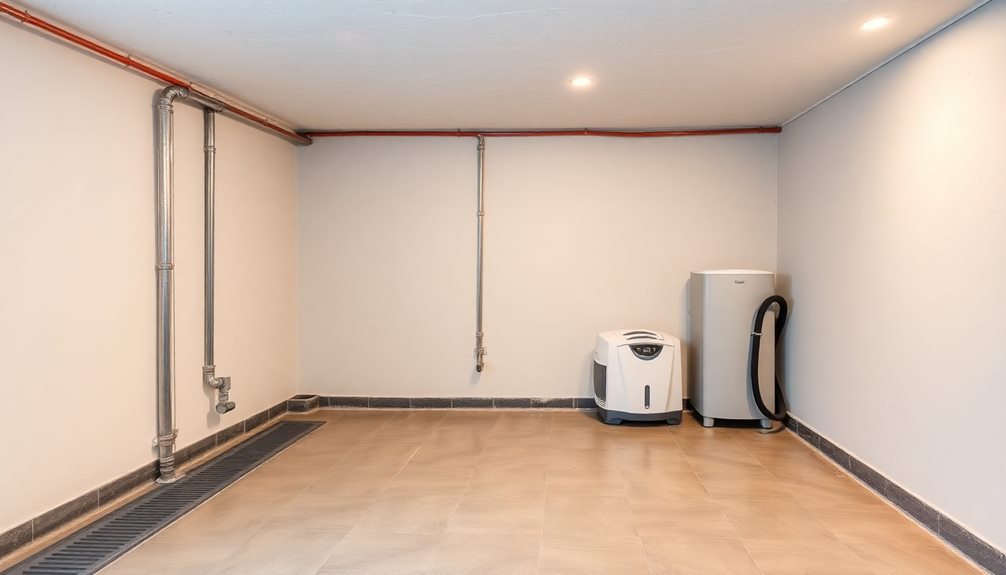
Preparation and Cleaning Steps
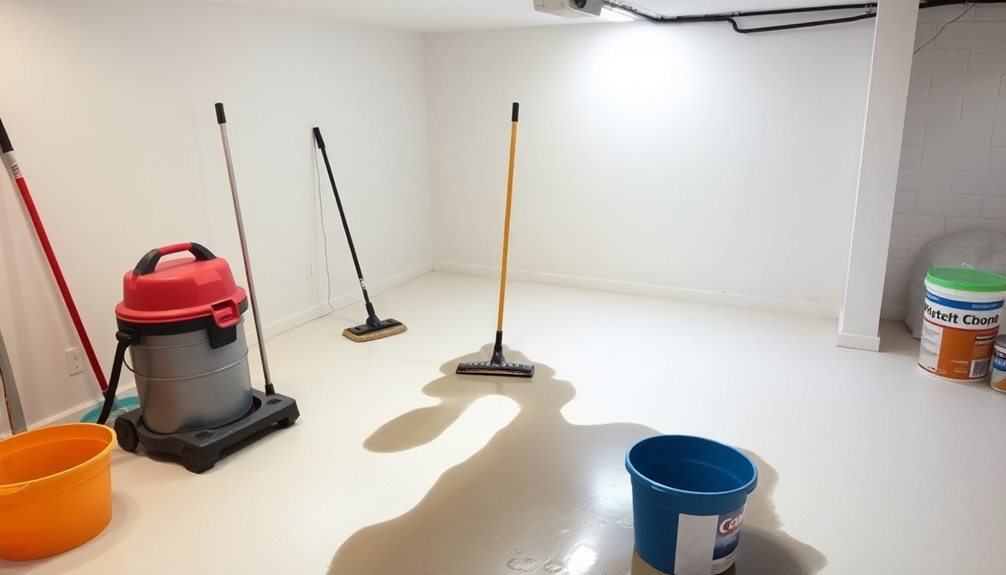
Before you start waterproofing your basement, make sure it's as dry as possible.
Use fans and dehumidifiers to eliminate moisture, and pump out any standing water to prevent mold growth.
Once it's dry, clean the walls and floors thoroughly to remove any mold remnants and prepare for the next steps.
Drying the Basement
Your basement's dryness is important for successful waterproofing, so start by eliminating any standing water.
You'll want to minimize the risks of mold and mildew growth right away. Follow these steps to guarantee your space is as dry as possible:
- Pump Out Standing Water: Use a sump pump or wet vacuum to remove any pooled water.
- Utilize Dehumidifiers: Set up dehumidifiers to help maintain humidity levels below 60%, which is essential to prevent mold growth.
- Remove Damp Materials: Get rid of any damp or moldy porous materials like carpets or drywall, as they can harbor moisture.
- Conduct a Thorough Cleaning: Use an antifungal cleaner or diluted bleach to scrub away any mold or mildew that might remain.
After cleaning, inspect your basement for any lingering moisture sources.
Addressing these issues is crucial; unresolved moisture can undermine your waterproofing efforts in the long run.
Cleaning Mold Remnants
To effectively tackle mold remnants in your basement, start by guaranteeing the area is as dry as possible; this prevents the spread of mold spores during the cleaning process.
Next, equip yourself with protective gear like gloves and masks to safeguard against inhaling spores while cleaning mold.
For a thorough cleaning, use antifungal cleaners or a diluted bleach solution. Scrub moldy surfaces with this solution, paying special attention to spots.
Be sure to remove porous materials such as damp carpets or moldy drywall, as they can harbor mold growth even after cleaning.
Once you've removed the affected materials, wash the walls with a mixture of warm water and dish soap. Add bleach to tackle any stubborn mold spots, then rinse with clean water.
Allow all cleaned surfaces to dry completely overnight. This step is vital to prevent mold growth and guarantees a safe environment for your upcoming basement waterproofing efforts.

RadonSeal Complete DIY Foundation Crack Repair Kit, 10 Ft – Low-Viscosity Urethane Injection Sealant for Crawl Spaces & Concrete Basement Walls, Stops Water Leaks & Radon Gas, Drill-Free Filler
Drill-Free Injection: Repair basement wall cracks effortlessly without drilling, ensuring minimal disruption to your home's structure.
As an affiliate, we earn on qualifying purchases.
As an affiliate, we earn on qualifying purchases.
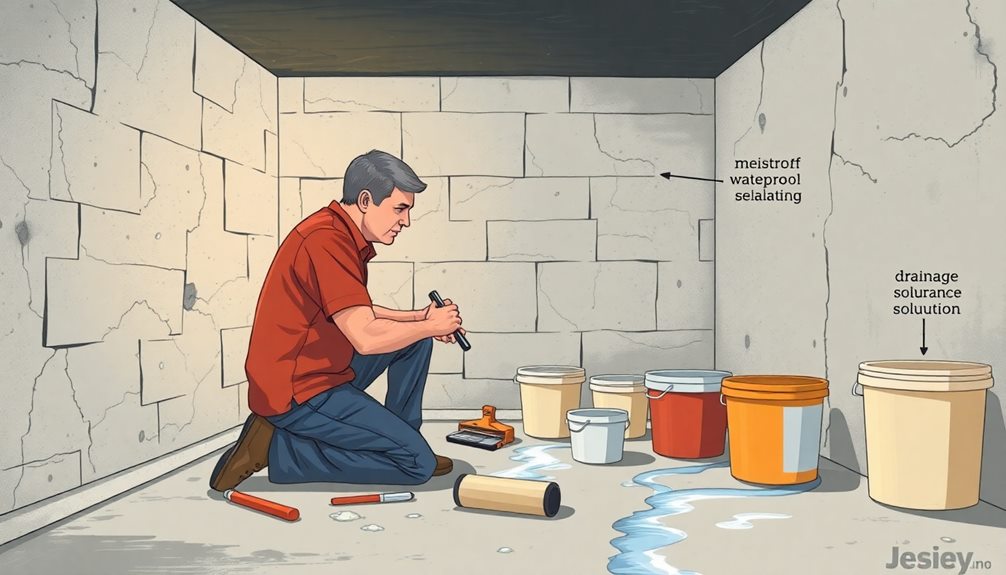
Waterproofing Techniques
Utilizing effective waterproofing techniques is crucial for protecting your basement from moisture damage. By addressing potential issues proactively, you can prevent water from seeping in and causing havoc.
Additionally, maintaining good air quality with an air purifier can help mitigate humidity levels in your basement, guaranteeing a drier environment air purifier maintenance dos and don'ts.
Here are some key methods to take into account:
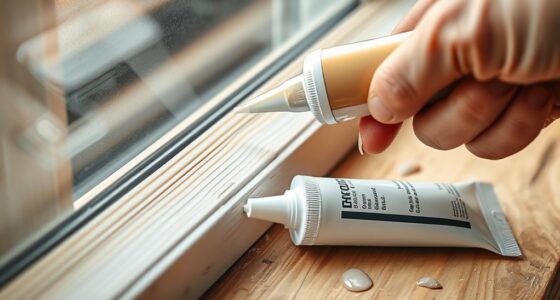
- Interior Waterproofing Techniques: Seal cracks or signs of damage using hydraulic cement for larger gaps and epoxy injections for smaller cracks (under 1/8 inch). This prevents moisture from infiltrating your walls.
- Exterior Waterproofing Methods: Improve yard grading to direct water away from your foundation. Make sure gutters and downspouts are upgraded, and apply a waterproof coating on exterior walls for extra protection.
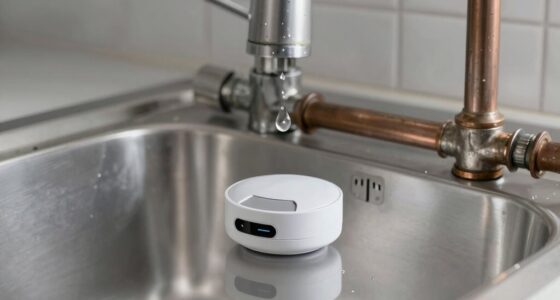
- Installing a Sump Pump: If you live in a high water table area, install a sump pump to actively remove water during heavy rains, reducing the risk of flooding.
- Regular Maintenance: Regularly inspect and clean gutters, test your sump pump, and monitor humidity levels to guarantee your waterproofing systems remain effective.
Step-by-Step Waterproofing Process
Beginning the waterproofing process involves a series of methodical steps that guarantee your basement is protected from moisture.
Start by thoroughly cleaning the basement walls to remove any loose debris, dust, and mold using a mixture of warm water and grease-cutting dish soap. Allow the surfaces to dry completely overnight.
Next, inspect the walls for holes and cracks. For larger openings, use hydraulic cement for crack repair, while epoxy injection is great for narrower cracks under 1/8 inch.
Once you've sealed the cracks, apply a waterproof coating like DRYLOK Extreme Basement and Masonry Waterproofer. Follow the manufacturer's guidelines and make certain you apply at least two coats for ideal protection.
Don't forget to use elastic sealants around doors, windows, and pipes to create a flexible barrier against moisture.
Regularly clean and inspect the walls to identify any new cracks or signs of wear. Keeping an eye on your waterproofing system is essential.
If you find significant issues, consider professional waterproofing to make sure your foundation walls remain dry. These waterproofing tips can help maintain your basement's integrity for years to come.
Sump Pump Installation
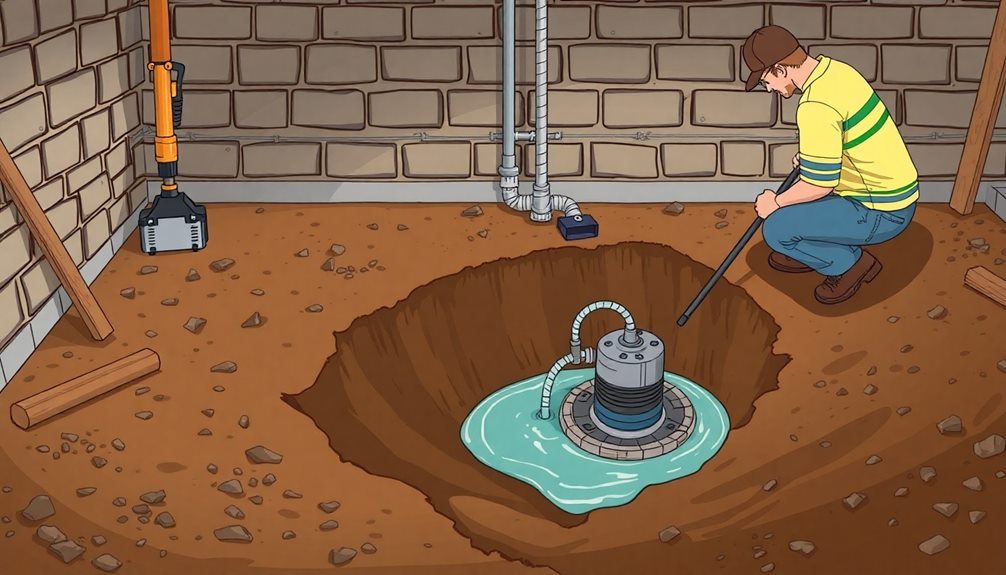
After confirming your basement walls are properly waterproofed, the next step is to install a sump pump to manage any water that may still enter the space.
A sump pump is essential, especially in areas with high water tables. Here's how to successfully install a sump pump:
- Choose the Right Model: Opt for a sump pump with a minimum capacity of 2,000 gallons per hour to handle potential water influx effectively.
- Dig the Sump Pit: Create a pit that's at least 24 inches deep and 18 inches wide. This provides ample space for the pump to operate efficiently.
- Install the Discharge Pipe: Confirm the discharge pipe directs water at least 10 feet away from your foundation. This prevents water from recirculating back into your basement.
- Seal with Waterproof Paint: Once the sump pump is in place, consider applying waterproof paint to the surrounding area for added protection.
Maintenance and Prevention
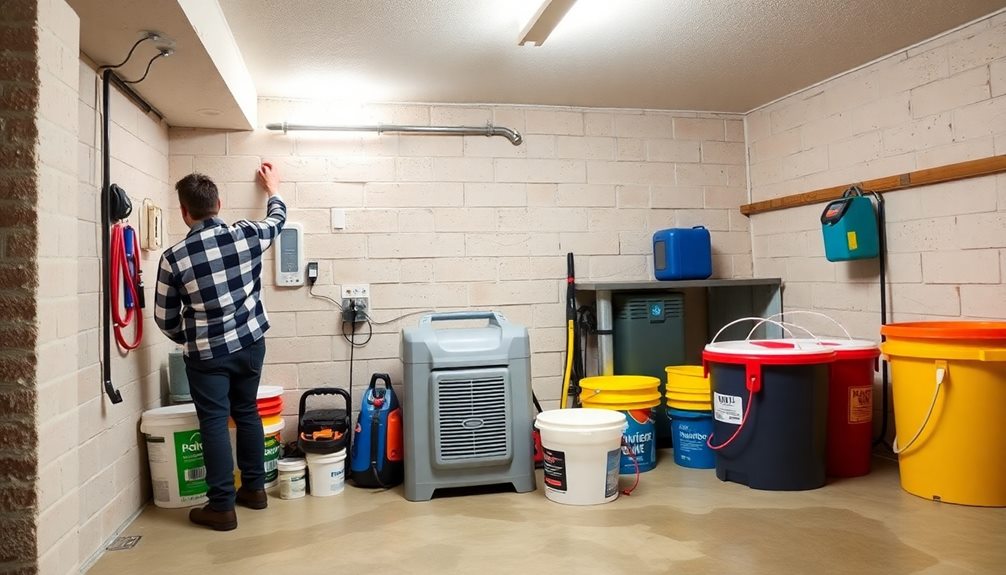
To keep your basement dry and prevent water intrusion, it's important to stay on top of maintenance and prevention tasks.
Begin with regular gutter maintenance; inspect them at least twice a year to verify they're clear and directing water away from your foundation. Proper foundation grading is essential as well—confirm a slope of at least 6 inches over 10 feet to promote effective water drainage.
Additionally, consider using natural remedies to enhance your waterproofing efforts, such as incorporating drainage plants that can help absorb excess moisture cold medications overview.
Don't forget about sump pump testing; check its functionality every three to four months, so it operates effectively during heavy rains.
Humidity monitoring is also important; use a hygrometer to keep levels below 60% to prevent mold and mildew growth. Conduct annual checks for new cracks or gaps in your foundation, sealing any you find to enhance moisture prevention.
Consider scheduling a thorough basement inspection at least once a year to assess the effectiveness of your waterproofing measures.
Professional Help and Considerations
When dealing with serious waterproofing challenges, seeking professional help can save you time, money, and stress.
Sometimes, DIY fixes just won't cut it, especially when structural damage or extensive mold is involved.
Here's what to reflect on when hiring a contractor:
- Licensed, Insured, and Bonded: Always verify your contractor meets these requirements. It protects you against potential liabilities during the waterproofing process.
- Free Inspections: Many professionals offer free assessments. This helps you gauge the extent of water damage without upfront costs.
- Cost Estimates: Obtain detailed estimates from multiple contractors. This transparency allows you to budget effectively and avoid unexpected expenses.
- Customer Satisfaction: Research company ratings on platforms like the Better Business Bureau and Trustpilot. Look for recent references to understand a contractor's experience specifically in basement waterproofing.
Frequently Asked Questions
How Can I Waterproof My Basement by Myself?
To waterproof your basement, start by cleaning it thoroughly, sealing cracks with hydraulic cement, and applying a quality waterproofing coating. Install a sump pump and guarantee proper drainage around your foundation to prevent water intrusion.
What Is the Best Waterproofing Method for Basements?
The best waterproofing method for your basement combines interior and exterior techniques. Seal cracks, apply coatings, improve drainage, and install a sump pump to guarantee thorough protection against moisture and flooding in your space.
Which Is the Cheapest Basement Waterproofing Method?
The cheapest basement waterproofing method involves using sealants and hydraulic cement for minor repairs. Regular maintenance, like cleaning gutters and grading, can prevent costly issues, saving you money in the long run.
Will Flex Seal Stop Basement Leaks?
Wondering if Flex Seal can stop basement leaks? It can temporarily seal minor leaks, but it won't fix underlying issues. For lasting results, combine it with proper drainage and professional repairs for severe problems.
Conclusion
So, there you have it! You've learned how to turn your damp dungeon into a dry sanctuary. Who needs a cozy living space when you can just embrace the charm of a musty basement, right? But if you're tired of swimming in your own home, roll up your sleeves and get to work. Remember, nothing says "I love my house" quite like a waterproofed basement. If all else fails, there's always professional help—because sometimes, DIY just means "Don't Involve Yourself!"