
Refinishing your kitchen cabinets is a rewarding DIY project that can save you up to $2,800. Start by gathering necessary tools like a screwdriver, sanding block, and paint supplies. Clean the surfaces using a degreaser, then lightly sand them for better primer adhesion. Apply two coats of quality primer, allowing for proper drying time. Use a mini roller for flat areas and a brush for corners during painting. Finally, reassemble your cabinets carefully. With careful planning and some elbow grease, you can transform your kitchen. Keep going, and you'll uncover even more tips and tricks for a successful refinishing project.
Key Takeaways
- Thoroughly clean cabinets with a degreaser, then lightly sand surfaces for better primer adhesion before starting the refinishing process.
- Apply at least two coats of high-quality primer, allowing 3-4 hours drying time between each coat for optimal results.
- Use mini rollers for flat surfaces and brushes for edges to achieve a smooth finish while maintaining a wet edge during application.
- Allow the final coat to cure for at least 24 hours before reattaching doors and hardware to ensure durability.
- Label cabinet doors and hardware during disassembly for easier reassembly and maintain a tidy workspace throughout the project.
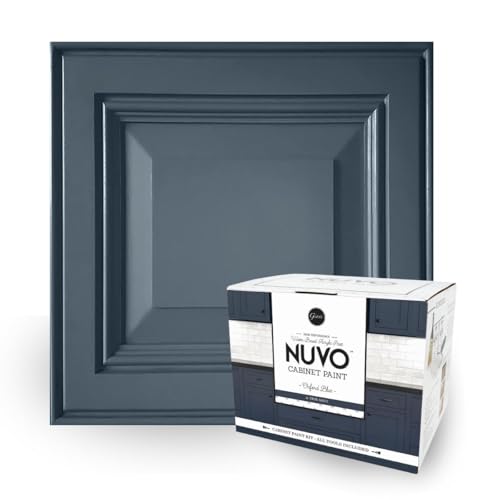
Nuvo Oxford Blue Cabinet Makeover Kit – Easy DIY 7-Piece Set, Regal Navy, Long-Lasting Finish
Regal Navy Elegance: Oxford Blue, a bold, true navy, mirrors the official color of the prestigious English University,…
As an affiliate, we earn on qualifying purchases.
As an affiliate, we earn on qualifying purchases.
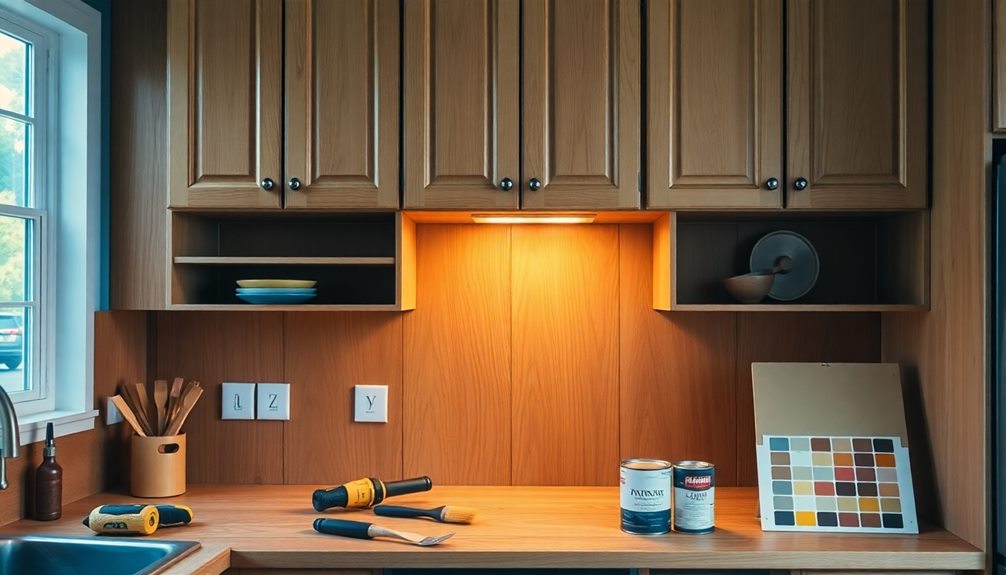
Tools and Materials Required
When you're ready to tackle DIY kitchen cabinet refinishing, having the right tools and materials on hand is vital for a successful project. Start by gathering necessary tools like a screwdriver, sanding block, and a drill with a screw bit. These will help you disassemble your cabinets and prepare the surfaces effectively.
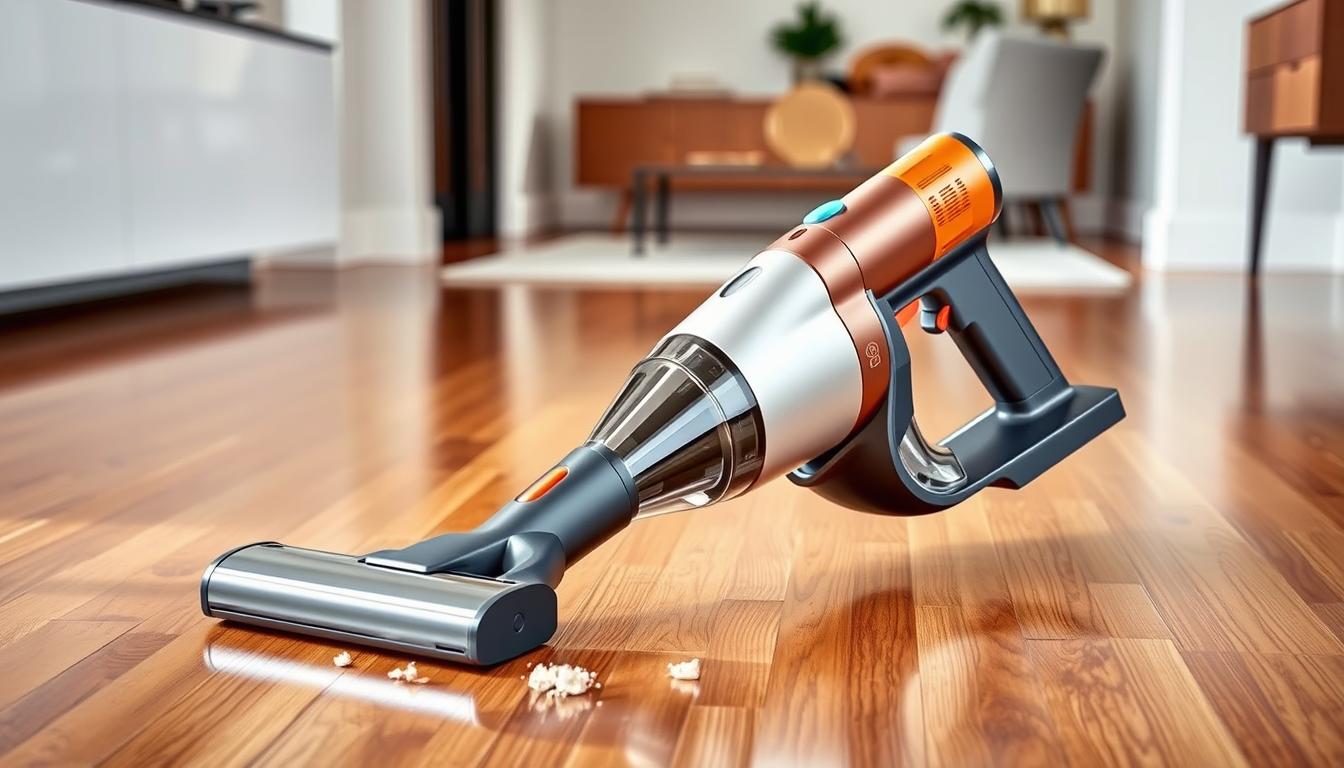
Additionally, consider using a vacuum cleaner with high filtration to clean dust and debris from your workspace, guaranteeing a better finish.
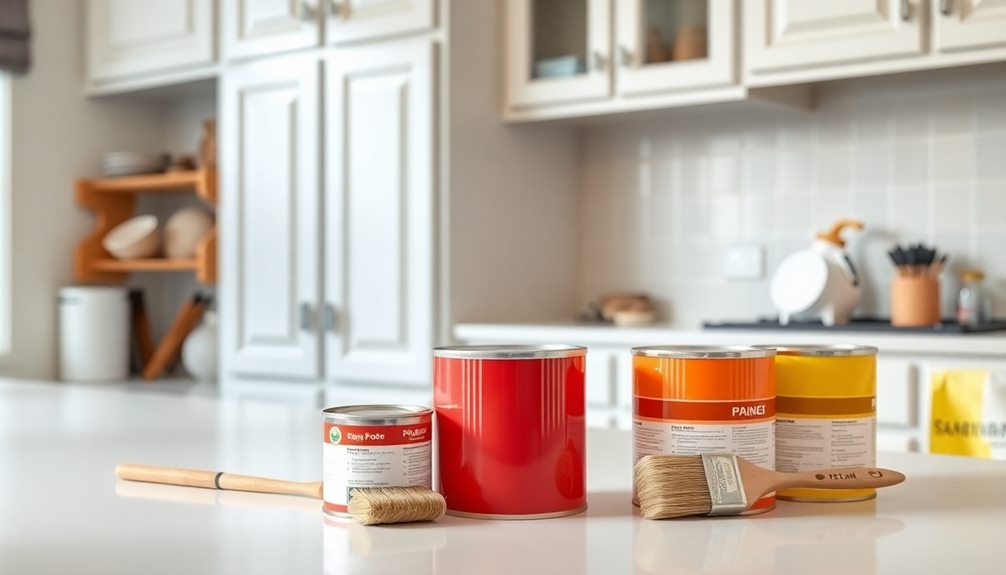
Next, you'll need high-quality paint and primer. Using professional-grade products guarantees durability and a flawless finish. For applying the paint, two sets of mini rollers with foam sleeves will make the process smoother, while two 1.5-inch tapered paintbrushes are perfect for detailed work around edges and corners.
Don't forget about cleaning and prepping your surfaces. A vacuum and tack cloth will help remove dust, while 220-grit sandpaper is vital for smoothing out any imperfections.
Using green scrub pads can also aid in cleaning prior to painting, guaranteeing proper adhesion for the primer and paint.

Stone Coat Cabinet and Furniture Primer, 1 Quart, Bright White Acrylic Primer for Cabinets, Trim, Doors, and Furniture, Water-Based, Quick Drying, High-Hiding, Low Odor, Strong Adhesion, Blocks Tannin
Powerful Color Blocking: High-hide acrylic formula blocks wood tannins and old paint colors, ensuring vibrant and accurate color…
As an affiliate, we earn on qualifying purchases.
As an affiliate, we earn on qualifying purchases.
Preparation and Cleaning
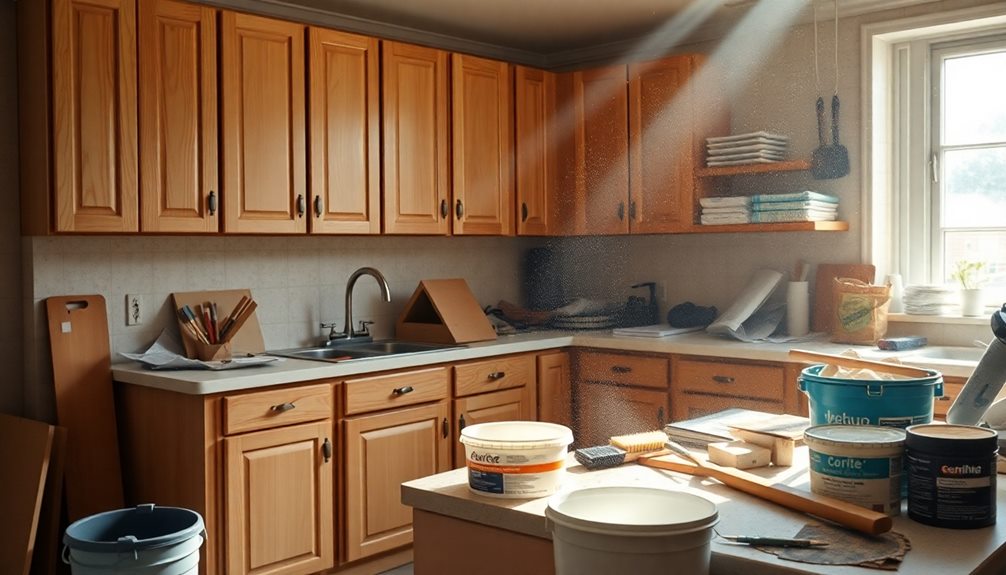
Properly preparing and cleaning your kitchen cabinets is essential for achieving a professional-looking finish. Start by using a grease cutter like Trisodium Phosphate (TSP) to thoroughly clean your cabinets. This step will help you remove all grease and grime, ensuring the surfaces are ready for refinishing.
After cleaning, allow the cabinets to dry completely; moisture can interfere with the adhesion of primer and paint.
Next, implement the SVT process—sand, vacuum, and tack. Lightly scuff the surfaces to create a better bond for the primer, then vacuum and tack to remove any remaining dust.
It's vital to protect surrounding surfaces from paint splatter, so cover them with drop cloths or plastic sheets. Additionally, don't forget to protect the interior spaces of your cabinets with plastic and tape.
Before removing cabinet doors and hardware, label each piece to facilitate easy reassembly later. This preparation is key to ensuring your refinishing project goes smoothly and results in a clean, polished look.
With these steps completed, you'll set a solid foundation for the next phase of your kitchen cabinet refinishing journey.

Mister Rui Foam Paint Roller, 2 Inch Mini Paint Roller Kit 10 Pack, Touch Up Small Paint Roller for Painting Wall, Door, Cabinet
Paint Roller kit 10 Pack: 2 inch foam paint roller covers 6 pack, 2 inch plastic paint tray,…
As an affiliate, we earn on qualifying purchases.
As an affiliate, we earn on qualifying purchases.
Painting Process
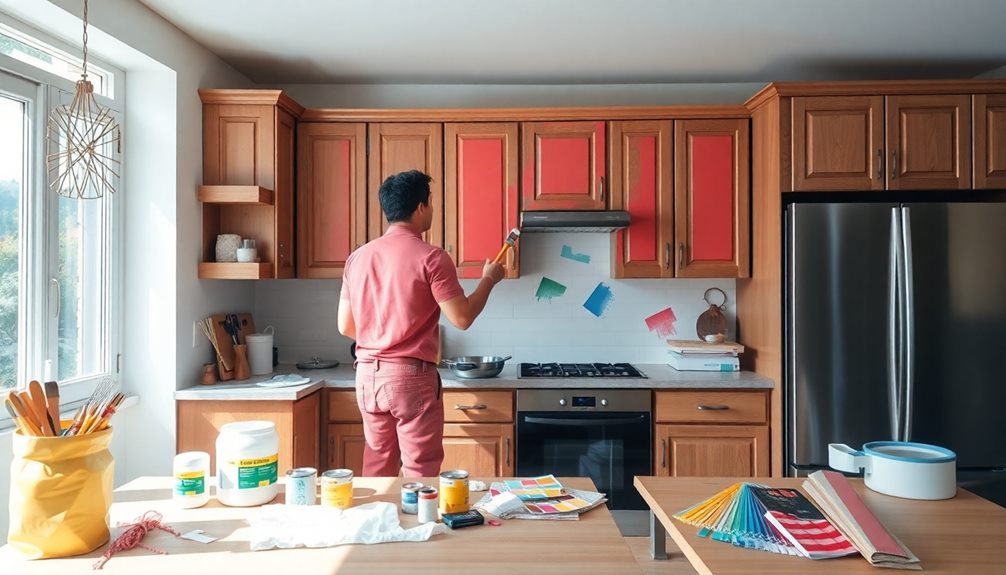
The painting process is where your kitchen cabinets truly begin to transform. Start by applying a high-quality primer, like KILZ 3®, to all surfaces. This step guarantees better adhesion and helps block stains, setting a solid foundation for your cabinet refinishing project.
After the primer dries, you can begin to paint kitchen cabinets with your chosen color. Use a mini roller for flat surfaces and a brush for corners and edges. This combination helps you achieve an even finish while minimizing brush marks.
Allow the first coat to dry for 3-4 hours before applying the second coat. If you want ideal coverage and durability, consider adding a third coat.
While painting, maintain a wet edge to avoid visible marks, guaranteeing a smooth finish that looks professional. Once the final coat has dried, conduct touch-ups by inspecting for any missed areas or imperfections.
This final step is essential for achieving a flawless appearance. With patience and attention to detail, your cabinet refinishing project will result in beautiful, refreshed kitchen cabinets that elevate your space.

Milescraft 1622 – Sand-It Multi-Surface Sanding Block. Sand Flat, Concave, Convex & Round Surfaces or Fit into Tight Spaces. Accepts any ¼ Sheet of Sand Paper. 150 Grit Sand Paper Included
4-in-1 sand block
As an affiliate, we earn on qualifying purchases.
As an affiliate, we earn on qualifying purchases.
Cost Considerations
Considering the costs associated with a DIY kitchen cabinet refinishing project can greatly influence your decision-making process.
When you weigh your options, it's crucial to focus on a few key factors that can impact your budget considerably:
- Supplies Cost: You can spend as little as $200 on supplies for DIY kitchen cabinet refinishing, whereas hiring professionals could set you back between $900 and $3,000 for smaller kitchens.
- Quality Tools: Investing in quality tools and materials improves the longevity and appearance of your cabinets, making it a worthwhile cost consideration.
- Time Investment: Be prepared for a time investment; refinishing typically takes around two full weekends, which could affect your schedule.
- Proper Planning: By planning effectively and budgeting for both time and materials, you can achieve considerable savings compared to full cabinet replacements, which often come with higher labor and material costs.
Additional Resources and Tips
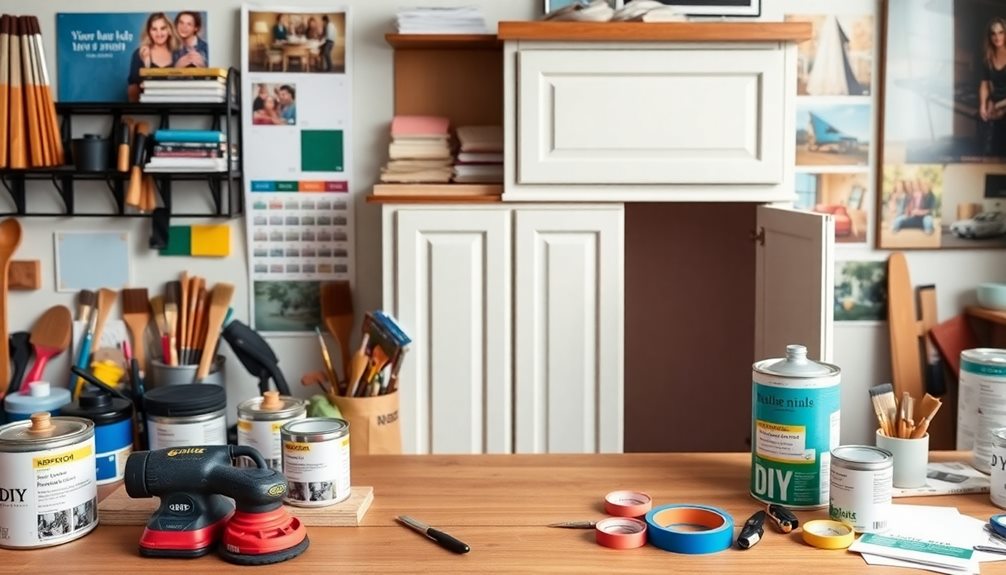
When diving into a DIY kitchen cabinet refinishing project, having the right resources at your fingertips can make all the difference. Start by exploring various paint types and finishes, like satin or semi-gloss, which not only enhance aesthetics but also improve durability.
Consider incorporating aesthetic dinnerware and serveware ideas to inspire your overall kitchen design. For a successful renovation, you'll need to follow a structured process involving cleaning, sanding, priming, and painting. Step-by-step guides available online can provide valuable insights to help you through each stage seamlessly.
Consider investing in a cabinet paint kit from retailers like Amazon, which includes everything you need for your refinishing project, streamlining the process. To gauge whether DIY is the best route for you, check pricing information for professional services that can range from $900 to $3,000 for smaller kitchens.
Stay inspired by visiting blogs and forums dedicated to home improvement, where you'll find the latest kitchen design trends and color choices. These resources won't only enhance your skills but also help you achieve the look you desire for your kitchen cabinets, making your refinishing project a rewarding experience.
Protective Measures
Before you start refinishing your kitchen cabinets, it's essential to protect your floors and countertops.
Lay down drop cloths to catch any paint drips and cover your countertops to shield them from spills.
Taking these protective measures will help keep your kitchen clean and damage-free throughout the project.
Flooring Protection Techniques
Protecting your floors during a kitchen cabinet refinishing project is vital to prevent messy splatters and damage. Here are some techniques to guarantee your flooring stays safe:
- Lay Down Protective Coverings: Use builders paper or drop cloths to catch any paint splatter. This step is fundamental for preserving your floors during the refinishing process.
- Secure the Edges: Utilize painter's tape to seal the edges of your protective covering. This creates a barrier against spills and contributes to a clean work environment.
- Consider Cost-Effective Alternatives: Old sheets or plastic tarps can work just as well for floor protection. They're easy to dispose of after the project, making cleanup a breeze.
- Clear the Workspace: Move furniture and appliances away from the painting area. This minimizes the risk of splatters and allows for thorough coverage of your protective layers.
Remember to overlap the edges of your protective materials by a few inches to catch any accidental paint drips.
With these flooring protection techniques, you can focus on refinishing your cabinets without worrying about damaging your floors.
Covering Countertops Effectively
As you focus on refinishing your kitchen cabinets, don't overlook the importance of protecting your countertops. Start by thoroughly cleaning the countertops to guarantee no debris or grease interferes with the adhesion of your protective coverings.
Once clean, use builders paper or plastic drop cloths to cover the countertops completely, shielding them from paint splatters and dust during the refinishing process.
Make sure to extend the protective material at least 12 inches beyond the edges of the cabinets. This extra coverage will catch any accidental drips or spills that might occur. Secure the protective coverings with painter's tape along the edges. This will help prevent movement and create a tight seal against spills.
If you're concerned about high-traffic areas, consider adding additional layers of protection, like cardboard or old sheets. This extra padding can absorb impacts and further safeguard your surfaces.
With these steps, you can effectively cover your countertops and keep them safe throughout your cabinet refinishing project. Taking the time to protect your countertops will save you from potential headaches later on.
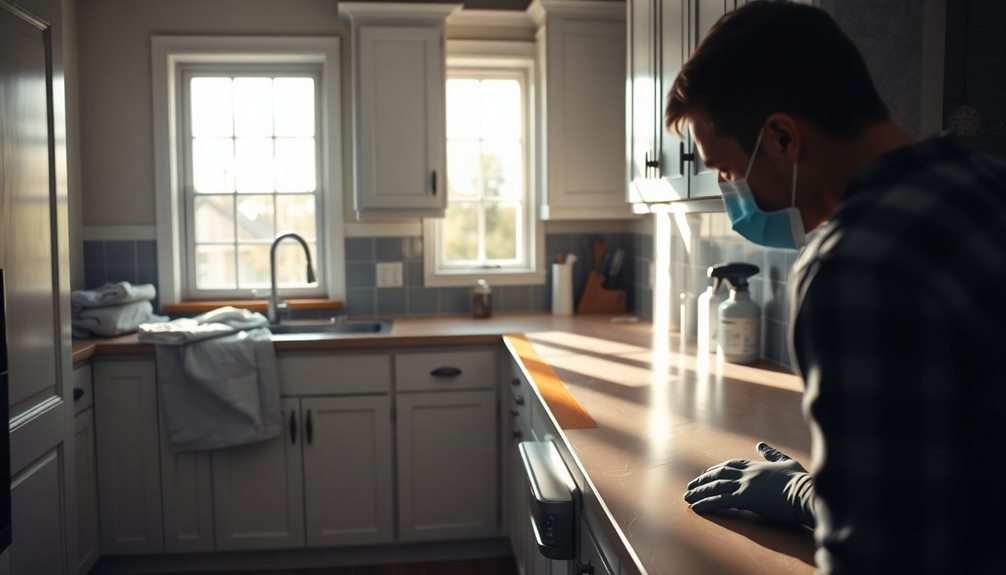
Cleaning and Sanding
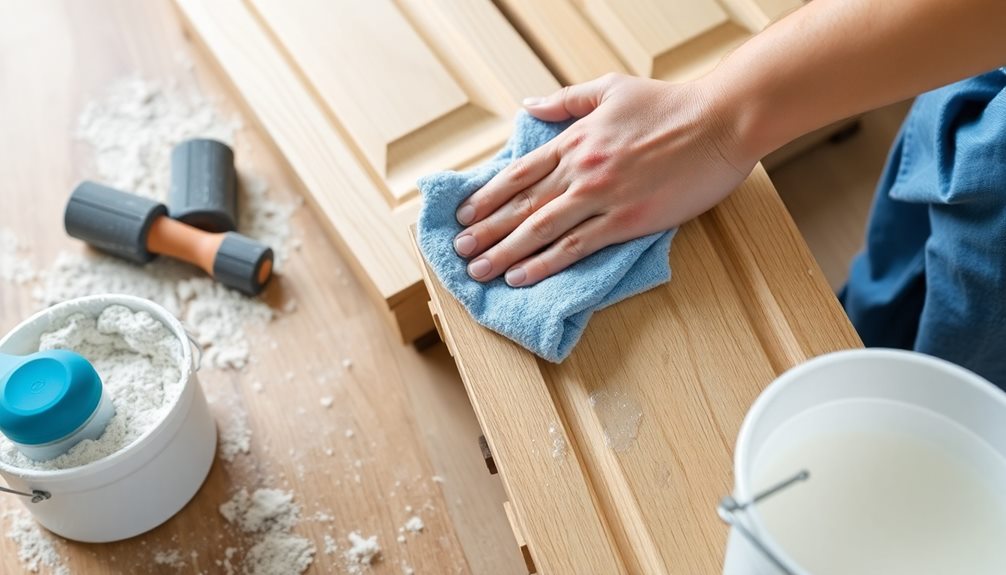
Cleaning your kitchen cabinets is essential for a successful refinishing project. Start by using a degreaser like Trisodium Phosphate (TSP) to thoroughly clean all surfaces. This step removes grease and grime, guaranteeing your cabinets are ready for the next phase.
Once you've cleaned the cabinets, let them dry completely to avoid trapping any moisture under the new finish.
Next, it's time for sanding. Lightly scuff-sand all surfaces with 220-grit sandpaper. This helps enhance the adhesion of the primer and paint.
After sanding, you must eliminate any dust particles that could interfere with a smooth application. Here's how to do it:
- Vacuum all surfaces to remove dust.
- Wipe down the cabinets with a tack cloth for a final clean.
- Use masking tape to protect areas like countertops and appliances from paint overspray.
- Guarantee everything is dry and dust-free before proceeding.
Priming and Painting
When you start priming and painting your cabinets, choosing a high-quality primer is essential for a smooth finish.
You'll want to use the right application techniques, like a mini roller for flat surfaces and a brush for corners, to get the best results.
Choosing Quality Primer
Selecting the right primer is vital for a successful kitchen cabinet refinishing project. A high-quality primer, like KILZ 3®, guarantees proper adhesion and a smooth surface for your topcoat.
Here are some key points to reflect on when choosing your primer:
- Adhesion: Opt for a urethane acrylic bonding primer, especially if you're working with slick or previously painted surfaces. This type provides superior adhesion.
- Coats: Plan to apply at least two coats of primer. This builds a solid foundation and enhances the overall finish.
- Drying Time: Allow for sufficient drying time between coats, typically around 3-4 hours. This step is essential for ideal results.
- Smooth Surface: A good primer will minimize brush marks and create a smooth surface, making your final paint job look professional.
Always follow the manufacturer's instructions for the best outcomes.
Investing time and effort in selecting and applying the right primer will make a significant difference in the durability and appearance of your refinished kitchen cabinets.
Application Techniques Explained
To achieve a flawless finish on your kitchen cabinets, mastering the application techniques for both priming and painting is vital. Start by applying a high-quality primer, like KILZ 3®, to all cabinet surfaces. This step guarantees better adhesion and stain-blocking capabilities. Typically, you'll need two coats of primer with proper drying time in between.
For the paint application, use a mini roller for the main areas of the cabinet doors. This technique helps achieve a smooth finish while using a brush for the detailed corners and edges to minimize brush marks.
It's important to wait 3-4 hours between paint coats, allowing adequate drying time. Before applying additional layers, inspect for any missed spots to guarantee a uniform finish.
Maintain a wet edge while painting to prevent visible lap marks; this means overlapping each stroke slightly with the previous one.
Once the final coat has dried, perform any necessary touch-ups to perfect the look. Finally, carefully remove any protective coverings to reveal your newly refinished cabinets, showcasing your hard work and attention to detail.
Drying Time Importance
Drying time plays an essential role in achieving a professional finish for your kitchen cabinets. If you want to avoid issues like bubbling or peeling, make certain you allow sufficient drying time between coats.
Here are some key points to remember:
- Wait 3-4 Hours: Always allow at least 3-4 hours of drying time between each coat of primer and paint to guarantee proper adhesion.
- Cure for 24 Hours: After your final coat, let it cure for a minimum of 24 hours before reattaching cabinet doors and hardware. This guarantees the paint has dried thoroughly.
- Consider Humidity: High humidity can extend drying times, so aim for a well-ventilated area with temperatures between 70°F to 80°F for ideal results.
- Promote Airflow: Maintain a clean work environment and use a fan to improve airflow, reducing the risk of dust settling on your wet paint.
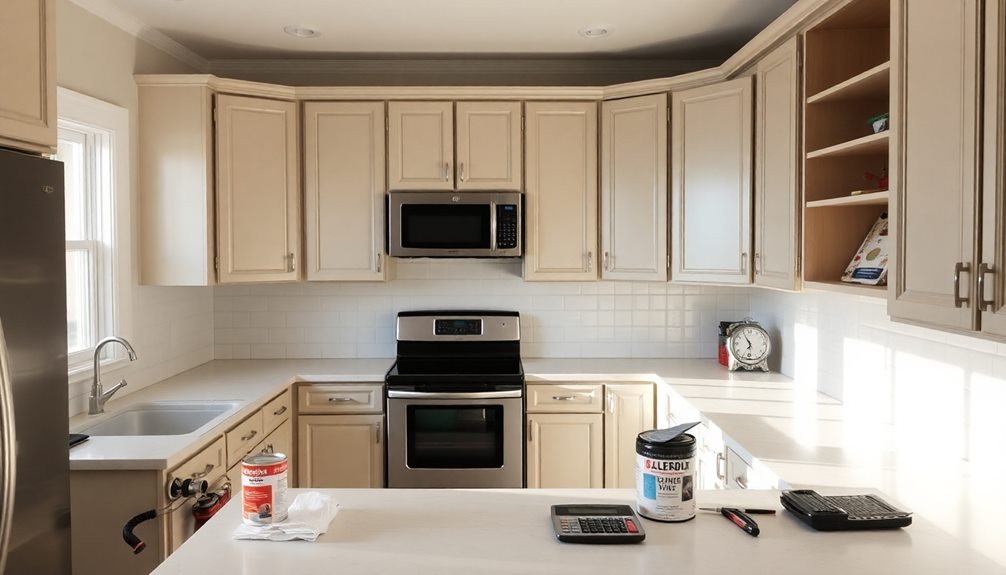
Reassembly and Cleanup
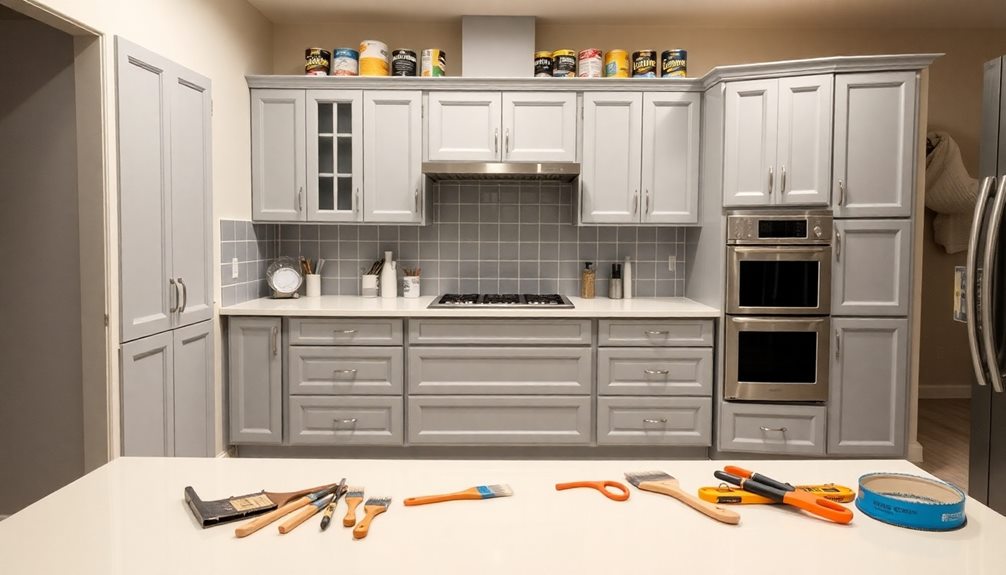
Reattaching your cabinet doors and hardware is the next exciting step in your kitchen cabinet refinishing project. Start by carefully reassembling everything in the same order you labeled them during the preparation phase. This will guarantee a smooth and organized process.
As you put things back together, take a moment to clean up any paint drips or splatters with a damp cloth. Addressing these immediately helps maintain a tidy workspace and prevents hard-to-remove stains.
Once you've reassembled the cabinets, it's time to remove all protective coverings from surfaces, appliances, and countertops. This step restores your kitchen's functionality and appearance.
After everything's back in place, replace the items in your cabinets and on counters, guaranteeing proper organization. This way, you'll have easy access to everything.
Frequently Asked Questions
How to Refinish Cabinets Step by Step?
To refinish cabinets step by step, start by removing doors and hardware. Clean surfaces, sand lightly, apply primer, then paint. After drying, reattach doors in order, checking for touch-ups to guarantee a polished finish.
Is It Better to Spray Paint or Brush Paint Kitchen Cabinets?
Choosing between spray painting or brush painting kitchen cabinets is like picking between a race car and a bicycle. If you want speed and smoothness, spray's your friend; if you crave control, stick with brushing.
Can I Just Paint Over My Kitchen Cabinets?
You can't just paint over your kitchen cabinets without prep. Clean them thoroughly, sand lightly, and use a good primer. Doing this guarantees better adhesion and a longer-lasting, professional-looking finish.
What Is the Cheapest Way to Refinish Kitchen Cabinets?
The cheapest way to refinish your kitchen cabinets is by doing it yourself. Use quality paint and primer, repurpose old items for cleanup, and clean surfaces with simple solutions to save money while achieving great results.
Conclusion
You've tackled your kitchen cabinet refinishing like a pro! Just when you thought it couldn't get any better, you step back and admire your handiwork, realizing the colors perfectly match those new dish towels you picked up on a whim last week. It's funny how a little effort can transform your space and bring everything together. Now, every meal and gathering will feel even more special in your beautifully refreshed kitchen. Enjoy the compliments that are sure to come!