
You can tackle drywall repair confidently, whether you're fixing a tiny nail hole or a large gaping patch. For small holes, use a self-adhesive mesh patch and lightweight spackle, smoothing it out for a seamless finish. Medium holes require sturdier support, while large holes need new drywall and furring strips for extra backing. Always wear safety gear and guarantee good ventilation during the process. Don't forget to apply primer and paint to blend your repairs with the existing wall. Ready to transform your space? You'll find even more tips and techniques ahead.
Key Takeaways
- Small holes can be easily repaired using self-adhesive mesh patches and lightweight spackle for a smooth finish.
- Medium holes require mesh patches for support, while large holes need new drywall sections and furring strips for reinforcement.
- Always prepare the area by clearing debris and applying joint compound carefully over seams to ensure a seamless repair.
- Priming and painting the repaired area helps blend it with the existing wall, achieving a uniform appearance.
- Regular inspections for cracks and water damage are essential for maintaining drywall integrity and preventing future issues.

Drywall Repair Kit Drywall Hole Repair Patch Kits Wall Spackle Repair Paste with 8.5OZ White Wall Repair Putty with Scraper, Wall Surface Hole Fill Quick and Easy Solution (1Pack)
Complete Repair Kit: Contains 1 pieces repair putty(8.5oz), 2 inch wall repair patches(2pcs), 4 inch wall repair patches(1pcs),…
As an affiliate, we earn on qualifying purchases.
As an affiliate, we earn on qualifying purchases.
Types of Drywall Damage
When you notice drywall damage, it can be more than just an eyesore; it often signals underlying issues that need attention.
Drywall damage comes in various forms, ranging from small holes caused by fasteners like screws and nails to large holes resulting from accidents or incorrect cuts. Understanding the type of damage is essential in determining your next steps.
Small holes can usually be repaired with adhesive patch kits, making them an easy fix. However, larger holes may require new drywall sections and support strips, which demand more effort and skill to repair effectively.
Cracks in drywall can develop due to settling or temperature fluctuations; these should be monitored closely.
Water damage is another concern that arises from leaks or high humidity levels, and it can lead to mold growth if not addressed promptly.
Regular inspections of your drywall for signs of damage can help you maintain the integrity of your walls and tackle issues before they escalate.

DAP DryDex Dry Time Indicator Spackling, Pink/White, 32 Oz (7079812330)
DryDex is a latex polymer spackle for repairing interior or exterior surfaces like drywall, plaster, wood, brick and…
As an affiliate, we earn on qualifying purchases.
As an affiliate, we earn on qualifying purchases.
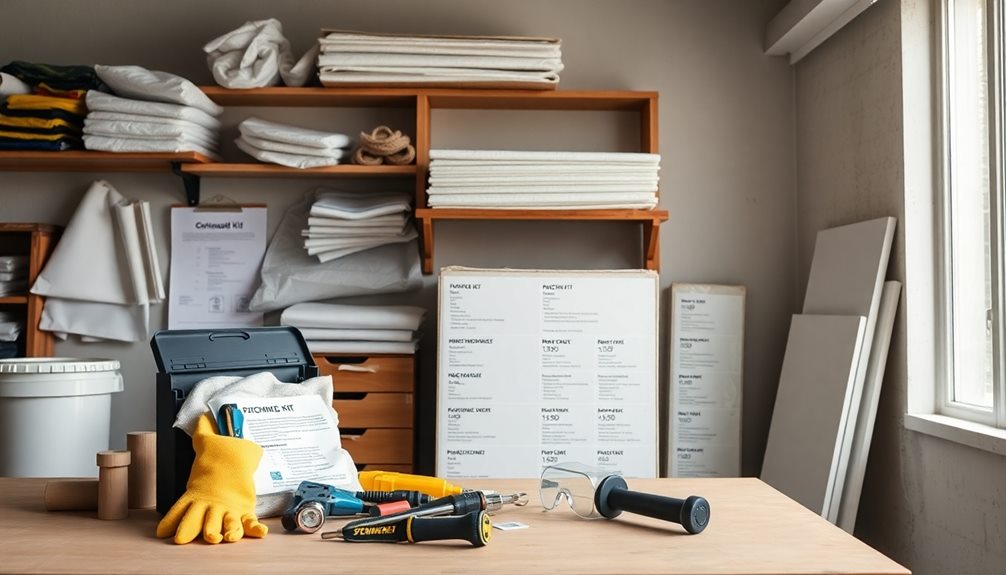
Tools and Materials Needed
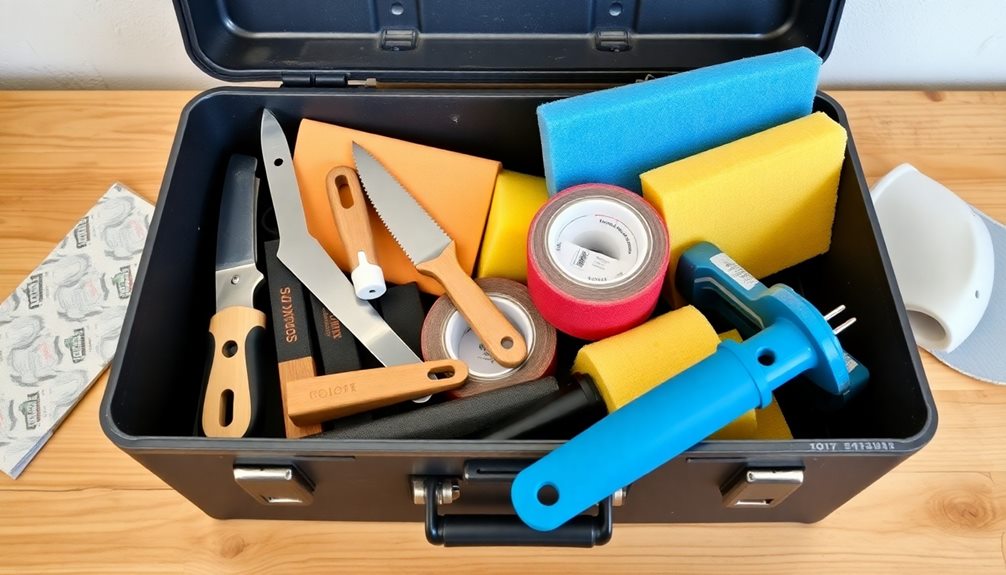
When tackling drywall repair, having the right tools and materials at your fingertips makes all the difference.
You'll need essentials like a putty knife, utility knife, and sandpaper, along with spackle or joint compound based on the size of the repair.
Don't forget safety gear and rags to keep your workspace clean and safe while you work.
Essential Repair Tools
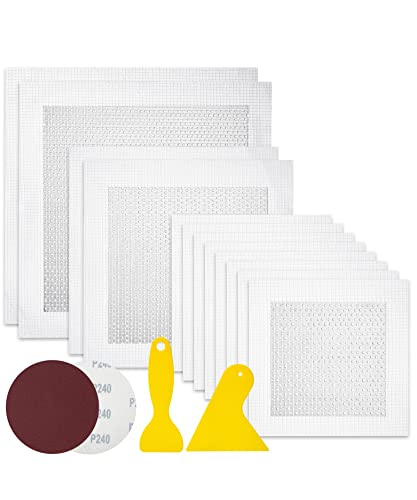
Having the right tools makes drywall repair a much simpler task. Start with a putty knife for applying joint compound smoothly over holes and cracks. If you need to cut drywall patches, a utility knife will be vital. For smaller holes, consider using a self-adhesive mesh patch, which simplifies the process and reduces the need for extensive repairs.
Once you've applied your patch or compound, grab some sandpaper or a sanding block to smooth the surface. This step is significant for achieving a clean and professional finish.
After sanding, it's time to prepare for painting. Using a primer will help the new material blend seamlessly with your existing wall color.
If you're tackling small to medium-sized holes, a drywall repair kit, like the 3M™ High Strength Small Hole Repair Kit, can simplify your project by providing all the necessary tools and materials in one package.
Don't forget to keep cleaning rags on hand to remove any dust and debris before and after repairs. With these vital tools, you'll be well-equipped to handle drywall repair like a pro!
Recommended Materials
To effectively tackle drywall repair, you'll need a specific set of materials that guarantee a smooth and professional finish.
Gathering the right tools and supplies makes all the difference in achieving a seamless look. Here's what you should have on hand:
- Putty knife for applying joint compound and smoothing surfaces
- Utility knife to cut drywall patches to size
- Self-adhesive mesh patches for reinforcing small holes
- Lightweight joint compound for easy application and quick drying
- Primer and paint to finish the job and blend with your wall
When choosing your joint compound, opt for lightweight spackle for small holes, and use a heavier joint compound for larger repairs.
Don't forget sandpaper or a sanding block to guarantee that the patched areas are smooth before applying primer and paint. A Pro Grade Precision Sanding Sponge Block (120 grit) can be especially helpful for this.
With these materials in hand, you'll be well-equipped to tackle any drywall repair project and restore your walls to their former glory.
Happy repairing!
Safety Gear
Safety gear is essential for protecting yourself during drywall repair projects. Start by wearing safety goggles to protect your eyes from dust and debris while cutting or sanding drywall.
A dust mask or respirator is also important; it helps avoid inhaling fine particles generated during the repair process. Don't forget to wear gloves, which can protect your hands from sharp edges and irritants found in drywall compounds.
Ensure you have proper ventilation in your work area to minimize exposure to fumes from the compounds and any paint you might use. Good airflow is critical to maintain a safe environment while you work.
Additionally, keeping your tools organized, like utility knives and putty knives, can greatly help prevent accidents and injuries.
Bates Choice – Drywall Repair Kit, 16pcs, Dry Wall Patch Kits, Wall Repair Patch Kit, Wall Patch Repair Kit, Drywall Hole Patch, Drywall Patch Kit, Wall Hole Repair Kit, Drywall Patch Hole
Package includes 12 pieces of drywall repair patch in three different sizes (8 pieces of 4-inch, 2 pieces…
As an affiliate, we earn on qualifying purchases.
As an affiliate, we earn on qualifying purchases.
Repair Techniques for Small Holes
When you notice small holes in your drywall, it's crucial to assess their size first.
For holes under 0.5 inches, you can easily patch them with lightweight spackle or a self-adhesive mesh patch.
Once you've filled and smoothed the area, you'll need to finish it off with some paint for a seamless look.
Assessing Hole Size
Evaluating the size of a hole is vital for determining the right repair technique. When you're facing small holes in drywall, like nail holes or minor dings, you can quickly repair them using lightweight spackle.
For holes larger than 0.5 inches, you'll need a different approach, often involving drywall patches and joint compound.
Here's what to take into account when evaluating hole size:
- Small holes are easily fixed with spackle.
- Medium holes may require self-adhesive mesh patches for support.
- Larger holes often need joint compound for a smooth finish.
- Proper adhesion is important; widen small cracks slightly for better results.
- Sanding smooth afterward guarantees a blended appearance with the patch area.
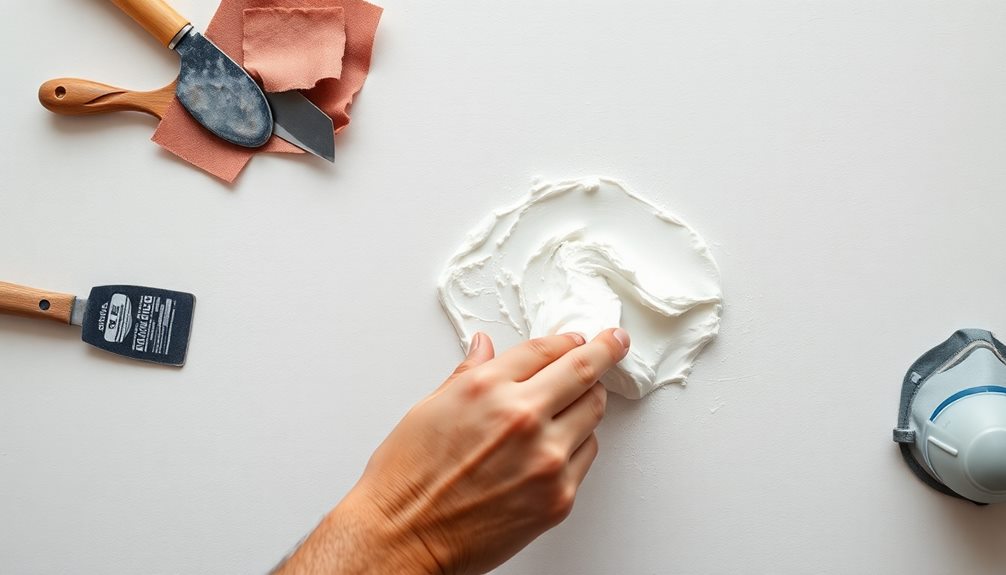
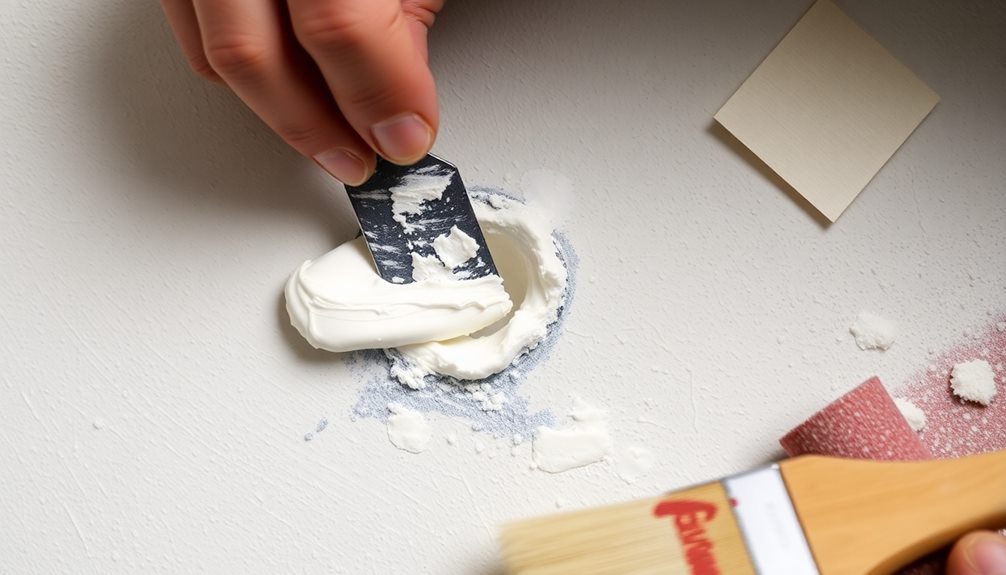
Patching Small Holes
Once you've assessed the size of the hole, addressing small holes in drywall becomes a straightforward task. For holes less than 0.5 inches, start with a self-adhesive mesh patch. Apply lightweight spackle over the patch, making sure to feather the edges for a smooth surface.
Here's a quick reference table for your drywall repair:
| Step | Description |
|---|---|
| 1. Clear Debris | Scrape away loose materials around the hole. |
| 2. Apply Spackle | Use fast-drying spackle to fill the hole. |
| 3. Sand | Once dry (15-30 mins), sand until smooth. |
| 4. Touch Up | Use matching paint to blend with the wall. |
For popped nail heads, reattach the drywall using drywall screws above the popped nail. Cover both with spackle and sand smooth once dry.
Finishing Touches Required
To achieve a seamless finish after repairing small holes in drywall, you need to pay attention to the details. Start by using a putty knife to apply lightweight spackle, filling the hole completely and leveling it with the surrounding wall.
Allow the spackle to dry for 15-30 minutes, following the manufacturer's instructions, before sanding the area smooth with fine sandpaper.
To guarantee your repair looks flawless, consider these finishing touches:
- Use a self-adhesive mesh patch for added support on holes less than 0.5 inches.
- Feather the edges of your spackle for a more natural blend.
- Sand gently until the surface feels smooth to the touch.
- Choose a paint that matches your wall color for a cohesive appearance.
- Inspect the area after painting for any imperfections, and apply additional coats if needed.

DAP Wallboard Joint Compound, White, 12 Lbs (7079810102)
Joint compound for interior surfaces provides a smooth, high quality finishing of gypsum panel joints
As an affiliate, we earn on qualifying purchases.
As an affiliate, we earn on qualifying purchases.
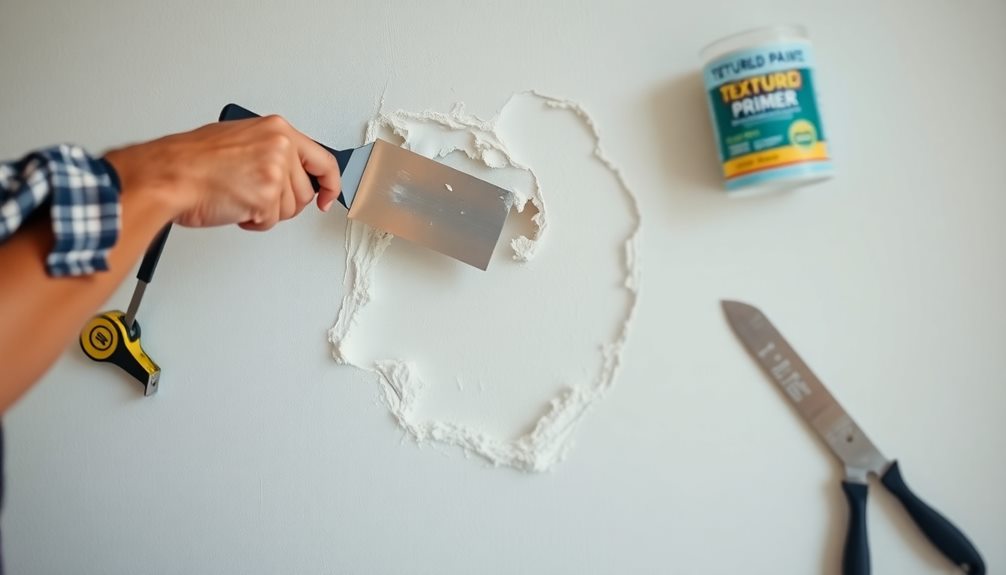
Repair Techniques for Large Holes
When dealing with large holes in drywall, you'll want to tackle the repair methodically to achieve a seamless finish.
Start by cutting a new piece of drywall that's slightly larger than the hole, guaranteeing it covers the irregular edges for a better fit. Next, install furring strips inside the hole to provide support for the new drywall patch. Secure these strips to the existing drywall using drywall screws.
Once the furring strips are in place, secure the patch to them with more drywall screws, making sure it's flush with the surrounding wall surface to avoid misalignments.
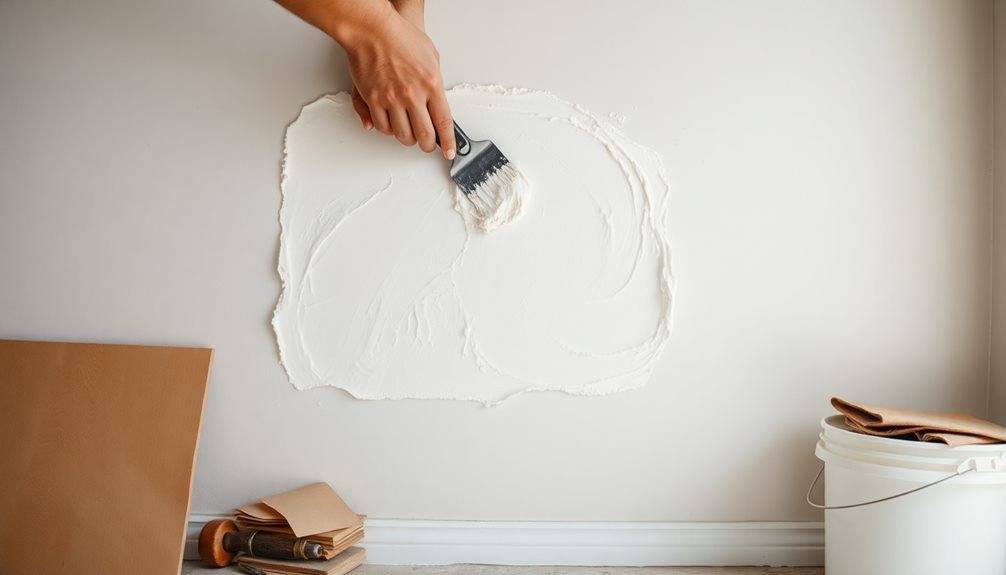
After securing the patch, apply mesh joint tape around its edges. Then, use joint compound to cover the tape, applying several layers and allowing each to dry completely before sanding for that smooth finish.
After sanding, prime the patched area to guarantee even paint absorption. Finally, paint to match the surrounding wall, using multiple coats if necessary for complete coverage.
Step-by-Step Repair Process
Starting a drywall repair requires careful planning and execution to guarantee a flawless finish. Follow these steps for a successful repair:
- Clean the damaged area to promote better adhesion.
- Cut the drywall patch to fit the hole, making it slightly larger for a secure fit.
- Apply joint tape around the edge of the patch for support.
- Use a putty knife to apply drywall joint compound, smoothing it to blend with the wall.
- Allow the compound to dry completely.
Once dry, grab some sandpaper to sand the area until it's smooth. This step is essential for achieving that seamless look.
After sanding, you might need to apply another coat of joint compound if the surface isn't perfectly even.
When everything's dry, apply a coat of primer over the repaired area; this guarantees the paint adheres well.
Finally, you can repaint the entire area to match the existing wall, making the repair virtually invisible.
With patience and attention to detail, you'll transform those unsightly holes into a smooth, flawless surface. Your wall will look as good as new!
Safety Precautions and Maintenance Tips
Drywall repair can be a straightforward task, but safety should always be a top priority. Always wear safety goggles and a dust mask to protect your eyes and lungs from dust particles. Confirm you have proper ventilation in your workspace to minimize inhalation of drywall dust and fumes from compounds and paints.
Before cutting into drywall, it's essential to locate and identify any electrical wires or plumbing lines to avoid damaging them. Regularly inspect your walls for signs of damage, such as cracks or water stains, to catch issues early and prevent them from escalating into larger problems.
Additionally, consider the impact of humidity on your drywall. Use dehumidifiers in areas prone to high humidity to prevent moisture-related issues like mold growth, which complicates drywall maintenance.
Here's a quick reference table for your safety and maintenance routine:
| Precaution | Purpose | Maintenance Tip |
|---|---|---|
| Safety Goggles | Protects eyes from dust and debris | Regularly check for damage |
| Dust Mask | Protects lungs from harmful particles | Confirm proper ventilation |
| Locate Wires & Plumbing | Avoids damage and hazards | Inspect walls frequently |
| Dehumidifiers | Prevents mold growth | Manage humidity levels |
Frequently Asked Questions
How Big of a Hole Can You Patch With a Drywall Patch?
You can patch holes up to 6 inches in diameter effectively using various techniques. For holes larger than that, like those exceeding a foot, it's better to contemplate replacing the drywall entirely for a proper fix.
Can You Overlap Drywall Repair Patches?
You shouldn't overlap drywall repair patches, as it leads to visible seams and uneven surfaces. Instead, you should fit each patch snugly, feathering the joint compound for a smooth, seamless finish that lasts.
How Do You Patch a Larger Hole With Another Piece of Drywall?
To patch a larger hole, measure it and cut a drywall piece slightly bigger. Secure furring strips inside, attach the patch, tape the edges, apply joint compound, sand it, then paint for a seamless finish.
How Do You Fix Multiple Small Holes in Drywall?
To fix multiple small holes in drywall, gather your tools—putty knife, spackle, sandpaper. Clean the area, fill each hole with spackle, smooth it out, let it dry, then sand and paint for a seamless finish.
Conclusion
In summary, tackling drywall repair isn't as intimidating as it seems. With the right tools and techniques, you can transform your walls from damaged to pristine. Did you know that nearly 90% of homeowners experience some form of drywall damage? By learning these repair methods, you're not just fixing your walls; you're also boosting your home's value and aesthetics. So grab your tools and get started—the satisfaction of a job well done is just a patch away!