
Installing a new backsplash in your kitchen can truly transform your space while protecting your walls. Start by choosing your tile materials—ceramic, glass, or stone—that fit your style. Clean and prep your walls for adhesion, ensuring they’re smooth and dry. Lay out tiles to find a perfect fit, then apply adhesive and press tiles into place. After allowing the adhesive to cure, grout the spaces for a polished finish. Keep going to discover trending designs and practical tips!
Key Takeaways
- Begin by selecting the appropriate tile material and design that aligns with your kitchen’s aesthetic and durability needs.
- Prepare the wall surface by cleaning, repairing imperfections, and marking a centerline for accurate tile placement.
- Apply adhesive evenly with a notched trowel, and press tiles firmly into place, maintaining spacers for consistent gaps.
- Allow the tile adhesive to cure for 24 hours before applying grout to fill the gaps between tiles.
- Seal grout lines after curing to protect against moisture and enhance the longevity of your backsplash.
Overview of Kitchen Backsplash Installation

Installing a new backsplash in your kitchen can transform the space while providing essential protection against cooking messes.
To start, choose the tile material that fits your style, whether it’s ceramic, glass, or stone. Properly prepare the wall by cleaning and repairing any imperfections, and mark a centerline for reference. Consider incorporating sustainable fashion principles by opting for eco-friendly materials that are durable and stylish. Additionally, utilizing natural materials in your backsplash can enhance the rustic charm of a modern farmhouse design. A clean kitchen environment can also reduce allergens and pollutants, contributing to improved indoor air quality.
Choose a tile material that reflects your style, and prepare your wall by cleaning, repairing, and marking a centerline for accuracy.
When you install the backsplash, apply adhesive to the wall and carefully place the tiles, using spacers to guarantee even gaps. After the adhesive sets, it’s time to grout between the tiles for a polished look.
Finally, seal the grout to enhance durability and caulk the edges to prevent moisture infiltration. This process not only beautifies your kitchen but also safeguards your walls from splatters and moisture. Consider incorporating modern farmhouse designs to create a cohesive and inviting atmosphere in your kitchen.
Pre-Installation Stages

Before you start installing your new backsplash, it’s essential to clean the wall thoroughly to guarantee the tiles stick well. To ensure a cohesive look, consider how the backsplash can complement the warm color palettes present in your kitchen design. Additionally, establishing a clear plan for your project can help minimize caregiver burnout if you enlist the help of family members during the installation process.
Next, think about the tile design that’ll enhance your kitchen’s look—whether you prefer sleek subway tiles or vibrant mosaics. When choosing tiles, consider using natural materials like ceramic or stone for a more authentic farmhouse aesthetic. With a clean surface and a solid design in mind, you’re ready to gather your materials and set the stage for a successful installation. Additionally, consider how a well-organized space can reduce stress levels and improve your overall kitchen experience during the installation process.
Surface Cleaning Techniques
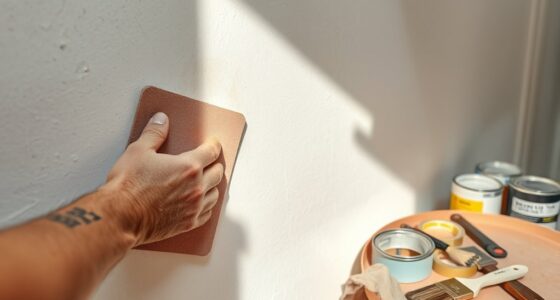
Proper surface cleaning is essential for a successful backsplash installation. Start by cleaning the wall surface with a mixture of trisodium phosphate (TSP) and water to effectively remove grease and grime, ensuring better adhesion for your tiles. Additionally, color accuracy in the installation process can help ensure that your chosen tiles look their best once installed.
If you’re dealing with glossy surfaces, sand or degloss the area to create a rough texture that enhances tile grip.
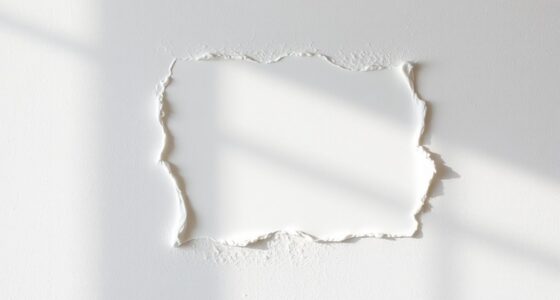
Next, inspect the wall for flatness and condition, filling any imperfections deeper than 1/16 inch with joint compound. Allow any repairs to dry completely before sanding smooth and applying a primer. This step is vital to prepare the surface for tile installation.
Finally, keep your workspace tidy and free of debris to maintain a clean installation environment. Additionally, consider the drainage importance of your chosen backsplash materials, as some surfaces may require different installation techniques to ensure longevity.
Choosing Tile Design
With a clean and well-prepared surface, you’re ready to focus on selecting the perfect tile design for your kitchen backsplash.
Here are some key considerations when choosing tile design:
- Material: Decide between ceramic tile, glass tile, or other options based on aesthetics and durability.
- Colors: Choose colors that complement your kitchen’s overall style, whether you prefer bold accents or subtle neutrals.
- Patterns: Consider using subway tiles for a classic look or intricate mosaics for added visual interest.
- Maintenance: Ascertain the tiles you select are easy to clean, as backsplashes face cooking splatters and moisture.
Materials Needed

Before you start your backsplash installation, you’ll need to gather some essential tools and materials.
Think about your tile and adhesive options, as well as how to prepare your workspace for a smooth process.
Having everything ready will make the project much easier and more enjoyable.
Essential Tools Overview
Installing a new backsplash in your kitchen requires a few essential tools to guarantee a smooth process and professional results.
Here’s what you need to gather:
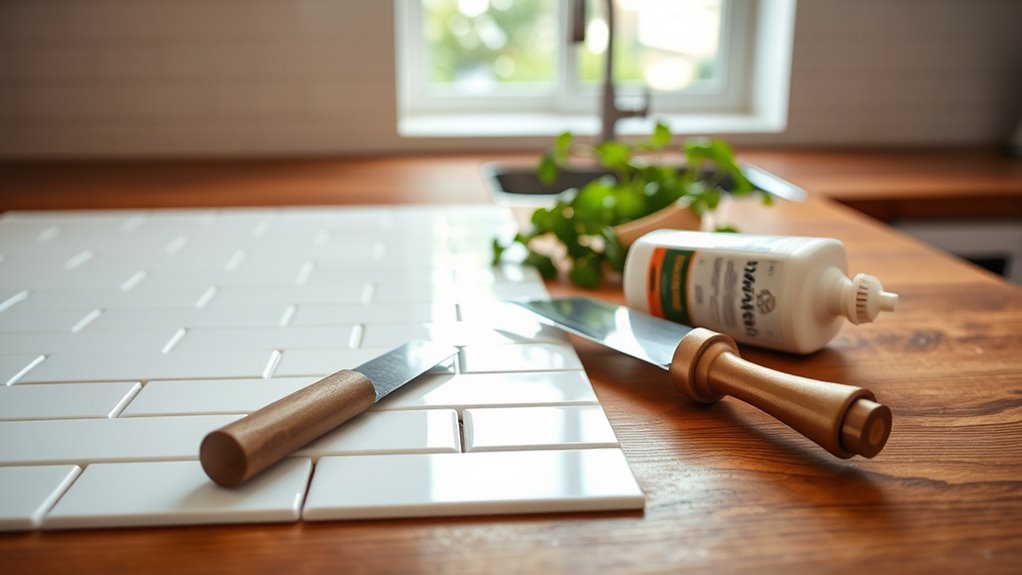
- Notched Trowel – Use this to apply your adhesive evenly on the wall.
- Tile Cutter – A wet saw or tile cutter is vital for making precise cuts around edges and outlets.
- Grout Float – This tool helps you spread grout effectively, ensuring it fills the gaps between tiles.
- Measuring Tape – Accurate measurements are important for determining how much tile you’ll need.
Don’t forget about tile spacers for even spacing, a grouting sponge for cleanup, and a bucket for mixing grout.
With these tools, you’re all set for your backsplash project!
Tile and Adhesive Options
Choosing the right tile and adhesive is key to achieving a beautiful and durable backsplash. First, consider your tile types—ceramic, glass, stone, or metal—based on your kitchen’s aesthetic and durability needs.
For adhesive, thin-set mortar is typically recommended for ceramic tiles, while white thin-set works best for glass or stone. Use a notched trowel to guarantee even application, providing good coverage and adhesion.
If you prefer a simpler installation, peel-and-stick tiles can save you the hassle of extra adhesives and tools.
Don’t forget to buy extra tiles—about 10% more than you think you need—to account for cuts, waste, or future repairs. This way, you’ll have everything necessary for a successful backsplash project.
Preparing Your Workspace
To set yourself up for a successful backsplash installation, you’ll need to gather some essential materials. First, make sure you clean the wall surface thoroughly to remove any grease or debris, which is vital for proper tile adhesive bonding.
You may also need to remove any old backsplash to create a smooth base. Use a level to mark a straight reference line, guaranteeing accurate tile placement during installation. Finally, don’t forget to protect your walls and surrounding areas from debris.
Here’s a quick list of what you’ll need:
- Tiles
- Tile adhesive
- Spacers to guarantee even spacing
- Trowel and grout trowel
With these materials, you’re ready to tackle your kitchen enhancement!
Planning the Tile Layout

How do you guarantee your tile layout looks professional and polished? Start by finding and marking the center point of your wall. This creates a symmetrical layout, ensuring cuts are evenly distributed on both sides.
While planning your design, make sure to maintain a 1/8-inch expansion gap around the perimeter of the tiles to allow for movement and prevent cracking.
Before you install the tiles, dry-lay them horizontally to check for even ends, adjusting as necessary. If you’re going for a vertical layout, position cut tiles to hide under cabinets for a clean finish.
Finally, use a jury stick to mark your top installation point, ensuring everything stays level throughout the process.
Preparing the Walls for Tile

After planning your tile layout, preparing the walls is the next step for a professional finish. Here’s what you need to do:
- Wash walls: Use a trisodium phosphate (TSP) solution to clean your drywall and enhance tile adhesion.
- Check flatness: Verify the walls are level, and fill any imperfections deeper than 1/16 inch with joint compound. Let it dry and sand smooth.
- Install a ledger board: Screw it into wall studs to provide a stable base for your tiles during installation.
- Maintain an expansion gap: Keep a 1/8-inch gap around the tile perimeter to allow for movement or expansion.
Tiling the Backsplash

As you immerse yourself in tiling the backsplash, applying the adhesive evenly with a notched trowel is essential for a strong bond.
You’ll want to work in small sections to prevent the adhesive from drying before placing the tiles. Press each tile firmly into the adhesive, leaving a 1/8-inch gap at the countertop, and use spacers to maintain consistent spacing.
For clean edges around outlets and corners, rely on a wet saw or tile cutter while checking for level and alignment.
Once the adhesive cures, you’ll mix and grout diagonally with a rubber float. Remember to wipe away excess grout with a damp sponge.
Finally, seal the grout to protect it against moisture and stains for lasting beauty.
Grouting and Finishing Touches

Once you’ve allowed the tile adhesive to cure for at least 24 hours, it’s time to tackle grouting and add those finishing touches.
Follow these steps for a professional finish:
- Mix the grout according to the manufacturer’s instructions until you achieve a smooth consistency.
- Use a rubber float to apply grout diagonally across the tiles, ensuring all spaces are filled.
- Wipe away excess grout with a damp sponge, working in small sections to avoid it drying on the tiles.
- After the grout dries, seal the grout lines as recommended to protect against moisture and staining.
DIY vs. Professional Installation

When deciding between DIY and professional installation for your kitchen backsplash, consider both the potential cost savings and the quality of the finished product.
A DIY project can save you labor costs and allow for personal customization, but it often requires a weekend to complete, depending on the complexity. You’ll need the right tools and materials, and be aware of potential mistakes that could lead to extra expenses.
On the other hand, professional installers can typically finish the job in just one day, ensuring a high-quality finish and minimizing issues like misalignment or improper adhesive application.
Weigh your skill level and the importance of achieving a polished look against the investment in professional help to make the best choice for your kitchen remodel.
Kitchen Backsplash Trends and Resources

With kitchen design trends constantly evolving, staying updated on backsplash styles can transform your cooking space into a modern haven.
Here are some current trends you should consider:
- Subway Tiles: Timeless and versatile, these are available in various colors and trendy herringbone layouts.
- Bold Colors: Deep blues and emerald greens are gaining traction, adding vibrancy to your kitchen.
- Natural Stone: Materials like marble and granite offer a luxurious touch to contemporary kitchen designs.
- Textured Tiles: Incorporating textured tiles and metallic accents can add depth and glam.
Don’t forget to check out installation guides and video tutorials—they’ll help you with your home improvement project and keep you informed on the latest backsplash trends!
Frequently Asked Questions
How Do You Install a New Backsplash?
To install a new backsplash, start by cleaning the wall surface and fixing any imperfections.
Measure the area and buy your tiles, adding an extra 10% for waste.
Apply adhesive with a notched trowel, beginning from the center and using spacers for even gaps.
After 24 hours, mix and apply grout to fill the gaps, then wipe off excess with a damp sponge.
Finally, seal the grout to protect it from moisture and stains.
What Is the Rule of Thumb for Backsplash?
When you’re choosing a backsplash, a key rule of thumb is to maintain a 1/8-inch expansion gap around the tile’s perimeter. This allows for natural expansion and contraction over time.
It’s also wise to measure your area and add an extra 10% to your calculated square footage to cover cuts and waste.
Starting from the wall’s center helps achieve a balanced layout, ensuring cut tiles end up in less visible spots.
How Do You Prepare a Kitchen Wall for a Backsplash?
They say a clean slate makes for a great start! To prepare your kitchen wall for a backsplash, first, clean it thoroughly using a TSP and water mix.
Next, check for any imperfections and fill deep dips with joint compound, sanding them smooth.
Don’t forget to remove outlet covers and turn off the power for safety.
Finally, install a ledger board at your desired height to guarantee a level starting point for tile.
What Do You Put Behind a Backsplash?
When you’re preparing for a backsplash, you need a clean, level surface, usually drywall. Make sure it’s free from grease and imperfections for proper tile adhesion.
Although backer board isn’t always necessary, addressing any wall damage is essential. You might want to install a ledger board for support, ensuring your tiles stay level during installation.
Finally, remember to leave a small expansion gap around the perimeter to accommodate movement.
Conclusion
Installing a new backsplash can truly transform your kitchen, adding both style and functionality. Did you know that a well-chosen backsplash can increase your home’s value by up to 15%? Whether you decide to tackle this project yourself or hire a professional, the satisfaction of seeing your vision come to life is unmatched. So grab those tiles and get started—your dream kitchen is just a few steps away!