Installing a new faucet or showerhead is a rewarding DIY upgrade that boosts your bathroom’s functionality and look. Start by gathering your tools and turning off the water supply. Remove old fixtures, clean the area, and follow installation instructions carefully. Secure all connections and check for leaks after you turn the water back on. If you want tips on selecting the right showerhead or fixing leaks, stick around for some expert advice.
Key Takeaways
- Gather essential tools like a wrench, plumber’s tape, and a bucket before starting your installation process.
- Turn off the water supply and clean the area to prevent leaks and ensure a smooth installation.
- Choose fixtures that match your design style and prioritize water efficiency to save on utility bills.
- After installation, check for leaks by testing water flow and temperature, making necessary adjustments if needed.
- Document the installation details and follow maintenance tips to prolong the lifespan of your new fixtures.

Bathroom Faucet Brushed Nickel Modern Waterfall Bathroom Sink Faucet with Single Handle Suitable for 1 or 3 Holes,Supply Deck Plate and Hose
- Single-Handle Control: Easy water flow and temperature adjustment
- Quiet Waterfall Flow: Smooth, gentle stream with reduced noise
- Durable SUS 304 Steel: Rust-resistant, lead-free, safe for health
As an affiliate, we earn on qualifying purchases.
As an affiliate, we earn on qualifying purchases.
Preparation for Installation
Before you plunge into your DIY plumbing upgrades, it’s essential to prepare properly to avoid any mishaps.
Start by gathering all necessary tools like an adjustable wrench, plumber’s tape, and your new water-efficient faucet or showerhead. Next, turn off the water supply to the area to prevent leaks during installation. Additionally, consider using specialized tools to ensure a more efficient installation process. Research shows that using the right tools can significantly reduce installation time and effort.
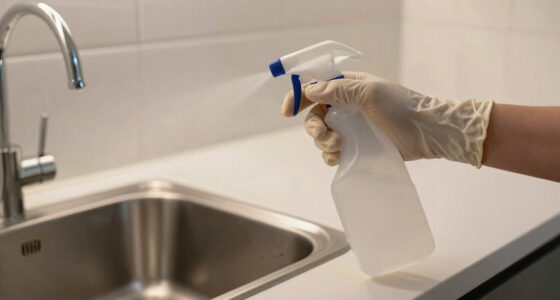
Remove any existing components, and be sure to clean the installation area thoroughly, especially paying attention to the threads. Don’t forget to remove any old tape; it’s key for a proper seal. Implementing efficient storage strategies can help you keep your tools and materials organized for future projects.
Finally, review the installation instructions that come with your new fixture to familiarize yourself with its specific requirements. This preparation for installation will set you up for success and streamline the process. Additionally, ensure that you are aware of the importance of regular maintenance to keep your plumbing fixtures functioning optimally.
Installing the Faucet

Before you start installing the faucet, gather all the necessary tools to make the process smoother.
You’ll want to secure water connections and align the faucet properly to guarantee everything fits snugly. Additionally, consider upgrading to energy-efficient fixtures that enhance both functionality and aesthetics. It’s also important to check for water efficiency to reduce utility bills in the long run. Choosing a faucet that complements your overall interior design theme will also add to the visual appeal of your space. Moreover, selecting fixtures with smart home device integration can further enhance your plumbing upgrades and streamline your home automation.
Once you’ve tightened all the fittings, you’ll be ready to test your new setup.
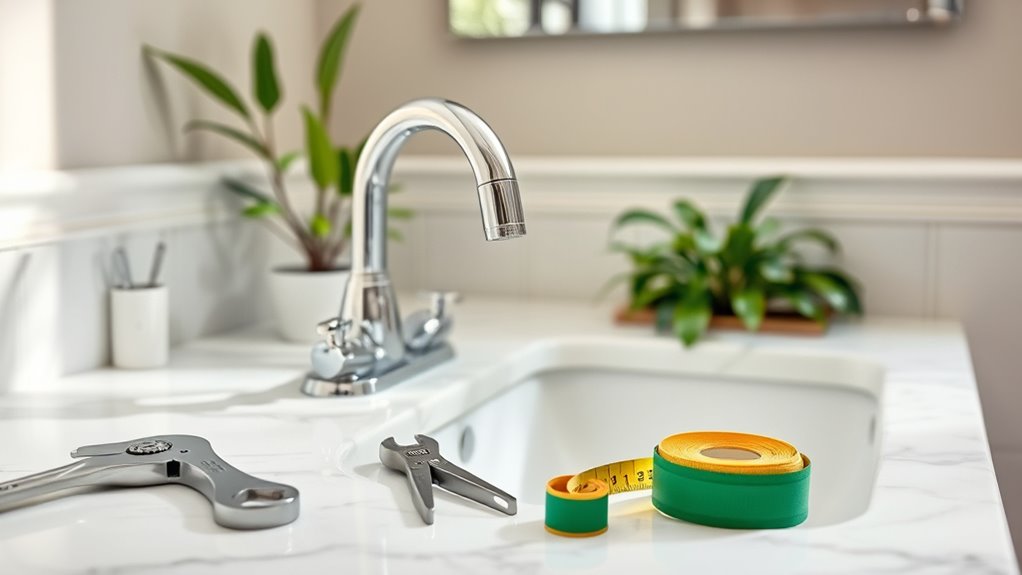
Gather Required Tools
To guarantee your faucet installation goes smoothly, you’ll need to gather some essential tools first. Here’s a handy list to make certain you’re prepared:
| Tool | Purpose | Additional Notes |
|---|---|---|
| Adjustable Wrench | Tightening and loosening fittings | Essential for faucet work |
| Plumber’s Tape | Sealing threaded connections | Prevents leaks |
| Bucket | Catching residual water | Keeps your area clean |
Don’t forget a drop cloth to protect your shower or bathtub floor, and a sturdy ladder if you’ll be working at a height. A flashlight can help illuminate those dark areas behind the fixtures. With these tools, you’ll make the installation process a breeze! Additionally, ensuring color accuracy in your plumbing workspace can help you better visualize the installation process and avoid mistakes. It’s also wise to remember the importance of diversifying investments if you’re considering home improvements as part of your financial planning.
Secure Water Connections
Now that you’ve gathered all your tools, it’s time to secure the water connections while installing your faucet.
Start by connecting the hot and cold water supply lines to their respective inlets on the faucet. This guarantees proper water temperature and flow.
Don’t forget to wrap plumber’s tape around the threaded connections; this creates a watertight seal and prevents leaks between the faucet and water supply lines.
Once connected, tighten all screws and fittings securely with an adjustable wrench, but be careful not to over-tighten, as this can damage the faucet components.
After everything’s in place, slowly turn the water supply back on and check for any signs of dripping. A tight seal is key to a successful installation!
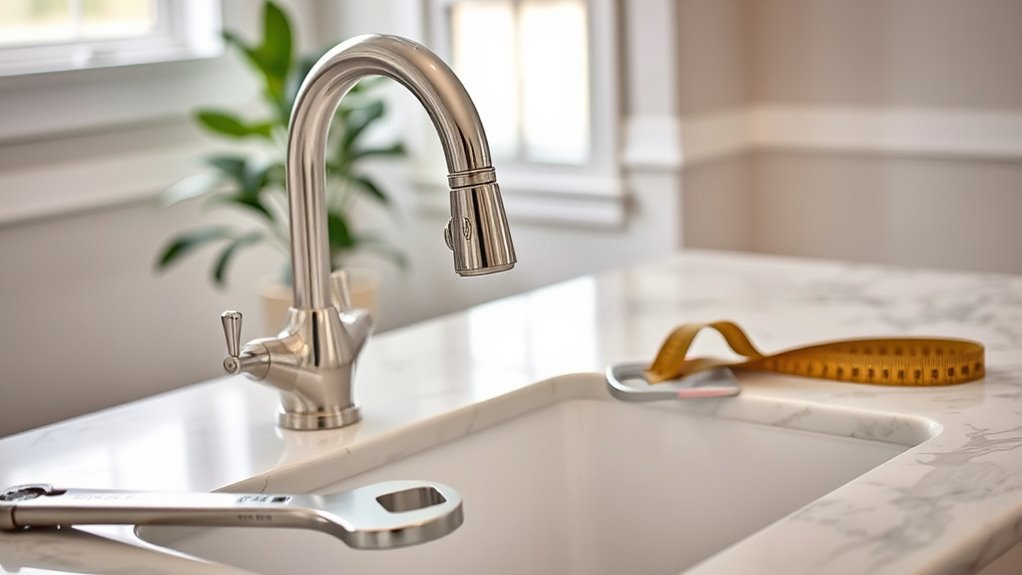
Align and Tighten Faucet
Aligning and tightening your faucet is essential for a successful installation. Start by positioning the faucet correctly, ensuring it aligns with the mounting bracket or sinkholes.
Once you’ve got it in place, use an adjustable wrench to tighten the connections between the hot and cold water supply lines. Make sure these connections are secure and leak-free.
As you tighten all screws and fittings, be cautious not to over-tighten; this can damage the faucet or plumbing components.
After you’ve tightened everything, double-check the alignment of the faucet to confirm it’s straight and level. Misalignment can impact water flow and aesthetics.
Finally, visually inspect all connections for leaks before moving on to install the showerhead or other components.
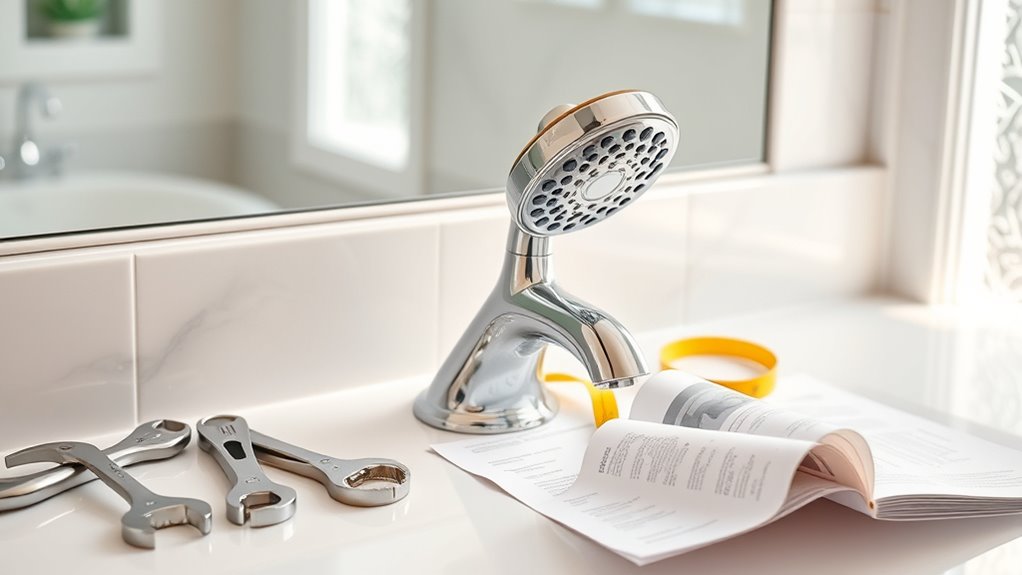
Connecting the Showerhead

Now that you’ve installed the faucet, it’s time to connect the showerhead.
Make sure you select a compatible model and pay attention to ensuring leak-free connections.
This step is essential for a smooth and enjoyable shower experience.
Selecting Compatible Showerhead
When selecting a compatible showerhead, it’s crucial to guarantee it fits your existing faucet’s outlet size, which is typically 1/2 inch in diameter for standard connections.
Here are some key factors to keep in mind:
- Choose between fixed, handheld, or multi-function styles to suit your preferences.
- Look for water-efficient shower heads that meet EPA WaterSense criteria, saving you up to 40% more water.
- Opt for adjustable spray patterns for a customizable shower experience.
- Confirm the showerhead includes all necessary installation hardware, like washers and mounting brackets.
Ensuring Leak-Free Connections
To guarantee a leak-free connection when installing your new showerhead, start by using plumber’s tape on all threaded connections. This tape assures a watertight seal, preventing leaks.
Before attaching the showerhead, check that the washer inside the connection is seated properly to avoid water leakage. When tightening the showerhead, do so by hand first, then use an adjustable wrench for an extra turn if needed. Just be careful not to over-tighten, as this can damage the fittings.
After installation, slowly turn on the water supply and inspect all connections to check for any leaks. Regularly monitor the showerhead connections, as even small drips can lead to significant water waste and higher utility bills.
Testing the Installation

Once you’ve finished installing your new faucet or showerhead, it’s crucial to test the installation thoroughly to confirm everything functions properly.
Start by slowly turning the water supply back on to avoid pressure surges.
Here’s a quick checklist to help you with your testing:
- Check for leaks: Look for pooling or dripping around connections.
- Test functionality: Run water to verify proper flow and temperature adjustments.
- Monitor drainage: Confirm water flows freely without blockages.
- Document issues: Keep track of any necessary adjustments for future reference.
Final Touches
As you wrap up your plumbing project, taking a few final steps guarantees a polished result.
Start by cleaning the area, removing any debris and tools to create a tidy workspace.
Next, replace any wall coverings or tiles you disturbed during installation to restore your bathroom’s aesthetic.
Restore your bathroom’s aesthetic by replacing any wall coverings or tiles disturbed during installation.
Don’t forget to test the operation of your new faucet and showerhead multiple times, ensuring proper functionality, water temperature, and pressure.
For the final touches, jot down the installation details, including model numbers and dates, for future reference and warranty claims.
Finally, follow some maintenance tips: regularly check for leaks and clean aerators or showerhead nozzles to extend the life of your new fixtures.
Your hard work will pay off!
Choosing a New Shower Head
How do you choose the perfect shower head for your bathroom? Start by considering your preferences and style.
Here are some key points to keep in mind:
- Look for rain shower heads or handheld models for versatility.
- Opt for water-efficient shower heads with WaterSense certification to save up to 40% on water usage.
- Check the connection size, typically 1/2 inch, to guarantee compatibility with your existing plumbing.
- Explore features like adjustable spray settings and easy-clean nozzles for enhanced convenience.
Removing the Old Shower Head

Removing the old shower head is a straightforward process that can enhance your bathroom’s functionality.
First, turn off the shower’s water supply to prevent leaks. Next, clean any buildup around the shower head with a mild cleaner and a cloth.
Grip the shower head and turn it counterclockwise by hand. If it’s too tight, use pliers or an adjustable wrench, but protect the finish with a towel or electrical tape. If needed, stabilize the shower arm with pliers while unscrewing.
Once removed, check for debris or old tape on the shower arm threads and clean them thoroughly. This guarantees a smooth surface for your new shower head installation and helps prevent future issues.
Fixing Leaks

If you’ve noticed water pooling around your showerhead or faucet, it’s time to tackle those pesky leaks. Start by ensuring all connections are properly tightened since loose fittings often cause leaks.
If problems persist, check the rubber washers or O-rings; old or damaged seals can let water escape.
- Use plumber’s tape on threaded connections for a watertight seal.
- Inspect for water dripping from the faucet handle, which may indicate a faulty cartridge.
- Regularly tighten connections to prevent future leaks.
- Replace worn components to avoid more significant water damage.
Frequently Asked Questions
Can You Improve Water Pressure With a New Shower Head?
Yes, you can improve water pressure with a new showerhead.
By choosing a model designed for high flow rates, you’ll experience a noticeable boost in water pressure, often up to 2.5 gallons per minute.
If your current showerhead is clogged or outdated, replacing it can eliminate obstructions and enhance efficiency.
Look for modern designs with pressure-boosting technology to guarantee a more invigorating shower experience, even if your existing pressure is low.
Do I Need a Plumber to Install a Shower Head?
You don’t need a plumber to install a shower head. This task is usually simple and can be done in under an hour with just a wrench and plumber’s tape.
You can easily unscrew the old shower head and attach the new one yourself. However, if you run into rusted or overly tight fittings that you can’t loosen, it might be best to call a plumber to avoid any damage.
Can I Install a Shower Faucet Myself?
Can you really install a shower faucet yourself? Absolutely!
With the right tools, like an adjustable wrench and plumber’s tape, it’s totally doable.
Start by turning off the water supply to prevent flooding. Remove the old faucet, clean the area, and then securely connect the hot and cold water lines.
Don’t forget to test for leaks afterward! By following these steps, you’ll have a functioning faucet in no time.
Can I Replace My Shower Head Myself?
Yes, you can replace your shower head yourself!
It’s a straightforward process that only requires a few basic tools like an adjustable wrench and plumber’s tape.
Start by turning off the water supply to avoid leaks. Remove the old head by turning it counterclockwise, and if it’s stuck, use pliers carefully.
When installing the new one, wrap the threads with plumber’s tape for a secure fit.
Afterward, check for leaks, tightening as necessary.
Conclusion
So, you’ve tackled the DIY plumbing upgrades like a pro, only to discover that the real challenge wasn’t the installation itself but trying to find the perfect showerhead. Who knew picking a new one would take longer than the actual work? Yet, in the end, you’ve transformed your space and saved a few bucks—only to realize you might just miss that old, leaky showerhead after all. Sometimes, it’s the upgrades that remind us how cozy the familiar can be.