Installing shelves is a straightforward DIY project. First, choose the right shelf type, like floating or bracket shelves, based on your needs. Next, pick a location that won’t obstruct pathways and measures properly for space. Prepare the wall by locating studs and marking your desired height. Use level tools for accurate alignment, then securely attach brackets. Finally, position and stabilize the shelf while ensuring it’s safe to hold your items. Learn more about tools and maintenance tips next!
Key Takeaways
- Choose the right shelf type and location based on functionality, aesthetics, and weight of items to ensure effective use of space.
- Measure wall height and space accurately, marking desired installation points to avoid obstructions and ensure accessibility.
- Select appropriate wall anchors, like toggle bolts for heavier shelves, and follow manufacturer’s instructions for proper installation.
- Secure brackets to wall studs for better support, using a level to ensure shelves are horizontally aligned and stable.
- Maintain shelves by regularly dusting, checking for stability, and adhering to weight limits to prevent sagging or failure.
Selecting the Right Shelf Type

When it comes to selecting the right shelf type, consider three popular options that suit different needs and styles.
Floating shelves offer a modern, minimalist aesthetic, perfect for contemporary spaces where you want to avoid visible brackets. Effective communication strategies can help maintain harmony in your home as you navigate your projects and storage needs. Additionally, utilizing mood boards during your selection process can help visualize how different shelf types will fit into your overall design. Additionally, consider how cycling adventures can inspire your décor choices, bringing an adventurous spirit to your home.
Floating shelves provide a sleek, modern look, ideal for contemporary interiors that prioritize clean lines and simplicity.
If you need sturdiness for heavier items, bracket shelves are designed to support weight and come in various decorative styles to enhance your décor.
Built-in shelves can be customized to fit your specific spaces, maximizing storage while complementing your room’s architecture. Regardless of the type you choose, verify you use appropriate wall anchors and secure them to wall studs for safety. Match colors and materials with your existing furniture for a cohesive look throughout your space. Additionally, consider incorporating unique planter designs that can serve as both storage and decor for a more dynamic interior.
Choosing the Perfect Location
When choosing the perfect location for your shelves, assess how you use the room to maximize functionality. Measure the height and space available to guarantee your shelves fit well and remain accessible. This thoughtful approach will help you create a practical and organized storage solution. Additionally, consider the safety features of any nearby electrical appliances to ensure they don’t interfere with your shelving plans. Ensuring proper venting techniques can also prevent hazards if your shelving is near heat sources. Including floral arrangements in your decor can enhance the overall ambiance and aesthetic of the space. Furthermore, having best home security systems in place can provide peace of mind while you organize your space.
Assess Room Functionality
How can you guarantee your shelves serve their purpose effectively? Start by considering the room’s primary function. Whether you need storage, display, or organization, identifying the right spot is essential.
Evaluate the weight and size of the items you plan to store; this will help you choose a sturdy location that can support them. Additionally, utilizing vertical storage solutions can maximize your space, allowing for more efficient organization. Next, find wall studs to confirm your shelves can hold heavier items securely.
Don’t forget to assess the room’s flow—shelves should never obstruct pathways or important features. Finally, align your shelves with existing furniture and architectural elements. This will give us a cohesive and harmonious design while maximizing functionality. Additionally, considering astrological compatibility can enhance the aesthetic appeal and personal expression of your space.
With these tips, you’ll create a space that looks great and works well for your needs.
Measure Height and Space
Choosing the perfect location for your shelves starts with precise measurements. First, measure the height of the items you plan to store. This guarantees you have enough space above and below for easy access and visibility.
Next, consider your room layout; shelves shouldn’t obstruct walkways or interfere with doors and furniture placements. Use a level to mark the desired height for installation, assuring your shelves will be straight and visually appealing.
Also, factor in the weight of the items to provide excellent support and stability. Finally, aim to install shelves at varying heights for a dynamic look while maintaining functionality and ease of access.
This thoughtful approach will help you create an organized and attractive space.
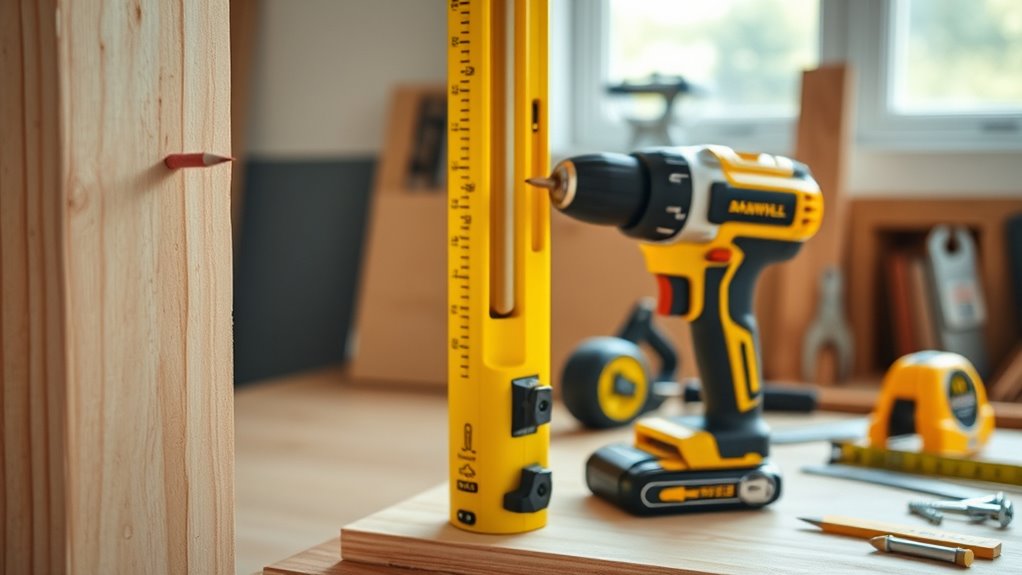
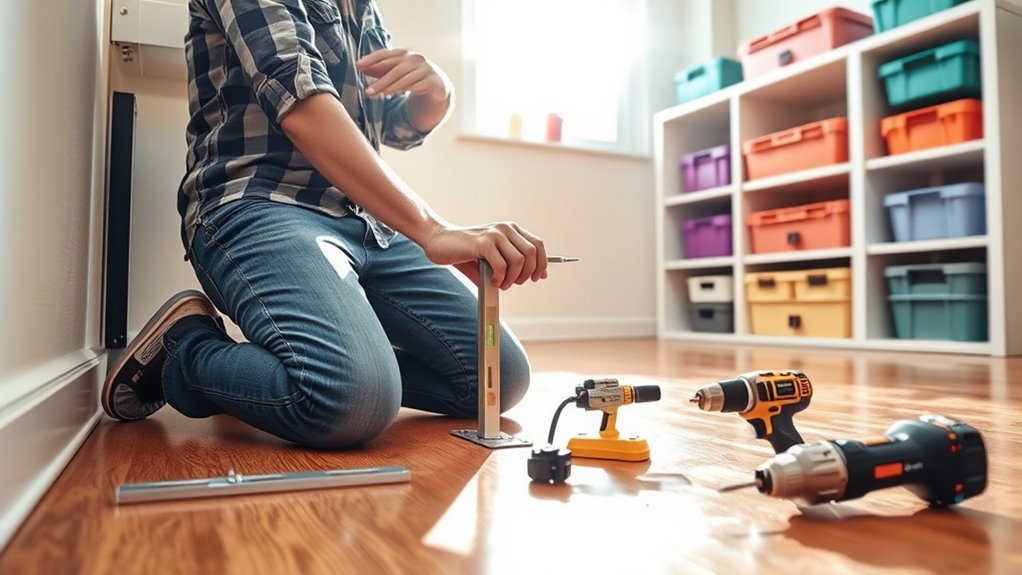
Essential Tools and Materials
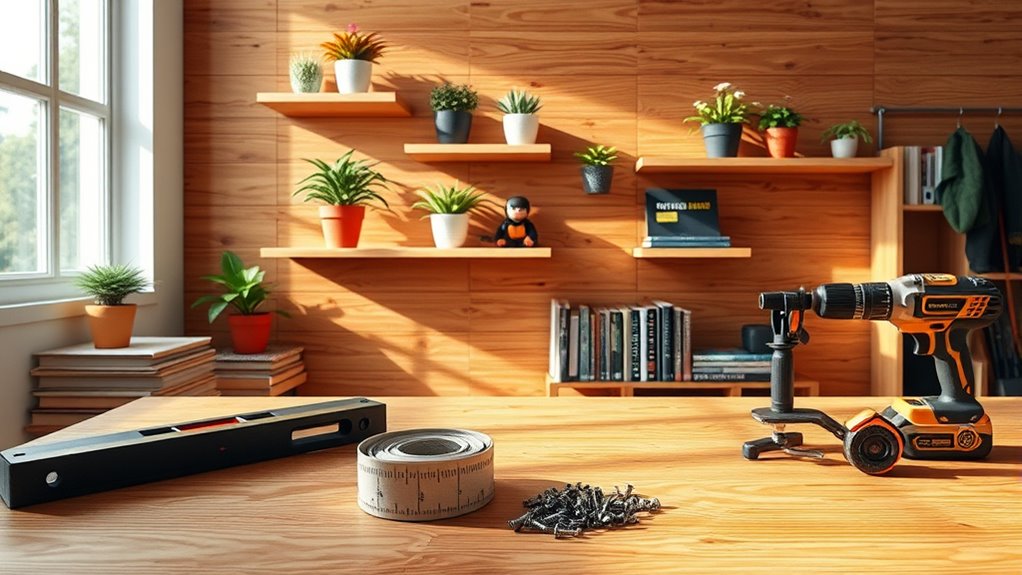
To successfully install shelves, you’ll need a few essential tools and materials at your disposal.
Start with a power drill, screwdriver, level, measuring tape, and a stud finder to guarantee accurate placement. You’ll also need shelves, brackets or supports, screws, and wall anchors if required.
It’s vital to select shelves and brackets that can handle the weight of your items, so check the weight ratings.
Keep a pencil or marker handy for marking pilot holes and alignment lines, which helps guarantee precise installation.
Don’t forget to wear safety goggles and a dust mask to protect yourself from dust and debris during the process.
With these tools and materials ready, you’re set to proceed!
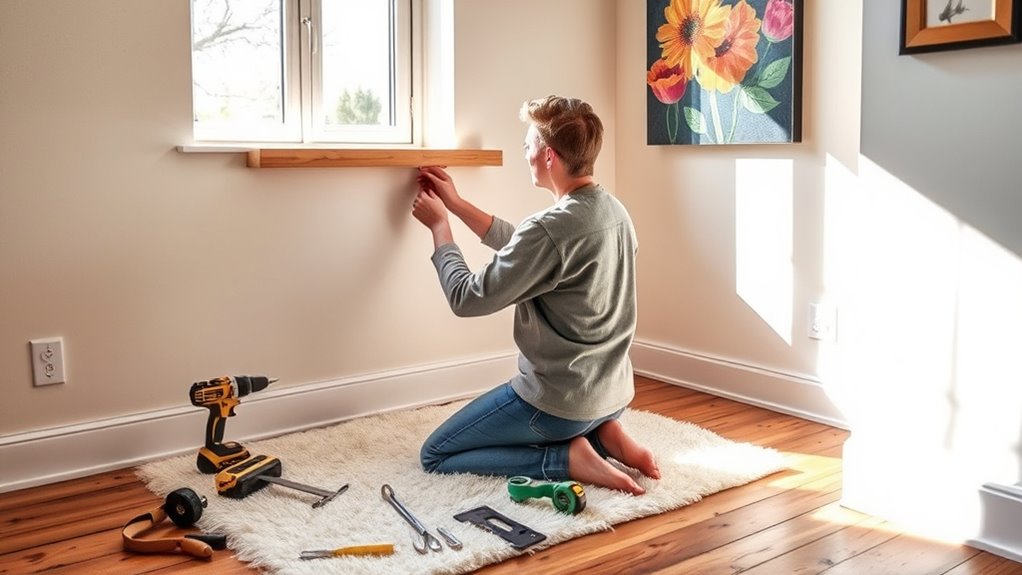
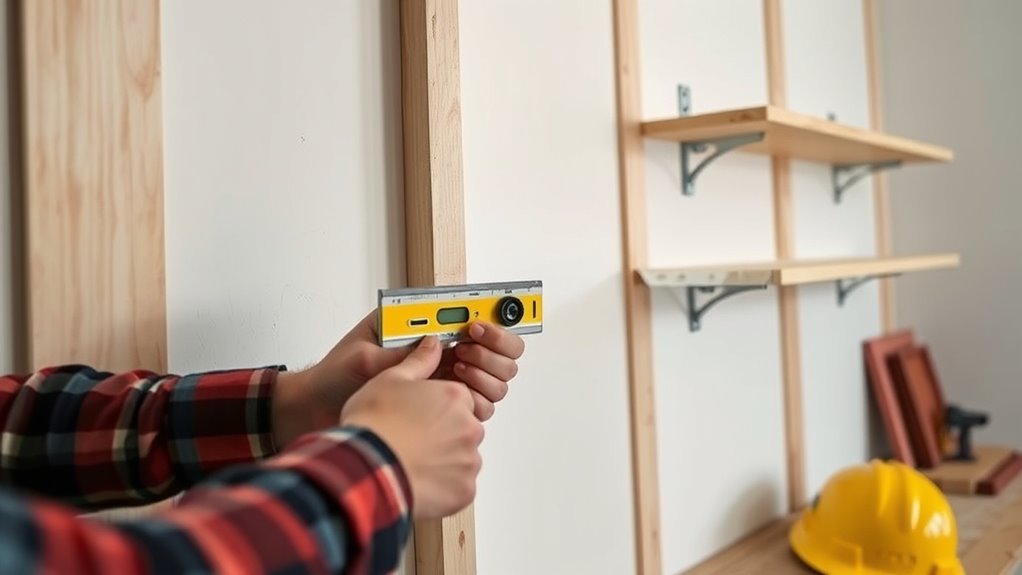
Preparing the Wall for Installation

Preparing the wall for shelf installation is essential for a successful project. Start by locating wall studs with a stud finder to guarantee secure anchoring for heavier shelves.
Once you’ve found the studs, mark your desired shelf height on the wall with a pencil, which helps maintain levelness during installation. Use a level to draw a straight line, guiding you for bracket positioning and guaranteeing uniform alignment.
Clean the wall surface to remove dust and debris, as this can interfere with the adhesion of wall anchors. If you’re installing on drywall without studs, choose appropriate wall anchors based on the weight capacity needed for your shelf and its contents.
Proper preparation sets the stage for a sturdy shelf!
Creating Accurate Starter Holes
Once you’ve marked your desired locations, creating accurate starter holes is essential for a successful shelf installation.
Use a drill on low speed or a screwdriver to guarantee precision, as this will help avoid damaging your wall material. At each marked spot, create starter holes deep enough to accommodate the screw length while guaranteeing a secure fit.
Remember, don’t fully install the screws just yet; back them out and set them aside for later use to maintain alignment. After drilling your holes, confirm that they align properly before moving on to the next step.
This way, you’ll guarantee your shelf is level and stable once it’s fully installed. Taking these steps now sets you up for success!
Installing Wall Anchors Effectively

When it comes to installing wall anchors, choosing the right type is essential for supporting your shelves.
You’ll want to use plastic anchors for lighter loads and metal anchors for heavier items.
Let’s explore proper installation techniques to guarantee your shelves stay secure and stable.
Types of Wall Anchors
Choosing the right type of wall anchor is essential for securely installing shelves, especially on drywall where studs mightn’t be available.
Different anchors are suited for varying weight capacities and wall materials. Here are four types to take into account:
- Plastic Expansion Anchors: Great for lightweight shelves, holding up to 20 pounds.
- Molly Bolts: Ideal for medium loads; they expand in the wall, providing solid support.
- Metal Toggle Bolts: Perfect for heavier shelves, often supporting over 50 pounds when installed correctly.
- Self-Drilling Anchors: Easy to install and effective for various weights without needing a pre-drilled hole.
Selecting the appropriate anchor guarantees your shelves can safely hold the intended weight, keeping your space organized and accident-free.
Proper Installation Techniques
Installing wall anchors correctly is key to guaranteeing your shelves remain secure and functional.
First, determine the weight capacity your shelf needs by considering the items you plan to store. Choose anchors rated for that weight, and if studs aren’t available, opt for heavy-duty anchors suitable for your wall type, like drywall or plaster.
Follow the manufacturer’s instructions meticulously, especially when drilling the pilot hole, guaranteeing it’s the right size for a snug fit. After inserting the anchors, make sure they’re flush with the wall surface for a stable base.
Finally, test the stability by gently pulling on the anchors. This step guarantees they can handle the intended load without risk of failure before you secure the brackets.
Attaching Brackets Securely

Attaching brackets securely is essential for the stability of your shelves and can prevent accidents.
To guarantee your shelves are safe and reliable, follow these steps:
- Align with studs or anchors: Make sure your brackets are attached to wall studs or use proper anchors for maximum support.
- Use a level: Verify that the brackets are mounted straight; uneven brackets can cause instability.
- Select the right screws: Use screws long enough to penetrate both the bracket and the wall material, guaranteeing a solid hold.
- Consider locking mechanisms: Opt for brackets with locking features to prevent shelves from sliding off unintentionally.
Regularly check the screws and brackets’ condition to maintain safety over time.
Positioning and Securing the Shelf
Once your brackets are securely in place, the next step is to position and secure the shelf itself. Choose a height that allows easy access while considering the weight of the items you plan to store.
Before you attach the shelf, check for wall studs; securing the brackets to these provides better support than using just drywall. Use a level tool to verify the shelf is horizontally aligned—this prevents it from tilting.
Once aligned, secure the brackets to the wall with appropriate screws, tightening them firmly to eliminate any movement or sagging. For added stability, consider fastening the shelf to the brackets with screws, especially if you’ll be placing heavier items on it.
Ensuring Safety and Stability
When installing shelves, you need to be aware of weight limits to avoid accidents.
Make sure you securely fasten all components, as this is key to stability.
Regularly checking your shelves for any signs of wear will help keep everything safe over time.
Weight Limit Awareness
Understanding the weight limits of your shelves is essential for ensuring safety and stability in your home. Here are some key points to keep in mind:
- Check Manufacturer Specifications: Most floating shelves support 10-40 pounds; bracket shelves can exceed 100 pounds when properly anchored.
- Distribute Weight Evenly: Overloading shelves can cause structural failure, damaging your items and posing safety risks.
- Consider Cumulative Weight: Don’t forget to factor in the weight of the shelf itself along with your items.
- Regular Inspections: Look for signs of sagging or instability; these could indicate overloading or improper installation.
Stay aware of these factors, and you’ll maintain safe and functional shelves in your home.
Secure Fastening Techniques
Making certain your shelves are securely fastened is just as important as knowing their weight limits. Always use wall anchors when attaching shelves to drywall to safely support the intended weight, especially if there are no studs available.
Pre-drilling pilot holes can prevent splitting and make installation smoother. Choose brackets or supports rated for your shelf items to avoid accidents.
Tighten all screws and bolts securely during installation, and periodically check them for looseness to maintain stability over time. For added safety, consider securing the shelf to the brackets with extra fasteners, especially for heavier items.
This attention to detail will make certain your shelves remain both safe and functional for years to come.
Regular Stability Checks
To keep your shelves safe and stable, regular checks are essential. By staying proactive, you can prevent accidents and guarantee longevity. Here’s what you should do:
- Inspect for Wear: Look for cracks or looseness in shelves and supports regularly.
- Tighten Fasteners: Check and tighten all screws and brackets every few months to maintain stability.
- Monitor Weight Limits: Always adhere to the manufacturer’s specified weight limits to avoid overloading.
- Dust Regularly: Clean shelves and their supports to prevent dust buildup that could compromise stability.
If you notice any tilting or sagging, address these issues immediately.
Reassessing your installation and making necessary adjustments can greatly enhance safety.
Tips for Shelf Maintenance and Care

While maintaining your shelves might seem like a minor task, it plays an essential role in ensuring their longevity and safety. Start by regularly dusting your shelves with a microfiber cloth to prevent dust buildup and keep them looking great.
Inspect their stability every few months, tightening any loose screws to avoid accidents. If you notice any cracks or warping, address these issues promptly to maintain structural integrity.
Be mindful not to overload your shelves beyond their weight limits, as this can lead to sagging or failure. Finally, clean spills immediately with appropriate cleaners to protect the shelf material and prevent permanent stains.
With these simple tips, you’ll keep your shelves in top shape for years to come.
Frequently Asked Questions
How to Put up Shelves for Beginners?
To put up shelves for beginners, start by choosing a sturdy, level location.
Mark where you’ll place the brackets, then drill starter holes carefully. If you need extra support, install drywall anchors following the instructions.
Next, secure the brackets to the wall and make certain they’re level.
Finally, place the shelf on top and fasten it to the brackets.
Double-check everything’s stable before loading it up to avoid any mishaps!
Can You Put Shelves up With No More Nails?
Imagine transforming your space with just a tube of adhesive. Yes, you can put shelves up with No More Nails!
This strong adhesive bonds securely to clean, dry surfaces, making it perfect for lightweight items. Just apply it in a zigzag pattern on the back of the shelf, press it firmly against the wall, and let it cure.
But remember, for heavier items, traditional methods are your best bet for lasting support.
What Is the Rule of Thumb for Hanging Shelves?
When hanging shelves, a good rule of thumb is to place them 12 to 18 inches above furniture for visual balance.
Keep 10 to 15 inches between multiple shelves to fit various item sizes. Aim to align shelves with door frames or window sills, ideally at eye level, around 57 to 60 inches from the floor.
How Far Apart Should Track Shelves Be Spaced?
You know that feeling when you finally find the perfect spot for your favorite books? To keep that joy intact, you should space track shelves 10 to 12 inches apart for heavier items, preventing sagging.
If you’re displaying decor or smaller items, aim for 14 to 18 inches for a stylish look.
Just remember, always check your track system’s weight capacity to guarantee everything stays safe and functional. Happy organizing!
Conclusion
Installing shelves is like building a sturdy bridge between your clutter and a tidy space. By selecting the right type, finding the perfect spot, and following our easy steps, you can create a functional storage solution that adds both style and order to your home. Remember to check your work for safety and stability, and don’t forget to maintain your shelves for long-lasting beauty. Now, go ahead and transform your space with your new shelves!