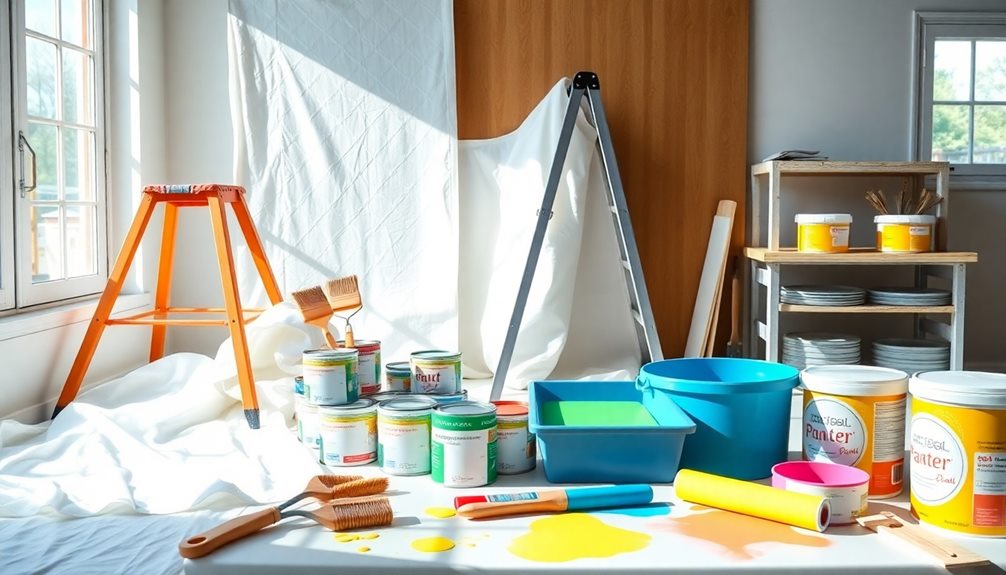

To prepare your interior for painting like a pro, start by inspecting the surfaces for cracks, holes, or peeling paint. Clean the walls to guarantee proper paint adhesion, then fill any imperfections with spackle or drywall compound and sand them smooth. Protect your floors and furniture with durable drop cloths and painter's plastic. Don't forget to remove wall plates carefully and label screws for easy reinstallation. Use the right primer for your surfaces to achieve a seamless finish. If you keep going, you'll discover even more expert tips for a successful painting project.
Key Takeaways
- Thoroughly inspect and clean surfaces to enhance paint adhesion and ensure a smooth application.
- Protect furniture and floors with drop cloths, and secure coverings to prevent damage from splatters.
- Remove and label wall plates to avoid paint splatters and facilitate easy reinstallation.
- Patch holes and imperfections using appropriate materials, ensuring a smooth finish before painting.
- Choose the right primer based on surface type for optimal adhesion and a professional finish.
Importance of Proper Prep
Proper preparation is often the key to a successful paint job. When you invest time in proper prep work, you set the stage for a long-lasting, high-quality finish.
It's vital to start with a thorough surface inspection. Look for cracks, holes, or peeling paint, and address these issues before applying any paint. Ignoring these problems can compromise your new paint job's integrity.
Next, focus on cleaning surfaces. Dirt, grease, and debris can greatly affect paint adhesion, leading to peeling or flaking over time.
Once you've cleaned the surfaces, fill any imperfections and then sand them down. This step is important for achieving a smooth finish that enhances the overall look of your paint application.
Furniture Protection Techniques

Before you start painting, it's crucial to protect your furniture to avoid any damage from splatters or dust. First, consider moving all items away from the walls or even out of the room. This helps prevent accidental paint splatters on your beloved pieces.
For the furniture you leave behind, cover it with drop cloths or painter's plastic. Make sure to shield furniture, especially those with fabric upholstery, to keep them safe from spills and dust.
Don't forget to identify and protect delicate items like artwork or electronics. Use bubble wrap or blankets for these valuables and store them in a safe location. Additionally, you can wrap painter's plastic around furniture legs and corners to prevent paint from seeping through and causing damage.
Lastly, confirm all covered furniture has secure coverings. Use tape or weights to keep the materials in place during the painting process. This way, you'll avoid any accidental shifts that could expose your furniture to paint.
Effective Wall Plate Removal

When you're getting ready to paint, removing wall plates safely is essential to avoid any damage.
Use a screwdriver to carefully unscrew the plates, and be certain to store the screws in a labeled bucket for easy access later.
Safe Removal Techniques
Effective wall plate removal is essential for achieving a clean and professional paint job. Using safe removal techniques not only prevents damage but also sets the stage for flawless results. Follow these steps to guarantee a smooth process:
- Unscrew Carefully: Use a screwdriver to gently unscrew the light switch and outlet cover plates. Store the screws in a labeled bucket, making the reinstallation easy and organized.
- Inspect for Loose Outlets: As you remove the cover plates, check for any loose outlets. This step helps identify potential electrical issues that could require maintenance before you start painting.
- Remove Gently: To avoid damaging the wall or outlet, gently wiggle the cover while pulling it off. This will prevent any forceful yanking that could lead to cracks or other issues.
Once painting is complete, make sure to reinstall all cover plates to maintain a professional appearance.
Align them properly to avoid visible gaps, guaranteeing your installation looks polished and well done. Following these techniques will definitely enhance the overall quality of your painting project.
Preventing Damage Tips
To prevent damage during wall plate removal, it's crucial to approach the process with care and the right techniques. Start by confirming you remove light switch and outlet covers to prevent paint splatters and maintain clean lines. As you do this, check for loose outlets; addressing these issues helps create a safer painting environment and prevents potential damage.
Use a flathead screwdriver or a similar tool to gently pry off the covers, minimizing the risk of damaging the wall surface. Before you set the covers aside, label and store screws in a bucket for easy reinstallation later. This small step saves time and guarantees you don't lose any parts.
After you've painted, carefully remove the tape from around the cover plates at a 45-degree angle. This technique helps maintain crisp edges and prevents any paint from pulling off with the tape.
Finally, confirm proper reinstallation of the covers by aligning them correctly and tightening the screws snugly. This attention to detail not only preserves your work but also avoids future damage when accessing your outlets.
Ensuring Clean Edges
How can you guarantee clean edges around your wall plates during painting? The key is to effectively remove light switches and outlet covers before you start your paint job. This prevents any paint from blurring the lines between the wall and cover plates, securing a neat finish. Here's how to do it:
- Detach Carefully: Use a screwdriver to remove the covers without damaging the wall or the plates. This makes reinstallation easier later.
- Label Everything: Store screws in a labeled container to avoid misplacement. This will help you reassemble everything smoothly after your painting is done.
- Inspect Outlets: While you're at it, check for any looseness in the outlets and tighten them up. This not only secures safety but also contributes to a professional appearance.
Once you've finished painting, remember to remove painter's tape from the edges of the cover plates at a 45-degree angle. This technique gives you crisp, clean edges, preventing any paint from peeling off and securing even coverage.
Floor Covering Strategies

When it comes to floor covering strategies, choosing the right drop cloth is essential for protecting your floors.
You'll want to manage any paint spills quickly to keep your workspace tidy and efficient.
Let's explore how to select the best materials and handle spills like a pro.
Drop Cloth Selection
Choosing the right drop cloth can make a significant difference in your painting project. Proper drop cloth selection is essential for effective spill management and protecting your workspace from paint drips and splatters. Here are a few tips to guide you:
- Durability: Opt for canvas drop cloths for their durability and grip. They prevent slips while providing excellent coverage.
- Plastic-lined Options: If you're working in areas prone to paint drips, consider plastic-lined drop cloths. They effectively prevent seepage, ensuring the underlying surfaces remain protected.
- Placement: Lay your drop cloths at least 3 feet from the walls. This allows easy movement of tools and equipment while providing ample coverage for any spills.
Additionally, bunching drop cloths along walls can create a barrier against spills and splatters, helping to keep your workspace tidy.
Remember, managing spills promptly with a broad putty knife or dustpan is vital to minimize mess and maintain a clean environment.
With the right drop cloths in place, you can focus on the fun part—painting!
Managing Paint Spills
With your drop cloths securely in place, you can focus on managing paint spills effectively. Lay out canvas drop cloths at least 3 feet from walls to catch any drips and protect your floors. Bunch the drop cloths along the edges of the walls to minimize slipping and guarantee that any paint spills stay contained within the protective area.
When a spill occurs, act quickly. Use a broad putty knife or dustpan to scoop up excess paint before it dries. This prevents a more challenging clean-up later on. Always keep cleaning materials handy—rags and water for latex paint, or mineral spirits for oil-based paint—so you can address spills immediately.
Investing in high-quality, absorbent floor coverings specifically designed for paint projects will give you better grip and protection against spills. These materials not only enhance the safety of your workspace but also help you manage spills more effectively.
Patching Walls Like a Pro

Patching walls like a pro starts with a clean workspace. Before you embark on repairs, clear away dust and debris from the area around the imperfection. This guarantees better adhesion for your patching compound.
Here's a quick guide to get you started:
- Choose the Right Patching Material: For small holes, use spackle; for larger issues, drywall compound works best. Apply it in thin layers to achieve that smooth, even coat.
- Spread with a Putty Knife: Use your putty knife to apply the patching compound evenly. Feather the edges to blend seamlessly with the surrounding wall, making certain you fill in the gaps effectively.
- Sand and Prime: Once the patched area is dry (check the manufacturer's instructions), sand it smooth with fine-grit sandpaper.
Priming the area before painting helps achieve a consistent paint color and texture, enhancing that professional finish.
Cleaning Surfaces for Painting
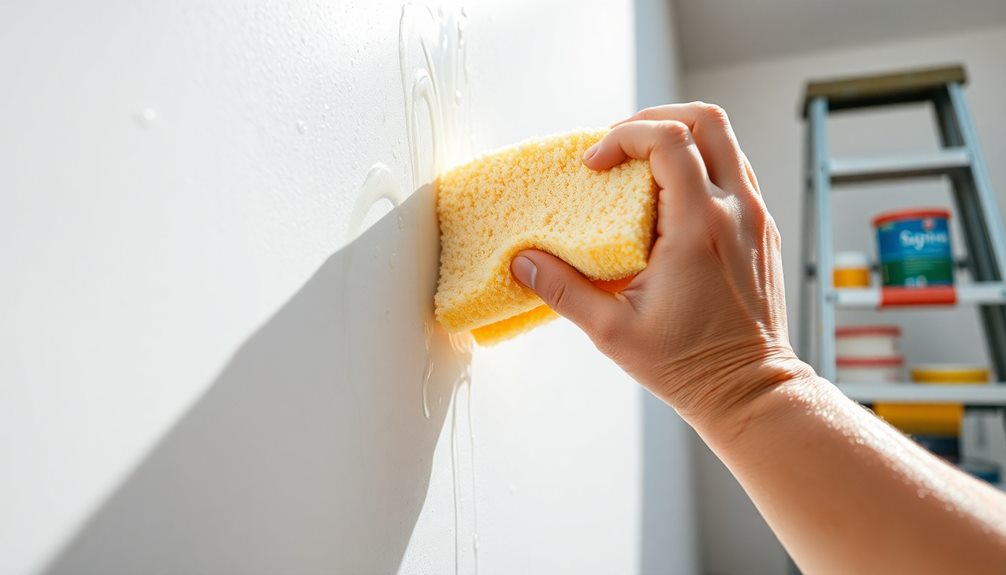
After you've successfully patched your walls, the next step is to guarantee the surfaces are clean and ready for painting. Start by removing dust, pet hair, and debris with microfiber cloths. This initial cleaning helps assure proper adhesion of paint.
For areas with tacky materials like grease, use a solution of soap and water to thoroughly clean those surfaces, allowing for effective paint application. Additionally, verify the air quality in the room is ideal, as poor air quality can lead to dust settling on freshly cleaned surfaces, potentially compromising your work. Regularly using an air purifier can greatly enhance indoor air quality and keep surfaces cleaner.
Pay special attention to any extensive damage or loose paint, as these can affect the quality of your finish.
Once you've cleaned all areas, inspect them to confirm they're free of contaminants. This inspection is essential for enhancing paint adhesion and achieving a professional-looking paint job.
Choosing the Right Primer
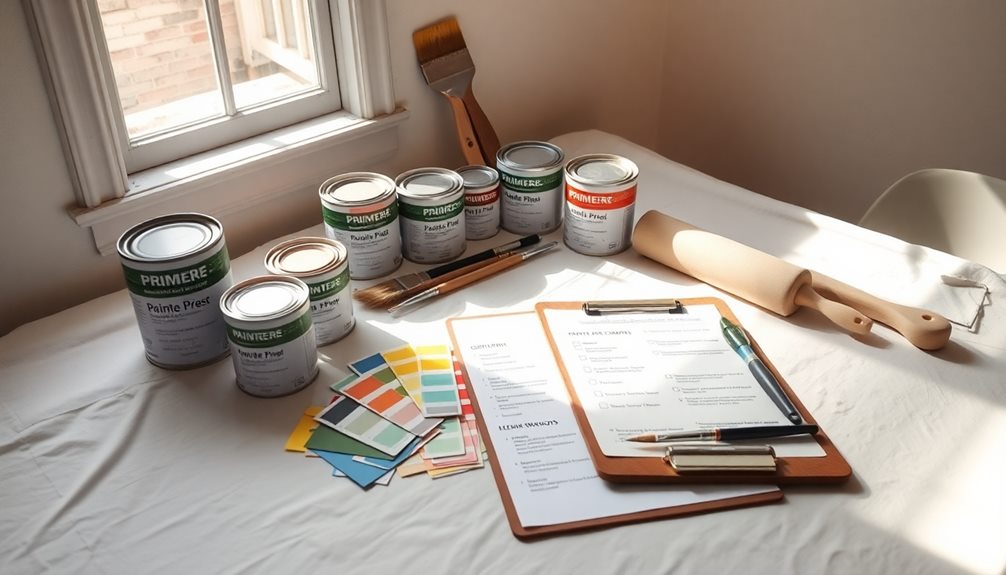
Selecting the right primer is essential for achieving a flawless paint finish. When you're choosing the right primer, consider the surface you're working with to guarantee maximum adhesion and coverage.
Here's a quick guide to help you decide:
- Bare Wood: Use an oil-based primer. It fills and seals the pores, enhancing paint adhesion for a smooth finish.
- Previously Painted Surfaces: For latex-painted surfaces, a water-based latex primer is suitable. If the paint type is unknown, opt for an oil-based primer to guarantee compatibility.
- Specialty Surfaces: For materials like MDF, go with a shellac or oil-based primer. If you're working with plastic, a bonding primer will guarantee proper adhesion.
In some cases, a shellac primer is ideal for trim with a clear coat finish, but remember to work in a well-ventilated area due to its high VOC content.
Frequently Asked Questions
How Do Professional Painters Prep Walls?
To prep walls, you start by removing furniture and covering the floors. Clean the walls thoroughly, fill any imperfections, and apply primer for better adhesion. Finally, use painter's tape for neat edges and lines.
How to Prep an Interior for Painting?
To prep an interior for painting, you'll need to clear the space, cover furniture and floors, clean the walls, fill cracks, sand smooth, and apply primer. This guarantees a clean, professional finish when you paint.
How Do You Paint Interior Professionally?
To paint interiors like a master, you've got to prep meticulously. Start with clean walls, choose quality materials, and apply layers evenly. Patience is key; let each coat dry for a flawless finish you'll admire.
How Do I Make My Paint Job Look Professional?
To make your paint job look professional, start with thorough surface preparation. Use quality tools, choose the right paint finish, and apply painter's tape for clean lines. Don't forget to prime for better adhesion and color depth!
Conclusion
In the world of interior painting, preparation is your trusty brush, setting the stage for a masterpiece. By protecting your furniture, removing wall plates, and patching walls, you're ensuring a smooth canvas for your colors to dance upon. Clean surfaces and the right primer are the final strokes before you release your creativity. So gear up, apply these professional methods, and watch your space transform into a vibrant reflection of your style. Happy painting!