
To replace a leaky faucet, start by gathering your tools and turning off the water supply under the sink. Remove the old faucet carefully, noting how parts fit together. Prepare your new faucet, then install it securely, connecting the supply lines tightly. Turn the water back on and check carefully for leaks, adjusting as needed. If you want detailed steps and tips to guarantee a proper fit and clear any issues, keep going.
Key Takeaways
- Turn off the main water supply and drain residual water by opening the faucet.
- Remove the old faucet by disconnecting supply lines and loosening mounting hardware.
- Install the new faucet, securing it tightly and connecting supply lines properly.
- Turn on water supply and check for leaks around connections and base.
- Test the faucet’s operation, ensuring smooth flow and absence of drips or moisture.

Brother PrintModa Studio Fabric Printer
Print in Vibrant Color Print banners, home decor, and more in brilliant color With two print settings, choose...
As an affiliate, we earn on qualifying purchases.
Gathering Your Tools and Supplies
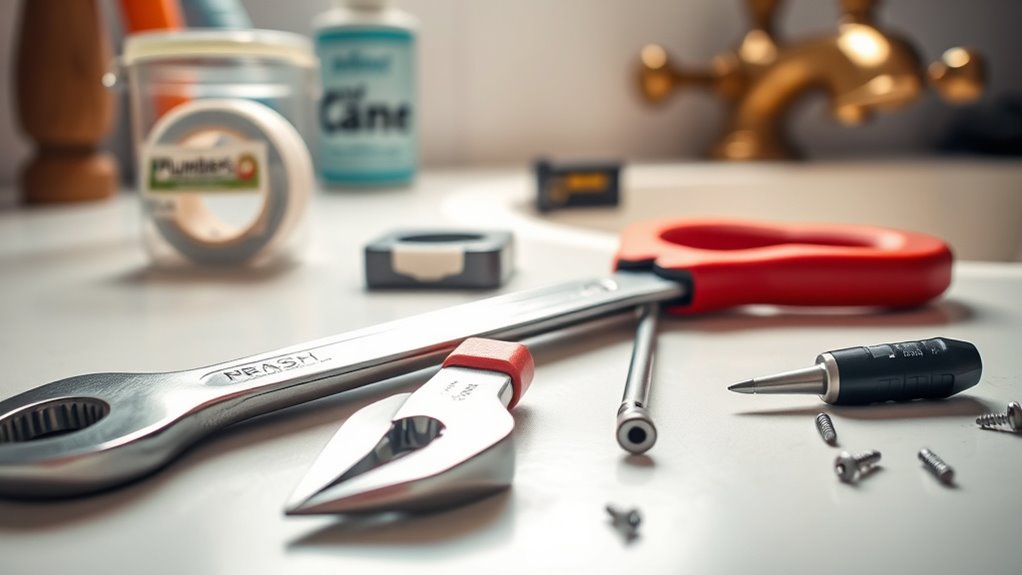
Before you begin replacing your leaky faucet, it’s vital to gather all the tools and supplies you’ll need. Proper tool organization helps you work efficiently and reduces frustration. Make sure you have a wrench, screwdrivers, pliers, and a bucket or towels for cleanup. Check your supplies, including replacement parts like O-rings and washers. Safety precautions are essential—wear gloves to protect your hands and goggles to shield your eyes from debris. Keep your workspace tidy, so tools are easy to find and accidents are minimized. As you gather everything, double-check that you have everything before starting. Being prepared with organized tools and practicing safety precautions ensures a smoother, safer faucet replacement process. Proper tool selection can make the task easier and more efficient.

SUNIKA DTF Printer with Shaking Dryer Machine, A3 Directly to Film Transfer Printing Machine Built-in Auto Time Cleaning Printhead for T-Shirt Fabric Textile Clothing
【Premium Color Precision】Equipped with the professional XP600 CMYK-WW six channel printhead and advanced RIIN software, DTF Printer delivers...
As an affiliate, we earn on qualifying purchases.
Shutting Off the Water Supply
Shutting off the water supply is an essential first step in replacing a leaky faucet. To do this safely, locate the water shutoff valves under your sink. These valves control water flow to the faucet and are usually on either side of the faucet assembly. Turn them clockwise to shut off the water. If you can’t find the valves under the sink, check your main water supply valve, typically located near your water meter or basement. Before proceeding, turn on the faucet to drain any remaining water and ensure the water is off. Confirm that no water is flowing before removing the old faucet. Understanding the water shutoff valves and their location can help prevent messy leaks and make the replacement process smoother.

Lansing 10601013 Photo Fabric Computer Crafting at Home 100% Cotton Poplin Sheets
Photo Fabric Is Paper Backed Fabric That You Can Run Through Your Ink Jet Printer
As an affiliate, we earn on qualifying purchases.
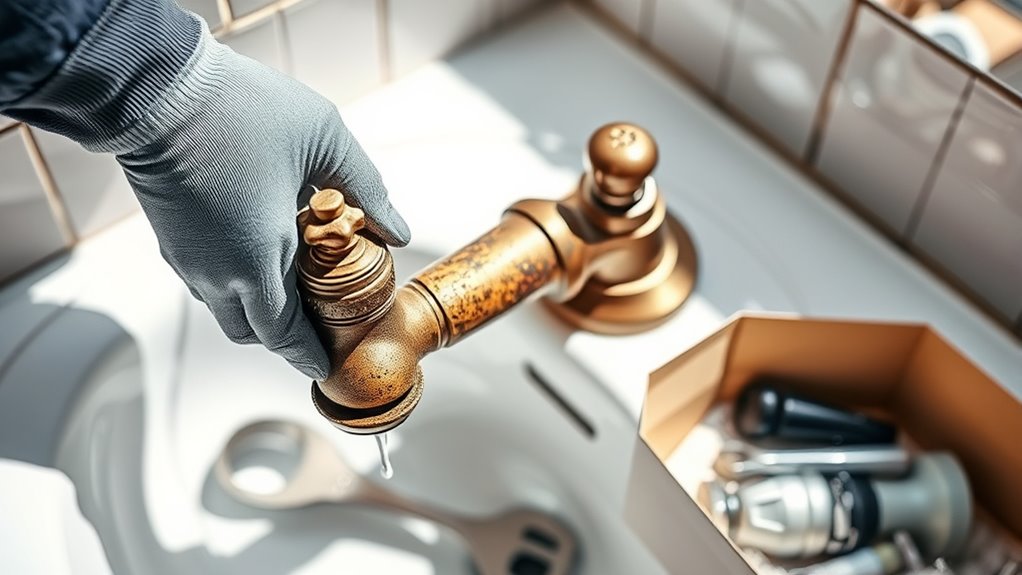
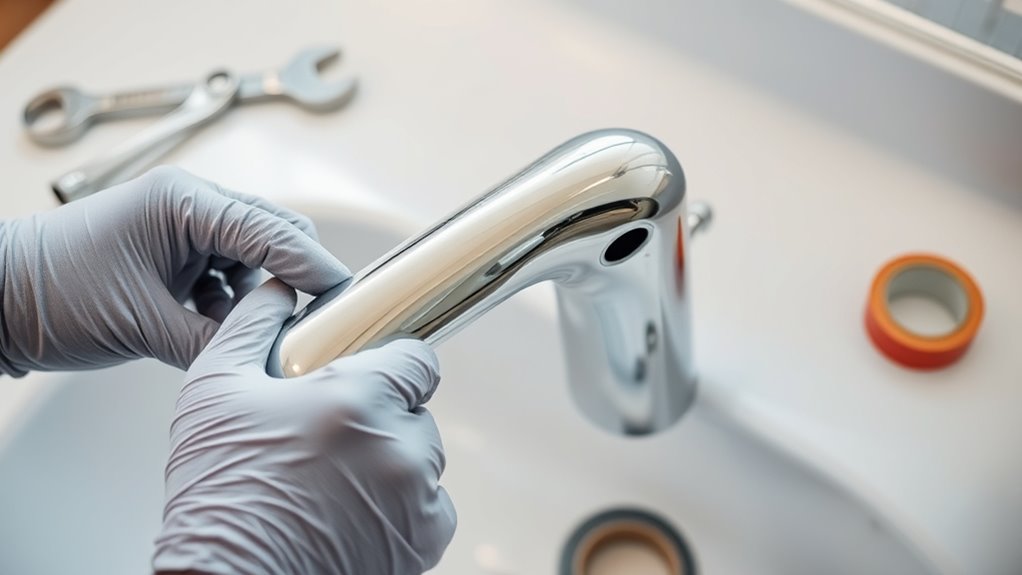
Removing the Old Faucet
Start by turning off the water supply to prevent leaks. Then, carefully detach the faucet components, keeping track of all parts. Finally, clean the mounting area thoroughly to guarantee a smooth installation of the new faucet. Paying attention to proper identification ensures the correct tools and parts are used during the replacement process.
Turn Off Water Supply
To safely remove the old faucet, you need to turn off the water supply first. Locate the shut-off valves under the sink; these control the water pressure going to your faucet. Turn each valve clockwise to shut off the water completely. If your home has different pipe materials, be cautious, as older pipes may require gentle handling to avoid damage. Once the water is off, open the faucet to release any residual pressure and ensure no water flows. Double-check that the water pressure has dropped to zero before proceeding. Turning off the water supply prevents water from spraying or leaking during removal, making the process cleaner and safer. Properly shutting off the water supply helps protect your plumbing system from potential damage during faucet removal. With the water shut off, you’re ready to move on to detaching the old faucet.
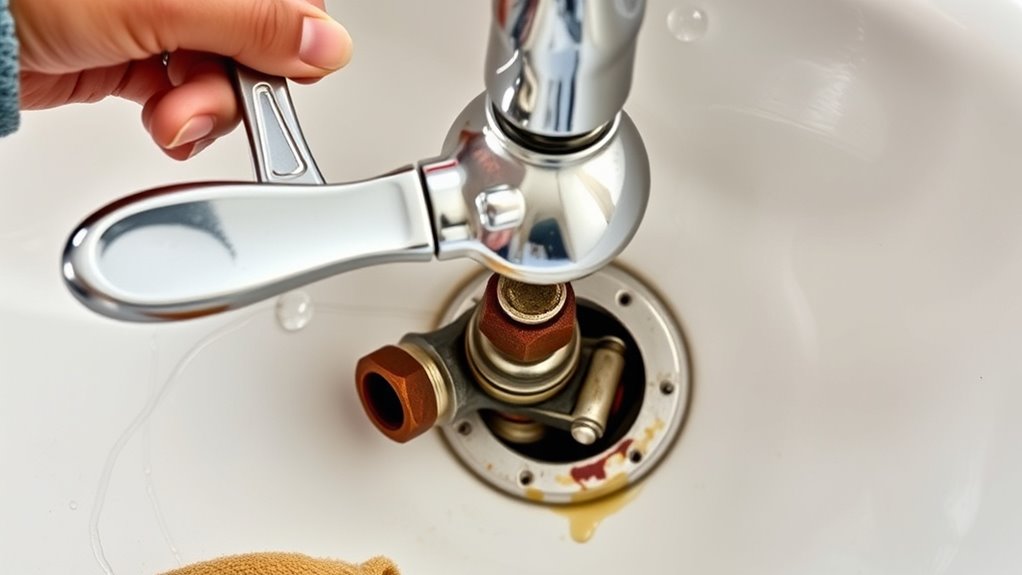
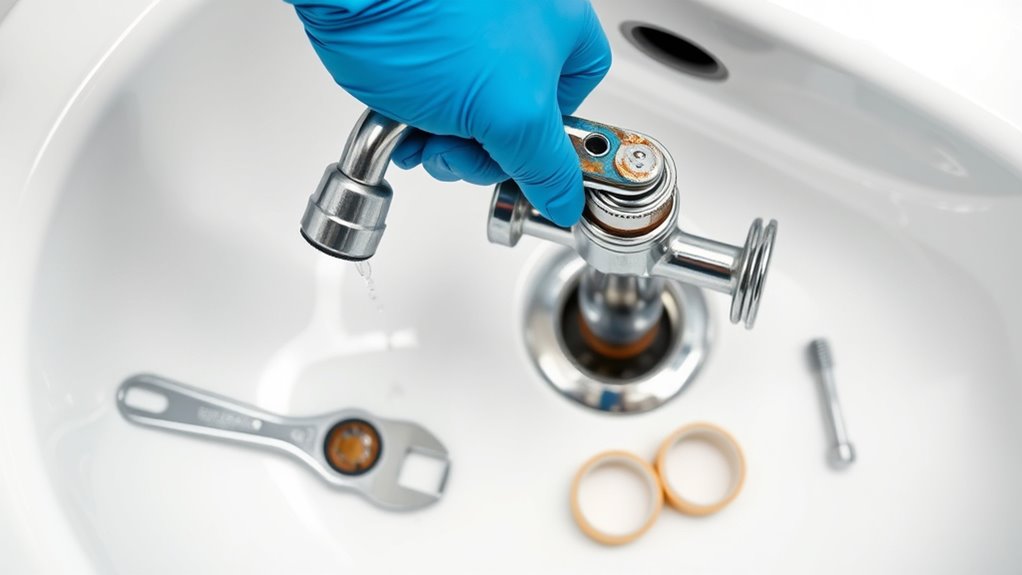
Detach Faucet Components
With the water supply turned off, you can now begin detaching the old faucet. Start by removing any faucet parts connected to the sink, such as handles, spout, and escutcheon plates. Use a wrench or pliers to loosen nuts and bolts securing these components. Carefully disconnect supply lines from the faucet body, being prepared for any residual water. Keep track of all removed parts and hardware for reinstallation. If some components are stuck, apply penetrating oil and gently wiggle them free. Take your time to avoid damaging the sink or stripping threads. Once all faucet parts are detached, clear the mounting area so you can inspect it before installing the new faucet. Proper component removal makes the replacement process smoother and prevents damage. Additionally, understanding the installation process helps ensure that your new faucet functions correctly and lasts longer.
Clean Mounting Area
After removing the old faucet components, examine the mounting area closely. You need to clean mounting thoroughly to guarantee a secure new fixture. Proper surface preparation is vital for a leak-free installation. Additionally, ensuring the area is free of corrosion or mineral buildup helps prevent future leaks.
Here’s what to do:
- Remove any old caulk, mineral deposits, or debris from the surface.
- Scrape off corrosion or mineral buildup with a putty knife.
- Wipe the area with a damp cloth to remove dust and dirt.
- Dry the surface completely before installing the new faucet.
This step ensures the mounting surface is clean, smooth, and ready for the new fixture. Proper surface preparation prevents leaks and ensures the new faucet stays securely in place, making your repair last longer.

RocRow L8058 A4 DTF Printer, 8.2" Transfer Printing Machine with Pre-Installed Laptop, White Ink Mixing, Automatic Cleaning for DIY Print, Customized Printing, Includes Film, T-Shirt
✅[2026 Upgraded L8058 DTF Printer] RocRow L8058 A4 DTF Printer blends our latest motherboard and XP600 printhead, delivering...
As an affiliate, we earn on qualifying purchases.
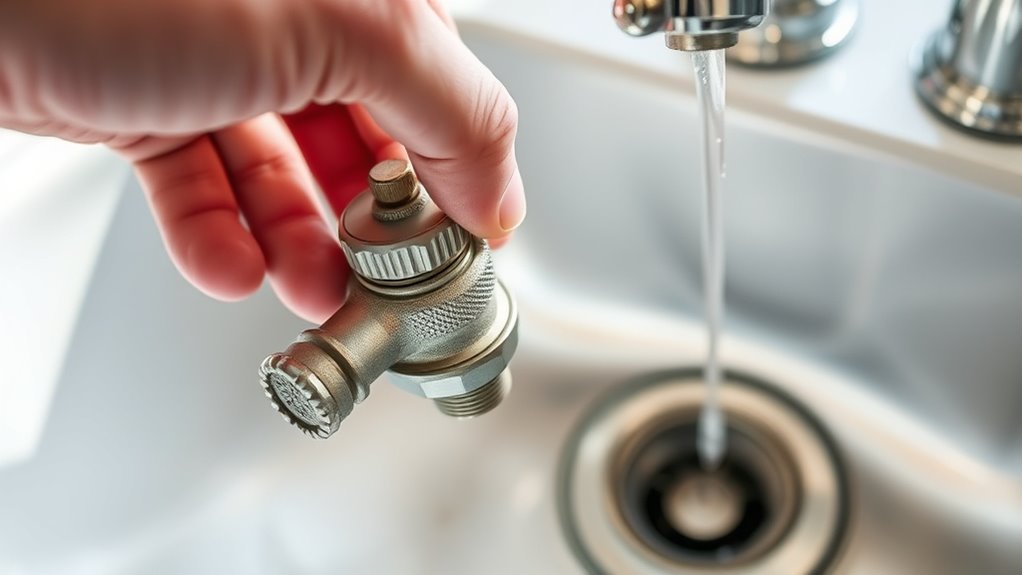
Preparing the New Faucet for Installation
Before installing the new faucet, you need to prepare it properly to guarantee a smooth setup. First, examine the faucet packaging to ensure all parts are included. Next, review the installation instructions carefully, noting any specific tools you’ll need. It’s helpful to organize components beforehand to avoid delays during installation. Additionally, inspecting the flushing mechanism and other functional parts can prevent issues after installation. Organize components beforehand to avoid delays during installation.
Installing the New Faucet
To begin installing your new faucet, start by turning off the water supply valves under the sink to prevent leaks during installation. Next, gather your faucet materials, including the mounting hardware and any necessary tools. Confirm you have reviewed the warranty information that comes with your faucet, as it can be helpful if issues arise later. Additionally, ensuring your home security is in place can help protect your property during home improvement projects. Follow these steps:
- Place the faucet onto the sink, aligning it with the mounting holes.
- Secure it from underneath with the provided nuts and washers.
- Tighten everything firmly but avoid over-tightening, which could damage the faucet materials.
- Connect the water supply lines to the shutoff valves, checking for proper fit and sealing.
This process ensures your new faucet is correctly installed and ready for use.
Testing for Leaks and Final Checks
Once you’ve installed the new faucet, it’s time to check for leaks and guarantee everything works properly. You should look for drips around the fittings, then run the water to see if any leaks develop. Finally, verify that all your fixes hold and the faucet functions smoothly. Incorporating a leak prevention check can help ensure your installation remains secure over time.
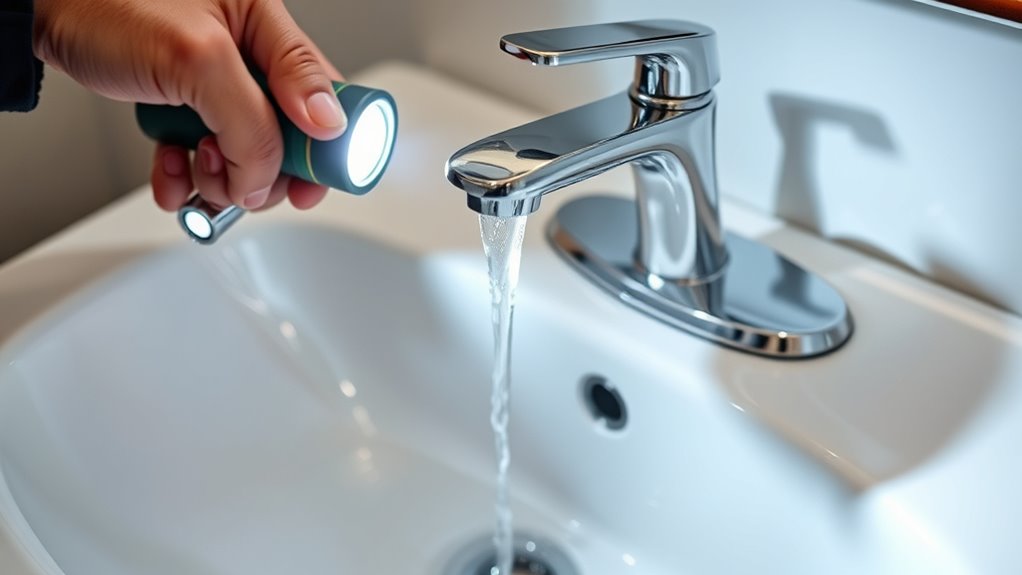
Inspect for Drips
How can you be sure your faucet no longer leaks? Effective leak detection involves a thorough drip inspection after installation. First, turn on the water supply and carefully observe the faucet for any signs of dripping. Second, listen closely for any sounds of water running or dripping that might suggest a leak. Third, check underneath the sink for water pooling or moisture—these are clear leak indicators. Fourth, run your finger around the base and spout to feel for moisture or small drips. Performing these quick steps guarantees your leak detection is thorough. Fifth, consider the importance of proper sealing techniques to prevent future leaks and ensure a tight fit. If no drips or moisture are present and everything looks dry, you can confidently say your faucet is no longer leaking. This final check is essential to prevent future water damage.
Run Water Test
After completing the installation and initial leak inspection, the next step is to run the water and observe your faucet in action. Turn on the water supply gradually and check the water flow to ensure it’s steady and smooth. Pay attention to any signs of leaks around the base or connections, and listen for unusual sounds. During the test, verify that the pressure regulation works correctly, preventing water from splashing or spraying. Adjust the handles to confirm they operate smoothly and that the flow rate matches your desired level. If everything runs without leaks or irregular pressure, you’ve successfully installed the faucet. This final check helps confirm your work is secure and that your faucet functions properly before you finish the project.
Verify Fixes
Before finishing your faucet project, it’s vital to thoroughly verify that all leaks are gone and everything works properly. Check for drips around the base and handle, regardless of your faucet type. Turn on the water supply slowly and observe the water pressure; it should be steady without fluctuations. Examine both hot and cold flows to ensure consistent pressure. Listen carefully for any hissing or dripping sounds, indicating leaks. Finally, operate the faucet multiple times to confirm smooth movement and proper sealing.
- Inspect around the faucet base for leaks.
- Test hot and cold water for steady pressure.
- Listen for sounds indicating leaks.
- Operate the faucet to check for smooth function.
Frequently Asked Questions
How Do I Identify the Correct Replacement Faucet for My Sink?
To identify the correct replacement faucet, first check your sink measurements, including hole size and spacing. Consider faucet compatibility with your sink’s setup, ensuring it fits the existing holes and mounting type. Take note of the faucet’s style and finish to match your decor. Bring these details to the store or measure and compare online options carefully to find a faucet that’s compatible, functional, and looks great with your sink.
What Should I Do if the Old Faucet Is Stuck or Difficult to Remove?
If the old faucet is stuck or hard to remove, start by gathering the necessary tools like a wrench, screwdriver, and penetrating oil. Apply the oil to loosen rust or mineral buildup, then carefully use your tools to turn and loosen fittings. Always wear safety precautions like gloves and eye protection to avoid injury. Be patient and gentle to prevent damaging the sink or plumbing.
Can I Install a New Faucet Without Professional Help?
Yes, you can install a new faucet without professional help if you have basic DIY plumbing skills. Make sure you have tool essentials like an adjustable wrench, pliers, and plumber’s tape. Follow clear instructions, turn off the water supply, and carefully remove the old faucet. With patience and the right tools, you can successfully complete the installation yourself, saving money and gaining a sense of accomplishment.
What Types of Sealants or Plumbers’ Tape Are Best for Installation?
Your plumbing skills are about to reach superhero levels! For sealant selection, opt for a high-quality, waterproof silicone sealant that resists mold and mildew. When choosing plumber’s tape, go for PTFE (Teflon) tape, which provides a reliable, leak-proof seal, or a thicker, wider tape for extra durability. Always guarantee the tape is wrapped clockwise around the threads to prevent leaks and ensure a tight fit.
How Often Should I Check for Leaks After Replacing the Faucet?
You should check for leaks immediately after replacing the faucet and then regularly during your maintenance schedule, ideally once a week for the first month. Conduct leak detection by observing for drips or moisture around fittings and connections. After that, quarterly checks are sufficient. Staying vigilant helps catch issues early, preventing water damage and costly repairs. Incorporate these checks into your routine to keep your faucet functioning properly.
Conclusion
Replacing a faucet might seem intimidating, but with the right steps, you can tackle it yourself. Don’t worry if it feels complicated at first—just follow the guide carefully, and you’ll have a functioning, leak-free faucet in no time. Even if you’re worried about making a mistake, remember that most issues are easy to fix. Confidence and patience are your best tools. You’ve got this—your sink will thank you!