
Installing and programming a smart thermostat can enhance your home's energy efficiency. Start by turning off your HVAC system. Next, document the wiring from your old thermostat and label each wire before connecting them to the new unit. With a smartphone app, you'll gain remote access to control your home's climate. Take advantage of programmable schedules to optimize energy use, potentially saving you up to 15% on bills. Regularly review energy reports for insights into your consumption habits. With the right setup, you can enjoy intelligent climate control and significant savings, and there's more to discover about maximizing these features.
Key Takeaways
- Turn off the HVAC system and use a non-contact voltage tester for safety before installation.
- Document and label wiring connections for easy installation of the new thermostat.
- Follow the manufacturer's installation guide for specific wiring diagrams and safety measures.
- Program tailored heating and cooling schedules through the thermostat's app for optimized energy usage.
- Ensure proper placement away from direct sunlight and drafts for accurate temperature readings.

ecobee Power Extender Kit C-Wire Adapter – for ecobee Smart Thermostat Essential – Programmable WiFi Thermostat Accessory
- Easy solution for homes without C-wire: Cost-effective Power Extender Kit
- Check compatibility before installation: Verify system compatibility online
- Included with most ecobee models: Not included with Smart Thermostat Essential and Lite
As an affiliate, we earn on qualifying purchases.
As an affiliate, we earn on qualifying purchases.
Smart Thermostat Overview
A smart thermostat is your gateway to effortless climate control in your home. With advanced technology, you gain remote control capabilities, allowing you to manage your indoor climate from anywhere using smartphone apps.
You'll enjoy the energy-saving features that help reduce your heating and cooling bills—potentially by up to 15%—through efficient temperature management. Additionally, integrating smart thermostats with other smart home devices can enhance your air quality by working in conjunction with systems like air purifiers, which are designed for ideal indoor air conditions and can effectively reduce allergens and odors effective reduction of allergens.
When considering installation, it's essential to verify your smart thermostat is compatible with your existing HVAC system. Many models work seamlessly with various systems, but checking compatibility beforehand can save you from headaches later.
Once installed, these devices integrate smoothly with other smart home devices, enhancing their functionality and maximizing energy usage throughout your home.
You'll appreciate the user-friendly interfaces that simplify programming. Setting schedules and preferences becomes a breeze, even if you're not tech-savvy.
This intuitive operation empowers you to tailor your home's climate to your lifestyle effortlessly. Overall, a smart thermostat not only elevates your comfort but also contributes to energy efficiency, making it a smart choice for any modern home.
Installation Preparation
Before you start the installation, make certain to turn off your HVAC system at the breaker panel for safety.
Grab a non-contact voltage tester to confirm the wires aren't live, and take a clear photo of your current thermostat's wiring to reference later.
Having all your tools and materials ready, along with the manufacturer's guide, will help guarantee a smooth installation process.
Safety Precautions First
Installing a smart thermostat can greatly enhance your home's energy efficiency, but safety precautions should always come first. Before you begin, make certain to turn off the HVAC system at the breaker panel. This step helps prevent electrical hazards that could pose a risk during installation.
Once the power is off, grab a non-contact voltage tester to confirm that the wires aren't live. This tool is essential for guaranteeing your safety while handling the wiring. Keep your old thermostat handy as a backup, just in case you encounter any issues with the new model.
Prior to starting, review the manufacturer's installation guide specific to your smart thermostat model. Familiarizing yourself with these instructions allows you to understand any unique safety precautions you need to follow.
Additionally, confirm that your installation environment is safe and free from obstacles or hazards that might interfere with the process.
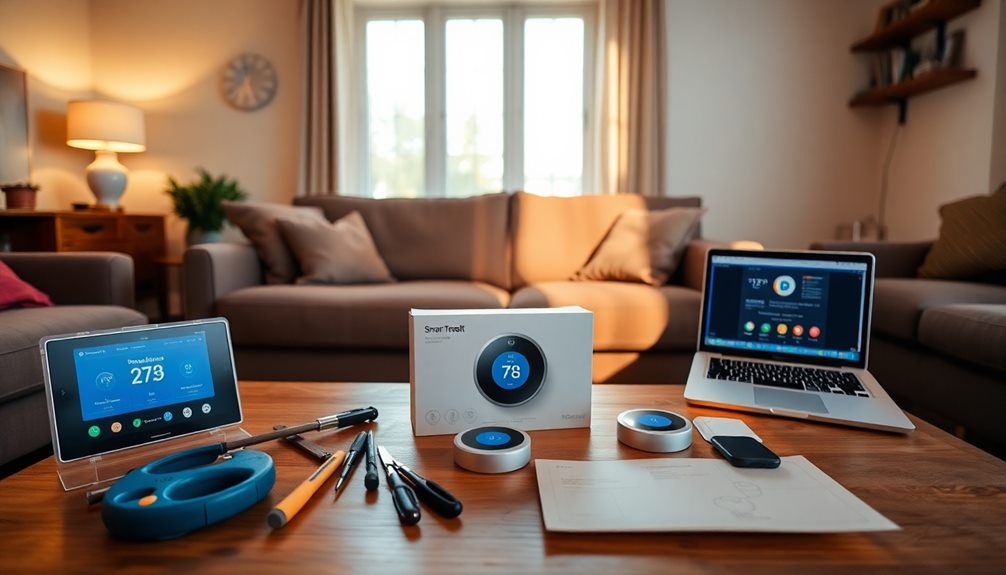
Tools and Materials Needed
Having the right tools and materials on hand is essential for a smooth smart thermostat installation. Start by gathering basic tools like a screwdriver, drill/driver, and a non-contact voltage tester for safety checks. These tools will help you manage the physical aspects of the installation effectively.
Make sure you have wire labels included in your thermostat kit. These labels are important for marking connections according to terminal designations, guaranteeing you reconnect everything accurately.
Keep the installation manual close, as it contains specific instructions and diagrams that guide you through the wiring and setup process.
If your smart thermostat requires a common wire (C-wire) and your current setup lacks one, consider purchasing a C-wire adapter or consulting a professional for assistance. This step is essential for seamless operation.
Lastly, verify you have a smartphone ready to download the associated app. This app will facilitate the thermostat's Wi-Fi connection and enable remote control features, enhancing your overall experience.
With these tools and materials at your disposal, you're well-prepared to tackle your smart thermostat installation confidently.
Step-by-Step Installation Process

Before you start the installation process, it's essential to prioritize safety by turning off your HVAC system at the breaker panel.
Once that's done, you'll want to focus on the wiring connections, carefully documenting each one to guarantee a smooth changeover to your new thermostat.
Safety Precautions First
Taking safety precautions is vital when installing a smart thermostat. First, turn off the power to your HVAC system at the breaker panel. This step is essential to prevent any electrical issues. Use a non-contact voltage tester to confirm that the wires are not live. This adds an extra layer of safety during your installation.
Here's a quick reference table to guarantee you follow the necessary safety steps:
| Step | Action | Purpose |
|---|---|---|
| 1. Power Off | Turn off the HVAC system at the breaker panel | Guarantees no electrical current flows |
| 2. Test Voltage | Use a non-contact voltage tester | Confirms wires are not live |
| 3. Keep Backup | Retain the old thermostat | Reference wiring connections if needed |
| 4. Review Guide | Read the manufacturer's installation guide | Understand specific safety measures |
Make sure your installation environment is safe and free of hazards. Keep all tools and materials within reach and in good condition for a smooth installation process. Following these safety precautions will help you install a smart thermostat securely and confidently.
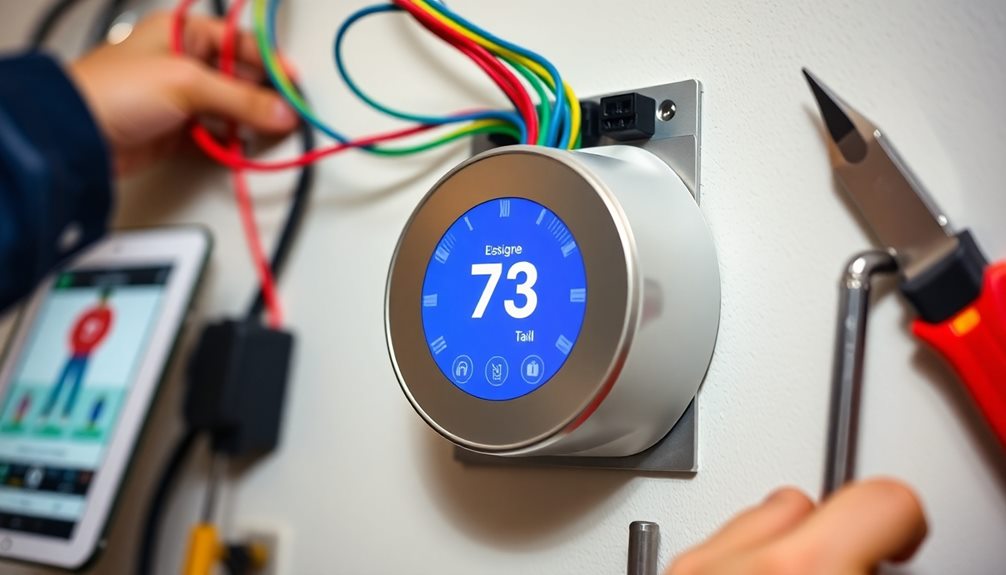
Wiring Connections Explained
With the safety precautions in place, you're ready to tackle the wiring connections for your smart thermostat. Begin by labeling each wire according to its terminal designation using the included labels from your thermostat kit. This will make installation easier later on.
Carefully disconnect the wires from the old thermostat, and take a photo of their connections for accurate reference.
Next, insert the labeled wires into the corresponding terminals of the new thermostat. Confirm they're securely fastened by pressing the terminal lever and verifying that each connection is tight. If your new smart thermostat requires a common wire (C-wire) for power and your existing system doesn't have one, consider using an adapter. Some smart thermostats won't function properly without it.
Once everything is connected, tuck any excess wires back into the wall before attaching the thermostat body to the wall plate. Ascertain no wires obstruct the thermostat's operation.
Initial Setup Steps
Getting your smart thermostat up and running starts with a few essential setup steps. First, turn the power off to your HVAC system at the breaker panel to guarantee safety while you work.
Next, carefully remove the old thermostat faceplate and take a photo to document the wiring connections. Disconnect the existing wires, labeling each one according to its corresponding terminal designations with the labels provided.
Now, you're ready to install the new thermostat. Mark the screw hole locations on the wall, pre-drill the holes, and secure the new backplate in place before reconnecting the wires.
After everything is in place, turn the power back on to your HVAC system. Follow the prompts on your new thermostat to connect it to WiFi and finalize the setup through the smartphone app.
Here's a handy reference table to guide you through the process:
| Step | Action | Notes |
|---|---|---|
| 1. Turn off the power | Switch off at the breaker panel | Safety first! |
| 2. Document wiring | Take a photo of connections | For future reference |
| 3. Install new thermostat | Secure backplate and connect the wires | Double-check each wire |
Programming Your Smart Thermostat

When you program your smart thermostat, you can easily create tailored heating and cooling schedules that fit your lifestyle throughout the week. This programming allows you to optimize energy usage by setting different temperatures for different days or times, ensuring comfort when you need it most.
Many smart thermostats come with machine learning capabilities that learn your preferences over time. They can automatically adjust the thermostat based on your patterns, potentially saving you up to 10% on energy costs.
If your plans change or you're away from home, remote access via a smartphone app lets you adjust the thermostat from anywhere, providing flexibility when you need it.
Additionally, many smart thermostats offer energy usage reports that give you insights into your consumption patterns. This information can help you make informed decisions to further enhance efficiency and reduce costs.
Plus, with voice control integration, you can program or adjust settings using simple voice commands, making it even more convenient to manage your home's climate.
Energy Efficiency Tips

Maximizing your energy efficiency is key to reducing costs and maintaining comfort in your home. By implementing a few simple strategies, you can optimize energy use with your smart thermostat and enjoy significant savings.
| Energy-Saving Tip | Benefit |
|---|---|
| Set temperatures 7-10 degrees | Save up to 15% on heating/cooling bills |
| Use programmable scheduling | Align temperatures with your routine |
| Engage energy-saving modes | Auto-adjust based on occupancy |
| Review energy usage reports | Identify patterns for further savings |
| Proper thermostat placement | Guarantee accurate temperature readings |
Adjusting your thermostat during unoccupied hours can drastically cut your heating and cooling costs. Make full use of your programmable thermostat's scheduling features to enhance comfort while reducing waste. Activating energy-saving modes, such as Home and Away, allows your heating and cooling system to automatically adjust when you're not home.
Lastly, don't forget the importance of placement. Position your thermostat away from direct sunlight, vents, and drafts to guarantee accurate temperature readings. By following these tips, you'll create a more energy-efficient home and enjoy lower utility bills.
Troubleshooting Common Issues

Troubleshooting common issues with your smart thermostat can save you time and frustration.
If your thermostat doesn't power on after you install it, check that the HVAC system's power is restored at the breaker panel and guarantee all wiring connections are secure.
If you can't connect the thermostat to Wi-Fi, verify your home network is working properly and that the thermostat is within range of the router for a strong signal.
Inaccurate temperature readings can often be resolved by verifying the thermostat's placement.
Make sure it's away from direct sunlight, drafts, and heat sources, mounted at the recommended height of 4-6 feet from the floor.
If your thermostat isn't responding to programmed schedules, check the app settings to confirm that the desired schedule is active and that the thermostat is connected to the internet for updates.
For models requiring a C-wire, if they're not functioning properly, consider using a C-wire adapter or consult an HVAC technician to guarantee compatibility with your existing thermostat's wiring system.
Frequently Asked Questions
Do I Need an Electrician to Install a Smart Thermostat?
You don't always need an electrician to install a smart thermostat, but if you're unsure about electrical work or have a complicated system, it's wise to consult a professional for safety and peak performance.
How Much Does It Cost for an Electrician to Install a Smart Thermostat?
When hiring an electrician, you can expect installation costs to range from $100 to $300. Rates vary based on complexity and location, so always get a detailed quote to avoid unexpected expenses.
Can I Install a Smart Thermostat Myself?
Yes, you can install a smart thermostat yourself if you've got basic electrical skills and follow the instructions carefully. Just make sure your HVAC system is compatible and turn off the power beforehand.
Can You Replace Any Thermostat With a Smart Thermostat?
You can't just replace any thermostat with a smart one. Compatibility varies based on your HVAC system, wiring, and specific model requirements. Always check these factors before making a decision to guarantee proper functionality.
Conclusion
To sum up, embracing a smart thermostat is a wise step toward enhancing your home's comfort and efficiency. By following the installation and programming steps, you'll find it's easier than you might have anticipated. Should any challenges arise, remember they're merely opportunities for growth in your tech-savvy journey. With a little patience and creativity, you'll soon be enjoying a perfectly balanced climate, all while making a positive impact on your energy consumption. Happy heating!