
To master tiling basics, start by planning your layout carefully, choosing a pattern that fits your space and style. Use spacers to keep grout lines uniform and guarantee a professional look. Make precise cuts with the right tools, measuring carefully and trimming tiles for a seamless fit around edges and fixtures. Paying attention to these details can make your project look polished—keep exploring to learn more tips for successful tiling.
Key Takeaways
- Plan your tile pattern and layout to ensure proper fit and visual harmony before starting installation.
- Use spacers to maintain consistent grout lines and achieve a professional, even appearance.
- Measure carefully and utilize appropriate tools for precise cuts that fit snugly around edges and fixtures.
- Work methodically, refining cuts with nippers or saws to ensure seamless integration and neat edges.
- Proper planning, spacing, and accurate cuts collectively result in a polished, durable tiling finish.
Amazon Product B0000CBK1L
As an affiliate, we earn on qualifying purchases.
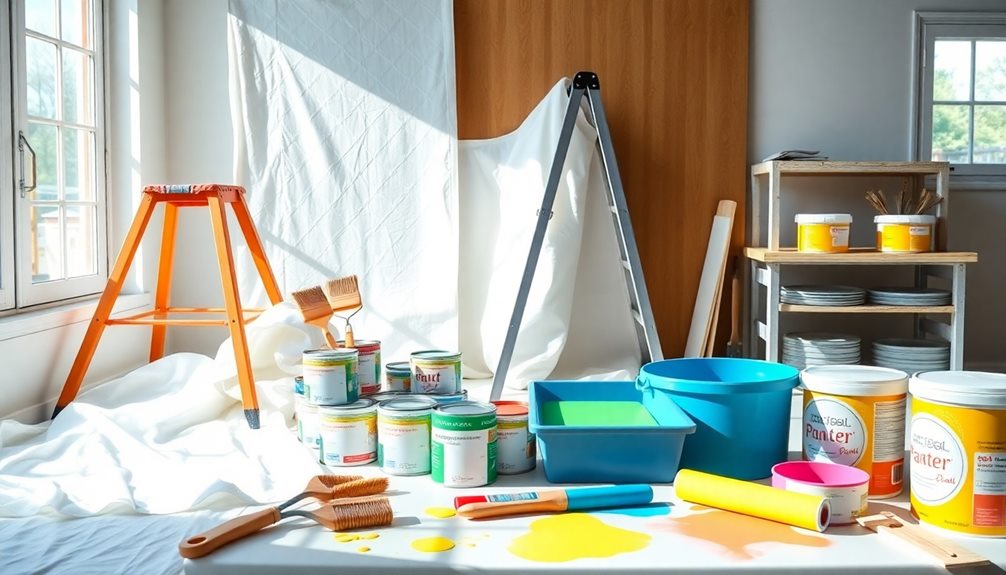
Planning Your Tile Layout and Design
Before you begin laying your tiles, it’s essential to plan your layout and design carefully. Decide on a tile pattern that complements your space and personal style, whether it’s a classic straight grid or a more intricate herringbone. Consider how the tiles’ color coordination will impact the room’s overall look. Choose colors that enhance the natural light and match your existing decor. Planning ahead prevents costly mistakes and guarantees a harmonious flow. Sketch your design, mark the starting point, and visualize how each tile fits into the pattern. Think about grout lines and how the colors will interact once installed. A well-thought-out layout creates a professional appearance and boosts your confidence during installation. Proper planning sets the foundation for a beautiful finished project, ensuring design consistency and a cohesive aesthetic throughout your space.

FEIYUE FY505 Serger Overlock Machine with 2/3/4 Thread Capability, Built-in Rolled Hem, Durable Heavy-Duty Metal Frame, Adjustable Differential Feed
2/3/4 Thread Capability: FEIYUE FY505 serger machine is designed to handle a variety of sewing projects with different...
As an affiliate, we earn on qualifying purchases.
Using Spacers for Consistent Grout Lines
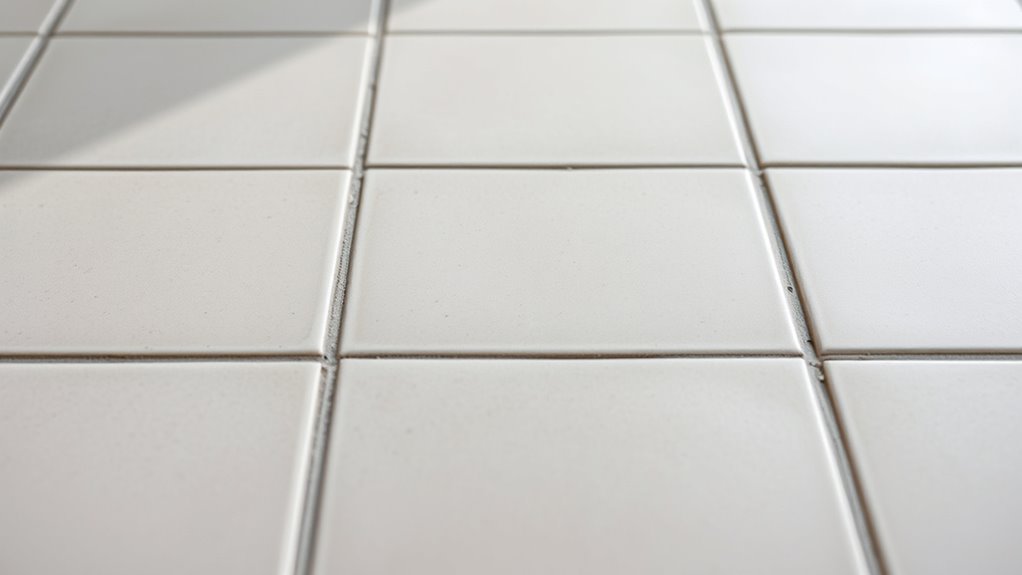
Using spacers is a straightforward way to guarantee your grout lines stay even and uniform throughout your tiling project. Tile spacers are placed between tiles during installation, ensuring consistent spacing and helping you achieve professional-looking grout lines. Proper use of spacers simplifies maintaining grout consistency, preventing uneven gaps that can compromise your design. Select the right size spacers for the desired grout width, and keep them in place until the adhesive sets. This method helps you avoid uneven or crooked tiles and ensures a clean, balanced look. Remember, consistent spacing with tile spacers is key to a polished finish, making your grout lines straight and uniform from start to finish. Proper spacer use makes the entire tiling process more manageable and precise. Additionally, understanding tile layout patterns can enhance the overall appearance of your tiling project.

VEVOR Serger Overlock Sewing Machine, 1250 Stitches Per Minute, 2-3-4 Thread Capability, 0.7-2 Adjustable Differential Feed, with Free Arm and LED Light, Sewing Machine for Various Fabrics, White
2/3/4-Thread Flexibility: Our serger sewing machine features easy switching between 2/3/4 threads with adjustable stitch length. Whether it's...
As an affiliate, we earn on qualifying purchases.
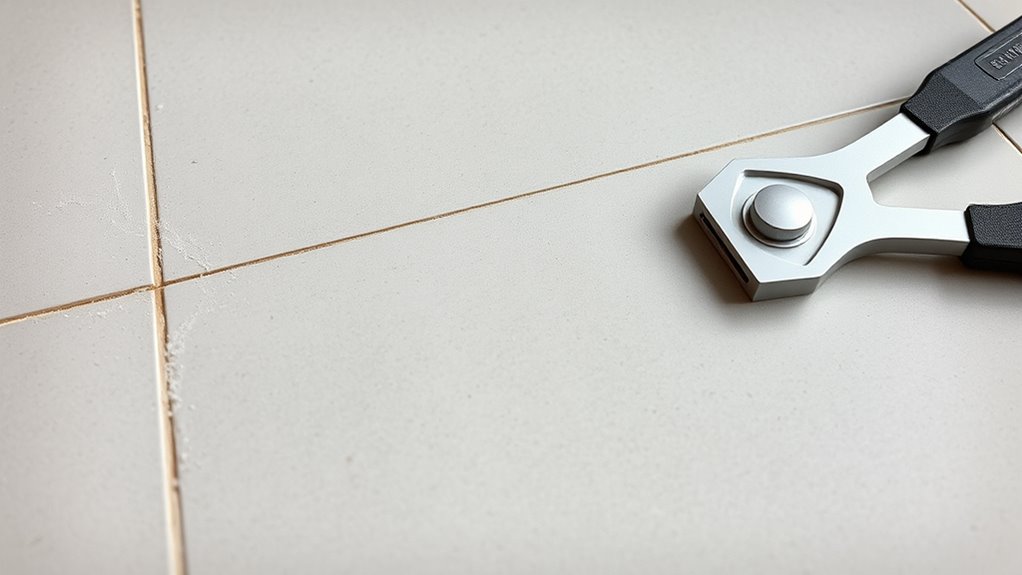
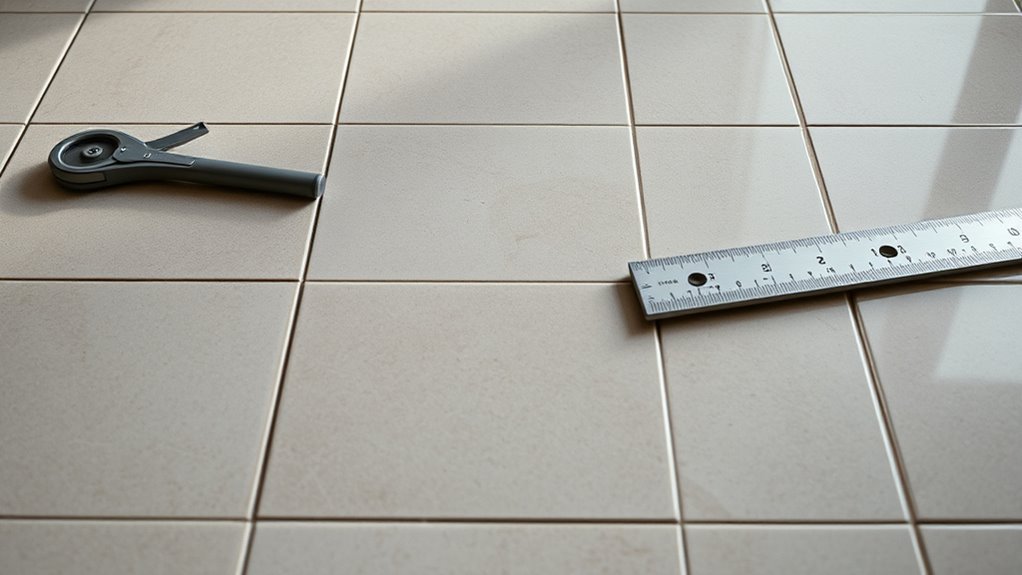
Making Accurate Cuts for a Seamless Fit

To achieve a polished, professional-looking tile installation, making precise cuts is essential. Start by measuring carefully and using cut templates to mark your tiles accurately. Templates help you replicate complex shapes or repeated cuts, ensuring consistency. For edges that need trimming, use a tile cutter or a wet saw to achieve clean, straight cuts. Edge trimming is vital for fitting tiles snugly against walls or fixtures, giving your finished surface a seamless appearance. Always double-check your measurements before cutting, and work slowly to prevent mistakes. If you’re cutting irregular shapes or curves, a tile nipper can help refine your edges. Properly made cuts and trims will make your tile installation look neat and professional, with no gaps or uneven edges. Additionally, using the right cutting tools can improve efficiency and accuracy, especially when working with durable materials like shower – Best Modern Toilet surfaces.

SINGER S0100 Metal Frame Serger with Accessory Kit | Overlock Machine with 6 Built-in Stitches, 2-3-4 Thread Capability, Adjustable Tension & Stitch Length, 1300 Stiches per Minute & Differential Feed
2, 3, OR 4-THREAD STITCH OPTIONS: Create professional-quality seams, hems, and decorative edges with a variety of thread...
As an affiliate, we earn on qualifying purchases.
Frequently Asked Questions
What Are the Best Tools for Cutting Ceramic Tiles?
The best tools for cutting ceramic tiles are tile saws and tile nippers. Tile saws, especially wet saws, give you clean, precise cuts for straight edges and larger tiles. Tile nippers are perfect for making small, irregular cuts or shaping tiles around obstacles. Both tools help you achieve a professional look. Invest in quality tools, and always wear safety glasses to protect your eyes during cutting.
How Do I Choose the Right Grout Color?
Choosing the right grout color is like selecting the perfect accent in a painting; it enhances your overall look. You should consider color coordination with your tiles to create harmony or contrast for a bold statement. Think about grout maintenance—lighter colors show dirt more, while darker shades hide stains. Pick a color that complements your tile and suits your lifestyle, ensuring your installation stays beautiful and easy to maintain.
Can I Install Tiles on Uneven Surfaces?
You can install tiles on uneven surfaces if you properly prepare the surface using leveling techniques. First, assess the surface’s unevenness and apply a self-leveling compound or mortar to create a smooth, stable base. Make sure to let it dry completely before laying tiles. This surface preparation guarantees your tiles adhere well and stay level, preventing future cracking or shifting. Always follow manufacturer instructions for best results.
How Do I Fix Uneven Grout Lines?
To fix uneven grout lines, start by removing the uneven grout with a grout saw or scraper. Then, clean the joints thoroughly. Use a grout float to apply fresh grout, smoothing it with a damp sponge for even grout lines. Guarantee proper tile alignment during the process, and regularly check your work to maintain consistent spacing. This approach helps achieve a professional finish with nicely aligned tiles and even grout lines.
What Are Common Mistakes to Avoid During Tiling?
You should avoid rushing the process, as this often leads to uneven grout lines and poor tile alignment. Don’t forget to properly seal grout after installation to prevent staining and water damage. Neglecting regular tile maintenance can cause buildup and damage over time. Always double-check measurements and use spacers correctly; rushing or skipping these steps results in uneven grout lines and compromised tile work.
Conclusion
With your tile project taking shape like a well-orchestrated symphony, every careful measurement and precise cut adds harmony to the overall masterpiece. By thoughtfully planning your layout, employing spacers to maintain perfect grout lines, and making accurate cuts, you turn a simple installation into a work of art. Remember, patience and attention to detail are your guiding stars, transforming raw materials into a stunning mosaic that will stand the test of time—your personal signature on a flawless surface.