To use a stud finder properly, start by gathering your tools and preparing a clear workspace. Choose the right type of finder, then calibrate it according to the manufacturer’s instructions. Hold it flat against the wall and move slowly, overlapping your scans to locate and mark the center of studs. Verify your findings by re-scanning and confirming the edges and size of the studs. For more detailed tips, keep exploring how to get the best results.
Key Takeaways
- Calibrate the stud finder according to the manufacturer’s instructions before each use.
- Mark a starting point on the wall in a well-lit area for accurate detection.
- Move the finder slowly along the wall, overlapping passes to ensure reliable results.
- Identify and mark the edges of the stud once the center is detected for precise placement.
- Re-scan to verify the stud’s position and size before drilling or mounting.

Stud Finder – 5 in 1 Electronic Stud Finder Wall Scanner, Stud Sensor with Digital LCD Display & Intelligent Smart Chip, Beam Finders Wall Detector for Wood AC Wire Metal Studs Joist (Peacock Blue)
Most Accurate and Effectively: USTUDCHY stud finder is designed with the latest advanced sensor chip which accurately and…
As an affiliate, we earn on qualifying purchases.
As an affiliate, we earn on qualifying purchases.
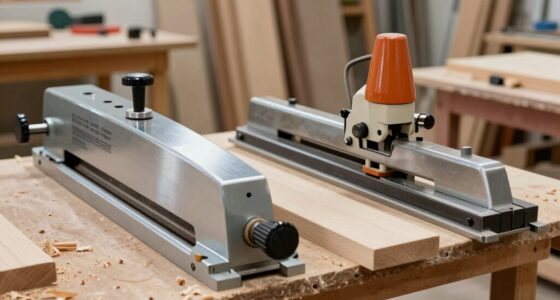
Gather Your Tools and Prepare the Workspace
Before you start using your stud finder, it’s important to gather all the necessary tools and prepare your workspace. First, verify you have the stud finder itself, batteries if needed, and any additional tools like a pencil or level. Prioritize tool safety by checking that your device is in good condition and functioning properly. Clear your workspace of clutter to maintain workspace cleanliness, which helps prevent accidents and makes the process smoother. Choose a well-lit, flat surface with no obstructions so you can easily move around and scan walls. Protect your surroundings by removing fragile items nearby. Taking these steps ensures a safe, organized environment, making it easier to locate studs accurately and efficiently. Additionally, understanding the remote nature of hackathons can inspire innovative approaches to problem-solving during your project.

The Original StudBuddy® Magnetic Stud Finder – Made in the USA – Easy to Use Stud Finder – No Batteries Required – Powerful Magnet Stud Finder – Stud Finder for Drywall and Wood
EASY TO USE: The StudBuddy is the world's simplest magnetic stud finder tool. The StudBuddy works with all…
As an affiliate, we earn on qualifying purchases.
As an affiliate, we earn on qualifying purchases.
Understand the Types of Stud Finders
Stud finders come in various types, each designed to detect studs differently and suit different wall conditions. Understanding the types of sensors helps you choose the right tool. You’ll find:
- Devices with magnetic sensors that detect metal nails or screws in studs.
- Electronic sensors that identify changes in wall density, often using either digital versus analog displays.
- Combination models that incorporate both magnetic and electronic sensing for increased accuracy.
Digital stud finders typically offer more precise readings and easy-to-read displays, while analog models rely on simple needle indicators. Your choice depends on your needs and the wall type. Knowing these options guarantees you pick the best tool for the job and prevents misidentifying studs. Additionally, understanding AP Tuning can help you choose tools with optimal performance and durability for your DIY projects.
The Original StudBuddy® Magnetic Stud Finder – Made in the USA – Easy to Use Stud Finder – No Batteries Required – Powerful Magnet Stud Finder – Stud Finder for Drywall and Wood
EASY TO USE: The StudBuddy is the world's simplest magnetic stud finder tool. The StudBuddy works with all…
As an affiliate, we earn on qualifying purchases.
As an affiliate, we earn on qualifying purchases.
Calibrate Your Stud Finder Before Use

To guarantee accurate stud detection, you need to calibrate your stud finder properly before use. The calibration process ensures the sensor accuracy needed to identify studs reliably. Begin by turning on the device and placing it flat against a section of the wall with no studs or metal behind it. Follow the manufacturer’s instructions for calibration, which often involves pressing a button or sliding the sensor until it signals readiness. Proper calibration helps eliminate false readings caused by electrical wiring or other obstructions. Remember, each wall type and stud finder model may require slightly different steps. Taking the time to calibrate correctly ensures your device functions accurately, giving you confidence that you’re marking studs precisely where they are located. Additionally, understanding the importance of indoor air quality can help you create a healthier environment while working on home improvement projects.

PKUNIN CR2 Battery 3V Range Finder Batteries, CR15h270 3 Volt Lithium Battery 6 Pack Long-Lasting Power for Temperature Sensor, Flashlight and More 0.61 * 1.06inches
ULTRA LONG-LASTING: cr2 3v lithium battery 850mAh high capacity batteries cr2 makes your range finders work longer. (CR2…
As an affiliate, we earn on qualifying purchases.
As an affiliate, we earn on qualifying purchases.
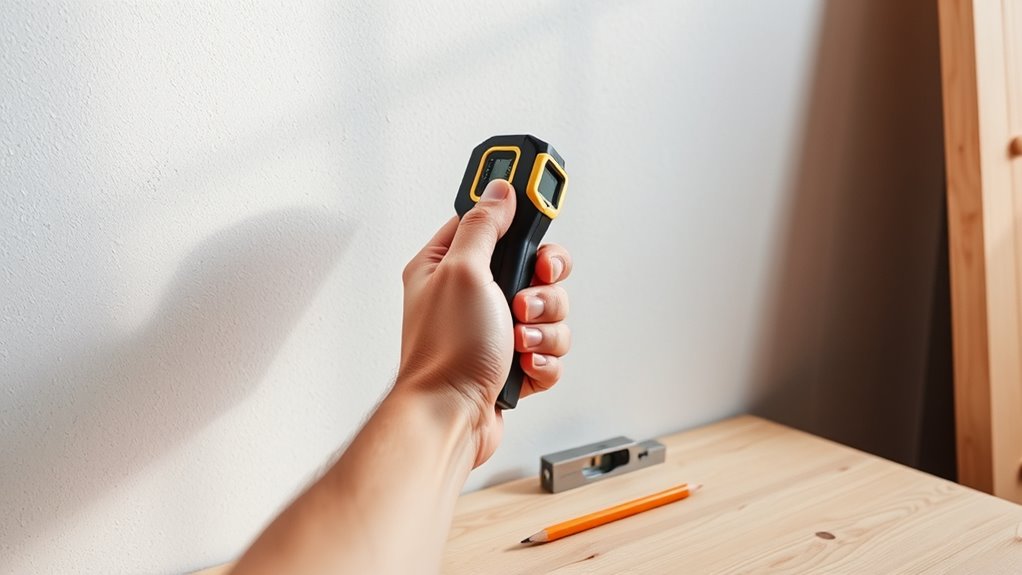
Mark Your Starting Point on the Wall
Choose a spot on the wall that’s clearly visible so you can easily see your mark later. Use a pencil to make a small, precise line at your starting point; it’s simple and effective. This will help you stay accurate as you continue your project. Make sure the area has good lighting conditions to clearly see your markings and ensure precise placement.
Choose a Visible Spot
Have you ever wondered where to start when marking your wall for a stud finder? Choosing a visible spot is key. Look for a section with good lighting conditions so you can see your markings clearly. Avoid areas with busy wall patterns or dark wall colors that make marking harder to see. Find a clean, flat spot that’s easy to access and free of obstructions. Consider these factors:
- Wall color: lighter or neutral tones are easier to see through markings
- Lighting conditions: bright, even light helps you see your marks clearly
- Surface texture: smooth walls prevent smudging or missed marks
- Environmental factors can also influence your ability to see markings clearly, such as glare or shadows on the wall.
Picking the right spot ensures your markings stay visible and accurate as you proceed with your project.
Use a Pencil for Marking
Grab your pencil and mark your starting point on the wall clearly. This pencil marking helps you stay precise throughout wall preparation and guarantees your measurements stay accurate. Use a light touch so the mark is visible but easy to erase later if needed. When marking, double-check your stud finder’s location to avoid mistakes. Make small, clear lines at the top or side of your chosen spot; avoid heavy marks that can cause confusion. Consistent pencil marking creates a reliable guide for drilling or attaching fixtures. Before proceeding, review your marks to confirm they align with your intended placement. Proper wall preparation includes precise markings, making the entire process smoother and more accurate. This small step ensures your project turns out just right. Additionally, stud finder calibration is essential to ensure accurate detection of wall studs and prevent misjudgments.
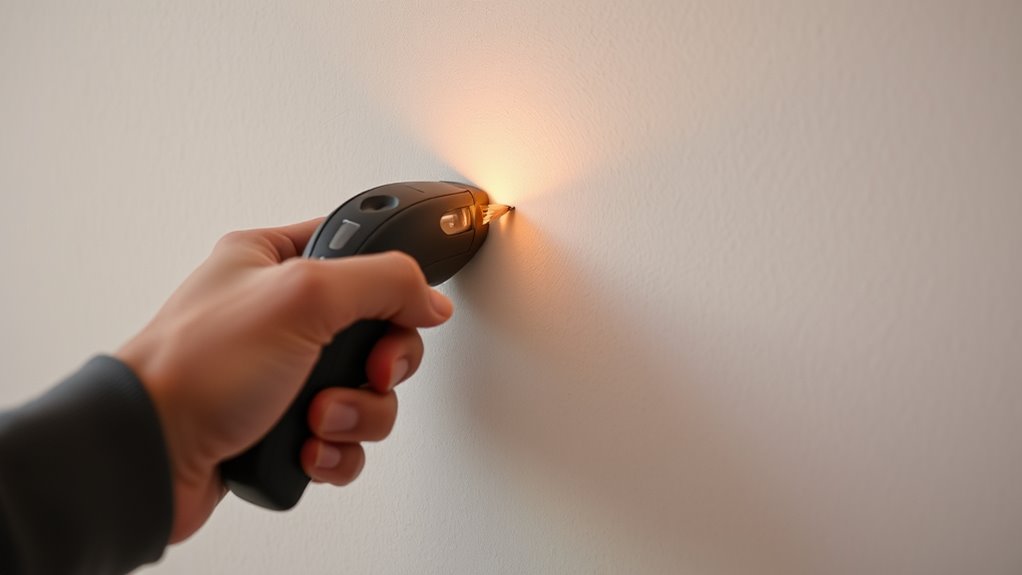
Move the Stud Finder Slowly Along the Wall Surface
As you move the stud finder along the wall, keep a steady pace to guarantee accurate detection. Make sure to overlap detection areas slightly to catch any hidden studs. Be mindful of wall variations, adjusting your speed or angle as needed for consistent results. Paying attention to exfoliation techniques can also improve your ability to identify studs behind the surface.
Maintain Steady Pace
To accurately locate studs, you need to move the stud finder slowly and steadily along the wall surface. This steady pacing assures the device can detect changes in density accurately, preventing missed or false readings. Maintain consistent movement, avoiding quick jerks or pauses, to keep the device’s sensors engaged. As you move, imagine the wall as a rhythm that you’re following smoothly. To help visualize, picture:
- The stud finder gliding seamlessly over the surface
- Your hand maintaining a gentle, even pressure
- The device responding consistently without sudden stops
Focusing on consistent movement helps you avoid errors and pinpoint stud edges precisely. Taking your time with steady pacing makes the entire process more reliable and less frustrating. Remember that understanding contrast ratio and other technical factors can influence how easily you identify studs behind certain wall finishes, so patience is key.
Overlap Detection Areas
While moving the stud finder along the wall, guarantee you overlap each pass slightly to cover the detection areas fully. Overlap detection ensures no spots are missed and improves accuracy. By overlapping, you create continuous area coverage, reducing the chance of false readings. Maintain a slow, steady pace to let the device accurately scan the wall surface. Use the table below to visualize overlapping patterns and improve your technique:
| Pass 1 | Pass 2 | Pass 3 |
|---|---|---|
| Start | Slight overlap | Slight overlap |
| Cover | Cover | Cover |
| End | End | End |
This pattern maximizes detection reliability, helping you locate studs precisely. Consistent overlap detection guarantees complete area coverage, making your wall scanning more effective. Remember that understanding sensor technology can also help you interpret stud finder signals more accurately.
Adjust for Wall Variations
When scanning for studs, moving the finder slowly along the wall is essential, especially when you encounter surface irregularities like bumps, seams, or textured paint. These variations can cause false readings or missed studs. To adjust for wall surface irregularities and electrical wiring interference, take your time and observe the signals carefully. Additionally, understanding inspirational quotes about fatherhood can remind you of the importance of patience and attention to detail in tasks like using a stud finder.
- Watch for sudden changes or false positives caused by electrical wiring or uneven surfaces.
- Keep the stud finder steady and move it at a consistent slow pace.
- Be aware that textured paint or seams might mimic stud signals, so double-check in multiple spots.
Identify and Mark the Edges of Studs

Have you ever wondered how to accurately find the edges of a stud? To do this, start by locating the center of the stud with your finder. Then, understand that stud spacing varies depending on wall material—wood studs are typically 16 or 24 inches apart, while metal studs may differ. Once you’ve marked the center, look for the edges by slowly moving the finder left and right, noting where it signals the start and end of the stud. Mark these points clearly with a pencil. This method ensures you identify the full width of the stud, which is essential for securely hanging heavy items or installing fixtures. Accurately marking the edges helps prevent mistakes and ensures your project stays sturdy.
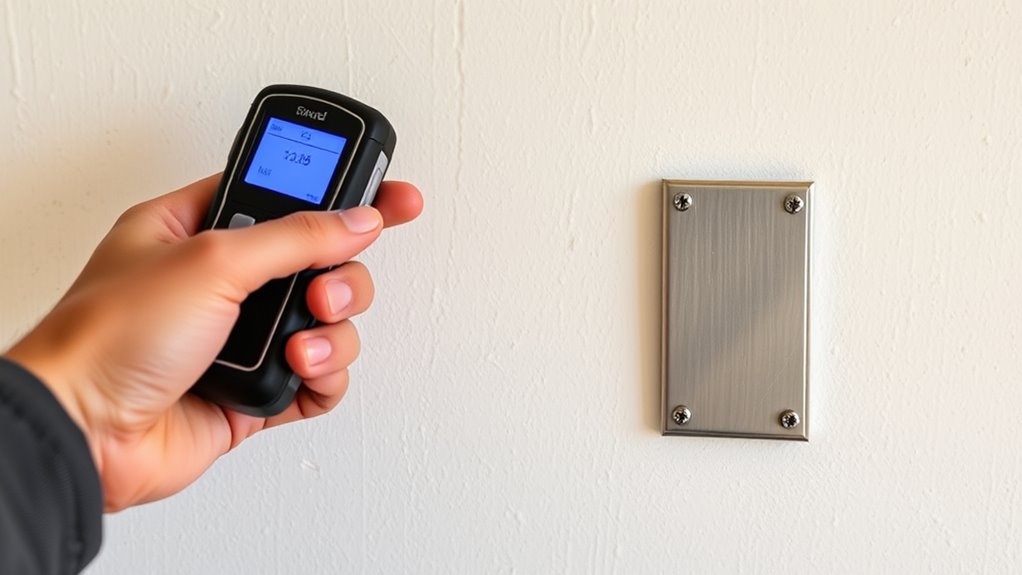
Confirm the Location of Studs by Repeating the Scan

After marking the edges of the stud, it’s important to verify your findings by repeating the scan. This helps guarantee your measurements are accurate, especially considering factors like wall density and stud finder calibration. When you scan again, you’ll notice the stud finder’s display confirms the stud’s position. To get a clear picture, think of it this way:
- The device’s sensitivity adjusts to wall density, so repeated scans confirm consistent readings.
- You’ll see the indicator stabilize over the stud’s center, confirming its location.
- Any discrepancies between scans may indicate wall irregularities or calibration issues, prompting you to recheck.
Repeating the scan guarantees your initial marks are correct, reducing the risk of drilling into an incorrect spot. Proper verification is key to precise, safe mounting.
Double-Check the Stud’s Position and Size

How can you be sure the stud’s position and size are accurate before drilling? First, verify the stud position by marking the edges and measuring the stud size. Most studs are 1.5 inches wide, so check that your marks align with this standard. Use your stud finder again to confirm the location, especially if you’re working across multiple points. Avoid relying solely on a single scan, as the stud’s size and position might vary slightly. Double-check that your markings match the stud’s actual width and that the stud’s center falls within your desired drilling area. Ensuring the correct stud size and precise position helps prevent mistakes and guarantees your fixture will be securely anchored.
Use Proper Hanging Techniques Once Studs Are Located

Once you’ve confirmed the stud’s location and size, it’s time to focus on proper hanging techniques to guarantee your fixture stays secure. Use sturdy hanging hardware suited for the weight of your item, ensuring it distributes weight evenly across the stud. Proper weight distribution prevents stress on a single point, reducing the risk of damage or falling. When hanging, consider these steps:
Ensure secure mounting with proper hardware and even weight distribution for lasting, safe fixtures.
- Select the right hardware, like heavy-duty brackets or anchors.
- Attach hardware directly into the stud for maximum support.
- Ensure hooks or screws are tight and level, avoiding tilting or slipping.
This approach guarantees your fixture is securely mounted, minimizes strain on the wall, and prolongs its lifespan. Proper technique is key to safe, lasting results.
Frequently Asked Questions
How Often Should I Calibrate My Stud Finder?
You should calibrate your stud finder before each use to guarantee proper calibration. This helps the device accurately detect studs and prevents errors. Also, if you move the device to a different wall or surface, recalibrate to maintain accuracy. Regular calibration is essential, especially if your stud finder has been dropped or exposed to extreme conditions. By following these guidelines, you’ll get reliable readings every time you use it.
Can I Use a Stud Finder on Textured or Uneven Walls?
Thinking of using a stud finder on textured or uneven walls? It’s like searching for treasure on a rocky terrain—you might face challenges. For best results, you should prepare your wall surface by smoothing out the area or using a stud finder with advanced sensors. If your wall is too rough, consider alternatives like tapping for sounds or using a magnet. These methods help locate studs accurately despite surface imperfections.
What Should I Do if My Stud Finder Gives Inconsistent Readings?
If your stud finder gives inconsistent readings, first check the wall density and make certain the device sensitivity is set correctly. Move the finder slowly and steadily across the wall, especially over textured areas, to get more reliable results. Sometimes, uneven wall surfaces or changes in material can cause fluctuations. Adjust the sensitivity if possible, and re-test in different spots to confirm the stud locations before drilling or anchoring.
Are There Specific Wall Types Where Stud Finders Are Less Effective?
Like a detective in a maze, you might find stud finders struggle with certain walls, especially those with thick or textured surfaces. When doing drywall installation or wall anchoring, these materials can interfere with sensors, causing inconsistent readings. For best results, mark stud locations carefully and double-check with a drill. Be aware that plaster or lath-and-plaster walls may also challenge your device’s accuracy, so patience and multiple scans become your best allies.
How Do Temperature and Humidity Affect Stud Finder Accuracy?
Temperature and humidity can impact your stud finder’s accuracy. High moisture levels and wall temperature fluctuations affect the wall’s density, making it harder for the device to detect studs accurately. When walls are humid or cold, moisture impact can cause false readings or missed studs. To get the best results, use your stud finder in a stable environment, and wait for the wall to reach a consistent temperature and humidity level before scanning.
Conclusion
Now that you know how to find studs accurately, hanging your items becomes easier and more secure. But remember, precision isn’t just about tools—it’s about patience and attention to detail. As you mark and confirm each stud’s location, you’re blending technology with craftsmanship. While the process may seem simple, it’s in these careful steps that quality and safety are built—reminding you that even the smallest details make the biggest difference.