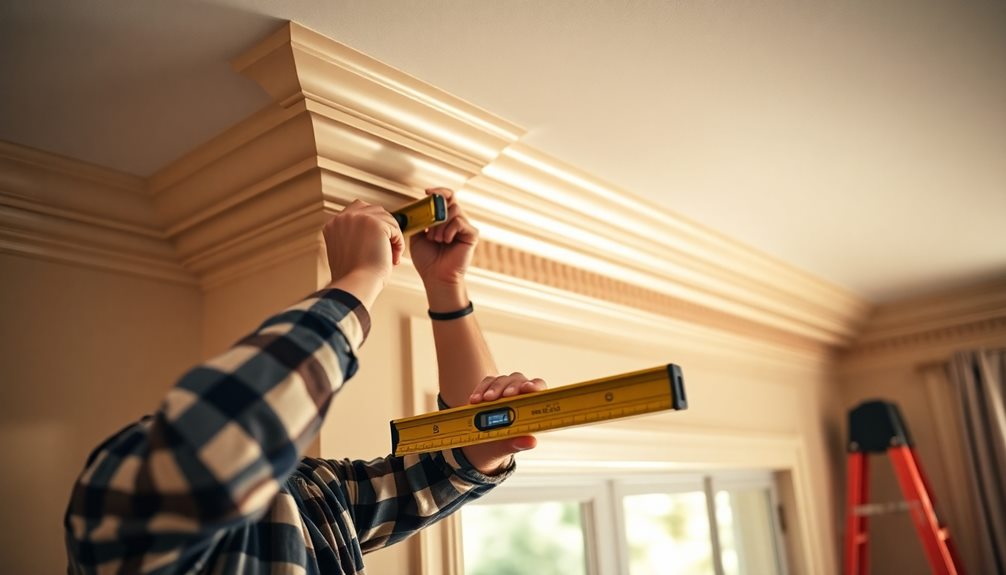
Weatherstripping your doors and windows seals gaps that cause drafts and air leaks, boosting your home’s energy efficiency and comfort. Choose from materials like silicone, foam, metal, or vinyl based on your needs, and install along edges where drafts are noticeable. Regular maintenance and proper installation are key to lasting effectiveness. To maximize savings and comfort, learn more about identifying gaps, materials, and techniques that suit your home best.
Key Takeaways
- Identify drafts by feeling around door and window edges or using a lit candle or feather for detection.
- Choose appropriate weatherstripping materials like silicone, foam, vinyl, or metal based on application needs.
- Measure gaps accurately and prepare surfaces by cleaning and repairing before installation.
- Install weatherstripping along edges with noticeable drafts, ensuring proper placement for maximum effectiveness.
- Regularly inspect and replace worn weatherstripping to maintain energy efficiency and home comfort.

33 Ft Gray Self-Adhesive Soundproofing Weather Stripping for Doors and Windows, 0.35" Wide x 0.2" Thick
【Strong Adhesive, Saves Money】Weather stripping door seal prevent heat and cold from escaping, save your heating and cooling…
As an affiliate, we earn on qualifying purchases.
As an affiliate, we earn on qualifying purchases.
Understanding the Benefits of Weatherstripping
Weatherstripping offers immediate benefits by sealing gaps around doors and windows, which helps prevent drafts and air leaks. This simple upgrade enhances insulation benefits by creating a tighter barrier against outside air, making your home more energy-efficient. When you reduce air infiltration, you’ll notice lower heating and cooling costs, translating into significant energy savings over time. Proper weatherstripping maintains a consistent indoor temperature, reducing strain on your HVAC system. Additionally, it improves comfort by eliminating cold drafts and hot spots. By addressing these issues promptly, you not only save money but also minimize your environmental impact. Proper installation and understanding of home insulation principles can further maximize these benefits. Overall, weatherstripping is a cost-effective way to boost your home’s insulation benefits and enjoy a more comfortable, energy-efficient living space.
TAROSE Weather Stripping, Silicone Door Seal Strip Door, Window, Transparent 16 Feet Long, White (Width 25mm)
【Width Selection】The total length of the sealing strip is 16 feet, thickness of 0.02 inch and can be…
As an affiliate, we earn on qualifying purchases.
As an affiliate, we earn on qualifying purchases.
Types of Weatherstripping Materials and When to Use Them
Choosing the right weatherstripping depends on the materials you select and where you’ll install them. Silicone and foam each offer benefits for specific applications, while metal and vinyl vary in durability and flexibility. Understanding these differences helps you pick the best option for sealing your doors and windows effectively. Additionally, knowing industry trends can help you stay current with the latest materials and techniques in weatherstripping. industry trends
Silicone vs. Foam
When deciding between silicone and foam weatherstripping, understanding their differences is key to making the right choice. Silicone offers excellent flexibility, durability, and a tight seal, making it ideal for door insulation and areas exposed to frequent movement or moisture. It’s resistant to weatherproofing techniques like temperature changes and humidity, ensuring long-lasting performance. Foam weatherstripping, on the other hand, is affordable and easy to install, providing good insulation for gaps around doors and windows. However, it tends to compress over time and may not withstand harsh weather conditions as well as silicone. Use foam for temporary or less demanding applications, and opt for silicone where a more durable, weather-resistant seal is needed. Choosing the right material improves energy efficiency and protects your home from drafts.
Metal vs. Vinyl
Metal and vinyl are popular materials for weatherstripping because they each offer distinct advantages suited to different needs. Metal provides excellent durability, making it ideal for areas exposed to frequent wear or harsh weather. It maintains its shape and effectiveness over time, ensuring a tight seal. Vinyl, on the other hand, offers great flexibility, allowing it to conform easily to irregular surfaces and gaps. It’s also resistant to moisture and corrosion, making it suitable for humid environments. When choosing between them, consider these points: 1. Metal is best for high-traffic or outdoor applications requiring durability. 2. Vinyl is ideal for flexible, weather-resistant seals in less demanding areas. 3. Use metal when longevity is a priority and vinyl when ease of installation and adaptability matter most. Additionally, understanding the properties of each material can help you select the best weatherstripping for your specific needs.

Frost King R734H Sponge Rubber Foam Tape 3/4" W X 7/16" H X 10' L, Black
The product is 3/4×7/16 BLK SpongeTape
As an affiliate, we earn on qualifying purchases.
As an affiliate, we earn on qualifying purchases.
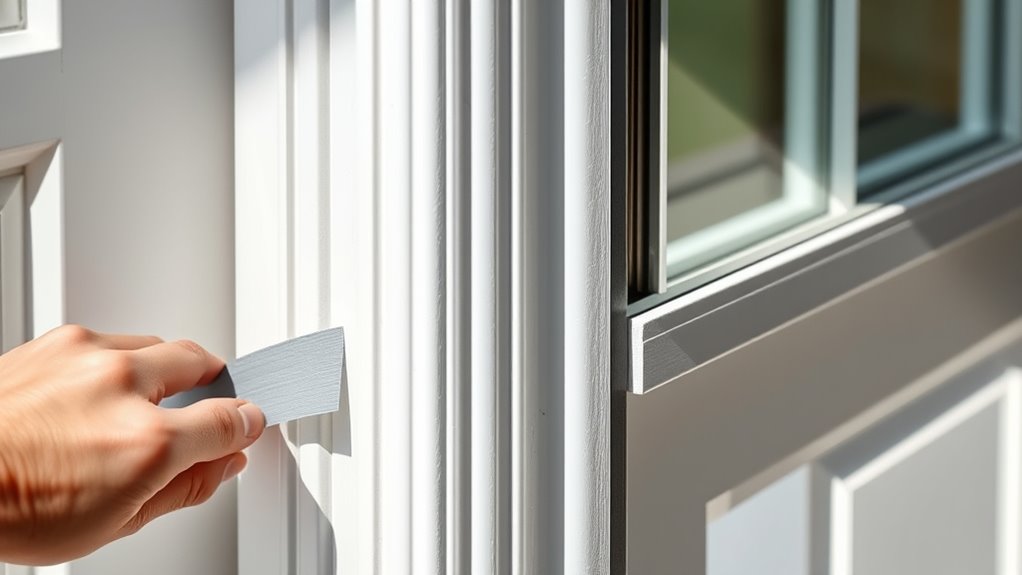
How to Identify Drafty Gaps Around Doors and Windows
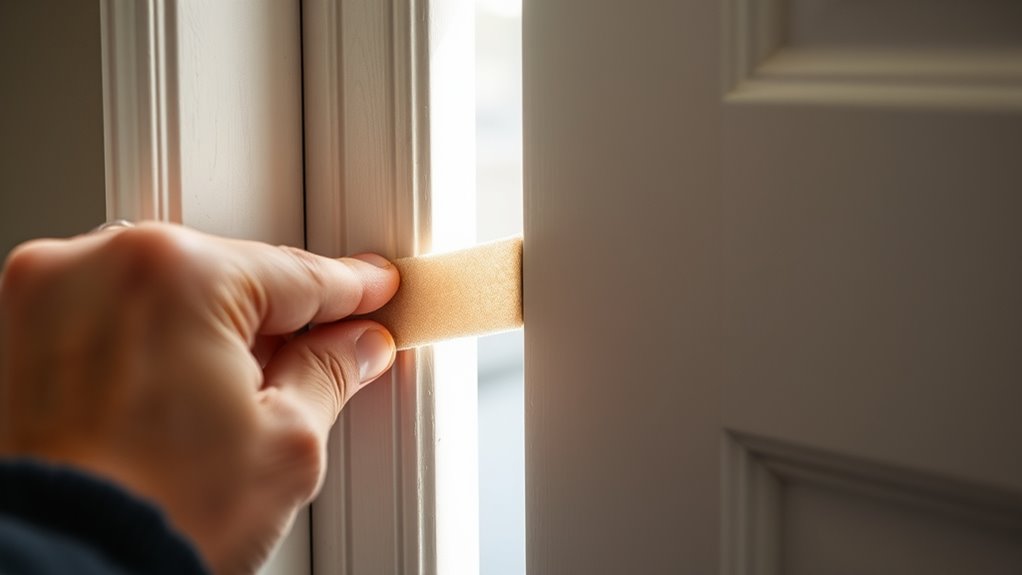
Ever wondered if your doors and windows are letting in unwanted drafts? Start with draft detection by feeling around the edges for cold spots or air movement. Use a lit candle or a feather near the frame—if the flame flickers or the feather moves, you’ve found a draft. Focus on gap identification by inspecting all sides of your door and window frames closely. Look for visible cracks, gaps, or warping that could be letting air in. Pay attention to areas where the weather stripping has worn thin or is missing altogether. Don’t forget to check around locks, hinges, and corners, as these spots often harbor hidden gaps. Proper gap identification helps you target the exact locations that need weatherstripping, improving your home’s energy efficiency. Effective weather sealing can further enhance your home’s insulation and reduce energy costs.

Zonon 1-1/8" W x 17.72' L Spring Bronze Weather Stripping Metal Brass Weather Strip Copper Weatherstripping for Exterior Old Door or Window Seal with Mounting Nails(Flat)
Comprehensive Package: you will get 2 rolls of Spring bronze weatherstripping, each roll is 8.86 feet long, 1-1/8…
As an affiliate, we earn on qualifying purchases.
As an affiliate, we earn on qualifying purchases.
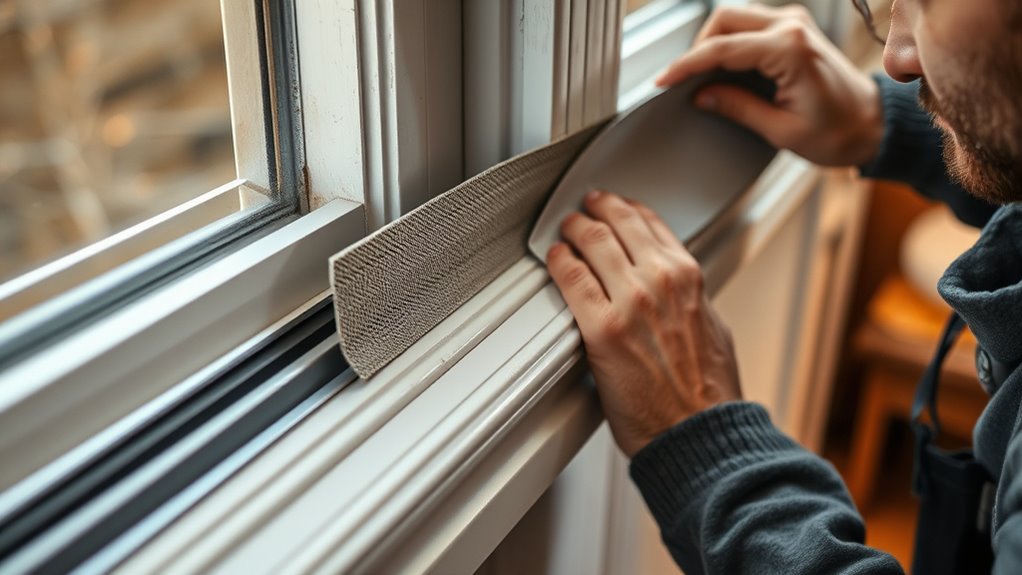
Step-by-Step Guide to Installing Weatherstripping
To start installing weatherstripping, gather all the necessary materials so you’re ready to work efficiently. Next, prepare your doors and windows by cleaning and inspecting them to make certain of proper adhesion. Additionally, ensuring your home is equipped with smart security systems can help monitor and protect your property once sealed. Finally, follow the steps carefully to install the weatherstripping effectively and seal those drafty gaps.
Gather Necessary Materials
Before you start installing weatherstripping, gather all the necessary materials to guarantee a smooth process. Having everything on hand saves time and prevents interruptions. First, you’ll need measuring tools like a tape measure or ruler to ensure accurate sizing. Second, gather cleaning supplies such as a damp cloth, mild detergent, or rubbing alcohol to clean surfaces thoroughly. Lastly, pick the appropriate weatherstripping materials, like foam tape, V-strip, or door sweeps, based on your needs. Make sure you have scissors or a utility knife to cut the materials to length. Double-check that you have everything before beginning. Proper preparation makes the installation easier and more effective, resulting in better energy efficiency and comfort. Additionally, understanding the energy efficiency benefits of proper weatherstripping can motivate thorough and precise installation.
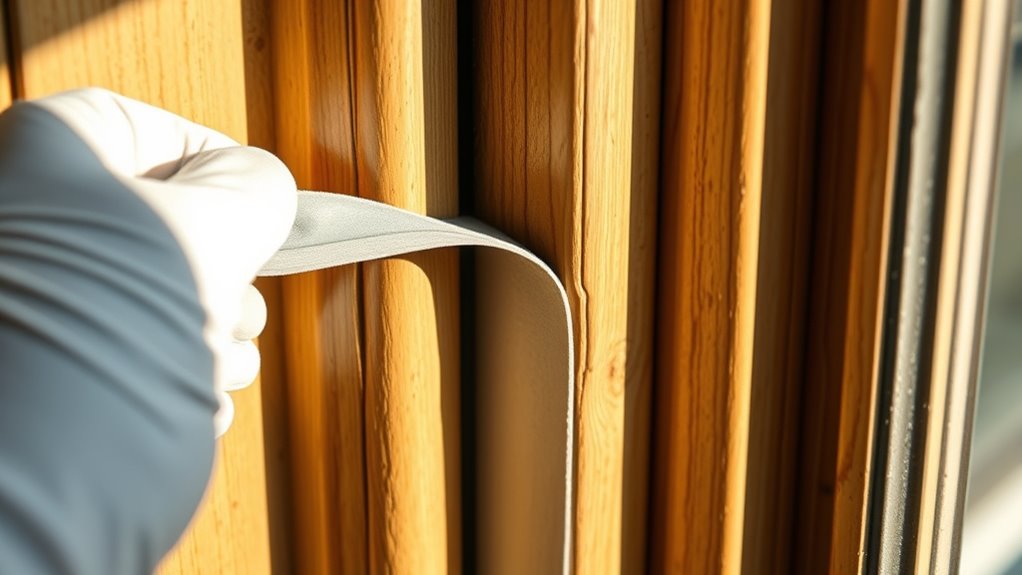
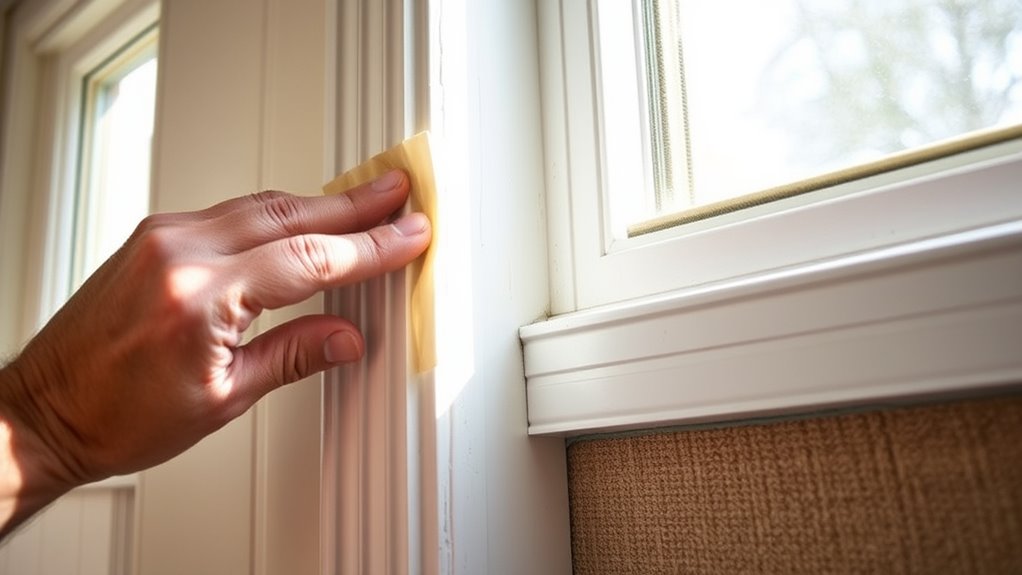
Prepare Doors and Windows
Start by thoroughly cleaning the surfaces of your doors and windows where the weatherstripping will be applied. This guarantees proper adhesion and a tight seal. Check your door frame for repairs needed, like fixing loose hinges or warped wood, to prevent gaps. For windows, inspect the sash for maintenance issues such as rotting wood or misalignment. Consider sanding rough edges to create a smooth surface. Use the table below to identify key areas to prepare:
| Area | Maintenance Tips | Repair Suggestions |
|---|---|---|
| Door frame | Clean and tighten hardware | Fix cracks or warping |
| Window sash | Remove old paint or debris | Repair damaged wood |
| Seal surfaces | Ensure dry and dust-free | Fill gaps with wood filler |
Proper preparation guarantees effective weatherstripping and energy savings. Additionally, ensuring that the surfaces are dry and free of dust can improve the adhesion of the weatherstripping material.
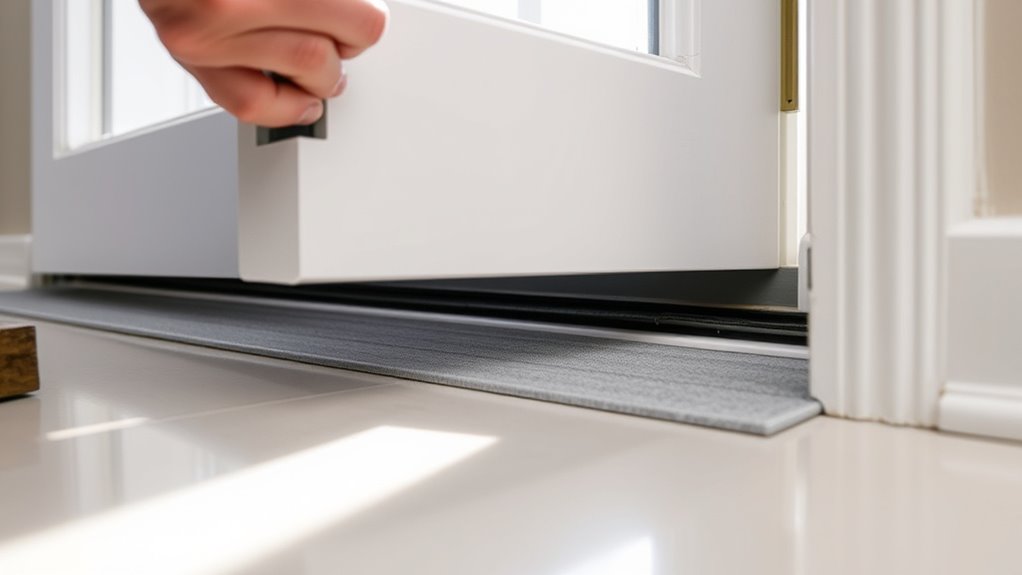
Install Weatherstripping Effectively
Installing weatherstripping properly guarantees your home stays energy-efficient and comfortable. To achieve effective draft prevention and insulation improvement, follow these steps:
- Measure gaps accurately to choose the right weatherstripping type.
- Clean and dry surfaces thoroughly before application to ensure a good seal.
- Apply the weatherstripping firmly, pressing it into the frame without stretching or compressing.
- Consider the water park attractions nearby to plan your home improvement around seasonal visits or events.
Make sure you install it along the door or window edges, focusing on areas with noticeable drafts. Proper installation prevents air leaks, which enhances insulation and reduces energy costs. Check for gaps after installation and add more if needed. Consistent maintenance and timely replacement keep your weatherstripping effective, ensuring your home remains cozy and energy-efficient year-round.
Maintenance and Troubleshooting of Weatherstripping
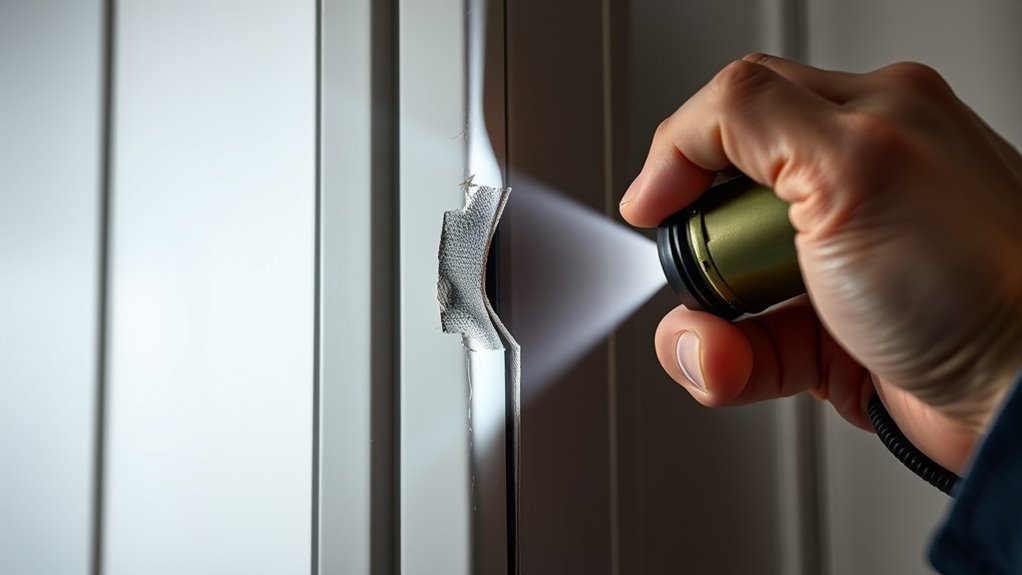
Regularly inspecting your weatherstripping is essential to guarantee it continues to seal effectively. Check for signs of wear, tears, or gaps that may develop over time, which can reduce energy efficiency. Proper door frame alignment plays a critical role; if your door isn’t aligned correctly, weatherstripping may not seal tightly, leading to drafts and increased energy bills. To troubleshoot, test the seal by closing the door or window on a piece of paper—if it slips out easily, the weatherstripping may need replacing. Keep in mind that weatherstripping has a limited lifespan, so plan for periodic replacement to maintain ideal insulation. Proper maintenance ensures your weatherstripping performs well and extends its overall durability, saving you money and improving comfort. Additionally, understanding how industry transformations like AI automation impact home energy solutions can help you adopt smarter, more efficient weatherproofing strategies.
Cost-Effective Tips for Choosing the Right Product
Choosing the right weatherstripping product doesn’t have to be expensive; focusing on cost-effective options can save you money without sacrificing quality. To do this, start with a thorough cost comparison of different materials and brands to guarantee you’re getting value for your budget. Proper budget planning helps you allocate funds efficiently, avoiding overspending on unnecessary features. Here are some tips to think about:
- Compare prices and durability to find the best long-term investment.
- Opt for versatile weatherstripping that fits multiple areas.
- Consider DIY installation to save on labor costs while ensuring proper sealing.
- Evaluate the cultural and regional preferences for types of weatherstripping to find options that suit your climate and style.
Enhancing Home Efficiency With Proper Sealing Techniques
Proper sealing is essential for enhancing your home’s energy efficiency, as it prevents drafts and reduces heat loss. By applying effective insulation techniques and sealing gaps around doors and windows, you can considerably lower your energy bills. Combining weatherstripping with proper sealing methods ensures your home stays warm in winter and cool in summer. Implementing these energy saving strategies minimizes air leaks and maximizes insulation effectiveness. Here’s a quick overview:
| Sealing Technique | Benefit |
|---|---|
| Weatherstripping | Blocks drafts at moving parts |
| Caulking | Seals gaps and cracks around frames |
| Foam Insulation | Insulates larger gaps and outlets |
| Door Sweeps | Prevents cold air from entering underneath |
| Window Films | Adds extra insulation to existing panes |
Focus on these methods to improve your home’s efficiency effectively.
Frequently Asked Questions
Can Weatherstripping Be Used on Sliding Glass Doors?
Yes, you can use weatherstripping on sliding glass doors. Installing proper sliding door seals helps improve energy efficiency and keeps out drafts. Make sure to choose the right type of weatherstripping for your door’s frame. Regular weatherstripping maintenance is essential to keep your seals effective over time. By doing so, you’ll enhance your door’s insulation, reduce energy bills, and maintain a comfortable indoor environment.
How Often Should Weatherstripping Be Replaced?
You should replace your weatherstripping when you notice signs of wear, such as cracks, tears, or gaps. Regular maintenance is key; check the strips at least once a year, especially before extreme weather. If you see drafts or increased energy bills, it’s a clear sign to substitute them sooner. Staying on top of your maintenance schedule ensures your doors and windows stay energy-efficient and well-insulated.
Is Weatherstripping Suitable for Historic or Delicate Windows?
Yes, weatherstripping can be suitable for historic preservation and delicate window maintenance if you choose the right materials. Use gentle, flexible options like felt or silicone that won’t damage fragile frames or glazing. Carefully install them to avoid applying pressure that could harm delicate surfaces. Regularly check and replace weatherstripping to maintain energy efficiency without compromising the integrity of your historic windows.
Are There Eco-Friendly Weatherstripping Options Available?
Did you know that using eco-friendly weatherstripping can reduce energy bills by up to 20%? Yes, sustainable materials and biodegradable options are now widely available, helping you cut emissions and minimize environmental impact. You can choose products made from recycled rubber, plant-based foam, or natural fibers. These options aren’t just good for the planet—they also provide effective insulation, saving you money while supporting eco-conscious living.
Can Weatherstripping Help With Noise Reduction Inside My Home?
Yes, weatherstripping can help with noise reduction inside your home. It offers soundproofing benefits by sealing gaps around doors and windows, reducing sound transmission from outside. Using effective noise insulation techniques, like adding seals or draft stoppers, you can create a quieter environment. Properly installed weatherstripping blocks drafts and dampens noise, making your home more peaceful and comfortable.
Conclusion
By weatherstripping your doors and windows, you can reduce energy bills by up to 15%, making your home more efficient and comfortable. Regular maintenance guarantees your seals stay effective, saving you money in the long run. Remember, addressing drafts promptly not only improves indoor comfort but also contributes to environmental conservation. Taking these simple steps can make a significant difference—so don’t wait to seal those gaps and enjoy a cozier, more energy-efficient home today.