Interior
Will Ozone Damage Car Interior
Intrigued by the potential effects of ozone on your car interior? Discover how ozone can damage your vehicle's surfaces and what you can do about it.
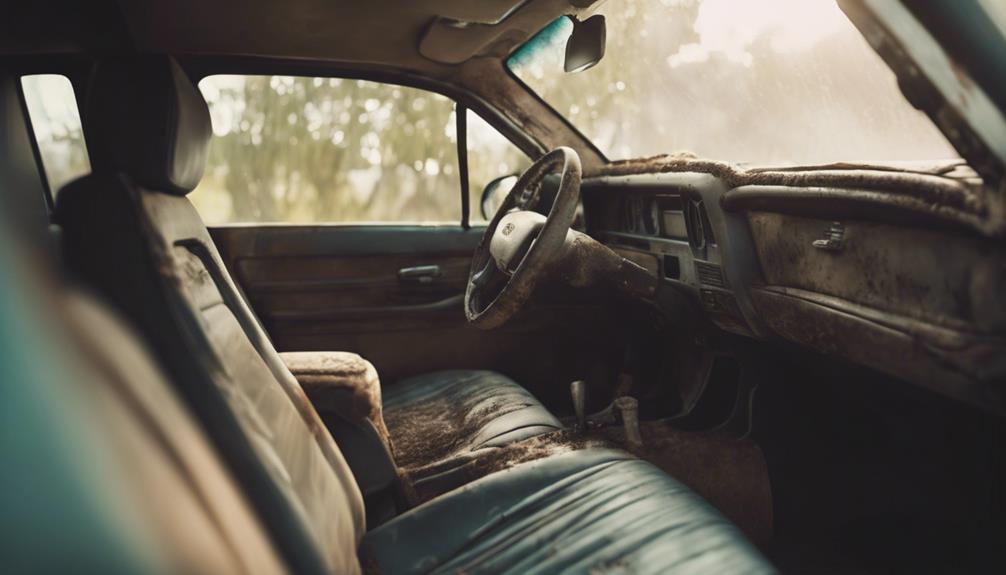
Ozone can be a car interior's worst enemy! It can damage rubber, vinyl, and wiring, leading to cracks, brittleness, and color changes. Your leather might end up brittle and prone to cracking, while fabrics can fade and deteriorate. Even those patterns on your seats may suffer! If you want to preserve your car's interior quality, keep an eye out for discoloration and brittleness. And hey, if you're curious to discover safer odor removal options, you might just stumble upon some tips that could make your car smell fresh without risking any damage.
Key Takeaways
- Ozone exposure can cause cracks, brittleness, and color changes in rubber and leather car interior components.
- Rubber seals, tires, and hoses are vulnerable to ozone damage, leading to leaks and safety hazards.
- Ozone accelerates material degradation in fabrics, upholstery, and surfaces within car interiors.
- Ozone exposure weakens flexibility and integrity of rubber components, affecting their longevity.
- Regular inspection and proper ventilation are crucial to prevent ozone-induced damage to car interiors.
Potential Damage to Car Interiors
When exposing your car interior to ozone generators, be aware that significant damage can occur to rubber, vinyl, and electrical wiring. Ozone, a molecule composed of three oxygen atoms, can react with and break down the chemical bonds in rubber components of your car, leading to cracks, brittleness, and deterioration over time.
Rubber seals around doors and windows, as well as tires and hoses, are particularly vulnerable to ozone damage. This can result in air and water leaks, decreased performance, and potential safety hazards.
To prevent ozone-induced damage to rubber parts in your car, it's important to limit exposure to ozone-generating treatments and ensure proper ventilation during and after ozone applications. Regularly inspecting rubber components for signs of degradation, such as discoloration, brittleness, or unusual odors, can help you detect and address issues early on.
Effects of Ozone on Leather
When it comes to ozone and leather in your car, there are some crucial factors to take into account.
Ozone exposure can impact the coloration, texture, and long-term durability of leather surfaces. Understanding these effects can help you take the necessary steps to protect your car's interior.
Effects on Leather Coloration
Ozone exposure can greatly alter the color and texture of leather car interiors, leading to irreversible damage and costly repairs. When an ozone generator is used inside a car, the leather coloration can be markedly affected. The once vibrant and rich hues of the leather may start to fade or discolor, losing their original luster.
Prolonged exposure to ozone can change the colors, making them appear dull and uneven. These color changes caused by ozone damage aren't only unsightly but can also be difficult to restore. It's important to be mindful of ozone exposure on your leather car interiors to prevent such coloration changes and preserve the luxurious look of your vehicle's interior.
Leather Texture Changes
Exposure to ozone can't only alter the color of leather car interiors but also lead to significant changes in the texture of the material, making it brittle and prone to cracking. Ozone exposure can strip leather of its natural oils, resulting in a dull appearance and loss of softness. Leather surfaces may develop a rough or roughened texture after being exposed to high levels of ozone, affecting their overall look and feel.
Prolonged ozone treatment on leather can accelerate the aging process and diminish the material's natural flexibility. This can lead to costly repairs or replacements due to irreversible changes in texture and quality. Avoid using ozone generators or chlorine dioxide near your leather car interior to maintain its texture and durability.
Long-Term Durability Impact
To maintain the longevity and quality of your leather car interior, it's imperative to be mindful of the potential long-term durability impact caused by ozone exposure.
Ozone treatment, often used to eliminate odors or disinfect car interiors, can have adverse effects on leather materials. Research suggests that after 8-10 hours of ozone treatment, leather interiors may begin to deteriorate.
Both the EPA and the California Health and Welfare Agency have issued warnings regarding the damage ozone can inflict on interior surfaces, including leather.
To safeguard your leather, vinyl, and wiring, it's recommended to limit ozone treatment for car interiors to 1-3 hours. By being cautious of ozone exposure, you can prolong the life and appearance of your car's luxurious leather interiors.
Deterioration of Rubber Materials
Rubber materials within car interiors can degrade when exposed to ozone, leading to potential issues with flexibility and integrity over time. When ozone interacts with rubber components, it can accelerate the oxidation process, causing deterioration. The prolonged exposure to ozone can weaken rubber seals, hoses, and gaskets, compromising their functionality.
Here's a brief overview of how ozone affects rubber materials:
- Ozone exposure accelerates the oxidation process of rubber components.
- Higher ozone concentrations can lead to quicker degradation of rubber seals, hoses, and gaskets.
- Prolonged exposure to ozone weakens the flexibility and integrity of rubber parts.
- Regular use of ozone generators at high levels can compromise the longevity and performance of rubber components in vehicles.
To mitigate this deterioration, it's essential to be cautious with ozone generators in your car to preserve the quality of rubber materials and avoid potential issues down the road.
Impact on Fabrics and Surfaces
Ozone can pose risks to your car's interior fabrics and surfaces, potentially causing fading, deterioration, and overall material degradation. Your upholstery, carpets, leather, rubber, and vinyl surfaces are all susceptible to these effects from prolonged exposure to ozone.
Being aware of the impact ozone can have on your car's materials is crucial to maintain a well-preserved interior.
Fabric Fading Risks
Fabric fading risks in car interiors from exposure to ozone can lead to accelerated discoloration of upholstery, carpets, and seat covers. To paint a clearer picture, consider the following:
- Upholstery colors may become dull and less vibrant.
- Carpets could lose their original richness and appear faded.
- Seat covers might show noticeable discoloration over time.
- Patterns on fabrics may fade unevenly, affecting the overall aesthetic.
To protect your automotive interior from fabric fading due to ozone exposure, consider using UV inhibitors or limiting ozone treatment to moderation. By taking these precautions, you can help preserve the appearance and longevity of your car's fabrics.
Surface Deterioration Concerns
To safeguard your car's interior from potential harm, it's important to be mindful of how prolonged exposure to ozone can contribute to the deterioration of surfaces and fabrics within your vehicle. Ozone will degrade materials such as leather, vinyl, and wiring over time. Damage can occur after 8-10 hours of ozone treatment on leather surfaces. Additionally, rubber, fabrics, and electrical wiring are also at risk of harm from ozone generators. The EPA and California Health and Welfare Agency have issued warnings about the damage ozone generators can cause to car interiors. To prevent surface deterioration, limit ozone treatment time to 1-3 hours for auto interiors. Remember, while ozone can help remove odors, it must be used cautiously to avoid damaging your car's interior.
| Materials at Risk | Potential Damage from Ozone | Recommended Treatment Time |
|---|---|---|
| Leather | Degradation | 8-10 hours |
| Vinyl | Deterioration | 1-3 hours |
| Wiring | Damage | 1-3 hours |
Material Degradation Effects
With prolonged exposure, materials in car interiors such as rubber, vinyl, leather, and electrical wiring can undergo degradation due to ozone exposure. When you use ozone generators in your car, be aware of the following effects on materials:
- Leather starts degrading after 8-10 hours of ozone treatment.
- The EPA and California Health and Welfare Agency have issued warnings about ozone generator damage to car interiors.
- No official documented maximum treatment time for auto interiors is widely available.
- Overuse of ozone generators can lead to oxidation of rubber and degradation of interior surfaces.
EPA Recommendations for Ozone Use
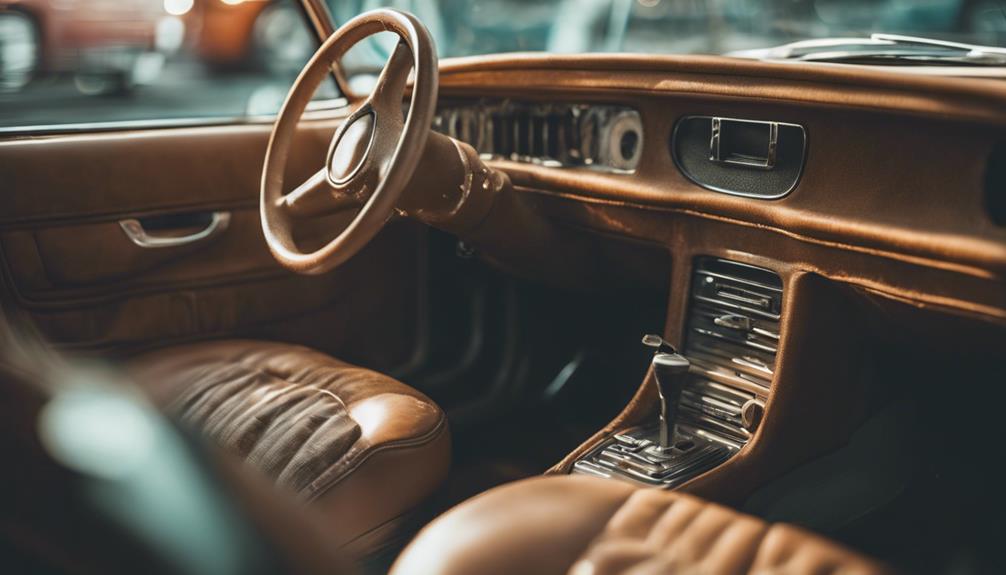
When contemplating ozone use in your car, heed the EPA recommendations to prevent potential damage to interior materials and safeguard occupant health.
The EPA advises against using ozone generators in vehicles as a method to remove odors due to the risk of damage it poses. Ozone can harm materials such as rubber, leather, fabrics, and even electrical wiring coatings in your car. Overexposure to ozone may lead to bleaching and other forms of material degradation within the vehicle.
Additionally, while ozone generators are designed to eliminate odors, they can produce harmful byproducts that could affect the health of occupants. It's important to follow EPA guidelines and avoid using ozone for air purification in cars.
Health Risks Associated With Ozone

It's crucial to heed the risks associated with ozone exposure in car interiors, as overexposure can lead to various health issues and potential damage to interior materials. Overexposure to ozone can result in headaches, respiratory irritation, and reduced lung function.
Ozone, when run in car interiors, can react with materials like rubber, vinyl, and wiring, potentially causing damage over time. The Environmental Protection Agency (EPA) warns against using ozone generators in unoccupied spaces due to the health risks associated with ozone exposure. Exposure to ozone from generators may lead to irritated lung tissue and increased sensitivity to respiratory infections.
Health effects from ozone gas treatments can include declines in lung function and other respiratory issues. Remember, although ozone is sometimes used for removing odors, it's vital to be cautious and prioritize your health and safety when considering its use in enclosed spaces like car interiors.
Safer Alternatives for Odor Removal
For guaranteeing safer odor removal in car interiors, consider using chlorine dioxide gas as a more effective and material-friendly alternative to ozone. Chlorine dioxide gas is a small business's go-to solution for combating unpleasant smells in vehicles. Unlike ozone, chlorine dioxide gas expands to eliminate odors without causing damage to car interior materials. It works swiftly and efficiently, often eradicating odors in as little as four hours. This alternative boasts greater material compatibility, making it the preferred choice for maintaining your car's interior in top condition.
If you're looking for a reliable source of chlorine dioxide gas, PureLines PV offers a water-activated generation system designed specifically for safe and efficient odor removal in vehicles. By opting for chlorine dioxide gas over ozone, you not only guarantee a fresher-smelling car but also protect your car's interior from potential harm. Say goodbye to stubborn odors and hello to a clean, odor-free driving experience with chlorine dioxide gas.
Frequently Asked Questions
Is Ozone Safe for Car Interior?
Ozone generators can pose risks to car interiors if not used correctly. While ozone can eliminate odors, prolonged exposure may harm materials like rubber, vinyl, and leather, as well as electrical components.
To keep your car safe, follow guidelines on generator use and duration. The EPA and California Health and Welfare Agency caution against excessive ozone exposure.
How Long Can You Run Ozone in Car?
You can run ozone in a car for 1-3 hours max to avoid interior damage. Leather may start degrading after 8-10 hours of continuous ozone treatment.
EPA and California Health Agency warn against ozone generator risks. No official max treatment time exists, so limit ozone exposure and ventilate well afterward.
Protect your car interior by following these guidelines for safe ozone use.
Do Ozone Generators Damage Plastic?
Ozone generators can indeed damage plastic materials due to their oxidizing properties. Prolonged exposure to ozone can make plastic components brittle and discolored. Certain plastics, like PVC, are especially vulnerable to this kind of damage.
The structure of plastic surfaces can degrade with ozone exposure, leading to cracks and deterioration over time. It's essential to limit the use of ozone generators on plastic parts in vehicles to prevent such damage.
Is Ozone Bad for Leather?
Ozone can be bad news for leather in your car! When exposed for too long, ozone can wreak havoc on your leather interior, starting the degradation process after about 8-10 hours.
So, keep those ozone generators in check, friend! Stick to 1-3 hours tops to avoid turning your luxurious leather seats into a disaster zone.
Conclusion
To sum up, while ozone can be a powerful tool for odor removal, it's important to be cautious when using it in your car. The potential damage to your interior materials, such as leather, rubber, and fabrics, can outweigh the benefits.
Consider safer alternatives to keep your car smelling fresh without risking harm to your beloved vehicle. Remember, a little bit of prevention goes a long way in maintaining the beauty of your car's interior.
Interior
Does Replacing Windows Damage Interior Walls
Tread carefully when replacing windows to avoid potential damage to your interior walls – learn how to protect your home!
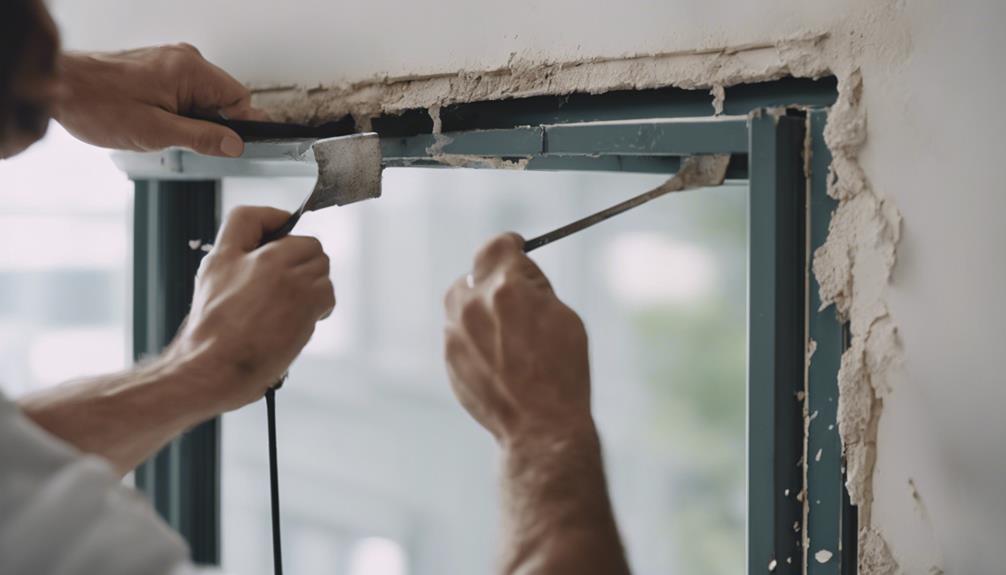
When replacing windows, it is crucial to proceed with caution! Incorrect installation can result in damage to interior walls, such as weakened structure, water damage, mold, and drafts. Improper measurements can lead to gaps that cause drafts and leaks. Improper removal of windows may cause cracks, dents, or debris on walls. Careful installation is essential for wall protection. Look out for signs like cracks or discoloration and seek professional help to prevent issues. Ensure proper sealing to avoid damage. For more information on safeguarding your walls during window replacement, continue exploring the potential risks and ways to minimize them!
Key Takeaways
- Improper removal can cause cracks, dents, or scratches on interior walls.
- Dust and debris from removal can settle on walls, causing damage.
- Vibrations during removal may lead to peeling paint or wallpaper.
- Careful installation is crucial to protect wall integrity and aesthetics.
- Signs of wall damage include cracks, chips, discoloration, or bulges.
Potential Risks During Window Replacement
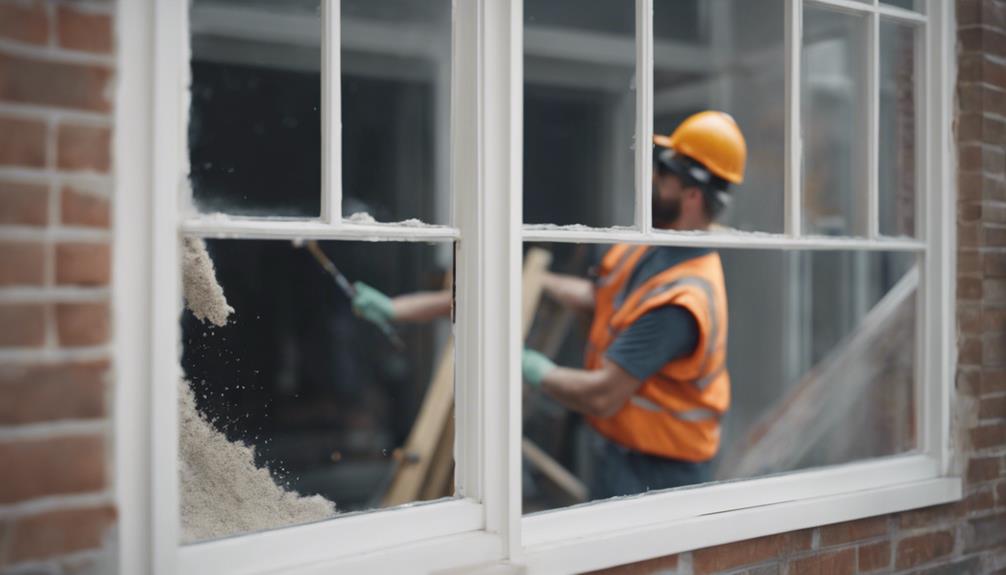
During window replacement, improper procedures can pose significant risks to the structural integrity of your interior walls. When replacing windows, it's important to be mindful of the potential dangers that could arise.
One major risk is the possibility of damaging your interior walls during the installation process. Cutting into walls or removing structural support incorrectly can weaken the overall stability of your walls. Additionally, if proper sealing and insulation measures aren't taken, your walls may be vulnerable to leaks. This can lead to water damage, mold growth, and decreased energy efficiency.
Furthermore, gaps and drafts resulting from inadequate sealing can increase the risk of air infiltration, causing discomfort and higher energy bills. It's essential to make sure that the new windows are installed correctly to prevent any harm to your interior walls and maintain a safe and efficient home environment.
Impact of Incorrect Measurements
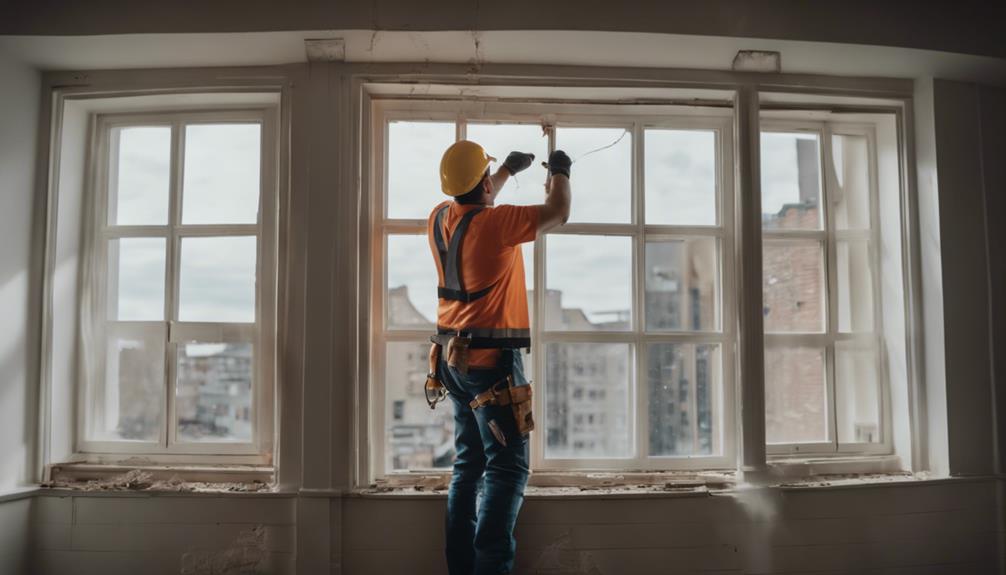
Incorrect measurements during window replacement can have detrimental effects on the overall integrity and efficiency of the installation. When the opening size doesn't match the window frame due to inaccurate measurements, gaps can form. These gaps can lead to issues such as drafts, energy loss, and even water leakage, potentially damaging your interior walls.
Additionally, improperly sized windows can compromise the structural integrity of the wall, affecting the stability of the entire setup.
To prevent these problems, it's vital to guarantee accurate measurements before replacing your windows. Accurate measurements ensure a secure fit, proper alignment, and protection against damage to your interior walls. Hiring experienced professionals like Utah Window Experts can help you avoid the consequences of inaccurate measurements during window replacement.
Consequences of Improper Removal
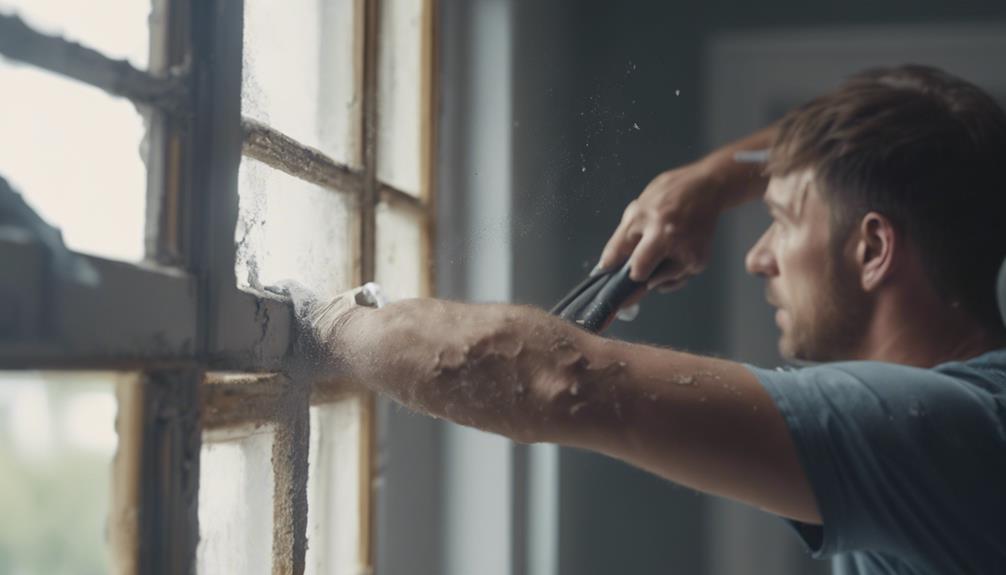
Improper removal of windows can result in various damages to your interior walls. When windows aren't removed carefully, it can cause cracks, dents, or scratches on your walls.
If the removal process lacks adequate support, it may lead to structural damage like weakening of the walls or displacement of the studs.
Additionally, the dust and debris generated during window removal can settle on your walls, necessitating extra cleaning and maintenance efforts. Vibrations and hammering can potentially cause your wall paint or wallpaper to peel off, further adding to the damage.
Improper handling of old windows can also result in harm to surrounding wall surfaces such as drywall or plaster. To avoid these consequences, it's important to make sure that windows are removed with care and precision to protect the integrity of your interior walls and maintain the aesthetics of your living space.
Importance of Careful Installation
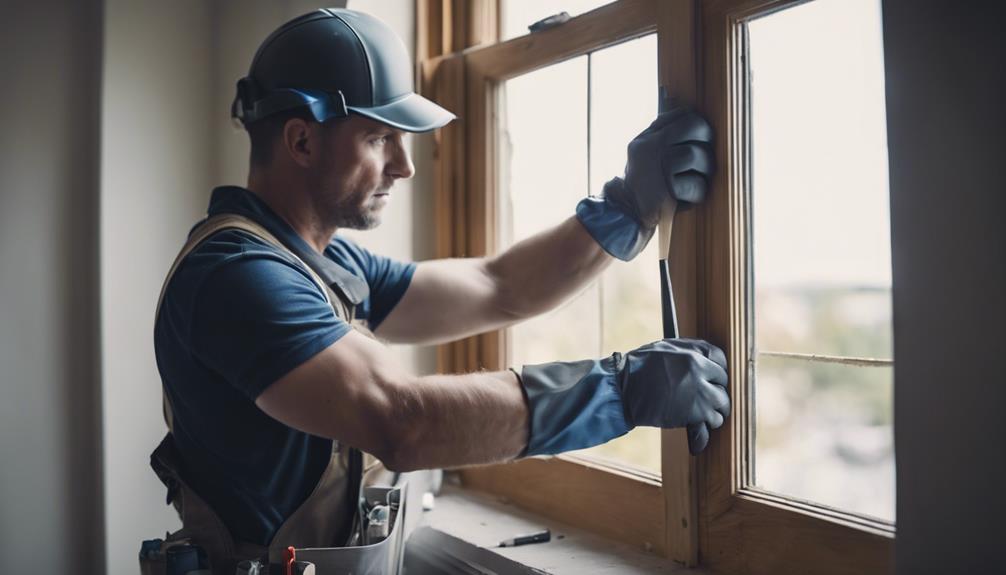
When replacing windows, remember that proper sealing techniques and wall protection methods are essential.
Ensuring a secure fit and using insulation can safeguard your interior walls.
Professional installation experts prioritize these steps to minimize any potential damage during the process.
Proper Sealing Techniques
To safeguard the integrity of your interior walls during window replacement, prioritize employing meticulous sealing techniques. Proper sealing plays an essential role in preventing damage and maintaining the structural soundness of your walls. Here are some key points to keep in mind:
- Seal all gaps and joints thoroughly to prevent air infiltration and moisture damage.
- Utilize quality sealing materials such as silicone or mastic for long-lasting protection.
- Hiring professional installers who are skilled in precise sealing methods can guarantee the job is done correctly and your walls remain intact.
Wall Protection Methods
To guarantee the protection of your interior walls during window replacement, it is essential to prioritize careful installation methods.
When installing new windows, make sure that professional installers handle tools like reciprocator saws and cutters with caution to prevent any damage to your walls.
Two-stage weatherproofing methods are vital for maintaining the integrity of your interior walls during the installation process. Utilizing expansion foam and aluminum capping can provide an extra layer of protection against potential damage.
By hiring skilled professionals, you can rest assured that your windows will be fitted precisely, minimizing the risk of any harm to your interior walls.
Signs of Wall Damage
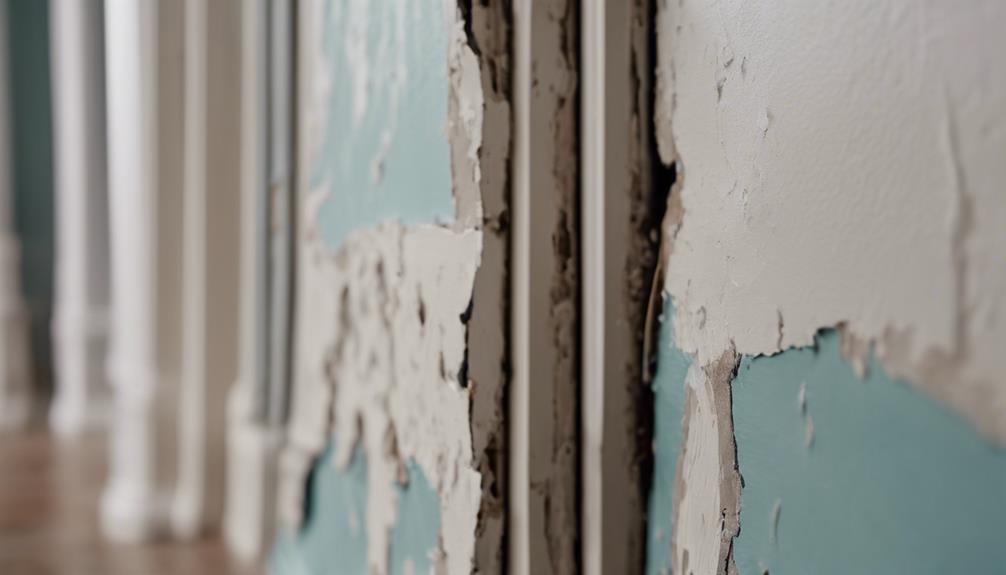
If you notice cracks, chips, or dents in your interior walls, these could be clear signs of damage that occurred during window replacement. Such wall damage might result from improper window installation or structural issues. Signs of wall damage to watch out for include:
- Discoloration, peeling paint, or wallpaper damage
- Uneven surfaces, bulges, or gaps in the walls
- Water stains, dampness, or mold growth
These indicators can point to issues caused by window replacement procedures. Keep an eye out for any warped or misaligned windows, as they may also suggest underlying structural problems or damage to your interior walls during the replacement process.
Minimizing Risks Through Proper Procedures
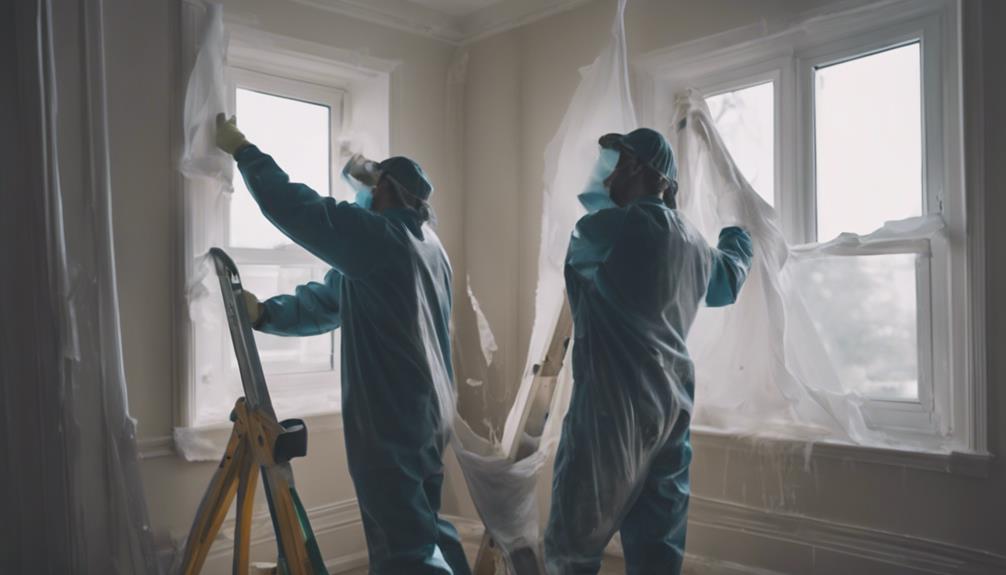
When safeguarding the integrity of your interior walls during window replacement, proper procedures play a significant role in minimizing risks. Professional installers are trained to take precautions to avoid potential damage to your walls. They understand the importance of protecting your home during the window replacement process. Fragile items should be moved away from the work area to prevent any accidents. Additionally, covering furniture and floors can help shield them from dust and debris that may arise during the installation.
To minimize risks, professional installers also implement precautions to contain inconveniences like vibrations, noise, and dust that can occur when replacing windows. By following these procedures, you can help safeguard your interior walls and ensure a smooth window replacement process. Remember, working with experienced professionals who prioritize these precautions can make a significant difference in maintaining the condition of your home while upgrading your windows.
Frequently Asked Questions
Does Installing New Windows Damage Walls?
When you install new windows, the chances of damaging your walls are low if you hire professionals. They take precautions to protect your interior walls during the process.
It's a good idea to move fragile items away from the work area and cover furniture to prevent dust and debris. Trust in proper containment measures to minimize disruptions caused by the installation.
Hiring experts guarantees a smooth window replacement with minimal impact on your walls.
Does Replacing Windows Damage Interior Trim?
When replacing windows, interior trim can be at risk of damage. The process involves tools like reciprocator saws, which may inadvertently harm the trim. Professionals take care to reduce such risks, especially with delicate trims.
Inspecting the trim before and after the replacement is vital to catch any damage early. Remember, handling fragile trim with care is key to preventing breakage or dents.
Be vigilant and address any issues promptly for a smooth window replacement experience.
Does Window Replacement Damage Drywall?
When replacing windows, potential damage to drywall is minimal. Professional installers take care to minimize harm to interior walls by using precautions such as moving fragile items away from the work area. Furniture and floors can be covered to protect against dust and debris.
Precautions like containing noise, dust, and vibrations are taken during the process. Overall, window replacement can be done with care to avoid significant damage to drywall.
Can You Replace Windows Without Removing Interior Trim?
You can indeed replace windows without removing interior trim by opting for retrofit or insert replacement windows. Retrofit windows fit snugly into the existing frame, keeping your trim intact.
Insert replacement windows are installed within the current frame, leaving your interior trim undisturbed. This approach saves both time and money compared to full frame replacements.
Consult a professional installer to find the best window replacement option for your home's interior.
Conclusion
To sum up, replacing windows can potentially damage interior walls if not done carefully.
For instance, a family in a rush to finish a DIY project ended up damaging their walls due to improper removal of the old windows.
By taking accurate measurements, removing old windows correctly, and ensuring careful installation, you can minimize the risks of damaging your walls during window replacement.
Remember, a little extra care and attention can save you from costly repairs in the long run.
Interior
When Is Best to Paint Interior
Discover the best time to paint interior spaces for a flawless finish and efficient results – it might not be when you think!
When you are prepared to paint the inside of your home, think about taking on the project in the winter for optimal outcomes. The cooler temperatures during the winter months assist the paint in drying effectively, saving you time and guaranteeing a flawless finish. Additionally, with more flexible scheduling and lower professional rates in the winter, it is the perfect time to give your home a rejuvenated appearance. Get prepared to revamp your space effortlessly and efficiently by selecting the best season for your interior painting project.
Key Takeaways
- Winter is ideal due to cooler temperatures for efficient drying.
- Low humidity in winter prevents adhesion and drying issues.
- Professional rates are more affordable in the off-peak season.
- Cool temperatures lead to faster drying and a smoother finish.
- Consider season impact for a stress-free, efficient painting project.
Optimal Temperature for Interior Painting
To achieve the best results when painting indoors, aim to work within the temperature range of 60-80°F for ideal drying times and a flawless finish. Painting in this temperature sweet spot guarantees that the paint dries efficiently, leading to a smooth and professional-looking outcome.
When tackling interior painting projects, especially in colder weather, it's important to pay attention to the temperature. Cold weather can prolong drying times, making it challenging to achieve that perfect finish you desire. Similarly, high humidity levels can also impede the drying process, affecting the overall quality and durability of your paint job.
Maintaining the right temperature while painting indoors isn't just about comfort but also about ensuring the paint adheres well and dries properly on your walls. By painting within the recommended temperature range, you set yourself up for success, improving the longevity and appearance of your paint job.
Impact of Humidity on Painting Process
High humidity levels can impact your painting process in several ways. It can cause paint to dry slowly and affect its adhesion. This, in turn, may lead to issues like dripping, streaking, and an overall poor finish. Ensuring the humidity levels are between 40% to 70% can help you achieve the best results when painting your interior walls.
Having the right humidity level is crucial for a successful paint job. Incorrect humidity can lead to various problems, from slow drying times to poor adhesion. Maintaining a humidity level between 40% and 70% is ideal for achieving a smooth and flawless finish on your painted walls.
Humidity and Paint Adhesion
When painting indoors, it's vital to take into consideration how humidity levels can affect the adhesion of the paint. High humidity can slow down the drying process, leading to issues like blistering, cracking, or peeling of the paint. Excess moisture in the air hinders proper curing of the paint, impacting its finish. In humid conditions, paint may take longer to dry, affecting its overall adhesion. Proper ventilation is essential in such environments to make sure that the paint adheres effectively. Here's a table to highlight the impact of humidity on paint adhesion:
| Aspect | Impact |
|---|---|
| Humidity Levels | Above 70% can cause blistering, cracking, or peeling |
| Drying Process | Slowed down due to high moisture content |
| Ventilation | Critical for ensuring effective adhesion |
Drying Time Affected
Considering the impact of humidity on the painting process, the drying time is greatly impacted by high moisture levels in the air. High humidity can greatly slow down paint drying times, as moisture in the air interferes with the evaporation process, leading to longer wait times.
To guarantee best results, aim for low humidity levels, especially in cold weather, as this can help speed up the drying process. Proper ventilation plays a key role in controlling humidity levels during interior painting, facilitating a smoother and faster finish.
Best Season for Interior House Painting
Winter is the ideal season for interior house painting because the cooler temperatures help paint dry efficiently, saving you time and money.
With more scheduling availability and lower professional rates during the off-peak season, completing painting projects in winter is both productive and cost-effective.
Take advantage of the benefits of winter painting, like faster drying times and discounts, to transform your home into a cozy haven with a fresh coat of paint.
Ideal Painting Temperatures
For essential paint drying and finish quality, interior house painting is best done in temperatures ranging between 60-80°F. This perfect temperature range guarantees ideal paint drying, leading to a smooth finish that enhances the overall look of your space.
Cold weather can prolong drying times, while high humidity can hinder the drying process, affecting the quality of the paint job. Moisture in the air also plays a role, impacting paint evaporation and potentially causing issues with application and drying.
Hence, choosing the right season for your interior painting project is vital. By maintaining proper indoor temperatures and humidity levels, you set yourself up for success in achieving the best results when painting the interior of your house.
Weather Impact on Paint
To achieve the best results in your interior house painting project, timing your paint job according to the weather conditions is essential. Winter is the ideal season for interior painting due to low humidity, faster drying times, and cost savings. The cooler temperatures help the paint dry more efficiently, resulting in a smoother finish. Additionally, winter is an off-peak season for painters, meaning you may benefit from reduced professional rates and increased scheduling availability. Choosing to paint your interiors in winter can make the process less stressful and more cost-effective. Embrace the season and transform your home with a fresh coat of paint that not only looks great but also saves you time and money.
| Benefits of Winter Interior Painting | |
|---|---|
| Low Humidity | Faster Drying |
| Cost Savings | Smoother Finish |
Choosing the Right Interior Paint
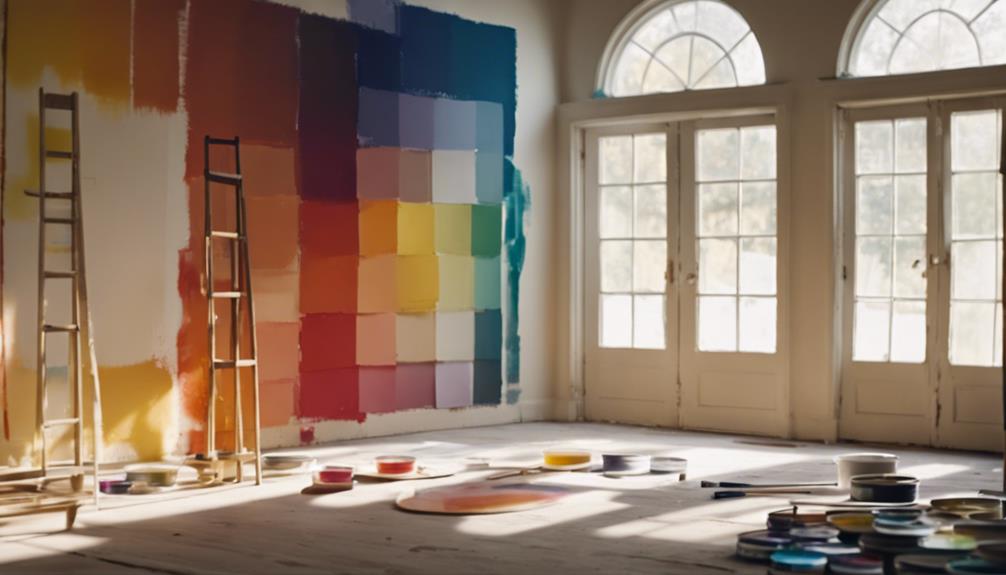
When selecting the right interior paint for your project, prioritize low-to-zero VOC options to maintain healthier indoor air quality. Opt for 100% acrylic latex paints like Benjamin Moore for a durable and long-lasting finish on your walls.
Quality Painting is essential for a professional look; choose reputable brands known for their coverage, durability, and drying times. Using low-to-zero VOC paints not only benefits your health but also the environment. These paints emit fewer harmful chemicals, making them ideal for your home.
Benjamin Moore and Behr are trusted brands that offer a wide range of colors and finishes to suit your preferences. Make sure to check the paint labels for recommended drying times and temperature thresholds for the best application.
Proper Techniques for Interior Painting
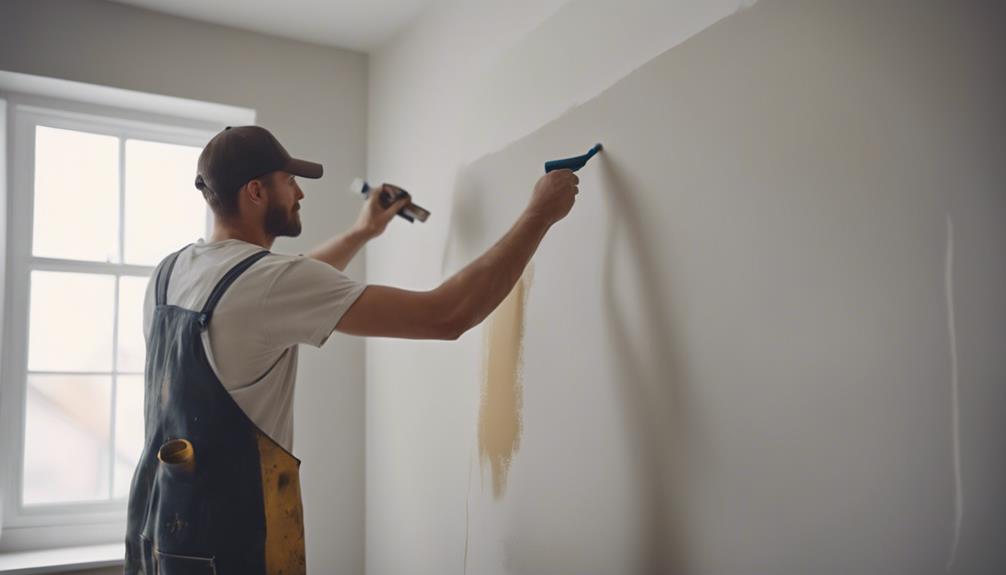
Utilize high-quality brushes and rollers to achieve a smooth and professional finish when painting interiors. When tackling interior house painting, it's important to master proper techniques to guarantee a flawless result. Start by selecting excellent paint brushes and rollers that will make the application process easier and provide a clean outcome. Practice different painting techniques such as cutting in for edges, rolling for larger surfaces, and spraying for a more even coat.
Remember to follow a sequence of painting, typically starting from the ceiling, then moving to the walls, and finishing with the trim, for the best efficiency.
Allow sufficient drying time between coats to prevent smudges or imperfections, ultimately leading to a durable and even finish. Once the job is complete, don't forget the importance of proper clean-up. Wash your tools thoroughly, store any leftover paint appropriately, and dispose of waste responsibly to maintain a tidy workspace and prolong the life of your equipment.
Factors to Consider Before Painting
Taking into account the season before painting can greatly impact the overall process and outcome of your interior painting project. Winter months, surprisingly, can be the best time to paint your interiors. During winter, the low humidity prevents drying issues and enhances paint adhesion, leading to a smoother finish. Professional rates are often reduced during this off-peak season, making it a cost-effective time to hire contractors for your project. Additionally, cooler temperatures in winter help paint dry faster, resulting in quicker completion times. To help you understand the benefits of painting during the winter months, here is a table summarizing the key factors to contemplate before starting your interior painting project:
| Factors to Contemplate | Benefits |
|---|---|
| Low Humidity | Prevents drying issues and enhances paint adhesion |
| Professional Rates | Cost-effective bids from contractors |
| Cool Temperatures | Faster drying times and smoother finish |
| Off-Peak Season | Reduced stress and more scheduling availability |
| Paint Adhesion | Better adherence to surfaces for long-lasting results |
Frequently Asked Questions
What Is the Best Weather to Paint Interior?
For painting interior spaces, the best weather is between 60-80°F with low humidity levels. This range allows for ideal drying times and smooth paint application.
Winter's lower humidity and cooler temperatures can expedite drying, making it a favorable time to paint.
In summer, guarantee proper ventilation to prevent rapid drying and achieve a flawless finish. Extreme heat or humidity can impact the quality of your paint job, so choose your painting days wisely.
When Should You Not Paint Your House?
When deciding when not to paint your house, consider avoiding extreme temperatures, high humidity, rainy conditions, direct sunlight, and strong winds. These factors can affect paint application, drying times, adhesion, and overall finish.
Ideal conditions include moderate temperatures, low humidity, dry weather, shaded areas, and calm winds.
Is It Okay to Paint Interior Walls in the Winter?
Yes, it's definitely okay to paint interior walls in the winter! Lower humidity levels speed up drying times, and cooler temperatures help paint stick better.
You can save money too, as contractors offer reduced rates during the off-peak season. Winter's low humidity also prevents paint issues like blistering.
Plus, with faster drying times and more scheduling availability, winter painting can be less stressful for you as a homeowner.
Which Month Is Best for Painting a House?
When it comes to painting your house, the best month can be a tough nut to crack. But fear not! Consider the benefits of tackling this task in the winter months.
With cooler temps aiding in paint drying and pro painters having more availability, you're in for a smooth ride. Plus, cost savings are always a win! So, go ahead, embrace the winter wonderland and give your home a fresh coat of paint.
Conclusion
To wrap up, when painting the interior of your home, it's crucial to take into account factors like temperature, humidity, and paint quality. Some may argue that painting can be done at any time, but selecting the right conditions can make a significant difference in the final result.
By taking these factors into consideration and following proper techniques, you can guarantee a smooth and successful painting project that will leave your home looking fresh and vibrant.
Interior
Can a Civil Engineer Become an Interior Designer
Melding technical expertise with creative flair, a civil engineer's transition to interior design promises a unique perspective worth exploring.
As a civil engineer, your expertise in technical drawing, construction know-how, and attention to detail make you a perfect fit for transitioning into interior design. Your knowledge of building materials and strong client interaction skills will be a valuable asset. Consider taking courses in interior design principles, honing your software proficiency, and collaborating with industry professionals to reach new heights. Your architectural background provides a unique advantage, bringing fresh perspectives to spatial planning and project execution. With the increasing demand for interior designers, your combination of technical skills and creativity will help you stand out. Embrace this exciting journey; success in interior design is within reach with your distinctive touch.
Key Takeaways
- Transferable skills in technical drawing and construction aid in transitioning to interior design.
- Educational options like short courses and diplomas can enhance interior design expertise.
- Architectural background provides a strong foundation for interior design projects.
- Developing design skills and software proficiency is crucial for success in interior design.
- Collaboration with industry professionals ensures seamless integration of expertise in interior design projects.
Transferable Skills and Knowledge
Leverage your technical drawing and construction expertise as a civil engineer to excel in interior design. As civil engineers, you already possess valuable skills that are highly applicable to the world of interior design. Your understanding of building materials and how weather impacts them can aid you in selecting durable interior design materials that will stand the test of time. Additionally, the client interaction skills you've honed in civil engineering can be seamlessly applied to assess and fulfill the needs of your interior design clients effectively.
Furthermore, the attention to detail that's intrinsic to your work in construction will enhance the precision of your interior design practice. Your expertise in renovation from civil engineering projects will also complement your understanding of interior design, leading to successful and innovative projects. By leveraging these transferable skills, you can seamlessly move into the world of interior design and make a significant impact with your unique perspective as a civil engineer.
Educational Requirements and Options
Considering your background in civil engineering, exploring educational requirements and options in interior design can be a strategic step towards shifting your career successfully. Pursuing interior design courses after graduating from civil engineering can enhance your skills and knowledge in the field.
You might want to explore studying computer engineering or taking short interior design courses to expand your expertise gradually. Completing a one-year diploma course in interior design could greatly boost your career prospects in the industry.
Balancing your civil engineering work while delving into interior design can be a creative approach to gain experience and insight into the world of design. Moving from civil engineering to interior design can be fulfilling, especially if you have a passion for design and creativity.
Keep in mind that the next time you contemplate your educational path, look for programs that align with your career goals and interests to make a smooth shift into the interior design field.
Leveraging Architectural Background
Drawing from your architectural background can greatly enhance your move into the field of interior design. As a civil engineer, your knowledge of architectural principles and design concepts can serve as a strong foundation for your shift. Leveraging this background allows you to excel in creating aesthetically pleasing interiors by applying your understanding of spatial planning and architectural detailing. Your experience in architecture aids in visualizing and executing interior design projects effectively, giving you a unique perspective that sets you apart in the industry.
| Benefits of Leveraging Architectural Background |
|---|
| 1. Solid foundation for interior design move |
| 2. Enhanced spatial planning skills |
| 3. Unique perspective on interior design projects |
Developing Design Skills and Software Proficiency
To further advance your journey into interior design as a civil engineer, focus on developing your design skills and proficiency in essential software. Start by taking courses in interior design principles and techniques to enhance your understanding of design concepts.
Practice using design software like AutoCAD, SketchUp, and Revit to familiarize yourself with tools commonly used in the industry. Learning about color theory, space planning, and furniture design will help broaden your design capabilities and creativity.
Creating interior design projects and building a strong portfolio will showcase your skills and demonstrate your ability to translate your civil engineering background into successful interior design endeavors. Remember to pay attention to material selection, textures, and finishes as these elements play a vital role in the overall aesthetic and functionality of a space.
Collaborating With Industry Professionals
When collaborating with industry professionals in interior design projects, you get to experience the synergy of different design processes coming together. Teamwork is essential for success, as architects, contractors, craftsmen, engineers, and interior designers work hand in hand to create innovative and well-rounded design solutions.
Design Process Synergy
Partnering with industry professionals in interior design projects guarantees a seamless integration of expertise for a holistic and well-executed design process. By collaborating with experts like electricians, plumbers, architects, and contractors, civil engineers can enhance both functionality and aesthetics in their projects. Synergy in the design process involves coordinating with professionals in lighting, HVAC systems, and structural modifications to guarantee a thorough approach. Integrating civil engineering expertise also safeguards compliance with building codes and regulations, providing a solid foundation for creative design solutions. This collaboration with professionals from various disciplines leads to innovative and well-rounded interior design outcomes that meet both technical requirements and aesthetic goals.
| Industry Professionals | Benefits |
|---|---|
| Electricians | Enhanced functionality through proper lighting solutions |
| Plumbers | Improved functionality with efficient plumbing design |
| Architects | Thorough design approach and spatial planning |
| Contractors | Seamless execution of design plans and construction processes |
Teamwork for Success
Working closely with industry professionals is crucial for achieving success in interior design projects. Collaboration with architects, contractors, and craftsmen is key to bringing design visions to life.
Networking with industry insiders can open doors to valuable partnerships and project opportunities. Interior designers often team up with engineers, electricians, and plumbers to guarantee projects run smoothly.
Effective teamwork with suppliers and vendors guarantees timely delivery of materials and furnishings, essential for project completion. Engaging with interior decorators and stylists can elevate the overall design aesthetic and quality of projects.
Professional Networking Benefits
To succeed in interior design, establishing professional networks with industry experts is imperative. Collaborating with architects, contractors, and suppliers enhances the overall design process, ensuring a seamless project execution.
Networking with fellow interior designers allows for valuable knowledge exchange and sparks creative inspiration for your designs. Building relationships with furniture manufacturers is key to selecting high-quality materials that elevate your projects. Partnering with artists and craftsmen opens doors to unique and customized design solutions that set your work apart.
Joining industry organizations and attending events not only fosters professional growth but also increases your visibility in the field, paving the way for exciting opportunities and collaborations. Embrace the power of networking to excel in the dynamic world of interior design!
Exploring Career Opportunities in Interior Design
When considering a career in interior design, you'll find a diverse range of pathways to explore, from residential design to commercial projects.
To succeed in this field, strong communication skills are key, enabling you to effectively collaborate with clients and industry professionals.
Specializing in areas like furniture design can help you carve a unique niche and stand out in the competitive industry.
Career Pathways in Design
Exploring career opportunities in interior design reveals a diverse and dynamic industry awaiting your creativity and skills. Interior designers can work on various projects, from residential to commercial spaces, showcasing their unique talents.
The demand for interior designers in India is increasing, offering plentiful career prospects. Strong communication skills are essential as designers often collaborate with architects and other professionals. Specializing in niche areas like furniture design allows for a distinctive career path.
Additionally, focusing on specific aspects of interior design, such as color theory, lighting design, and 3D modeling, is crucial to excelling in this field. By honing your skills and exploring different pathways, you can carve out a successful career in the vibrant world of interior design.
Skills Needed for Success
Developing proficiency in design software like AutoCAD and SketchUp is essential for interior designers seeking success in their careers. Strong drawing and rendering skills are critical for creating detailed design concepts, while effective communication and interpersonal skills are necessary for client interactions and project collaborations.
Understanding color theory, lighting design principles, and spatial planning is key for successful interior design projects. Additionally, creative thinking and problem-solving abilities play an important role in developing innovative and functional design solutions.
Advantages of a Civil Engineer in Interior Design
Bringing technical drawing, construction, and graphics expertise, civil engineers offer unique advantages in the field of interior design. Their background in building renovation equips them with a deep understanding of structural elements, allowing for innovative and practical design solutions. Attention to detail and perfectionism honed through civil engineering work seamlessly translate into creating well-executed interior spaces. Moreover, civil engineers excel in client interaction and needs assessment, ensuring that the design process is tailored to meet individual preferences effectively.
One key advantage of a civil engineer in interior design is their expertise in material durability and weather impact. This knowledge guarantees that design choices not only look good but also stand the test of time. By leveraging their technical skills and problem-solving abilities, civil engineers can create interior spaces that aren't just aesthetically pleasing but also functional and sustainable. The blend of technical know-how and creative flair sets civil engineers apart in the world of interior design, making them a valuable addition to any design team.
Frequently Asked Questions
Is Interior Designing Related to Civil Engineering?
Yes, interior designing is related to civil engineering. Both fields focus on creating functional and visually appealing spaces within built environments. Civil engineers guarantee structural integrity, while interior designers prioritize aesthetics and user experience. Understanding building codes and regulations is vital for both professions.
Civil engineers can seamlessly integrate interior design skills into their practice, leading to thorough project outcomes. The combination of these expertise areas can result in successful and well-rounded design projects.
Can a Civil Engineer Become a Designer?
Yes, a civil engineer can absolutely become a designer! Designing isn't limited to one field; your engineering background can be a strong foundation for exploring new creative paths. By honing your design skills and pursuing relevant courses, you can shift smoothly.
Leverage your technical knowledge and embrace the artistic side of interior design. With dedication and training, you can excel as a designer and bring a unique perspective to the field.
Can an Engineer Be an Interior Designer?
You absolutely can be an engineer and immerse yourself in the exciting world of interior design! By honing your creativity and learning new design concepts, you can bring a fresh perspective to spaces.
Embrace your artistic side and blend your technical expertise with design skills. Shifting from engineering to interior design opens up a world of possibilities.
Can a Civil Engineer Design a House?
Yes, a civil engineer can design a house by focusing on structural elements, foundation systems, and building materials. They play a vital role in ensuring the house meets safety standards, local building codes, and regulations.
Considering factors like soil conditions, topography, and environmental impact, civil engineers play an essential role in efficient house design.
Collaborating with architects and interior designers enhances the overall aesthetics and functionality of the house.
Conclusion
To sum up, although it may appear as a shift from civil engineering to interior design, your background in problem-solving, technical knowledge, and creative thinking can be valuable assets in this new field.
By leveraging your transferable skills, pursuing the right education, and developing your design abilities, you can successfully shift into a career as an interior designer.
With dedication and passion, you can create beautiful spaces that blend functionality and aesthetics, showcasing your unique vision and talent.
-

 Vetted8 months ago
15 Best EMS Foot Massagers for Neuropathy to Soothe Your Feet
-
 Vetted7 months ago
14 Best Personalized Father's Day Gifts for Your Husband – Show Him You Care
-

 Alfresco7 months ago
Alfresco Stacker Doors: Seamless Indoor-Outdoor Living!
-

 Tableware and Dining Accessories2 weeks ago
What Is the Meaning of the Word Tableware
-

 Tableware and Dining Accessories2 weeks ago
When Is Tableware on Sale at Hobby Lobby
-

 Tableware and Dining Accessories2 weeks ago
Which of the Following Is Not Classified as Tableware
-

 Vetted8 months ago
15 Best Detergents for Wool: Keep Your Woolens Looking Fresh and Fabulous
-

 Craft and Textiles2 days ago
15 Best Places to Buy Appliances for Your Home – Top Retailers Reviewed


