
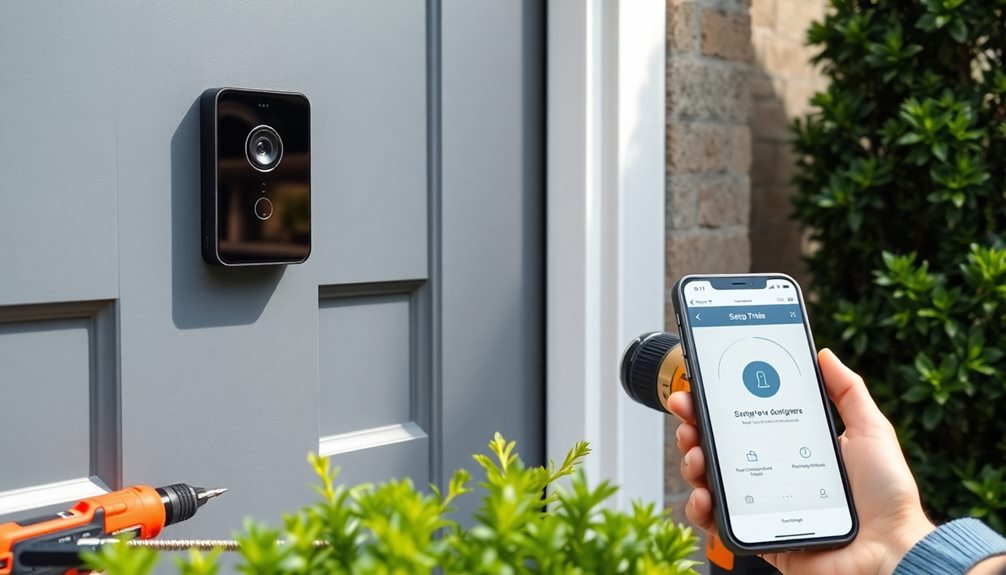
Installing your smart doorbell is a straightforward process that boosts your home security. Start by choosing a model that suits your needs, either battery-powered or wired. Gather essential tools like a drill, screwdriver, and multimeter for checking voltage. For battery-powered models, charge the battery and connect it to your Wi-Fi using the app. If you're going wired, verify the transformer is compatible and follow the wiring instructions closely. After installation, configure your app settings for notifications and motion detection. There's plenty more to discover about maximizing your doorbell's features and troubleshooting common issues.
Key Takeaways
- Choose between battery-powered or wired models, considering your home's setup and power availability for optimal installation.
- Gather necessary tools such as a drill, screwdriver, multimeter, and safety gear for a smooth installation process.
- Follow the manufacturer's app instructions for connecting the doorbell to your Wi-Fi network and customizing settings.
- Ensure proper voltage (8-24 VAC) for wired models and check existing wiring compatibility before installation.
- Utilize online resources and community forums for troubleshooting tips and installation guidance if issues arise.
As an affiliate, we earn on qualifying purchases.
Overview of Smart Doorbells
Smart doorbells have revolutionized home security, offering a seamless combination of technology and convenience. These innovative devices typically include a camera, speaker, and microphone, enabling you to monitor your front door from anywhere via your smartphone. With options like Full HD video and night vision, you'll never miss a moment, day or night.
When it comes to installation, you can choose between battery-powered models, which are easier to set up, and wired models that rely on your existing wiring. If you opt for a wired smart doorbell, make sure your home has the right transformers operating within 8 to 24 VAC specifications. This compatibility is essential for your device to function correctly.
Many smart doorbells connect to your Wi-Fi network, allowing you to access live feeds and recorded footage stored in the cloud. Advanced features like AI-powered motion detection enhance your security by alerting you when someone approaches your door.
Tools Needed for Installation
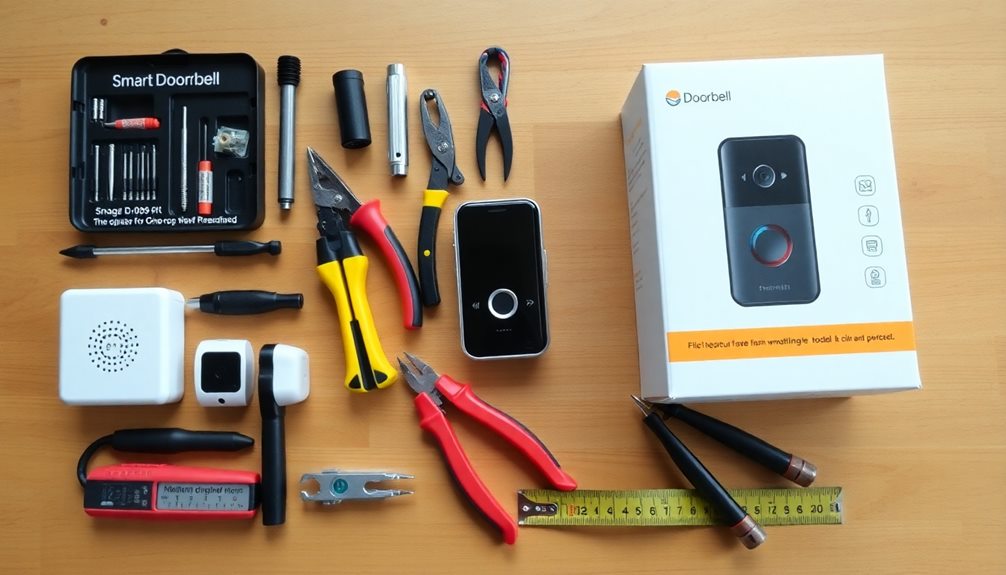
Installing a smart doorbell requires a few specific tools to guarantee a smooth process. For both wired and wireless models, you'll need a drill, screwdriver, and spirit level to confirm proper alignment and secure mounting.
If you're opting for a wired doorbell, a multimeter is vital to check the voltage of your existing doorbell transformer; it should be between 8 to 24 VAC to prevent damage. You'll also need wire cutters and strippers to prepare and connect wires during installation.
For wireless doorbells, verify you have a reliable Wi-Fi connection. If you experience weak signal strength, consider using a signal booster as an optional tool to enhance connectivity.
Don't forget about safety! Wearing gloves and goggles is essential when working with electrical components to protect yourself during installation.
Having the right tools and prioritizing safety will make your smart doorbell installation a breeze. With everything ready, you can confidently move forward, knowing you've got the right tools to successfully connect your new device and enjoy the convenience it brings to your home.
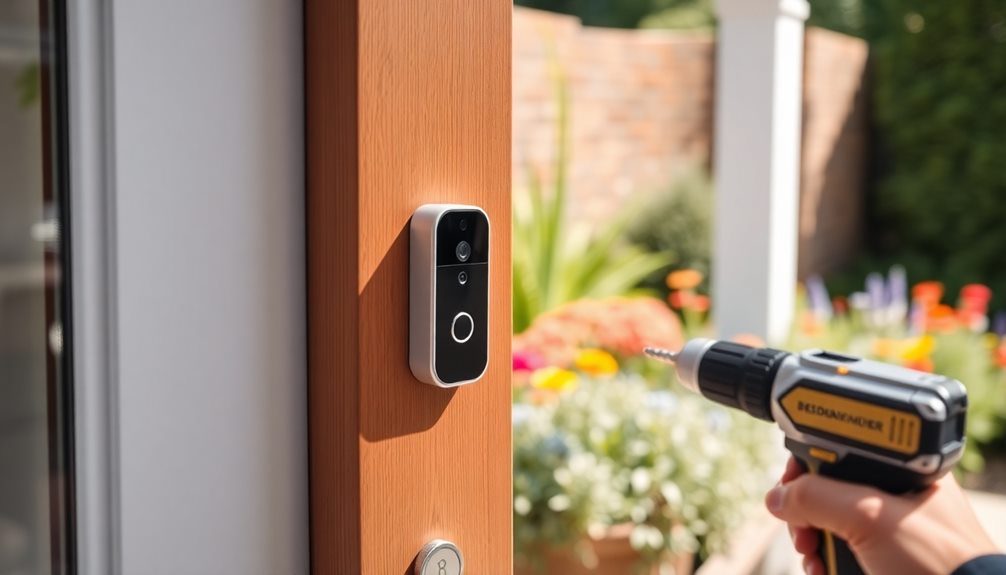
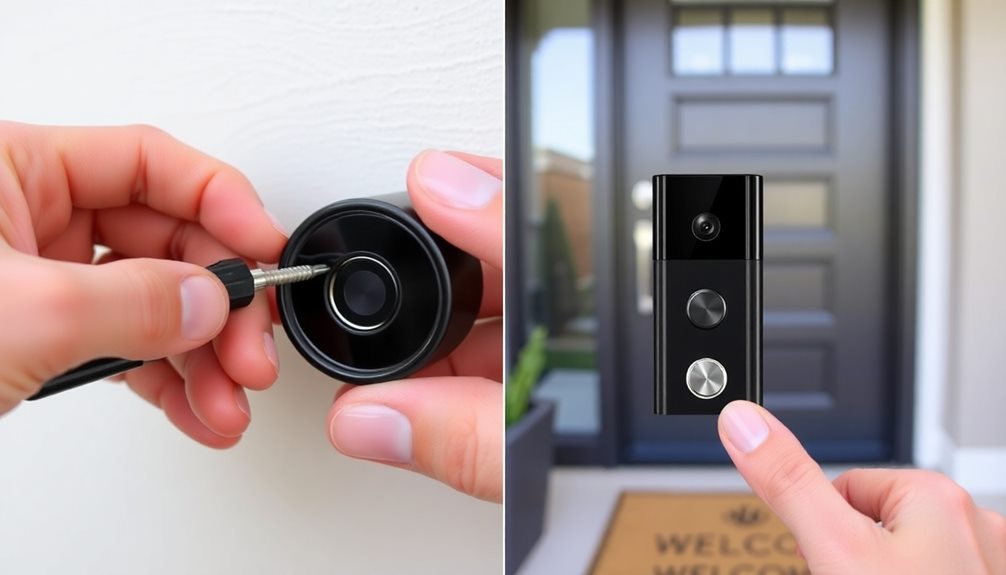
Installing Battery-Powered Doorbells
When you're ready to set up a battery-powered doorbell, start by fully charging the battery with the included USB cable. This guarantees peak performance.
Next, download the manufacturer's app to connect the doorbell to your Wi-Fi network. You may need to create an account for access.
Use the provided mounting template to mark where you'll drill holes, guaranteeing accuracy. Follow the manufacturer instructions to secure the doorbell frame with screws and anchors, making sure it's firmly attached to the wall.
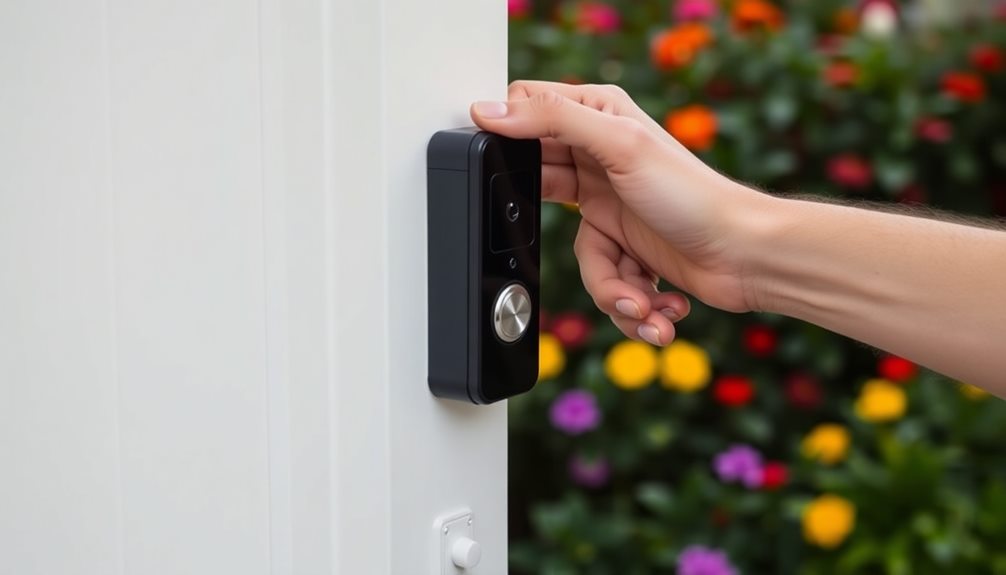
Once the frame is in place, attach the faceplate. To enhance security, use the unique security screws provided, as these deter unauthorized removal.
After installation, regularly check and charge the battery every few months, depending on your usage, to maintain functionality and security.
Keeping your battery-powered doorbell charged will help guarantee you get the most out of its features and keep your home safe.
With these steps, you can successfully install your battery-powered doorbell and enjoy the convenience and added security it offers.
Installing Wired Doorbells
Battery-powered doorbells offer convenience, but for those seeking a more permanent solution, wired doorbells are a great option.
Before you start, check the existing transformer voltage. It should ideally be between 8 to 24 VAC to avoid damaging your new doorbell. Safety first: always turn off the power at the circuit breaker before you begin any installation work.
Once you've confirmed the power is off, use a multimeter to verify the voltage of the existing doorbell transformer. If it's below 16 volts, your new doorbell won't operate correctly.
Next, follow the installation instructions that came with your new doorbell. This typically involves securely connecting the wires to the appropriate terminals. Make sure you connect the wires correctly to avoid electrical issues.
After everything's wired up, restore power and test the device. This includes checking the video feed and alert notifications to confirm everything's functioning as it should.
Power and Chime Considerations
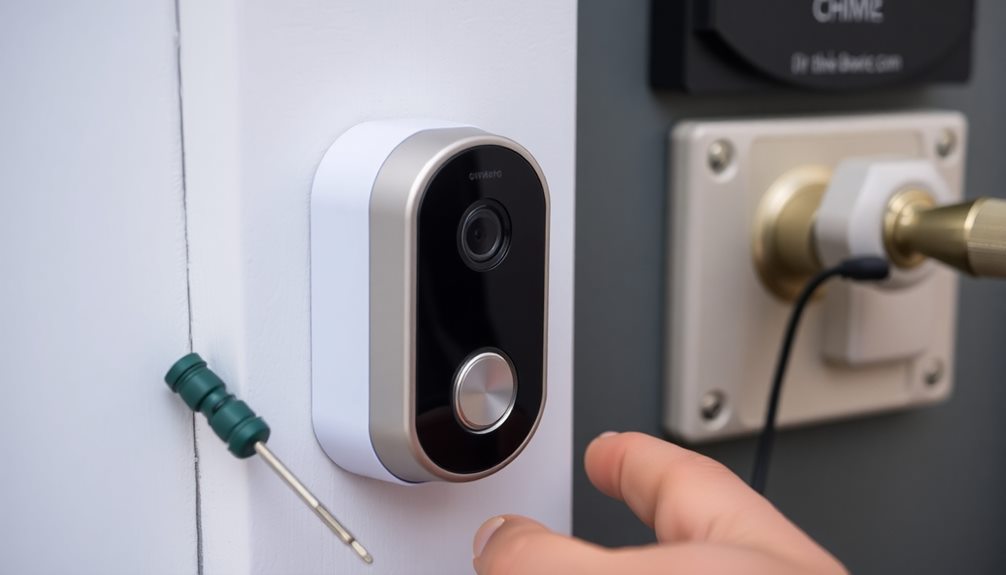
Understanding your smart doorbell's power requirements is essential for a successful installation. Most wired video doorbells need a power supply between 8 to 24 VAC, 50/60Hz, with an 8VA to 40VA capacity. Before you install, check your existing doorbell wiring to ascertain compatibility. Use a multimeter to verify the transformer voltage; this step can save you from future headaches.
When connecting your wired smart doorbell, make certain to turn off the power at the circuit breaker to avoid electrical hazards. It's also important to note that some wired models can disable your existing doorbell chime when pressed. If this happens, you'll need to contemplate dedicated smart chimes or alternative notification methods.
To guarantee peak performance, check that your doorbell transformer is in good condition and meets the voltage requirements. Inadequate voltage can lead to malfunction or even damage your smart home devices.
Configuring Your Doorbell App
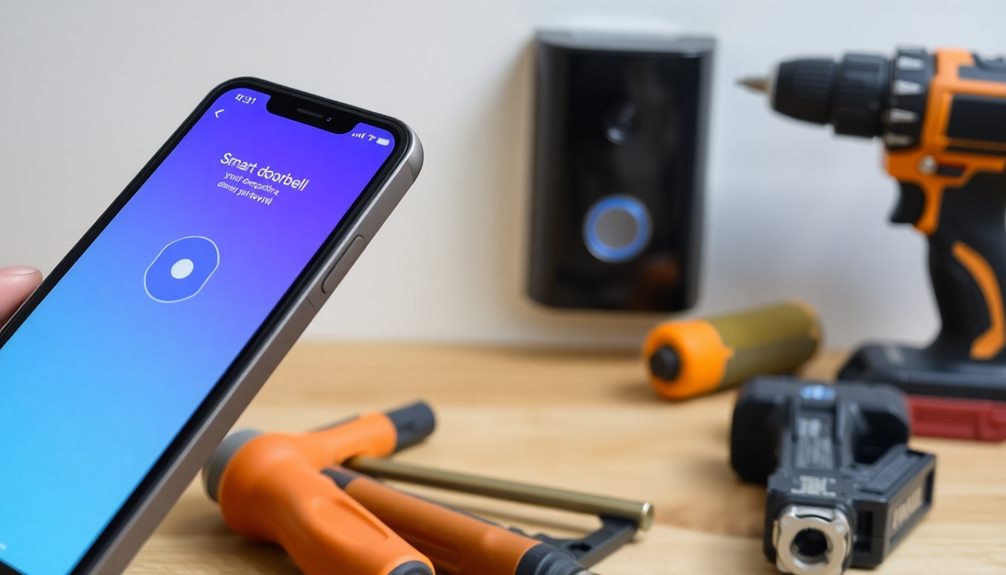
Now that you've confirmed your smart doorbell has the right power setup, it's time to configure the doorbell app for peak functionality.
Start by downloading the manufacturer's app from the App Store or Google Play, making sure it's compatible with your smartphone's operating system. Once downloaded, create an account or log in to initiate the setup process.
Follow the in-app instructions to connect the doorbell to your 2.4 GHz Wi-Fi network. Enter your Wi-Fi credentials when prompted to guarantee a successful connection.
After connecting, customize your motion detection settings within the app. Adjust the sensitivity to suit your needs, and enable features like two-factor authentication for enhanced security.
With your doorbell app configured, you can now access live video feeds from the camera, set chime types and volumes, and manage recording modes for peak functionality.
Make sure to explore all the app settings to take full advantage of your smart doorbell's capabilities. By following these steps, you'll be well on your way to enjoying the convenience and security your smart doorbell provides.
Troubleshooting Common Issues
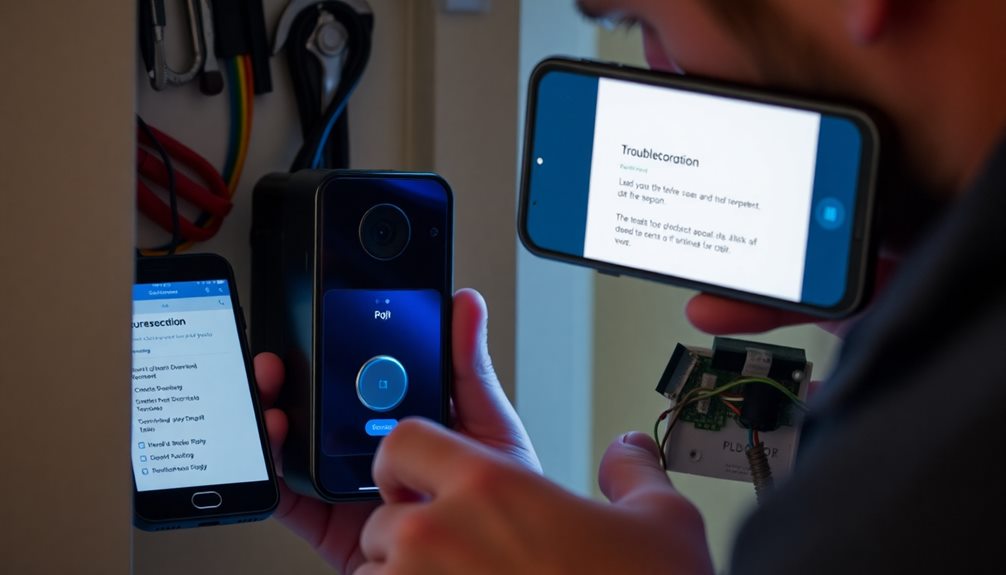
Many users encounter issues with their smart doorbells, but most problems can be easily fixed. Start by checking the power supply; verify the transformer voltage is between 8-24 VAC since insufficient voltage can prevent operation. If you're facing connectivity issues, verify that your Wi-Fi signal strength is adequate. A signal booster might be necessary to enhance performance.
If you're having trouble with the app, confirm you've granted all necessary permissions, including location and Bluetooth access. Restarting both your smart doorbell and Wi-Fi router can resolve many connectivity issues and restore functionality.
For problems with notifications, check the app settings to verify alerts are enabled and that your device is linked correctly to your account. Here's a quick reference table for common issues:
| Issue | Solution |
|---|---|
| Doorbell won't turn on | Check power supply (8-24 VAC) |
| Weak Wi-Fi signal | Consider using a signal booster |
| App not functioning | Verify app permissions |
| Connectivity issues | Restart doorbell and Wi-Fi router |
| Notifications not received | Check app settings and device link |
Additional Resources and Tips
To get the most out of your smart doorbell, take advantage of the manufacturer's app. This app allows you to adjust camera settings, motion sensitivity, and notification preferences, making sure your new video doorbell performs at its best.
Don't forget to regularly check for firmware updates and adjust app settings, as these enhancements are vital for maintaining your home security.
If you're struggling with weak Wi-Fi signals, consider using a Wi-Fi extender. This can greatly improve connectivity and guarantee your video doorbell operates consistently.
It's important to follow the instructions provided by the manufacturer for both installation and troubleshooting.
Additionally, explore online resources and user forums for valuable troubleshooting tips and community advice. These platforms often address common installation issues and configurations you might face.
Familiarizing yourself with your specific model's features is also beneficial—understanding cloud storage options and smart home integration can maximize the utility of your device.
Frequently Asked Questions
How Do I Set up My Smart Doorbell?
To set up your device, start by charging its battery or checking wiring compatibility. Download the app, create an account, connect to Wi-Fi, mount it securely, adjust settings, and test functionality for ideal performance.
Do Smart Doorbells Require Wiring?
Sure, you can install a smart doorbell without wiring—unless you enjoy the thrills of electrical work. Battery-powered models don't need any wires, while wired ones do require some connection to your existing doorbell setup.
What Are the Disadvantages of a Smart Doorbell?
Smart doorbells can have disadvantages like dependency on Wi-Fi, potential privacy issues with cloud storage, battery maintenance hassles, installation costs, and delayed notifications. You'll want to weigh these factors before deciding on one.
Do You Need an Electrician to Install a New Doorbell?
You might need an electrician to install a new doorbell if it's wired and you lack experience. For battery-powered models, you can usually handle the installation yourself without any electrical connections or professional help.
Conclusion
To summarize, installing a smart doorbell not only boosts your home's security but can also enhance your daily convenience. Did you know that homes with smart security systems are 300% less likely to be burglarized? By setting up your doorbell, you're not just upgrading your tech; you're taking an important step toward protecting your home and loved ones. Now that you're equipped with the knowledge, it's time to enjoy the peace of mind a smart doorbell offers!