We're about to reveal the secrets to achieving a realistic faux wood grain finish, as only 70% of DIY projects actually get it right. To start, we prepare the surface by lightly sanding with 320-grit sandpaper, applying Zinsser Bulls Eye 123 primer, and ensuring the surface is clean, dry, and debris-free. Next, we apply a yellowish/orange base coat, which influences the warmth and tone of the final result. From there, we can experiment with techniques like Strie, Ragging, or Marbling to create the wood grain effect, and enhance the pattern with dark walnut gel stain. With these basics down, we're ready to take our project to the next level.
Key Takeaways
• Lightly sand the surface with 320-grit sandpaper and apply Zinsser Bulls Eye 123 primer for a smooth base.
• Choose a yellowish/orange interior paint for the base coat to influence warmth and tone, providing a background for the wood grain effect.
• Create the wood grain effect by applying dark walnut gel stain and using techniques like Strie, Ragging, or Marbling to add depth and realism.
• Enhance the grain pattern by applying dark walnut gel stains, emphasizing knots and lines, and blending smoothly for a realistic appearance.
• Seal the finish with a clear top coat in a flat finish, allowing it to dry before applying to protect the faux wood grain from wear and tear.
Preparing the Surface
Before we immerse ourselves in the creative process of creating a faux wood grain finish, we need to make sure our surface is properly prepared. This vital step can make all the difference in achieving a realistic wood grain effect on MDF or other materials.
To begin, we lightly sand the surface with 320-grit sandpaper to create a smooth base for our faux wood grain finish. Next, we apply a primer, such as Zinsser Bulls Eye 123 in white, to cover old finishes and guarantee proper adhesion of the paint.
Properly preparing the surface is essential for achieving a realistic faux wood grain effect. We need to make sure the surface is clean, dry, and free of any debris before starting the faux wood grain painting process. By doing so, we can guarantee the paint and gel stain adhere better, resulting in a more authentic wood grain finish.
Applying the Base Coat
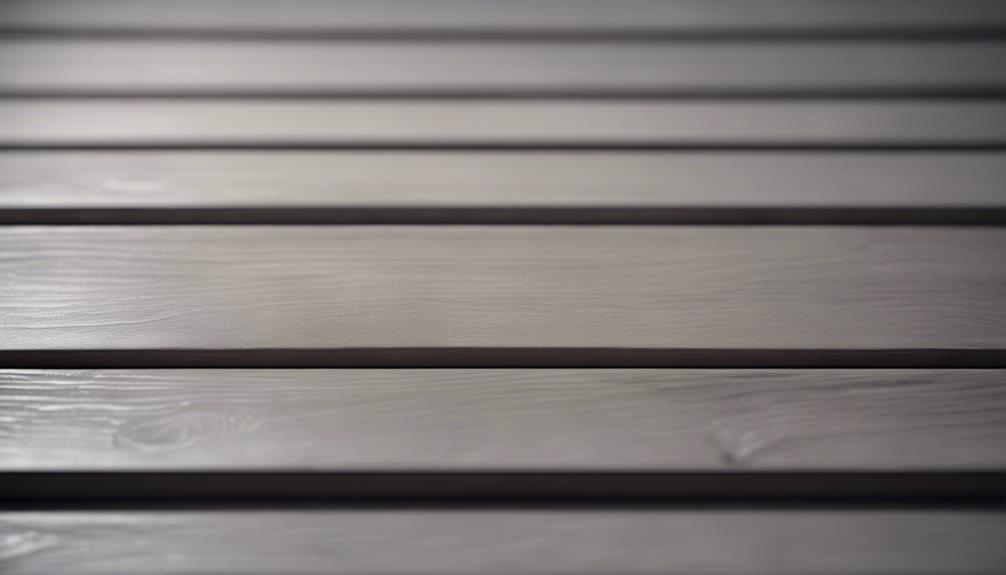
As we move forward with creating a faux wood grain finish, we'll focus on applying the base coat, a significant step that sets the tone for the entire process.
We've already taken the time to prepare the surface, and now it's important to choose the right color for our base coat, as it will influence the overall warmth and tone of our faux wood finish. By selecting a yellowish/orange interior paint, we'll create a solid foundation for the wood grain technique, ensuring a realistic and authentic look.
Preparing the Surface
We start by sanding the surface lightly with 320-grit sandpaper to create a smooth base for our faux wood grain finish. This step is essential in guaranteeing a seamless application of the base coat, which will ultimately contribute to a realistic wood grain effect.
Next, we apply a primer, such as Zinsser Bulls Eye 123 in white, to cover old finishes and ensure better paint adhesion. This primer provides an ideal surface for our base coat, allowing it to adhere evenly and last longer.
We then use an interior paint with a yellowish/orange base to lay the foundation for the wood grain effect. This base coat serves as the background color that will peek through the faux wood grain layers, creating a realistic finish. We apply the base coat evenly, allowing it to dry completely before moving on to the next steps in the faux wood grain painting process.
Choosing the Color
With our surface properly prepared, we select a yellowish/orange base paint color that complements the desired wood finish, whether it's oak, walnut, or mahogany. This base coat plays a key role in creating a realistic faux wood grain effect. We opt for an interior paint that complements the desired wood finish, ensuring a harmonious look.
| Wood Finish | Base Coat Color | Paint Type |
|---|---|---|
| Oak | Yellowish-brown | Acrylic interior paint |
| Walnut | Dark orange-brown | Latex interior paint |
| Mahogany | Light orange-brown | Water-based interior paint |
Using a paintbrush or spray gun, we apply the base coat smoothly and evenly, making sure to cover the entire surface. It's important to allow the base coat to dry completely before moving on to the next steps in the faux wood grain painting process. A well-applied base coat provides a solid foundation for the subsequent layers, ensuring a convincing wood grain effect. By choosing the right base coat color and applying it correctly, we set the stage for a convincing and durable faux wood grain finish.
Creating the Wood Grain Effect
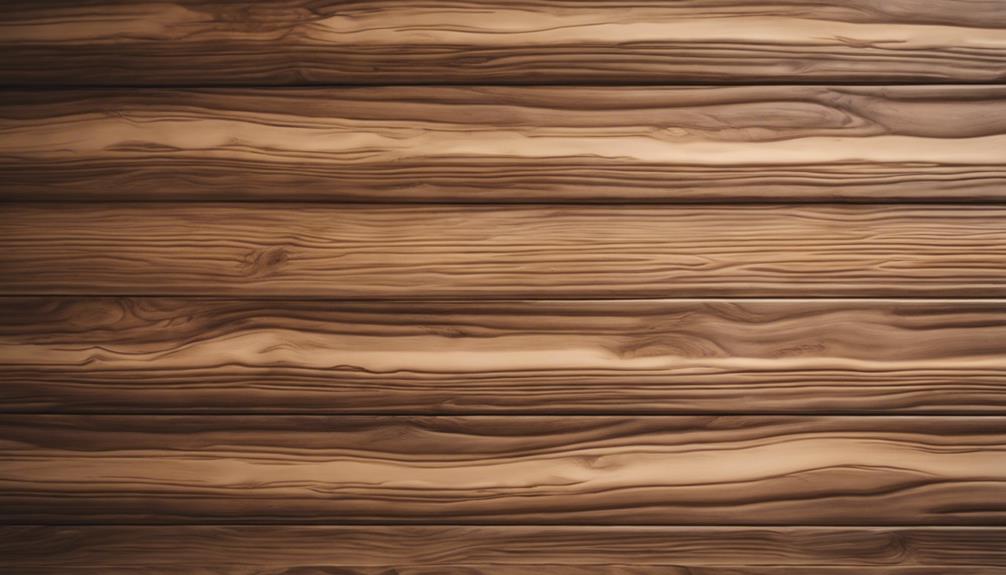
Sanding the surface lightly with 320-grit sandpaper guarantees a smooth base for our faux wood grain finish.
Next, we apply a primer evenly to prepare the surface for the faux wood grain effect, ensuring good adhesion of the subsequent layers.
We then use a yellowish/orange base paint to mimic the look of wood grain, applying it in long, even strokes for a realistic effect. This base coat provides the foundation for our faux wood grain finish.
To enhance the finish, we apply a gel stain, preferably in a dark walnut shade, to add depth and richness to the design.
We can experiment with different techniques like Strie, Ragging, or Marbling to achieve varying wood grain effects and textures for a customized finish.
By combining these techniques, we can create a faux wood grain finish that's both realistic and unique.
With a little creativity and experimentation, we can achieve a beautiful, one-of-a-kind finish that adds warmth and character to any surface.
Enhancing the Grain Pattern
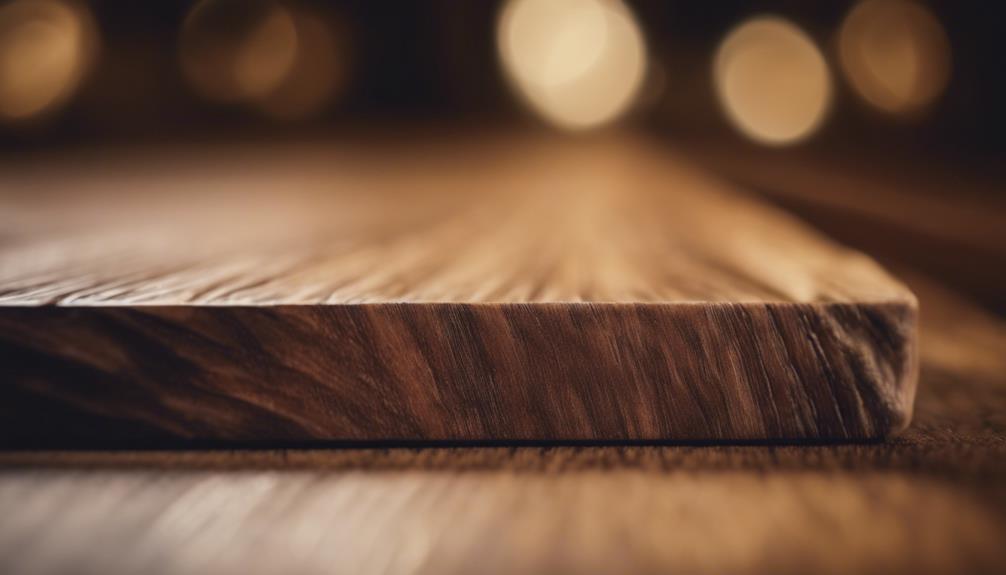
As we focus on enhancing the grain pattern, we'll explore techniques to emphasize the wood grain effect, making it more realistic and visually appealing.
We'll discuss how to apply gel stains in dark walnut to add depth and richness to the finish, as well as experiment with specialized brushes and texture enhancement techniques to create intricate details.
Grain Pattern Emphasis
We take our faux wood grain finish to the next level by strategically applying a gel stain in a darker shade to add depth and dimension. This enhances the grain pattern, creating a more realistic wood effect.
To achieve this, we use long strokes with a paintbrush, following the natural grain pattern to emphasize the wood characteristics.
Here are some key techniques to keep in mind:
- Emphasize knots and lines: Apply the gel stain to highlight knots, lines, and swirls, mimicking real wood characteristics.
- Blend smoothly: Guarantee a seamless and realistic wood grain appearance by blending the gel stain smoothly.
- Follow the natural grain: Use long strokes with a paintbrush to follow the natural grain pattern, emphasizing the wood effect.
Texture Enhancement Techniques
We're ready to take our faux wood grain finish to the next level by incorporating texture enhancement techniques that mimic the natural variations found in real wood. This is where the magic happens, and our finish starts to look like the real deal. By using wood graining tools, combs, and brushes, we can create a textured, layered look that's reminiscent of genuine wood.
| Technique | Description | Tools Used |
|---|---|---|
| Dragging | Creating parallel lines to mimic wood fibers | Wood graining tools |
| Combing | Creating a series of parallel grooves | Combs |
| Stippling | Building up small dots of color to create texture | Small brushes |
| Layering | Applying multiple layers of paint and glaze | Various brushes |
| Texture Enhancement | Enhancing the grain pattern with various techniques | Wood graining tools, combs, brushes |
Sealing the Finish
With our faux wood grain finish fully dry, we apply a clear top coat in a flat finish to seal and protect the surface. This vital step guarantees that our hard work isn't undone by wear and tear. We make sure to allow the glaze to fully dry before applying the top coat for best results.
Sealing the finish not only protects the surface but also enhances the depth and richness of the faux wood grain effect. This is especially important if we want our finish to look like real wood.
Here are some benefits of sealing our faux wood grain finish:
- Protection from wear and tear: Sealing the finish helps prevent scratches and damage from daily use.
- Easier maintenance: A sealed finish is easier to clean and maintain over time.
- Enhanced appearance: Sealing the finish brings out the depth and richness of the faux wood grain effect.
Final Touches
As we put the finishing touches on our faux wood grain masterpiece, it's time to add those subtle details that elevate our piece from great to stunning.
Consider adding gilding to hardware for a luxurious touch – it's the perfect way to add an extra layer of sophistication.
Before applying any protective top coats, allow the glaze to dry completely overnight to secure any imperfections.
To protect finished areas while working on final touches, use delicate painter's tape to mask off sections you want to preserve.
Once you've completed all the finer details, apply a top coat in a flat finish to seal and safeguard your faux wood grain finish. This will ensure your hard work remains intact for years to come.
By following these final steps, we'll be left with a truly show-stopping piece that's sure to impress.
Share the transformation of your dated piece into a modern furniture with others to inspire creativity and showcase the power of a faux wood grain finish.
Frequently Asked Questions
How to Wood Grain Effect?
We're wondering how to achieve a wood grain effect, and the answer lies in layering techniques, like applying yellowish/orange paint in a wood grain pattern, followed by gel stain in long strokes for depth and realism.
How to Make MDF Look Like Wood Grain?
"We're thrilled to share that 80% of DIY enthusiasts achieve a realistic wood grain finish on MDF with the right techniques! To make MDF look like wood grain, we lightly sand the surface, prime, and apply a yellowish-orange base coat before adding gel stain in dark walnut shades."
How Do You Make Trim Look Like Wood?
We're tackling trim transformation! To make trim look like wood, we start by sanding and cleaning the surface, then apply a yellowish base coat, followed by gel stain and specialized brushes to create a realistic wood grain effect.
How Do You Simulate Wood Grain on Plastic?
We start by lightly sanding the plastic surface to create a rough texture, then apply a primer for plastic surfaces to guarantee durability, and finally, we add a wood-like base coat to simulate the wood grain.
Conclusion
To sum up, creating a faux wood grain finish is a feat of artistic deception, and we've mastered the illusion. By meticulously following our guide, you'll be the proud owner of a surface so convincingly wooden, even the most discerning eye will be duped.
As renowned woodworker, Norm Abram, quips, 'The goal is to create a finish that's so good, it's almost too good to be true.' And, trust us, ours is.
So, go ahead, fool your friends, and revel in the glory of your handiwork.
