Home Decor
Make Quick and Simple Terra Cotta Pumpkins
Gain a head start on autumn decor with this easy guide to creating stunning, realistically textured terra cotta pumpkins in just a few simple steps.

We'll kick start our terra cotta pumpkin project by gathering ceramic pumpkins, craft paint, and natural stems for an authentic look. Next, we'll mix terracotta paint colors by blending orange, white, and brown hues, experimenting with ratios for unique shades. Adding flour to the paint will give our pumpkins a textured look, while precision painting and chip brush strokes will create a professional finish. After layering on flour for a realistic texture, we'll distress our pumpkins with sandpaper and add an aged look with powder. Finally, we'll seal our masterpiece with fixatif spray, and with these simple steps, we'll have created stunning terra cotta pumpkins that exude autumnal charm – and with more techniques to explore, our creativity will flourish.
Key Takeaways
• Blend orange, white, and brown craft paint to create unique terracotta shades for your pumpkin.
• Use a small paintbrush or chip brush to apply paint with precision for a professional finish.
• Add flour to paint for a chunky texture or sprinkle it on almost dry paint for a realistic look.
• Sand edges and corners to distress and age your pumpkin, focusing on areas prone to natural wear and tear.
• Seal your masterpiece with fixatif spray, applying multiple light coats for adequate coverage and protection.
Gather Your Supplies
We'll need a few essential items to get started on our terra cotta pumpkin project. To create these DIY terracotta pumpkins, we'll gather ceramic pumpkins in various sizes and shapes. These will serve as the base for our decorative pumpkins.
Next, we'll need a selection of craft paint in autumnal shades, such as Spiced Pumpkin, Burnt Sienna, Honey Brown, Oyster Beige, and Khaki Tan, to give our pumpkins a warm, seasonal look. A small paintbrush or chip brush will come in handy for applying the paint evenly.
To add an aged texture to our pumpkins, we can use white flour or baby powder. For an authentic touch, consider using natural pumpkin stems to complete the look.
With these basic supplies, we'll be well on our way to creating beautiful, rustic terra cotta pumpkins that will add a cozy ambiance to our homes.
Mix Terracotta Paint Colors
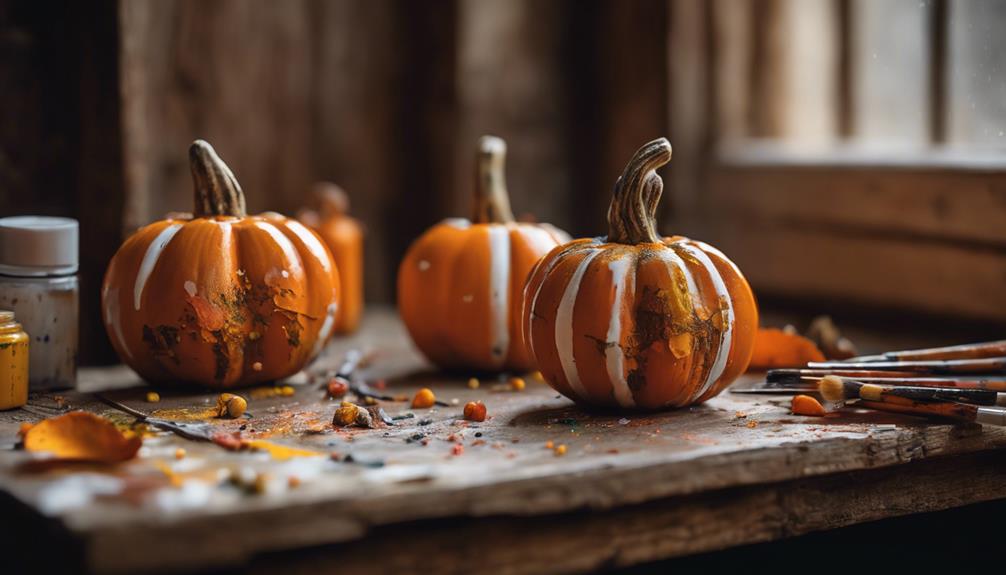
Mixing the perfect terracotta color requires a blend of orange, white, and brown craft paint. This can be achieved by combining these hues in a bowl and adjusting the proportions to suit our desired shade.
We can experiment with different ratios of orange to white to brown to create a unique terracotta color that complements our pumpkins. For a more textured look, we can add a pinch of flour to the paint mixture. This will give our pumpkins a more rustic, earthy feel.
By adjusting the amount of flour, we can achieve varying levels of texture, from subtle to dramatic. Once we're happy with our terracotta color, we can use a brush to evenly paint our pumpkins, transforming them into beautiful, autumnal decorations.
With a little practice, we can achieve a range of different terracotta shades, each one unique and eye-catching. By mixing and matching our paints, we can create a collection of pumpkins that add a touch of warmth and coziness to any room.
Paint Your Foam Pumpkin
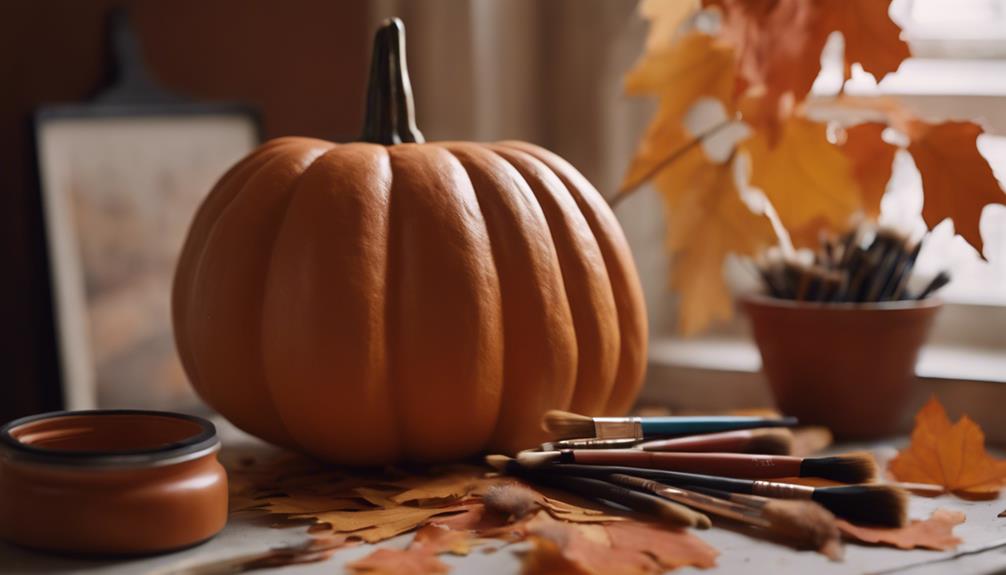
As we continue to transform our foam pumpkins into terra cotta masterpieces, we'll focus on the essential steps to achieve a realistic, earthy look.
Now that we've mixed our terracotta paint colors, it's time to explore the various paint color options that will give our pumpkins depth and character, as well as the brush stroke techniques that will add texture and visual interest.
Paint Color Options
We're spoiled for choice when it comes to craft paint colors that evoke the warm, earthy tones of terracotta, with options like Spiced Pumpkin, Burnt Sienna, Honey Brown, Oyster Beige, and Khaki Tan offering a great starting point. These colors provide a solid foundation for achieving a realistic terracotta finish on our DIY foam pumpkin.
Of course, we can always mix and match colors to create a unique shade that suits our taste. By experimenting with different color combinations, we can personalize our pumpkin and make it truly one-of-a-kind. Remember, the key to a convincing terracotta look lies in selecting the right paint colors.
With a small paintbrush or chip brush, we can apply the paint with precision, ensuring a professional-looking finish. Whether we're going for a vibrant, orange-hued pumpkin or a more muted, earthy tone, the right paint colors can make all the difference. By choosing the perfect shades, we can create a beautiful, terracotta-inspired pumpkin that's perfect for our fall decor.
Brush Stroke Techniques
With our chosen paint colors in hand, let's pick up a chip brush and start applying thick, textured strokes to our foam pumpkin. We love the look of a rustic, handmade terracotta pumpkin, and the right brush stroke techniques can make all the difference.
To achieve this, we'll use long vertical brush strokes with our chip brush, applying thickened paint to our foam pumpkin. As we brush up and down, we'll create a textured finish that adds depth and visual interest to our pumpkin. We'll let the paint dry naturally, maintaining those beautiful brush strokes for a realistic look.
Experimenting with different painting techniques is key to achieving the desired terracotta effect on our foam pumpkin. By mixing orange and yellow paint in a 1.5:1 ratio, we can create a custom terracotta color that's uniquely our own.
With practice and patience, we can master these brush stroke techniques and make a stunning, one-of-a-kind terra cotta pumpkin that we'll love displaying in our home.
Sealant Application Tips
Applying a sealant is essential to protecting our painted foam pumpkin from wear and tear, and choosing the right one is critical to preserving its texture and color. As we search for the perfect sealant, it's important to experiment with different options to find the one that works best for our project.
Here are some valuable tips to keep in mind for sealant application:
- Use a fixatif spray as a gentle sealant for your painted foam pumpkin.
- Apply multiple light coats of fixatif spray for heavier flour areas.
- Avoid using clear matte acrylic sealer on your painted foam pumpkin.
- Experiment with different sealant options like Mod Podge acrylic sealant for best results.
- Allow the fixatif spray to dry completely before handling your painted foam pumpkin.
Add Texture With Flour
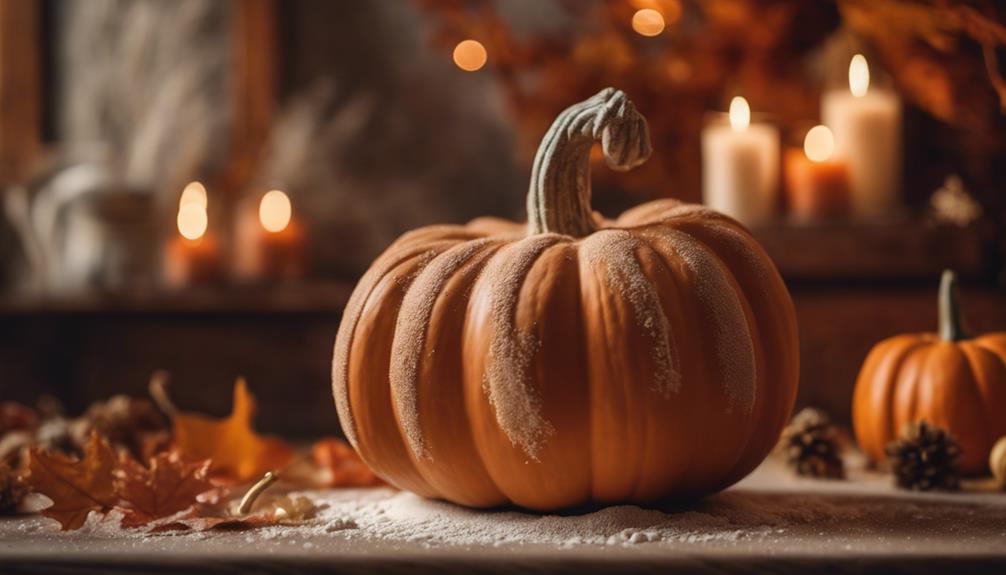
As we explore the next step in creating realistic terra cotta pumpkins, we're going to discuss how adding flour can elevate our design.
We'll examine the benefits of using flour as a thickener, the advantages of incorporating flour texture, and some valuable tips for mixing flour into our paint.
Flour as Thickener
We add a pinch of creativity to our terra cotta pumpkins by incorporating flour as a thickener, which brings an intriguing texture to our decorative pieces. This DIY technique allows us to achieve a unique, realistic look that mimics the natural texture of terracotta.
To get started, we can add flour to our paint to create a thick, chunky texture. For a more subtle effect, we can sprinkle flour onto almost dry paint, which helps create a realistic terracotta look.
Here are some tips to keep in mind:
- Distribute flour on different areas of the pumpkin for a varied texture.
- Use a dry paint brush to help evenly spread the flour on the surface.
- Experiment with the amount of flour used to achieve different textures and effects on your pumpkins.
- Flour can be used to create a raised, bumpy texture or a smooth, even one, depending on how it's applied.
- Don't be afraid to experiment and try out different flour-to-paint ratios to achieve the desired effect.
Flour Texture Benefits
By incorporating flour into our painting process, we can reveal a range of unique textures that add depth and visual interest to our terra cotta pumpkins.
The flour texture benefits are undeniable, as it allows us to achieve a textured finish that elevates our pumpkins from basic to exceptional. By sprinkling flour on almost dry paint, we can create an aged and realistic look that's perfect for autumnal decorations.
To achieve a natural texture, we can use a dry paint brush to distribute the flour evenly, ensuring a subtle yet striking effect. The best part? We can adjust the amount of flour to our liking, depending on how much texture we desire.
Experimenting with flour can lead to different levels of texture, resulting in unique pumpkin designs that showcase our creativity. With flour, we can transform our terra cotta pumpkins into stunning centerpieces that exude warmth and character.
Flour Mixing Tips
Mixing flour with paint is a simple process that reveals a world of textures, enabling us to create unique terra cotta pumpkins that stand out from the crowd.
When it comes to adding texture to our pumpkins, we've found that flour is an excellent addition to our paint. But how do we get the most out of this combination? Here are some flour mixing tips to help us achieve the perfect texture:
- Sprinkle flour on the almost dry paint to create a textured look that's simply stunning
- Distribute flour on different parts of the pumpkin for a realistic finish that mimics the natural texture of a real pumpkin
- Use a dry paint brush to help spread the flour evenly and avoid clumps
- Experiment with the amount of flour used to achieve your desired texture – more flour means a more textured look, while less flour results in a smoother finish
- Mix flour with paint in small increments, as it's easier to add more flour than it's to remove excess
Distress the Terracotta Pot
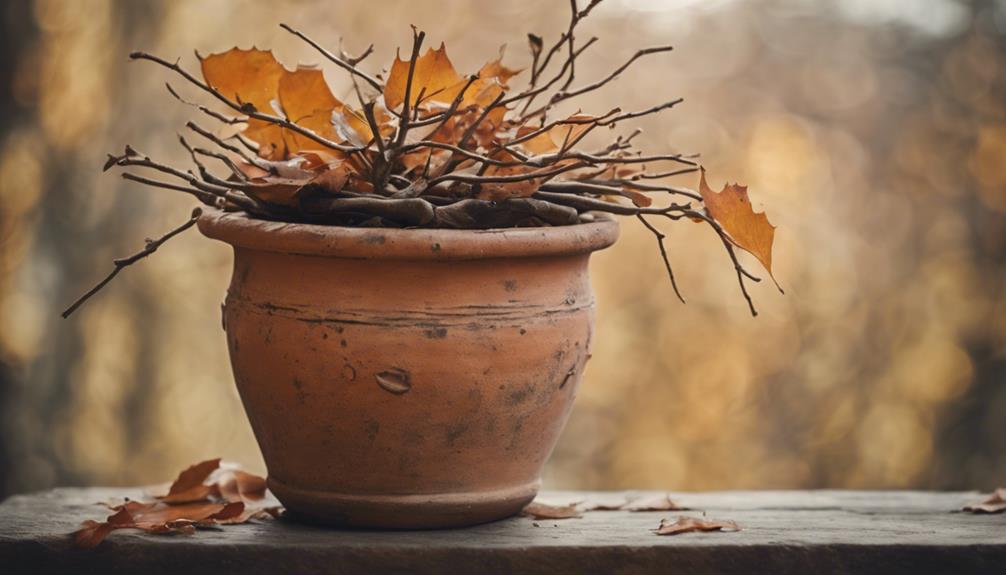
To achieve a weathered, vintage look, we're distressing the painted terracotta pot by gently sanding away the edges and corners, where natural wear and tear would occur over time. This process, referred to as light distressing, helps create a worn-out appearance that adds character to our pumpkin.
When using sandpaper, we're focusing on the areas that would naturally wear out first, such as the edges and corners. By gently rubbing the sandpaper in circular motions, we're able to create a subtle, aged look. Ensuring not to over-distress is crucial, as we aim to strike a balance between an aged and clean aesthetic.
Experimenting with different grits of sandpaper allows us to achieve the desired level of distressing. Remember, the goal is to create a subtle, weathered look, not to completely wear away the paint.
With a little patience and practice, we can achieve a beautifully distressed terracotta pot that adds a touch of rustic charm to our pumpkin decoration.
Add a Real Pumpkin Stem

As we move forward with adding a real pumpkin stem to our terra cotta pumpkin, we'll need to focus on two important points: picking the perfect stem and attaching it securely.
We'll explore the significance of selecting a stem that fits our pumpkin's size and how to use hot glue or a strong adhesive to guarantee a strong bond.
Picking the Perfect Stem
We scour the local pumpkin patches and farmer's markets for the perfect stem, knowing that a sturdy, curved stem will add a touch of authenticity to our terra cotta pumpkins. To achieve a natural look, we're particular about the stems we choose. Here's what we look for:
- Sturdy stems that can hold their own against the terra cotta pumpkin's weight
- A curved shape that mimics the natural curve of a real pumpkin stem
- Freshness – we avoid wilted or rotten stems that can compromise the overall appearance
- A natural color that blends seamlessly with the terra cotta pumpkin
- A stem that's free of debris or dirt, ensuring a clean attachment to our pumpkin
Attaching the Stem Securely
With our perfect stem in hand, we're ready to attach it securely to our terra cotta pumpkin. To guarantee a strong bond, we'll use hot glue or a strong adhesive, making sure the pumpkin stem is clean and dry before attaching it.
We'll apply the adhesive to the base of the stem and press it firmly onto the pumpkin, holding it in place for a few minutes to allow the adhesive to set and bond effectively.
As we attach the stem, we'll make sure it's centered and even, ensuring our terra cotta pumpkin looks natural and realistic. Once the stem is securely attached, we'll let it dry completely before handling or displaying our beautiful terra cotta pumpkin.
Age the Pumpkin With Powder
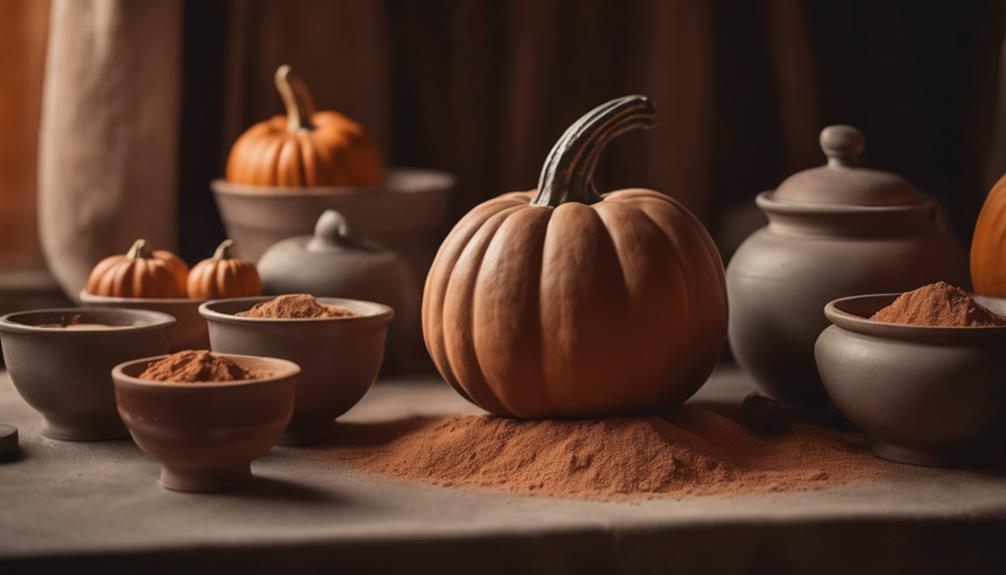
We dust our terra cotta pumpkins with a light layer of powder to introduce an air of vintage charm. This simple technique adds a realistic, weathered look to our creations, giving them a unique and rustic appeal.
To achieve this aged texture, we sprinkle white flour or baby powder on the almost dry paint. Using a small paintbrush, we lightly distribute the powder, adjusting the amount based on the level of aging we desire.
Here are the benefits of aging our terracotta pumpkins with powder:
- Enhances the overall appearance of the pumpkin, giving it a unique and rustic charm
- Adds a realistic, weathered look to the terracotta surface
- Creates a beautiful, vintage-inspired texture
- Allows for customization of the aging level to suit individual tastes
- Is a simple and easy technique to master, even for beginners
Seal Your Masterpiece (Optional)
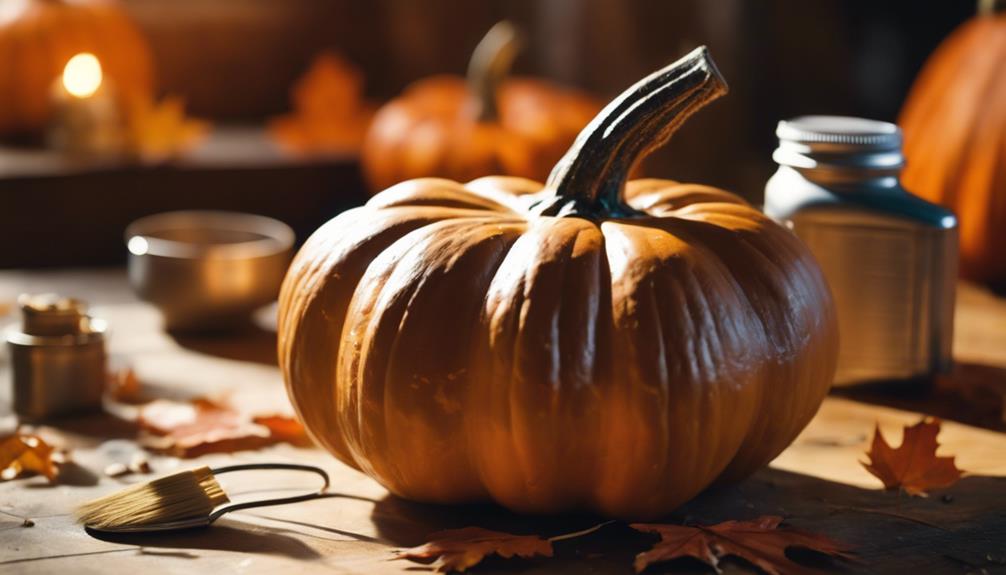
To guarantee our terracotta pumpkins remain vibrant and protected, consider applying a fixatif spray to seal in the paint and texture. This optional step will make sure our masterpieces stay fresh and intact. When choosing a sealant, avoid using clear matte acrylic sealer, as it may not provide the desired finish.
| Sealant Options | Characteristics |
|---|---|
| Fixatif Spray | Protects paint and texture, multiple light coats recommended |
| Mod Podge Acrylic Sealant | Alternative option for added protection |
| Clear Matte Acrylic Sealer | Not recommended, may not provide desired finish |
| Multiple Coats | Necessary for adequate coverage, especially on textured areas |
| Drying Time | Allow fixatif spray to fully dry before handling or displaying |
Display Your Terra Cotta Pumpkin

Now that our terra cotta pumpkins are complete, let's creatively arrange them to create a festive fall display that showcases our handiwork.
We've put in the effort to create these easy DIY terra cotta pumpkins, and now it's time to show them off!
Here are some ways to display our masterpieces:
- Place your terra cotta pumpkins on a mantle or shelf for a charming display.
- Group different sized pumpkins together for visual interest.
- Mix in real or faux fall foliage for a festive touch.
- Add twinkling string lights around your pumpkins for a cozy ambiance.
- Incorporate other fall decor elements like acorns or pine cones to enhance the seasonal theme.
Tips for Styling Your Pumpkins
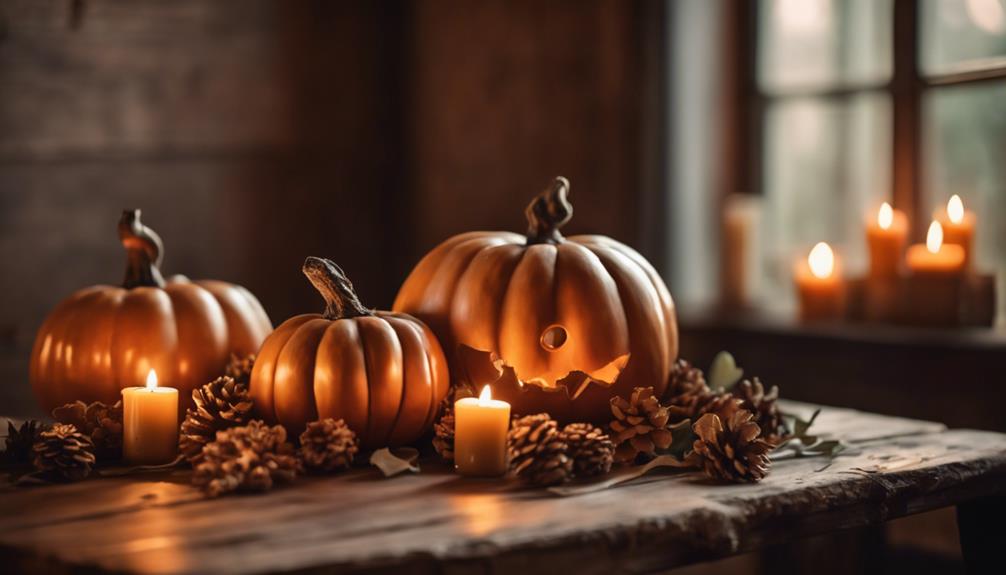
By creatively arranging our terra cotta pumpkins, we can craft a visually appealing display that showcases our handiwork. To add some depth and dimension to our DIY Halloween decorations, we can mix and match different sizes and shapes of pumpkins. By using different shades of terracotta paint, we can create a unique and eye-catching arrangement.
To give our pumpkins a more realistic look, we can add a touch of white paint or flour to achieve a weathered and aged appearance. Displaying our pumpkins in terracotta pots or rustic containers can further enhance the overall theme. For an extra touch of authenticity, we can experiment with incorporating real pumpkin stems into our design. This won't only add a natural element to our decoration but also create a unique conversation piece.
Frequently Asked Questions
How to Make Plastic Pumpkins Look Like Terracotta?
We're wondering how to make plastic pumpkins look like terracotta, and we're in luck! We can mix craft paint to achieve a terracotta color, add flour for texture, and sprinkle more flour on top for a realistic look.
How to Make Terracotta Jack O'lantern?
We're excited to create terracotta jack-o'-lanterns! We'll transform plastic pumpkins by mixing paint colors to achieve a terracotta shade, adding flour for texture, and sprinkling flour on almost dry paint for an aged look.
How to Paint a Pumpkin With Baking Soda?
"Painting a pumpkin with baking soda is like adding a secret ingredient to a recipe – it elevates the entire experience! We mix acrylic paint with baking soda to create a textured, realistic terracotta look that's uniquely ours."
How to Make Faux Pumpkins?
We're making faux pumpkins, and we're excited! We start with foam or ceramic bases, then add texture and color with craft paint and flour or baby powder to achieve a realistic, aged look.
Conclusion
As we step back to admire our handiwork, the warm, earthy tones of our terra cotta pumpkins seem to glow with a soft, autumnal light.
The textures, the colors, the subtle distressing – it all comes together to evoke the feeling of a rustic, vintage find.
And the best part? These little treasures are entirely our own creation, born from a few simple supplies and a dash of creativity.
Interior
Does Interior Paint Increase Home Value
Yearning to discover how interior paint can skyrocket your home's value? Get ready to unlock the secrets that will transform your space!
Interior paint plays a crucial role in increasing the value of your home by impressing potential buyers with a cohesive, fresh appearance. The color palettes you select have a long-lasting impact on how your home is perceived, influencing its attractiveness and market value. Choosing high-quality paint and strategic color combinations, such as neutrals, can significantly enhance the value of your property. Additionally, remember to update your interior paint every 7-8 years to maintain that fresh, welcoming atmosphere. Investing in top-notch paint and thoughtful color choices can greatly improve your home’s value and overall visual appeal. Are you ready to enhance the value of your home?
Key Takeaways
- Neutral colors and consistent schemes boost perceived value.
- Quality professional paint jobs command higher prices.
- Regular repainting every 7-8 years enhances home appeal.
- Strategic color choices significantly impact home value.
- Fresh, neutral paint increases space perception and curb appeal.
Importance of Interior Paint in Home Value
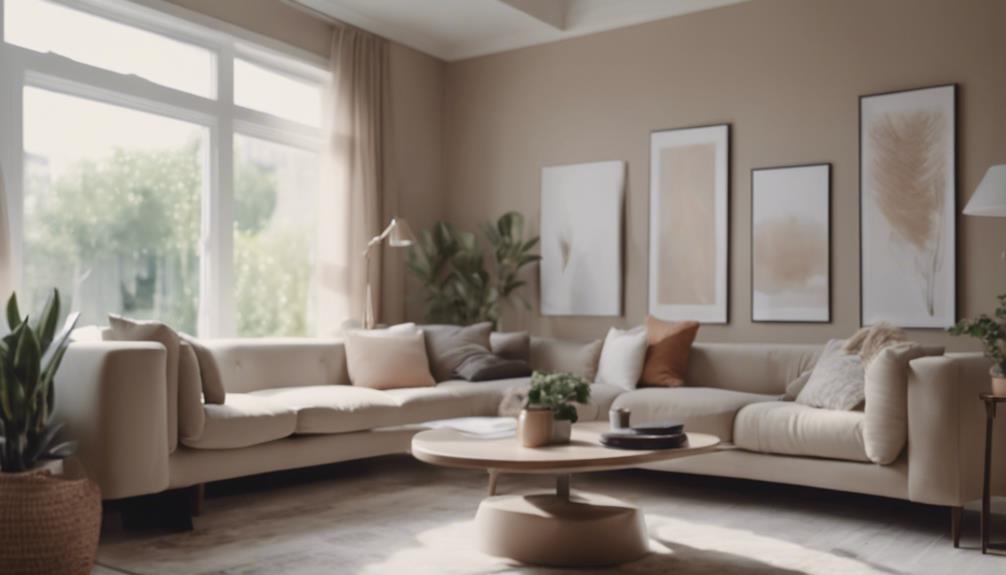
When contemplating the importance of interior paint in determining home value, it's crucial to understand its direct impact on potential buyers' perceptions and the overall financial return on investment.
The colors you choose to paint your walls can greatly influence how buyers view your home. A fresh coat of paint can enhance the perceived value of your home, showing that you have taken good care of the property. Consistent color schemes throughout the house can create a sense of flow and unity, making the space more appealing to potential buyers.
Additionally, repainting every 7-8 years with neutral colors can help maintain a fresh and updated look, maximizing the value of your home. Neutral colors have broad appeal and can make spaces appear larger, which is attractive to buyers. By investing in quality interior paint and choosing the right colors, you can significantly enhance the value of your home and make it more appealing to potential buyers.
Factors Influencing Home Value Through Paint
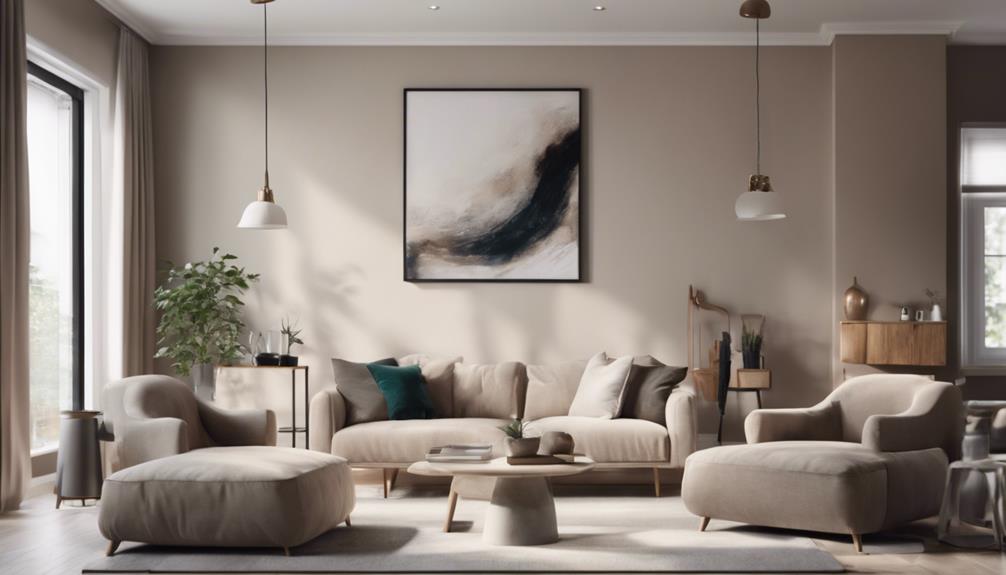
Factors that influence home value through paint include the choice of colors, the quality of the paint job, and the consistency of color schemes throughout the property. Neutral paint colors are highly recommended as they appeal to a broader range of buyers and can positively impact the perceived home value. Opting for professional interior paint jobs not only showcases good maintenance and care but also allows you to command higher prices in the real estate market. Consistent color schemes across your home can greatly improve flow and unity, enhancing the overall appeal and value of the property. Investing in quality interior paint can lead to a remarkable 107% return on investment, making it a wise choice for increasing your home's value. Take a look at the table below for a quick overview of how these factors can impact your home value:
| Factors to Take into Account | Impact on Home Value |
|---|---|
| Neutral Paint Colors | Positive |
| Professional Paint Jobs | Higher Prices |
| Consistent Color Schemes | Enhanced Appeal |
| Quality Interior Paint | Significant ROI |
Choosing the Right Colors for Value
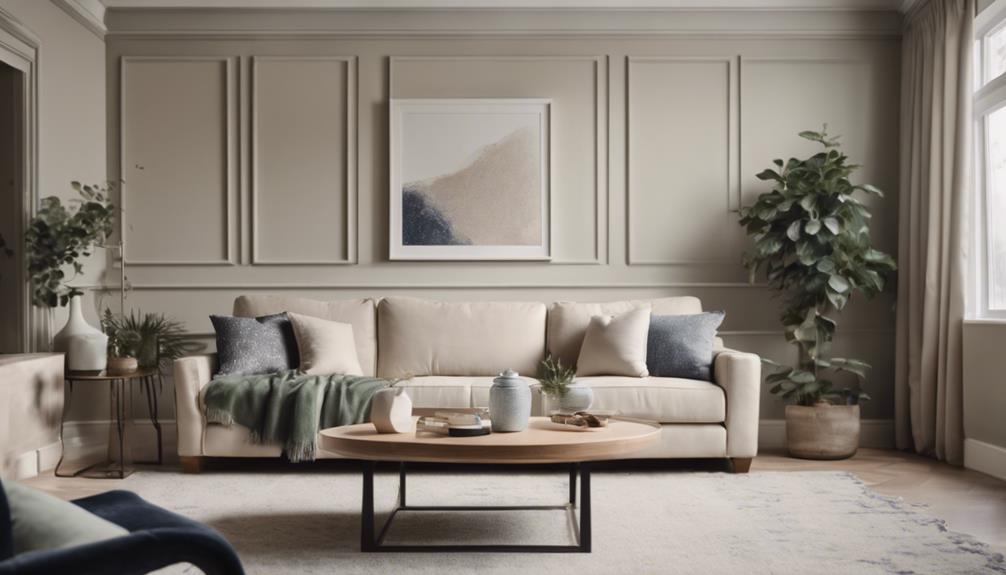
For maximizing your home's value through paint selection, prioritize choosing neutral shades like beige, tan, and greige. When selecting colors for value, keep in mind the impact they can have on your home's overall worth. Specific colors can make a significant difference in boosting your home's curb appeal and perceived value.
Consider the following tips for choosing the right paint colors:
- Darker Colors for Doors: Darker hues like gray, black, or navy blue on doors can add a touch of sophistication and elevate the asking price of your home.
- Light Blue-Gray Kitchens: Opting for light blue-gray tones in kitchens can make your home more appealing to potential buyers and potentially fetch higher selling prices.
- Bold Accent Colors: Using bold accent colors on doors or shutters can create visual interest and enhance the overall value of your property.
- Warm Neutrals: Warm neutrals such as tans and light taupe can help create a welcoming atmosphere and positively impact the perceived value of your home.
Enhancing Home Value With Fresh Paint
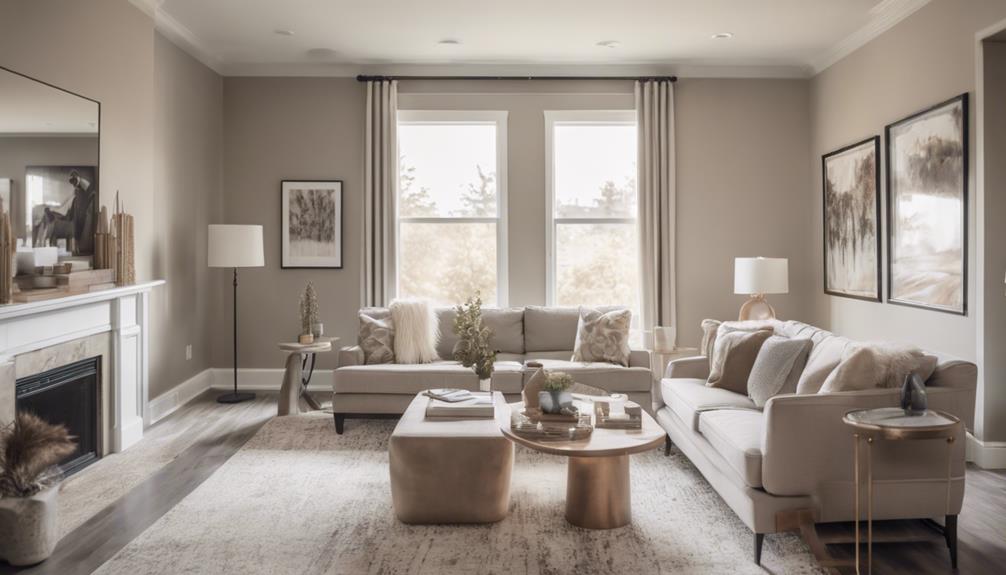
Enhancing your home's value with a fresh coat of paint can be a highly effective and lucrative investment. A fresh interior paint job not only refreshes the look of your home but also has the potential to increase its value substantially.
When potential buyers walk into a home with crisp, freshly painted walls, they immediately see a space that's well-cared for and move-in ready. This first impression can make a big difference in how they perceive the value of the property.
Whether you're painting a single room or giving the exterior a fresh new look, investing in painting as part of your home improvements can pay off in the long run. Fresh, neutral colors can make rooms appear more spacious and inviting, while a well-executed exterior paint job can boost curb appeal and attract more interest from potential buyers.
Maximizing ROI With Interior Paint
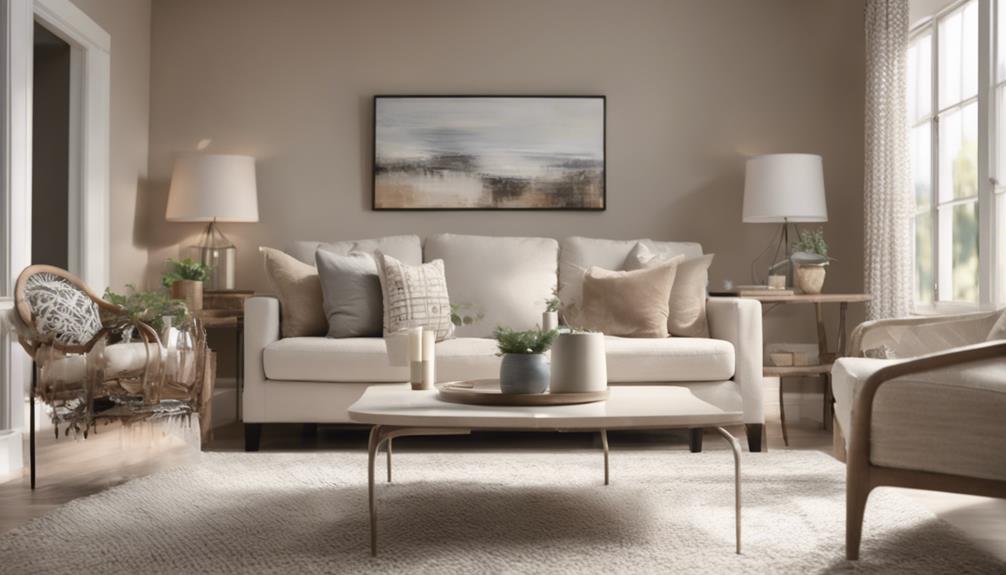
To maximize your return on investment with interior paint, consider the impact of color choices on perceived home value and overall appeal. When aiming to increase your home's ROI through painting, keep these key points in mind:
- Choose Neutral Colors: Opting for neutral tones can elevate the perceived value of your home, appealing to a wider range of potential buyers.
- Regular Maintenance: Repainting every 7-8 years is essential for maintaining your home's value and keeping it looking fresh and well-cared for.
- Consistent Color Schemes: Creating a consistent color palette throughout your house enhances flow and unity, making the space feel cohesive and inviting.
- Maximize Value: By strategically repainting key areas with attention to detail and quality, you can greatly enhance the overall value of your home.
Frequently Asked Questions
What Paint Color Increases Home Value?
Choosing the right paint color can greatly impact your home value. Neutral shades like light gray, beige, and greige are safe bets for increasing attractiveness. Dark colors such as charcoal gray, navy blue, or black on doors can elevate property prices.
Timeless exterior colors boost curb appeal, attracting buyers. Soft blues, greens, and yellows create inviting exteriors. Bold accent colors on doors or shutters add flair and value to your home.
Does Fresh Interior Paint Help Sell a House?
Fresh interior paint can work wonders when selling a house. Did you know that homes with freshly painted interiors tend to sell faster?
That's right! A fresh coat of paint can make your space look newer and more appealing to potential buyers. It's like giving your home a facelift that attracts more attention.
What Is the Best Interior Paint Color for Selling Your Home?
When choosing the best interior paint color to sell your home, go for neutral tones like grays, beiges, or greiges. These colors have broad appeal and can attract a wider range of potential buyers.
Soft blues and greens create a welcoming atmosphere, while bold accent colors on doors or shutters can increase your home's value.
How Much Value Does Paint Add?
Adding a fresh coat of interior paint to your home can greatly impact its value. On average, interior painting can increase your home's worth by $2,112! This high return on investment of 107% makes it a smart choice.
Selecting quality paint and cohesive color schemes can enhance the overall appeal of your home. With the right colors, you can even make your spaces feel larger or cozier, positively influencing your home's value.
Conclusion
So, next time you're thinking about sprucing up your home, remember that a fresh coat of interior paint can truly make a difference in its value.
Some may argue that paint is just a cosmetic change, but in reality, it can greatly enhance the overall appeal and marketability of your home.
Don't underestimate the power of paint when it comes to maximizing your return on investment!
Home Decor
What Is Eclectic Home Decor
Boldly mix styles, colors, and textures in eclectic home decor to create a truly unique and personalized living space.
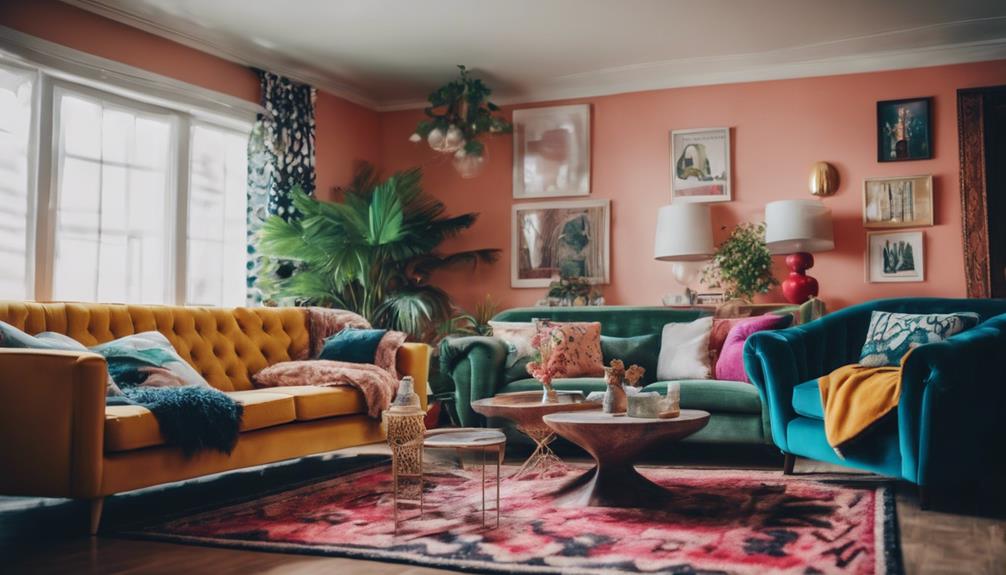
Eclectic home decor combines elements from various styles, periods, and cultures to create a one-of-a-kind living space. This design approach originated in the late 19th to early 20th century, veering away from traditional norms to offer a customized look. Embracing creativity, it melds vintage and modern furniture while incorporating vibrant accent colors for a lively touch. By playing with contrasting pieces and blending textures and colors, you can achieve a visually dynamic and personalized aesthetic that mirrors your uniqueness. Delve deeper into mixing styles, incorporating color and texture, and customizing your space for an authentically eclectic and distinctive home decor experience.
Key Takeaways
- Eclectic home decor mixes different styles, periods, and cultures for a unique look.
- It embraces creativity, individuality, and personal expression in design.
- The style incorporates a diverse range of textures, colors, and patterns.
- Blend vintage and modern furniture for a harmonious space.
- Bold accent colors add energy and personality to eclectic decor.
Origins of Eclectic Decor
Originating as a response to architectural movements rejecting specific styles, eclectic home decor emerged as a design style in the late 19th to early 20th century. This unique style breaks away from traditional design norms by incorporating various elements from different periods, styles, and cultures.
Drawing inspiration from global influences, eclectic decor embraces diversity, mixing patterns, colors, and textures to create a visually stimulating environment. The architectural style that inspired eclectic decor encouraged a blend of old and new elements, providing a platform for individuals to showcase their personality through their home interiors.
The eclectic style is characterized by its unpredictability and variety, allowing for a personalized and expressive design approach. By combining elements from around the world, eclectic decor enables individuals to curate spaces that are both harmonious and diverse, reflecting a thoughtful and purposeful design aesthetic.
Key Elements of Eclectic Design
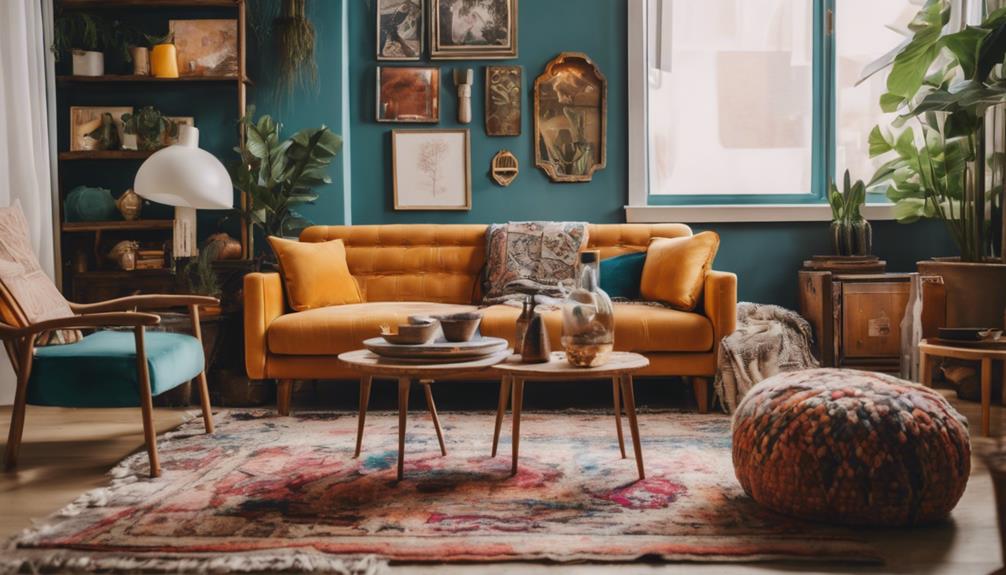
In eclectic design, mixing and matching different styles, periods, and elements is a key element that allows for a unique and visually interesting space. This approach to interior design embraces creativity, individuality, and personal expression.
The eclectic design style thrives on the unexpected, blending old and new pieces seamlessly. A hallmark of eclectic design is the incorporation of a diverse range of textures, colors, and patterns. This mix creates a visually dynamic and vibrant aesthetic within a space.
By combining elements from various design styles, eclectic decor achieves a harmonious fusion that's both visually stimulating and engaging. In eclectic home decor, you can expect to see a blend of vintage and modern furniture, artwork from different eras, and bold accent colors that add energy and personality to the room.
These key elements work together to create an eclectic space that's truly one-of-a-kind.
Mixing Styles in Eclectic Decor
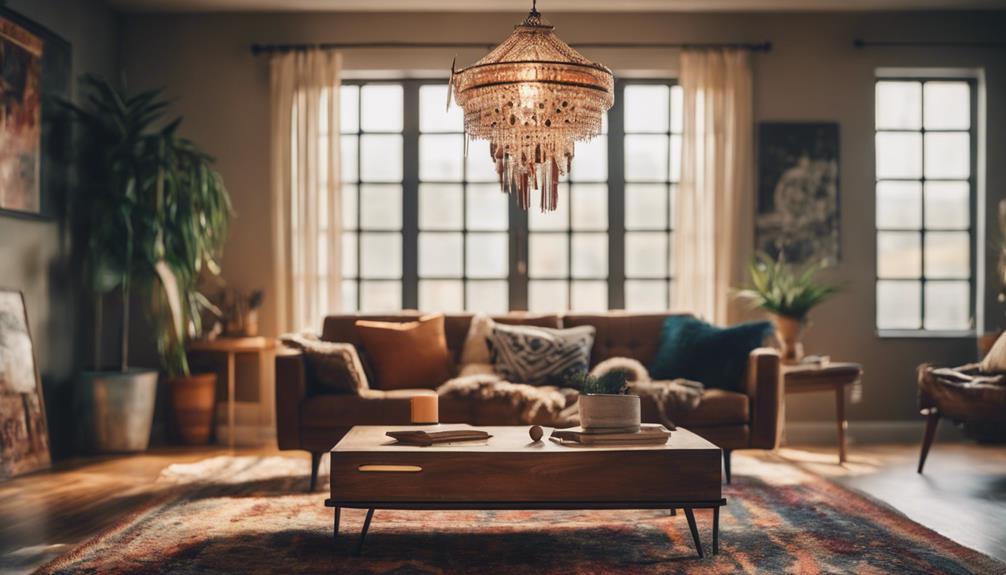
Mixing different styles in eclectic decor creates a visually engaging and personalized look by blending traditional, modern, vintage, and global influences seamlessly. When incorporating various design elements, achieving a balance is crucial to create a cohesive and harmonious space. Here are three key ways to successfully mix styles in eclectic decor:
- Mix and Match: Experiment with contrasting pieces to add depth and interest to your space. Combine a contemporary sofa with antique chairs or mix bold patterns with solid colors to create a dynamic visual impact.
- Blending Traditional and Modern: Blend classic elements like ornate mirrors or vintage rugs with modern furniture to create a unique juxtaposition. This fusion of styles adds character and sophistication to your design.
- Personalized Design Aesthetic: Infuse your personality into the decor by incorporating items that resonate with you. Display cherished mementos, travel souvenirs, or family heirlooms to create a space that reflects your individuality and story.
Incorporating Color and Texture

Let's explore how color and texture play essential roles in creating a visually stimulating and dynamic eclectic home decor.
In eclectic decor, a mix of bold and neutral colors is often used to create a visually stimulating environment. This combination adds depth and interest to the space.
Texture is another vital element in eclectic design, as it involves blending rough and smooth textures to enhance the overall ambiance. By incorporating a variety of textiles such as velvet, silk, and wool, the richness of eclectic spaces is elevated.
Additionally, layering different patterns contributes to the unique and dynamic feel of eclectic decor.
When color and texture are harmoniously integrated into eclectic home decor, they work together to create a personalized space with a diverse aesthetic. This blending of elements helps in achieving a cohesive and visually appealing look that's both inviting and intriguing.
Personalizing Your Eclectic Space
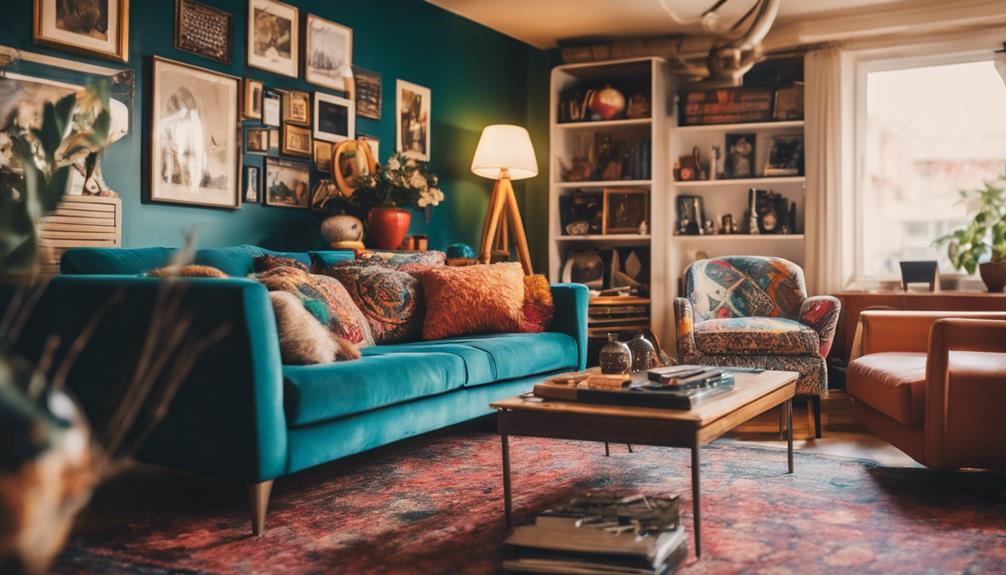
When personalizing your eclectic space, we can create a unique blend of decor that reflects our individual style and interests.
By experimenting with a mix of textures, patterns, and colors, we can craft a visually engaging environment that speaks to our personality.
Showcasing our personal flair through curated art, decor, and meaningful mementos can infuse our eclectic space with character and authenticity.
Unique Decor Combinations
Creating a space that reflects your unique personality through a blend of diverse decor elements is the essence of personalizing an eclectic home. When combining vintage and modern pieces with diverse patterns, consider the following:
- Mixing Textures: Incorporate a variety of textures like plush rugs, smooth metals, and rough wood to add depth and visual interest to your space.
- Playing with Colors: Experiment with bold color combinations or stick to a neutral palette while adding pops of color through accent pieces for a vibrant look.
- Balancing Scale: Mix large statement pieces with smaller items to create a visually balanced composition that draws the eye around the room.
Showcasing Personal Style
To truly showcase our personal style in an eclectic space, we infuse it with elements that resonate with our individuality and story. Personalizing our eclectic home decor involves incorporating personal mementos, travel souvenirs, and favorite items to add a unique touch.
By displaying items that hold sentimental value, we create a sense of nostalgia and connection within our space. Mixing and matching elements that reflect our tastes and interests allows us to craft a truly personalized eclectic home decor.
Ensuring that we infuse our space with pieces that speak to us guarantees that our eclectic decor reflects who we're and the journey we've been on. Embracing these personalized touches helps make our home a true reflection of our eclectic and personal style.
Tips for Achieving Eclectic Style
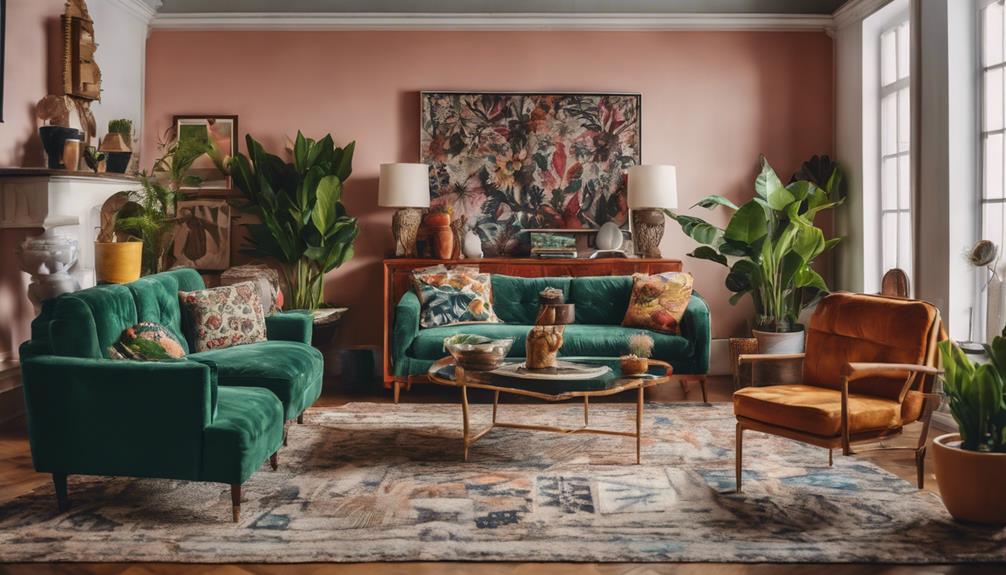
For achieving an eclectic style, starting with a neutral base sets a versatile foundation for your decor. This allows you to easily incorporate a mix of colors, patterns, and textures without overwhelming the space. Here are three key tips for achieving an eclectic style:
- Mix Furniture Styles: Blend different furniture styles in varying proportions to create a dynamic and personalized look. Pair modern pieces with vintage finds or mix sleek lines with intricate details to add visual interest.
- Layer Textiles: Utilize rugs, throws, and pillows to add layers of texture to your space. Mixing different fabrics, patterns, and colors can enhance the cozy and inviting feel of an eclectic room.
- Showcase Personal Collections: Display your personal collections and artwork to infuse your space with individuality and character. Whether it's vintage vinyl records, travel souvenirs, or family heirlooms, incorporating these elements can make your eclectic decor truly unique.
Frequently Asked Questions
How to Make Your House Look Eclectic?
To make your house look eclectic, we blend various furniture styles like vintage and modern pieces. We mix materials such as velvet and silk for textures and display a diverse art collection with personal mementos.
Experiment with different lighting sources to create ambiance and add finishing touches like plants and rugs. By combining these elements, we can achieve a unique and visually interesting eclectic home decor style.
What Does Eclectic Mean House?
Eclectic in a house means blending diverse styles, periods, and origins for a unique look. It involves mixing textures, colors, and materials creatively.
This style allows for showcasing individuality and diverse tastes through unexpected decor combinations. Mixing old and new elements purposefully creates a visually interesting space.
The approach is all about embracing variety and personal expression in design.
What Is the Difference Between Eclectic and Bohemian Decor?
Eclectic decor mixes various styles, periods, and textures for a personalized look.
Bohemian decor, on the other hand, leans towards a relaxed, globally inspired aesthetic.
Eclectic intentionally blends diverse design elements, while bohemian has a more organic and spontaneous vibe.
Bohemian often features natural materials and earthy tones with eclectic patterns, while eclectic embraces a broader range of design influences.
Both styles value individuality and creativity but showcase distinct visual expressions in home decor.
What Are Eclectic Ideas?
Eclectic ideas in home decor involve combining diverse styles, periods, and cultures to create a unique and visually alluring space. By blending old and new elements, unexpected decor touches, and purposeful design choices, eclectic decor allows for a mix of furniture, accessories, colors, and patterns that reflect individuality and creativity.
How can we infuse our living spaces with a sense of personality and character through eclectic design choices?
Conclusion
To sum up, eclectic home decor is a versatile and creative design style that allows for the mixing of different elements and styles to create a unique and personalized space.
Did you know that 85% of interior designers believe that incorporating eclectic decor can add personality and character to a room?
By following the key elements and tips for achieving eclectic style, you can create a visually interesting and inviting home that truly reflects your personality and taste.
Wall Art and Decor
How Long to Paint Interior of New House
Delve into the process of painting a new house to discover how different factors impact the duration and quality of the project.
To complete the painting of the interior of a new home, it typically takes around 3.5 weeks. This timeframe accounts for addressing any imperfections resulting from fresh construction, as well as the necessary time for preparation and painting. Variables such as the home’s size, materials used, and quality of workmanship can impact how long the process takes. Enlisting the help of professionals can speed up the project and ensure a top-notch outcome. Thorough preparation work is crucial for achieving a flawless final result. If you’re interested in learning more about efficiently painting a new home, continue exploring the factors that influence painting duration and preparation to gain a comprehensive understanding.
Key Takeaways
- Consult professionals for accurate time estimates.
- Size, intricacy, and surfaces affect painting time.
- Prep work like cleaning, sanding, and taping is crucial.
- New builds with imperfections require extra preparation.
- Efficient techniques streamline the painting process.
Factors Affecting Painting Time
When pondering the time needed to paint the interior of a new house, various factors greatly influence the painting duration. Professional painters typically estimate around 3.5 weeks to complete the painting of an entire new house, especially when meticulous work is required for a fresh build.
New construction often comes with imperfections that demand additional prep work, impacting the overall painting timeline. Factors such as different materials used, higher ceilings, and the level of quality workmanship can also impact the time needed to paint a new house.
It's important to consult with multiple painters to get accurate time estimates and to take into account potential unexpected delays or touch-ups that may be needed for a precise completion timeline. By being aware of these factors and planning accordingly, you can ensure a smoother and more efficient painting process for your new home.
Size of the House
When considering the time needed to paint the interior of your new 2900 square foot house, the size of the house plays an important role. The larger the square footage and the more rooms you have, the more time-consuming the painting process will be.
Factors such as the number of walls and ceilings to paint will contribute to the overall timeline for completing the project.
House Square Footage
Considering the size of the house at 2900 square feet, the painting process will require careful planning and efficient execution. The square footage of the house, along with the 10-foot ceilings downstairs and 9-foot ceilings upstairs, will impact the time needed for painting.
The presence of a few built-ins means extra care will be needed around those areas. Luckily, the kitchen cabinets don't require painting, which can save time during the painting process.
The specifics of this new build play an important role in determining the overall painting time. With a house of this size and these features, it's essential to factor in all these details when planning the interior paint job.
Number of Rooms
To efficiently paint the interior of a new house, the number of rooms plays a crucial role in determining the overall time required for the job. A house with fewer rooms will generally take less time to paint compared to a house with a higher number of rooms.
For instance, a small house with only a few rooms might take around 24 days to complete the painting process. On the other hand, a larger house with multiple rooms, especially those with 3 stories and 5+ bedrooms, could extend the painting duration to approximately 57 days.
The size of the house, considering the number of rooms, significantly impacts the timeline for completing the paint job in both new construction and renovation projects.
DIY Vs Professional Painting
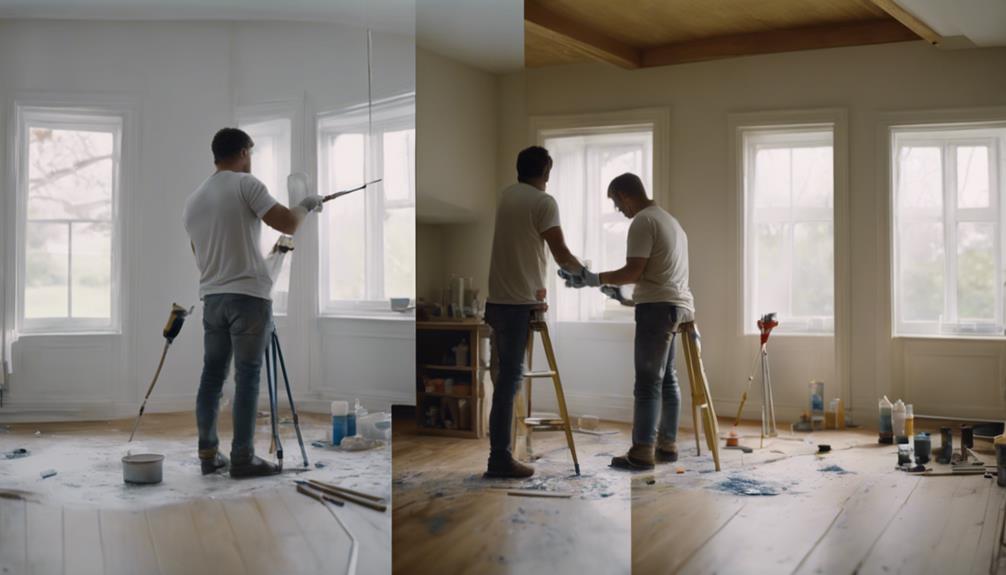
For the best results in painting the interior of your new house, considering the benefits of DIY painting versus hiring professionals is crucial. Here are a few key points to help you make an informed decision:
- Hiring a professional painter can greatly reduce the time required to complete the interior paint job.
- DIY painting projects often take longer due to the lack of experience and efficiency of individuals.
- Professional painters are skilled in delivering superior quality results compared to DIY efforts.
- Enlisting professional help guarantees that the painting process is done effectively and efficiently, saving you time and effort.
When it comes to achieving a flawless finish and efficient completion of your new house's interior paint job, entrusting the task to a professional painter can make a significant difference. Their expertise in prep work, painting techniques, and cleanup not only saves you time but also ensures a high-quality outcome for your home.
Prep Work Importance
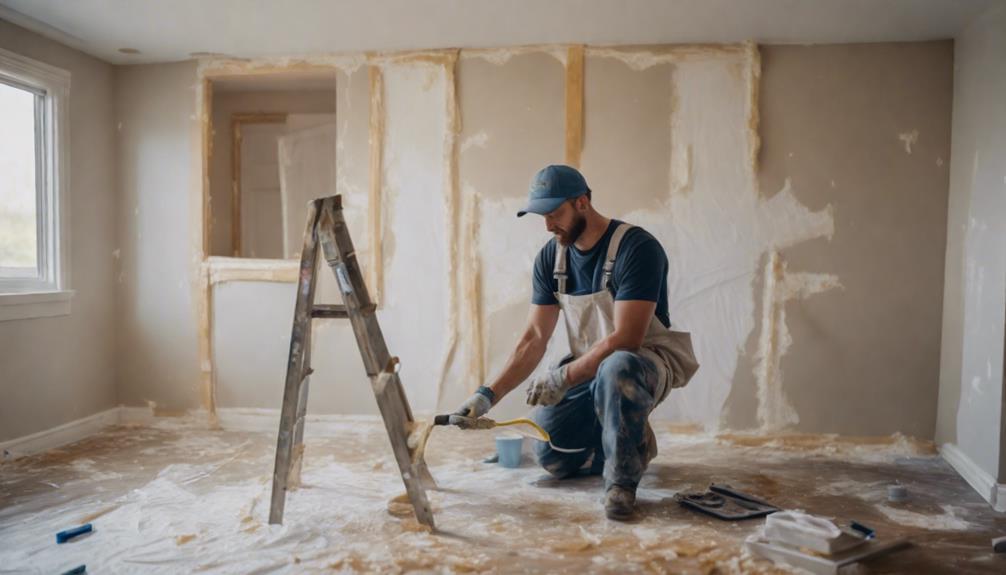
Investing time in proper prep work before painting your new house is essential for achieving a flawless and long-lasting finish. Prepping involves tasks like wall repairs, sanding, and taping. Taping alone can take around 40 minutes per room but guarantees clean edges for a professional look. The effort put into prep work directly impacts the quality of the final paint job. It helps in achieving a high-quality finish that lasts longer without needing frequent touch-ups. In addition, effective prep work not only enhances the aesthetic appeal but also saves time during the actual painting process. By addressing imperfections beforehand, you streamline the painting process and reduce the chances of interruptions or rework. Prioritizing prep work in the beginning can make the overall painting experience smoother and more rewarding.
| Task | Importance | Time Required |
|---|---|---|
| Wall Repairs | Essential | Varies |
| Sanding | Enhances Finish | 20-30 mins |
| Taping | Clean Edges | 40 mins/room |
Painting Process Overview
When painting the interior of a new house, it's essential to understand the key points:
Prep Work Importance,
Time Estimation Factors, and
Efficient Painting Techniques.
These elements will help you navigate the process efficiently and achieve a satisfactory result.
Prep Work Importance
Proper preparation, such as cleaning, sanding, and taping, is essential for ensuring a smooth painting process when tackling the interior of a new house. To emphasize the importance of prep work, consider the following:
- Taping alone can add around 40 minutes per room to the overall painting time.
- Ensuring thorough prep work helps in achieving a high-quality finish.
- Professional painters are efficient in prepping the surfaces before painting.
- The time spent on prep work directly impacts the overall duration of painting the interior of a new house.
Time Estimation Factors
To accurately estimate the time required for painting the interior of a new house, consider various factors such as the size, intricacy, and surfaces involved in the painting process. A professional painter estimated 3.5 weeks to complete painting in a new house, accounting for the size and details of the build.
New construction projects often demand meticulous work due to imperfections that require extra prep time. Factors like different materials, surfaces, and higher ceilings can influence the time needed for painting a new house. Quality workmanship in new constructions may necessitate additional time to guarantee a precise finish.
It's advisable to consult multiple painters for time estimates and insights on the specific challenges that painting new constructions may present.
Efficient Painting Techniques
Implementing efficient painting techniques can greatly streamline the process of painting the interior of a new house. To guarantee a smooth painting process, start by properly cleaning and prepping the walls. Remember to remove furniture, tape edges, and cover floors.
Next, focus on filling holes, sanding surfaces, and priming walls if necessary. When applying coats of paint, allow for drying time between each coat. Utilizing rollers for larger areas can speed up the painting process.
Time Estimate for Cleaning
Before you begin painting the interior of your new house, allocating 1-2 days for thorough cleaning is essential. Cleaning plays an important role in ensuring proper paint adhesion to surfaces. Removing dust, grease, and mildew is key for a successful foundation.
By thoroughly cleaning walls, ceilings, and trim, you pave the way for a smooth and even paint application. This process typically involves wiping down surfaces, vacuuming, and using mild cleaning solutions. Taking the time to clean your new house properly sets the stage for a long-lasting paint job.
Time Estimate for Preparation
Estimating the time needed for preparation before painting the interior of your new house is essential for a successful and efficient project. To guarantee a smooth painting process, consider the following key tasks when estimating your preparation time:
- Cleaning Walls: Spending 1-2 hours cleaning and prepping walls is vital for paint adhesion.
- Removing Furniture: Factor in extra time for moving furniture and fixtures out of the rooms being painted.
- Taping Edges: Allocate time for taping edges and covering floors to protect areas not meant for painting.
- Filling Holes and Sanding Surfaces: Thoroughly fill any holes and sand surfaces for a flawless paint finish.
Time Estimate for Painting
When planning the painting timeline for your new house, consider the intricate details and size of the project to guarantee a thorough estimate. Professional painters typically estimate around 3.5 weeks to paint an entire new house, factoring in the specific challenges of new construction.
New builds often require more prep work due to imperfections and different materials, impacting the overall painting time. Factors like higher ceilings and the need for quality workmanship can further extend the duration needed for painting.
It's advisable to consult with multiple painters to get accurate time estimates, considering the intricacies of your project and desired quality levels. Additionally, unexpected delays are common in new build painting projects, necessitating extra time for touch-ups and meticulous work to ensure a high-quality finish.
Be prepared for these potential delays when planning your painting timeline for the new house.
Time Estimate for Cleanup
For an efficient and polished painting project, consider the time estimate for cleanup after painting the interior of a new house. Cleaning up after interior painting in a new house typically takes around 1-2 hours. To guarantee a spotless finish, tasks involve removing drop cloths, picking up tools, and properly disposing of paint cans. Professional painters excel at thorough cleanup, leaving the space in pristine condition.
DIY cleanup, on the other hand, may require dusting surfaces, organizing tools, and responsibly getting rid of paint supplies. Remember, effective cleanup plays an important role in the overall success and appearance of the painting project.
- Removing drop cloths
- Picking up tools
- Disposing of paint cans
- Ensuring a spotless finish
Frequently Asked Questions
How Long Does It Take to Paint the Inside of a New House?
To paint the inside of a new house, it typically takes about a week. This includes prep work, priming, and painting. New constructions may need extra attention due to surface imperfections. Factors like absorbent drywall or high ceilings can affect the time needed.
Consider additional time for intricate details or multiple coats. Be prepared for meticulous work, especially in new builds, to guarantee a quality paint job.
How Long Does It Take to Paint a 1500 Sq Ft House Interior?
Painting a 1500 sq ft house interior typically takes around 36 days. Factors like furniture moving, paint crew size, repairs, and prep work impact the timeline.
Cleaning, preparing, painting, and cleanup all contribute to the overall duration. The number of rooms, paint colors, coats needed, and trim painting affect the time it takes.
Hiring professional painters for efficiency and quality results is recommended.
How Many Man Hours Does It Take to Paint the Interior of a House?
To paint the interior of a house, the number of man hours required depends on factors like the size of the house, the complexity of the job, and the number of painters working. Proper planning and organization are key to maximizing efficiency.
Typically, a team of professional painters can tackle the job in a timely manner, ensuring quality results. Communication and teamwork among the crew play an essential role in completing the project within the estimated time frame.
Can You Paint a Whole House in One Day?
You can typically not paint a whole house in one day. Factors like size, complexity, and prep work make it challenging. Rushing can lead to poor quality.
Professional painters might do smaller houses in a day, but larger ones need more time. Plan for the appropriate amount of time to guarantee a thorough paint job.
Conclusion
To wrap up, painting the interior of a new house can take anywhere from a few days to a couple of weeks, depending on the size of the house, whether you choose to DIY or hire professionals, the importance of prep work, and the overall painting process.
It's important to allocate enough time for cleaning, preparation, painting, and cleanup to guarantee a successful and efficient painting project. Plan accordingly and you'll have a freshly painted home in no time!
Mason – Your Product Expert Mason is your go-to product expert, carefully selecting each item in our collection to ensure it meets your comfort, functionality, and style needs. With his attention to detail and commitment to quality, he ensures that every product we offer enhances your home experience.
-

 Vetted8 months ago
15 Best EMS Foot Massagers for Neuropathy to Soothe Your Feet
-
 Vetted7 months ago
14 Best Personalized Father's Day Gifts for Your Husband – Show Him You Care
-

 Alfresco7 months ago
Alfresco Stacker Doors: Seamless Indoor-Outdoor Living!
-

 Tableware and Dining Accessories2 weeks ago
What Is the Meaning of the Word Tableware
-

 Tableware and Dining Accessories2 weeks ago
When Is Tableware on Sale at Hobby Lobby
-

 Tableware and Dining Accessories2 weeks ago
Which of the Following Is Not Classified as Tableware
-

 Vetted8 months ago
15 Best Detergents for Wool: Keep Your Woolens Looking Fresh and Fabulous
-

 Craft and Textiles8 months ago
15 Best Places to Buy Appliances for Your Home – Top Retailers Reviewed


