Home Improvement
Garage Organization: Complete System Guide
Maximize your garage space with our complete organization guide, revealing essential tips and techniques to create an efficient and tidy environment. Discover more inside!
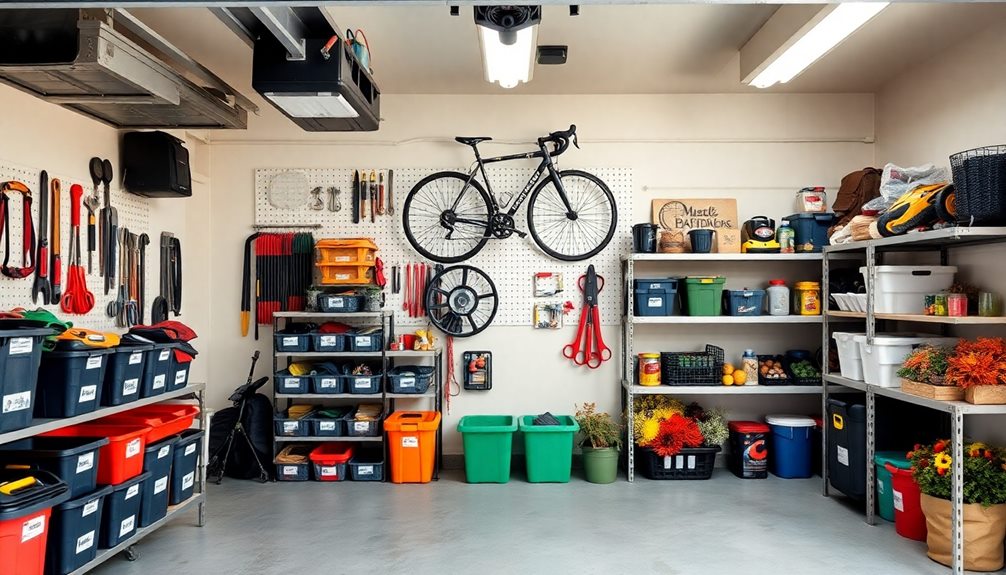
A well-organized garage turns chaos into order, making it easier for you to find tools, seasonal gear, and sports equipment when you need them. Start by evaluating your space and measuring the total square footage. Choose storage solutions like heavy-duty cabinets, adjustable shelving, and pegboards to optimize functionality. Categorize items into specific zones and periodically reevaluate your setup to maintain organization. Don't forget to implement a maintenance routine to prevent clutter from returning. With a few strategic steps, your garage can be a tidy and efficient space—stick around to explore more tips and techniques for effective organization.
Key Takeaways
- Assess your garage space by measuring square footage and identifying frequently accessed items for effective storage planning.
- Select appropriate storage solutions like heavy-duty cabinets, adjustable shelving, and pegboards for optimal organization.
- Implement a zone creation strategy, categorizing items for easier retrieval and maintenance.
- Maximize vertical space with wall-mounted shelves and overhead storage racks to free up floor space.
- Establish regular maintenance practices and schedules to prevent clutter buildup and ensure long-term organization.
Importance of Garage Organization
Why is garage organization so essential? An organized garage saves you time and reduces stress by providing a designated place for every item. When you know exactly where to find your tools or holiday decorations, you can tackle your garage organization project with confidence.
A clutter-free garage enhances functionality, allowing you to park your vehicle indoors, protecting it from the elements. Plus, it creates much-needed space for other projects.
Proper garage organization doesn't just make your life easier; it can also increase your home's value. Potential buyers often see a tidy garage as a reflection of overall home maintenance and care.
Regularly decluttering and implementing effective storage systems can prevent overwhelming clutter, keeping your garage inviting and efficient throughout the year.
If you find yourself among the 79% of American homeowners wishing for more garage storage space, it's time to contemplate some organization tips.
You'll discover that with a little effort and planning, your garage can transform into a functional, stress-free zone that meets your needs.
Assessing Your Garage Space
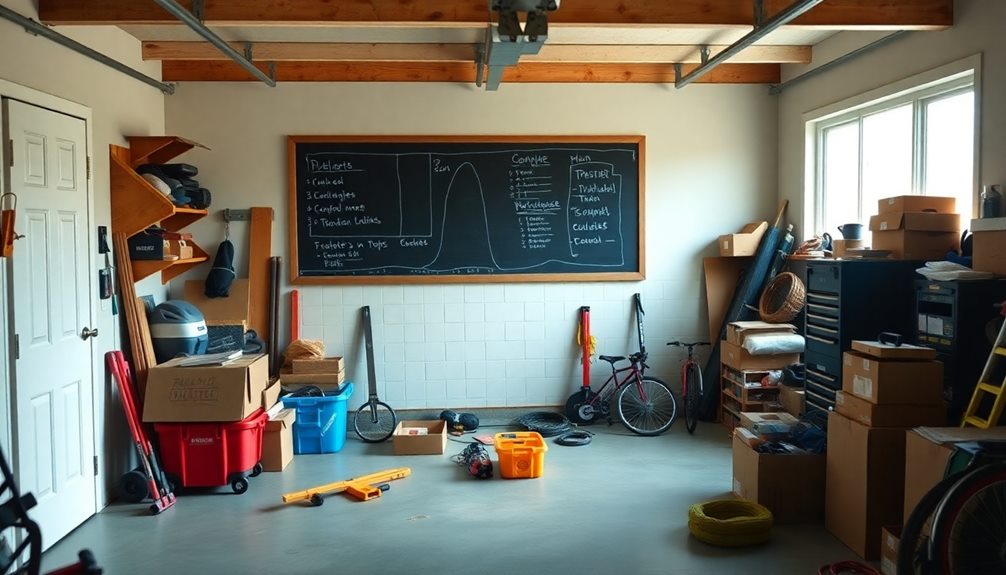
Start by evaluating the square footage of your garage to see how you currently use the space.
Look for vertical storage opportunities on your walls and ceiling; these can help you maximize your storage potential.
Evaluate Available Square Footage
To effectively organize your garage, you need to first measure its total square footage, as this will give you a clear understanding of the space available for storage and organization.
Start by evaluating the dimensions of your garage and take note of the height. This is essential because maximizing vertical storage can greatly enhance your storage capacity.
Here are three key areas to take into account:
- Current Usage Patterns: Analyze how you currently use your garage. Identify frequently accessed items and underutilized sections that could be optimized.
- Obstructions: Take note of any support beams, windows, or doors. These can affect your layout and storage options, so plan around them.
- Regular Reassessments: Your storage needs might change over time. Schedule regular evaluations of your garage space to guarantee efficient organization and make adjustments for seasonal shifts.
Identify Vertical Storage Opportunities
Maximizing vertical storage opportunities in your garage can transform it into a well-organized space that enhances both functionality and accessibility. Start by reviewing the total square footage of your garage to determine the available vertical space for storage solutions. Identify underused wall and ceiling areas that can accommodate shelves, pegboards, or overhead racks.
Consider installing sturdy, adjustable shelving units to take advantage of vertical height, allowing for the storage of heavier items while keeping the floor clear for vehicle parking and movement. Wall-mounted cabinets and hooks are also great for organizing tools and equipment, ensuring they're easily accessible while freeing up valuable ground space.
Here's a quick reference table to help you visualize your options:
| Storage Type | Benefits | Ideal Use |
|---|---|---|
| Adjustable Shelves | Flexibility for different items | Heavy items, seasonal gear |
| Wall-Mounted Cabinets | Keeps items concealed | Tools, cleaning supplies |
| Overhead Racks | Utilizes ceiling space | Bicycles, ladders |
Regularly review your vertical storage solutions to maintain an organized garage, optimizing efficiency and accessibility over time.
Selecting Storage Solutions
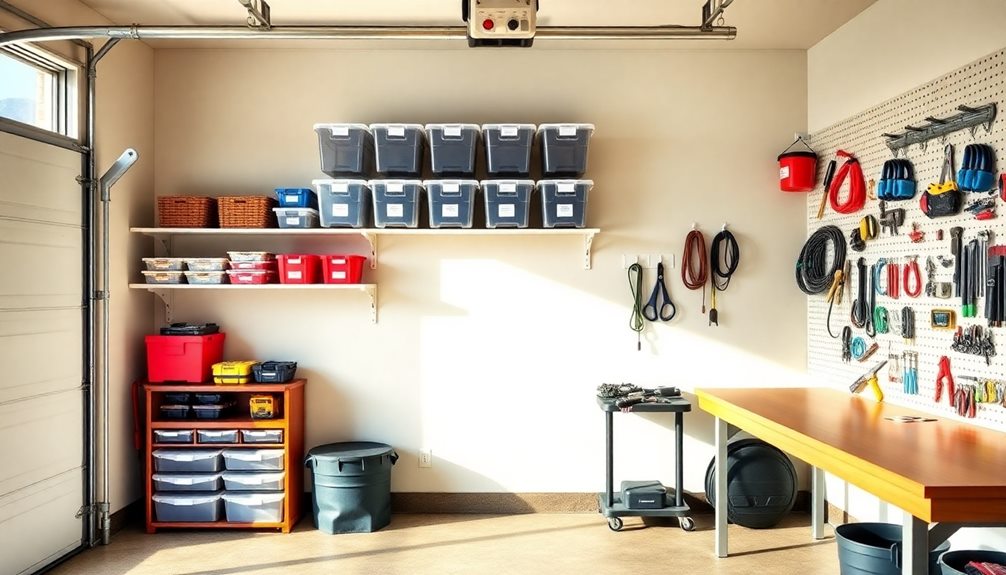
Effective organization is the cornerstone of a functional garage, and selecting the right storage solutions can make all the difference. When you begin your organization process, consider these essential storage options to maximize efficiency:
- Heavy-Duty Cabinets: Prioritize these for robust storage of tools and heavier items. They guarantee stability and durability over time, keeping everything secure.
- Adjustable Shelving: This is key for accommodating varying item sizes. Customizing your shelving based on your unique storage needs allows for a more organized space.
- Simple Storage Bins: Perfect for smaller items and seasonal gear, these affordable and functional bins help keep everything organized and easily accessible.
Additionally, pegboards can effectively organize tools and accessories, providing visibility and swift access while maximizing wall space.
For infrequently accessed items, overhead storage racks are ideal, freeing up floor space and enhancing your garage's overall organization.
Effective Organization Strategies
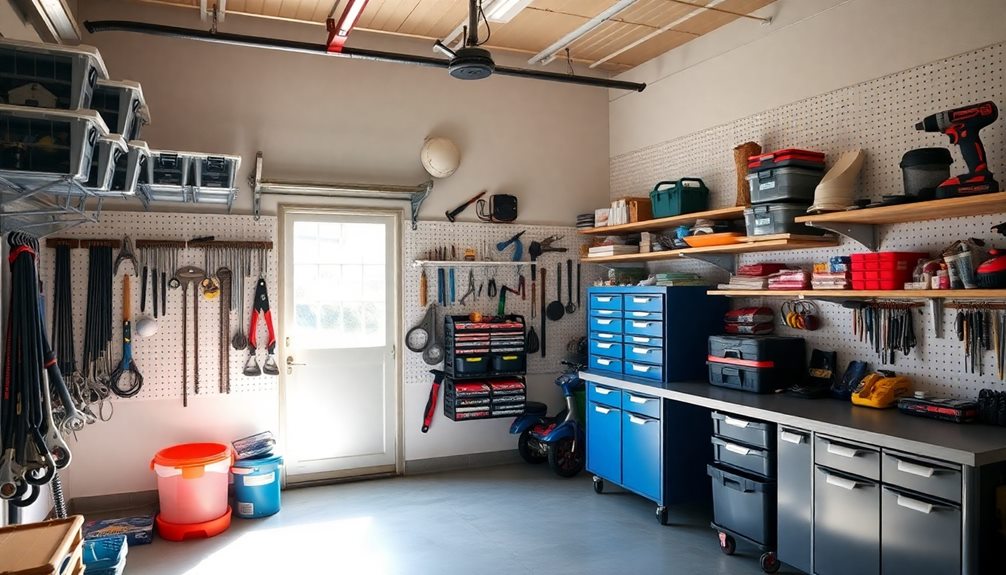
To create an organized garage, start by categorizing your items into specific zones like tools, seasonal gear, and sports equipment.
This strategy not only boosts accessibility but also helps you maximize your vertical space with wall-mounted storage solutions.
Categorizing Storage Zones
Creating distinct storage zones in your garage is key to maintaining an organized space. By categorizing storage zones, you enhance your efficiency and make it easier to access frequently used items. Here are three effective zones to contemplate:
- Lawn and Garden Tools: Keep shovels, rakes, and fertilizers together for easy access when tending to your yard.
- Sports Equipment: Group balls, bats, and bikes in one area, making it simple to grab what you need for activities.
- Seasonal Decor: Designate a space for holiday decorations to streamline setup and takedown each year.
Visualizing the layout of each zone helps maximize space and guarantees that items you use most often are close to the garage door.
Grouping similar items together not only simplifies organizing your garage but also makes it quicker to retrieve and return items, which prevents clutter from building up.
As your needs change, regularly reassess these zones to maintain organization over time.
Establishing clear boundaries for each zone keeps your space tidy and guarantees every item has its place, making maintenance manageable.
Maximizing Vertical Space
Maximizing vertical space is a game changer when it comes to garage organization. By utilizing your walls and ceiling, you can greatly increase your storage capacity, keeping your floor clear and safe from clutter. Start by developing an organization plan that includes wall-mounted shelves and cabinets for frequently used items, allowing easy access while freeing up valuable floor space for larger items like your vehicle.
Consider adding overhead storage racks for seasonal or infrequently used gear, taking full advantage of your ceiling space. Pegboards and slatwalls are fantastic options for tools and accessories, as they provide flexible storage solutions that keep everything visible and accessible.
Here's a quick overview of vertical storage options:
| Storage Type | Benefits | Ideal For |
|---|---|---|
| Wall-mounted shelves | Frees up floor space | Frequently used items |
| Overhead racks | Utilizes ceiling space | Seasonal items |
| Pegboards | Flexible storage and visibility | Tools and accessories |
Implementing these storage systems not only enhances your organization but also contributes to a safer garage environment by reducing tripping hazards.
Implementing Your Organization Plan
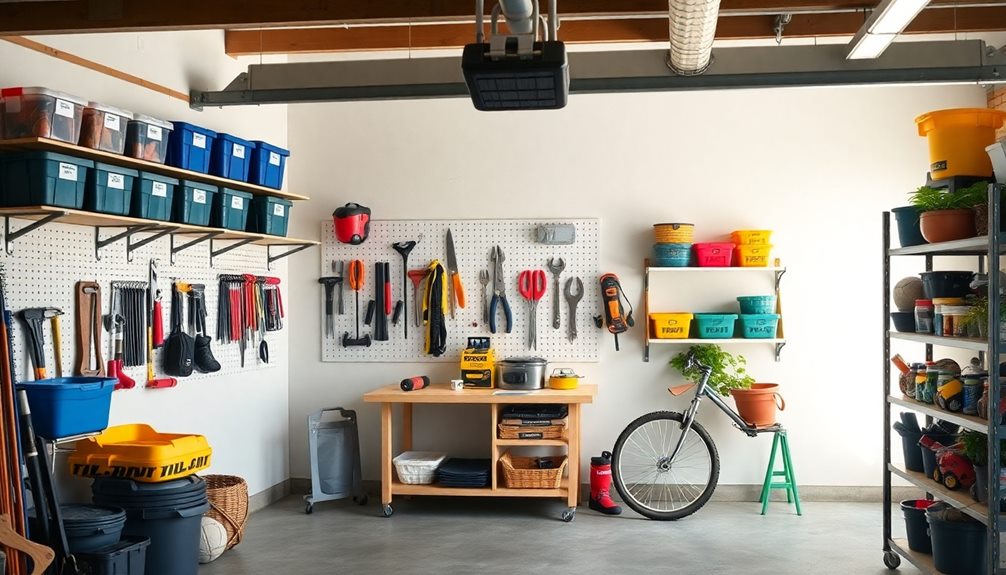
The success of your garage organization hinges on careful planning and execution. To effectively implement your organization plan, follow these steps:
- Schedule dedicated time slots: Set aside specific times to organize your garage. This guarantees you can focus without distractions and allows for a more thorough approach to maximizing space and organization.
- Collaborate with others: Invite family members or friends to help share the workload. This can make the process more efficient and enjoyable while also fostering teamwork in achieving a common goal.
- Create zones: Tackle one section at a time, establishing clear zones for different categories of items. Store frequently accessed items near the entrance to prioritize parking space.
As you work, use storage bins to keep everything tidy and labeled, making it easy to find what you need. Gradually implement your plan, evaluating the effectiveness of each storage solution.
Don't forget to regularly review and adjust your organization system to prevent clutter from returning. Set a maintenance schedule to guarantee everything stays organized.
Maintaining an Organized Garage
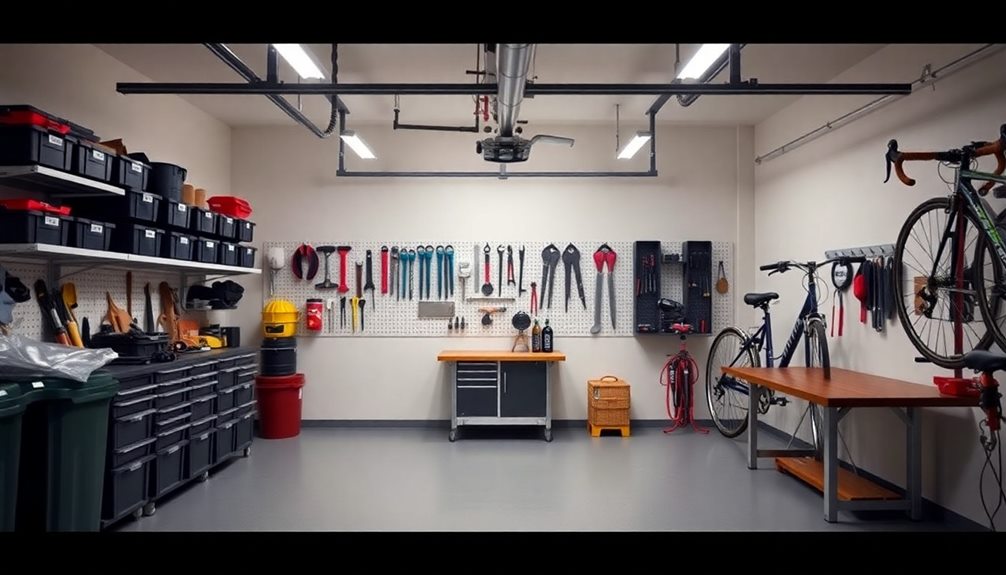
To keep your garage organized, regular maintenance is essential. Start by reassessing the organization of your space every few months. This helps make certain items remain in their designated zones and allows you to tackle any clutter that may have accumulated.
Implement a maintenance schedule that includes periodic decluttering sessions to remove unnecessary items and keep your garage storage functional.
Encourage family members to put items back in their designated spots after use. This fosters a culture of organization and responsibility that benefits everyone.
Use clear labeling on your storage bins and shelves to streamline the process of finding and returning items, enhancing efficiency in your garage.
Establish specific zones for seasonal items and frequently used tools. This not only allows for quicker access but also reduces the likelihood of clutter reoccurring.
By maintaining these systems in place, you'll create a sustainable approach to keeping your garage organized. With commitment and regular upkeep, you can enjoy a clean, efficient space that meets your needs.
Frequently Asked Questions
What Tools Do I Need for Garage Organization?
To organize your garage, you'll need storage bins, shelving units, a pegboard for tools, a label maker, and a broom. These tools help you create a tidy, efficient space for everything you store.
How Long Does It Typically Take to Organize a Garage?
Organizing your garage's like planting a garden; it takes time and care. Typically, you'll need a weekend or two, depending on the clutter. Once you start, you'll see progress blossom quickly!
Can I Hire a Professional Organizer for My Garage?
Yes, you can hire a professional organizer for your garage. They'll assess your space, help you declutter, and create a functional system tailored to your needs, making the process quicker and more efficient for you.
What Are Some Budget-Friendly Storage Solutions?
Are you tired of clutter? You can use simple solutions like tiered shelving, clear bins, and wall-mounted hooks. These budget-friendly options help maximize space while keeping your items organized and easily accessible.
How Often Should I Re-Evaluate My Garage Organization?
You should re-evaluate your garage organization at least twice a year. Regular check-ins help you assess what's working, what's not, and if your needs have changed. It keeps your space functional and clutter-free.
Conclusion
By now, you've revealed the secrets to a perfectly organized garage that feels like a whole new universe. With the right storage solutions and effective strategies, you can transform chaos into a symphony of order. Remember, maintaining your organized space is just as important as the initial setup. So, roll up your sleeves, stick to your plan, and watch your garage become a shining example of efficiency. You've got this—your dream garage is just a step away!
Xavier – Your Operations Partner Xavier is your operations partner, working tirelessly behind the scenes to ensure that everything runs smoothly so you can enjoy a seamless experience with Perfect Fit Living. From managing inventory to coordinating logistics, he’s committed to making your experience with us hassle-free.
Home Improvement
Home Theater Setup: Budget to Premium Options
You won’t believe how easily you can create a stunning home theater setup that fits your budget—discover the best options available!
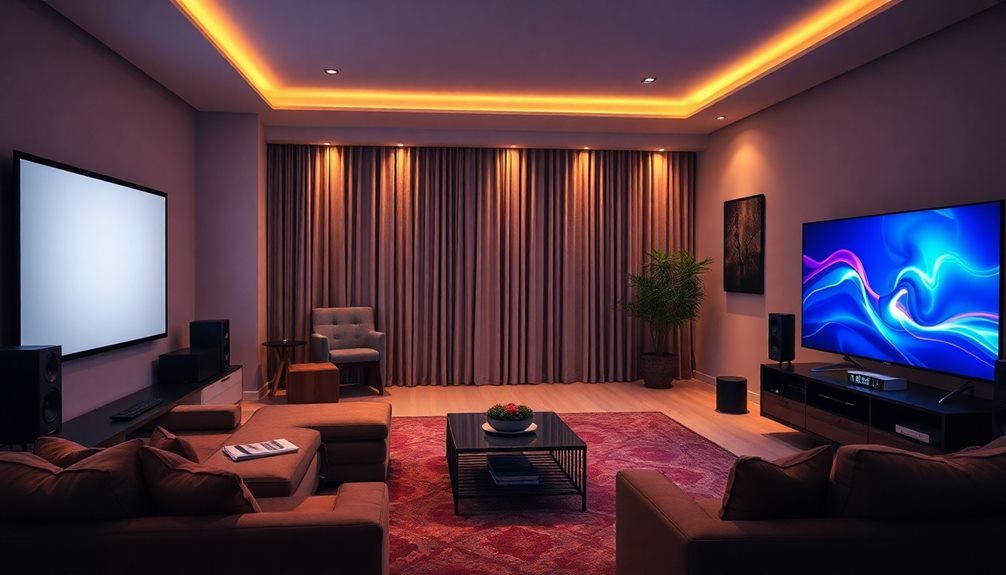
Creating a home theater setup can fit any budget, from budget-friendly to premium options. Start with a TCL 65 Q6 QLED 4K TV for around $499, paired with a TCL Q Class 5.1 Channel system at $249 for solid audio. For a more immersive experience, invest in a Vizio M-Series M512a-H6 under $500, offering Dolby Atmos. Essential components like the Denon AVR-S540BT receiver, priced at $349, are vital for connectivity. As you grow your setup, consider planning for future upgrades without stretching your budget. There's plenty more to explore to maximize your home theater potential!
Key Takeaways
- Start with budget-friendly options like the TCL Q Class 5.1 Channel system for a solid audio foundation under $300.
- Invest in a quality display such as the TCL 65 Q6 QLED 4K TV priced at $499 for excellent visual quality.
- Choose essential components like the Denon AVR-S540BT AV receiver for $349 to support multiple devices and advanced audio formats.
- Consider mid-range options like the Vizio M-Series M512a-H6 for immersive Dolby Atmos sound under $500.
- Plan for future upgrades by focusing on HDMI 2.1 support and quality equipment while monitoring prices for savings.
Budget-Friendly Equipment Choices
When setting up your home theater on a budget, it's important to choose equipment that delivers quality without draining your wallet.
Start with the TCL 65 Q6 QLED 4K TV, priced at $499. This budget-friendly option not only provides excellent visual quality but also includes a built-in Google TV platform, enhancing your viewing experience.
For those who enjoy gaming, consider a projector that offers high refresh rates for an immersive experience.
For audio, consider the TCL Q Class 5.1 Channel system, available for $249. This setup features a soundbar, subwoofer, and surround speakers, ensuring an immersive experience without breaking the bank.
Alternatively, the Vizio M-Series M512a-H6 delivers a true Dolby Atmos experience with upfiring speakers and a full 5.1.2 setup for under $500, making it a fantastic choice for quality sound.
To further enhance your home theater setup, invest in affordable acoustic treatments like sound-absorbing panels. These can greatly improve audio quality without a hefty price tag.
Finally, don't overlook smart lighting solutions, such as dimmable LED bulbs. They create an ideal viewing atmosphere while keeping your setup both cost-effective and enjoyable.
Essential Components for Setup
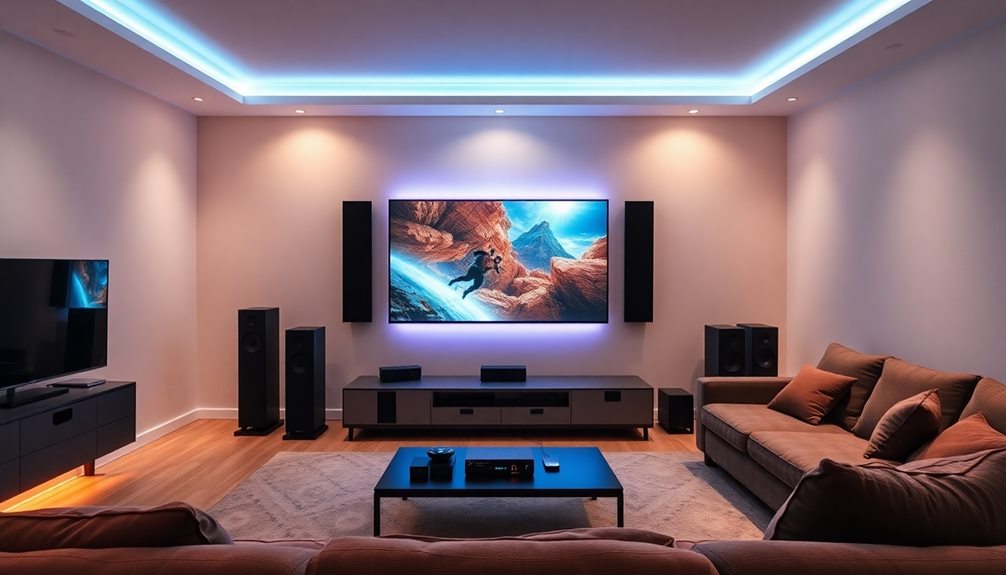
A well-rounded home theater setup relies on a few essential components that work together to create an immersive experience.
First, an AV receiver is vital as it serves as the hub for managing audio and video. Look for modern models like the Denon AVR-S540BT, which offers multiple HDMI ports and streaming options for around $349.
Next, invest in high-quality speakers. Bookshelf speakers, such as the ELAC Debut 2.0 B6.2, enhance sound markedly and should be paired with a center channel speaker for a cohesive audio experience.
Don't forget subwoofers; the ELAC Debut 2.0 subwoofer at $280 adds depth and low-end frequencies that elevate your home theater systems.
For an immersive audio experience, consider a surround sound system like the Vizio M-Series M512a-H6, which features Dolby Atmos and is budget-friendly at under $500.
Finally, pay attention to speaker placement. Bookshelf speakers work best in front positions in smaller rooms, while floorstanding speakers are ideal for larger spaces, ensuring ideal sound distribution.
With these components, you'll create a stunning home theater experience tailored to your needs.
Audio Solutions for Every Budget
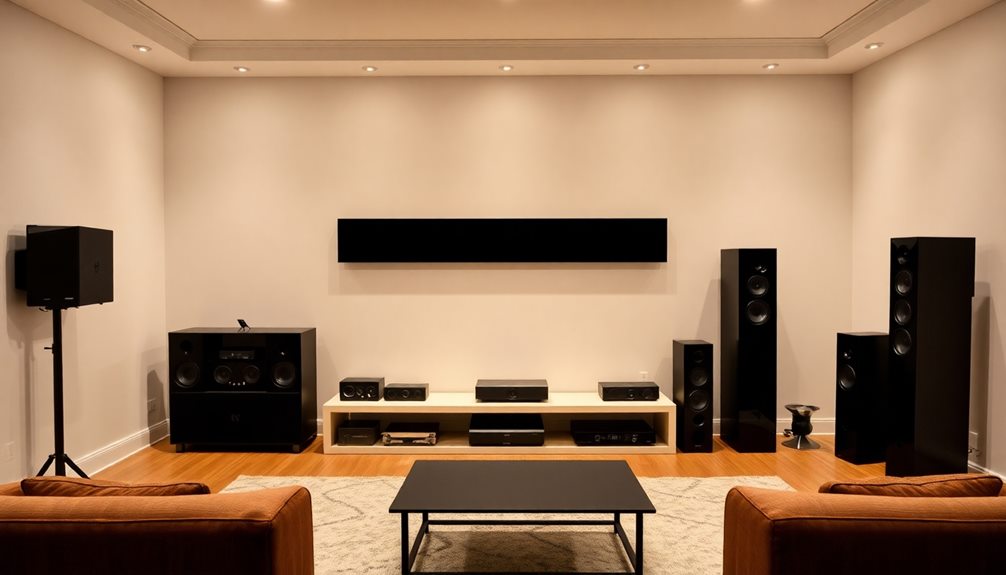
Finding the right audio solution for your home theater can be a game-changer without breaking the bank. If you're on a budget, affordable soundbars like the TCL Q Class 5.1 Channel system at $249 offer a complete package with a soundbar, subwoofer, and surround speakers. This setup can elevate your sound quality and enhance your surround sound experience.
For those looking for something more immersive, consider the Vizio M-Series M512a-H6 sound system, which provides a true Dolby Atmos setup with upfiring speakers—all for under $500.
If you prefer a more traditional approach, boxed speaker systems like the Klipsch Reference Black Home Theater for $360 simplify installation while ensuring a cohesive audio experience.
Don't overlook entry-level AV receivers like the Denon AVR-S540BT priced at $349. They allow you to connect multiple devices and support advanced audio formats, ensuring your setup is future-proof.
Planning and Future Upgrades
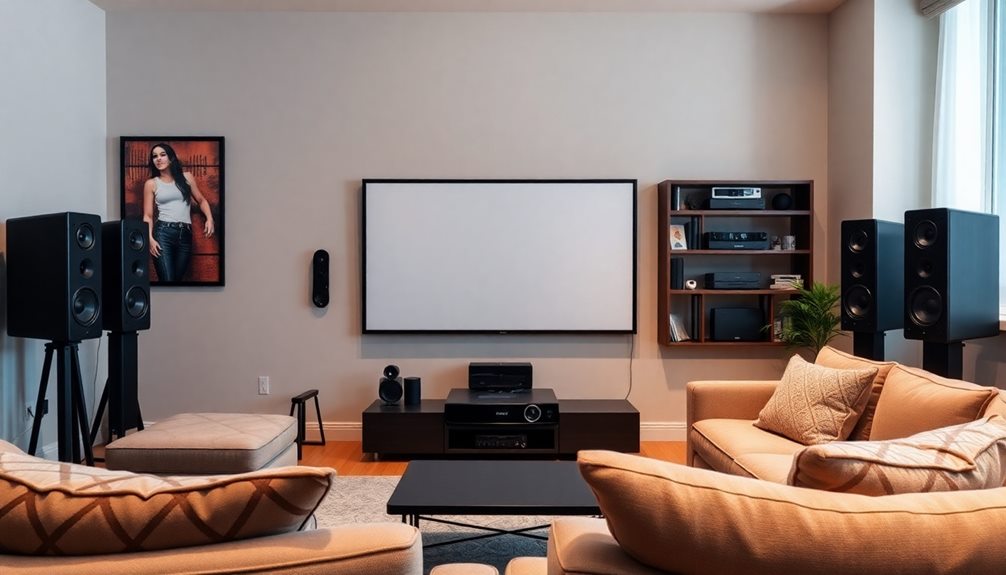
Planning your home theater setup with an eye toward future upgrades can save you time and money in the long run. Start by evaluating your current needs and anticipating changes in your living space. This flexibility allows you to choose audio equipment that can grow with you, similar to how one must navigate the complexities of divorce process overview.
Consider beginning with a budget-friendly option like the TCL Q Class 5.1 Channel system, priced at $249, which provides a solid foundation for future enhancements.
Investing in equipment with HDMI 2.1 support is essential for future-proofing your setup. This guarantees compatibility with evolving technology, paving the way for upgrades like Atmos speakers later on.
Prioritize essential components first, focusing on quality audio and video equipment before adding extras like wall mounts or smart home integration for convenience.
Regularly monitoring prices can help you allocate your home theater budget effectively, allowing for gradual upgrades rather than a massive investment all at once.
Cost-Saving Tips and Strategies
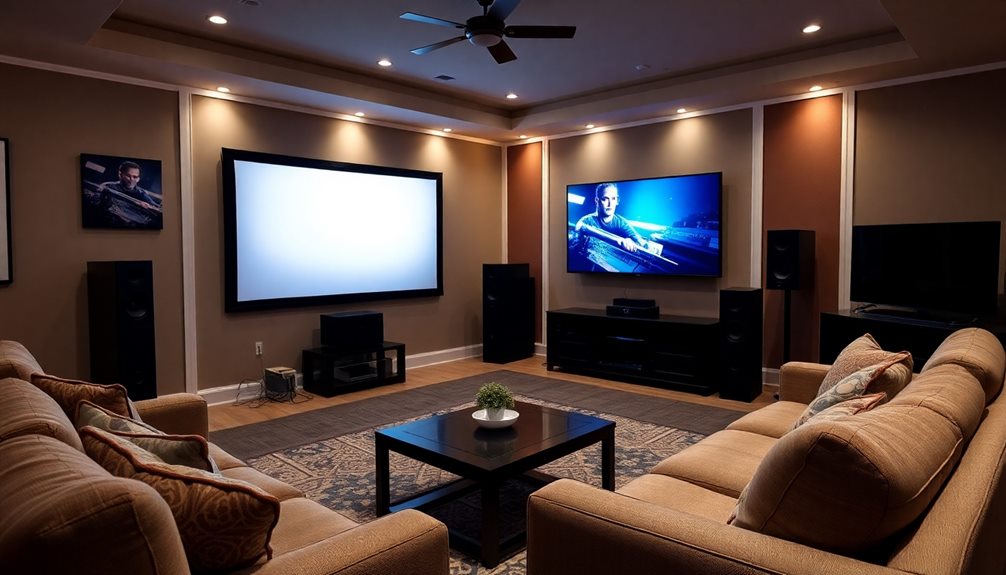
Maximizing your home theater setup doesn't have to drain your wallet. Start by prioritizing essential components like a quality display, sound system, and media player, keeping your budget under $1,000.
Consider incorporating energy-efficient options to save on long-term operational costs, similar to how heat pumps can reduce energy consumption. You can find great value by exploring second-hand equipment or refurbished options, as many used components still deliver excellent performance and longevity.
Don't forget to take advantage of seasonal sales on platforms like Amazon and Best Buy. These discounts can help you save hundreds on your home theater gear.
Allocate your funds strategically, focusing first on the display and sound system, and plan for gradual upgrades over time instead of trying to purchase everything at once.
Consider DIY options for furniture or acoustic treatments to customize your space while lowering expenses. Simple projects can enhance your setup without breaking the bank.
Frequently Asked Questions
How Much Should I Budget for a Home Theater?
You should budget between $500 and $2,000 for a home theater setup. This range varies based on your desired components, features, and quality. Consider allocating funds for a TV, sound system, and additional expenses.
How to Set up a Budget Home Theater?
To set up a budget home theater, start with a quality 4K TV and a sound system. Invest in speaker stands for better audio placement, and look for sales or refurbished options to stretch your budget.
How Much Does It Cost to Set up a Home Theater Room?
Setting up a home theater room's like crafting a cinematic oasis. You'll typically spend between $500 to $10,000, depending on your dreams and desires. Balancing quality and budget's key to your perfect setup.
Which Is the Best Company for Home Theatre?
Choosing the best company for home theater depends on your needs. If you want seamless audio, go for Sonos. For clarity, consider Bose. For immersive sound, Klipsch is ideal, while Yamaha and Sony offer extensive solutions.
Conclusion
In the world of home theater, it's all about finding the right balance between quality and budget. Whether you're dipping your toes into an affordable setup or diving into premium waters, remember that every choice reflects your unique taste. Don't shy away from planning for the future, as your cinematic dreams can evolve over time. With some clever strategies, you can create a spectacular viewing experience that feels like a million bucks, without breaking the bank.
Xavier – Your Operations Partner Xavier is your operations partner, working tirelessly behind the scenes to ensure that everything runs smoothly so you can enjoy a seamless experience with Perfect Fit Living. From managing inventory to coordinating logistics, he’s committed to making your experience with us hassle-free.
Home Improvement
Smart Home Hub Comparison and Setup Guide
The ultimate smart home hub comparison and setup guide reveals essential tips for choosing the right device—discover how to elevate your smart home experience!

A smart home hub is your go-to device for managing all your smart gadgets in one place. You'll find options like the Amazon Echo and Google Nest Hub Max to suit different needs and budgets. When choosing a hub, consider its compatibility with platforms like Alexa or Google Assistant, and verify it supports the Matter standard for better device integration. Setting it up is usually straightforward: position it centrally, connect to Wi-Fi, and use an app for management. Exploring further will reveal tips for optimizing your smart home experience and enhancing security and automation features.
Key Takeaways
- Compare smart home hubs based on features, compatibility with ecosystems like Alexa and Google Assistant, and support for protocols like Matter, Zigbee, and Z-Wave.
- Consider budget options, with entry-level models starting at $49 and premium hubs exceeding $350, to find the best fit for your needs.
- Ensure the hub supports automation capabilities, allowing for routines and integrations with voice assistants for enhanced user convenience.
- Check setup ease, looking for plug-and-play options and mobile app support for device management and firmware updates.
- Prioritize security features such as firmware updates, strong passwords, and privacy policies to protect your smart home network.
Overview of Smart Home Hubs
Smart home hubs act as the nerve center for your connected devices, enabling you to manage everything from lights to locks with ease. These smart home hubs serve as central control points, allowing you to connect and control various smart devices seamlessly. They utilize protocols like Wi-Fi, Zigbee, and Z-Wave, guaranteeing smooth communication between your gadgets.
With the integration of top smart home devices, such as smart thermostats, you can further enhance your appliance functionality and create a more efficient home environment.
One of the key benefits of a smart home hub is its automation capabilities. You can create routines that trigger multiple actions with a single command. For example, locking your door can automatically turn off lights and adjust the thermostat, making your home smarter and more efficient.
Compatibility with major platforms like Amazon Alexa, Google Assistant, and Apple HomeKit is essential, as it guarantees that you can integrate devices from different manufacturers effortlessly.
With the introduction of Matter support, the smart home landscape is becoming even more interconnected. As the market for smart home technologies is projected to reach $174 billion by 2025, investing in a hub is a smart move.
Whether you choose a smart speaker like the Amazon Echo or a dedicated device like the Aeotec Smart Home Hub, you'll find options that cater to your needs.
Top Smart Home Hubs of 2024
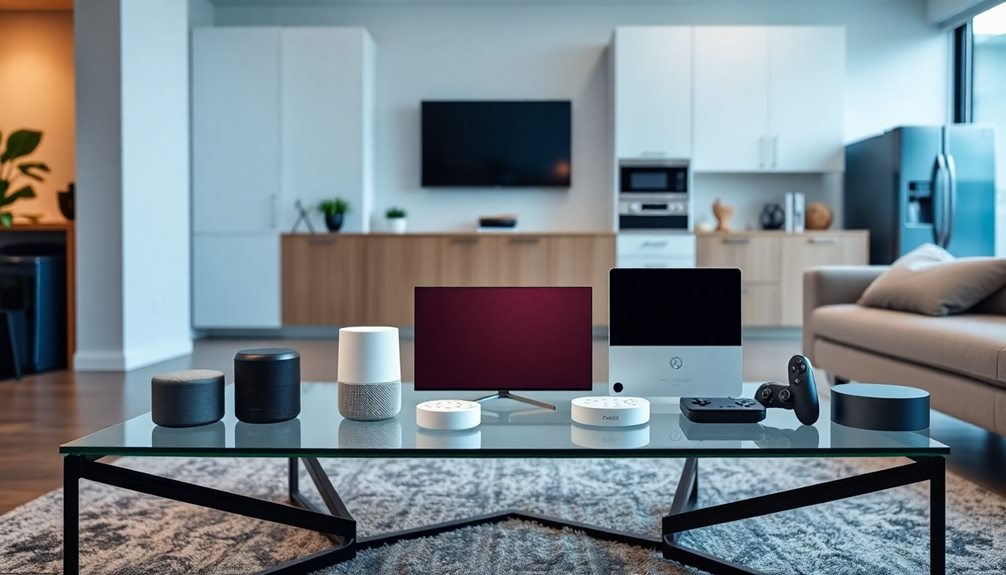
As you explore the best smart home hubs of 2024, you'll find a range of options tailored to different needs and preferences. Whether you're diving into smart home automation for the first time or enhancing an existing smart home ecosystem, there's a hub for you.
| Smart Home Hub | Key Features |
|---|---|
| Amazon Echo (4th Gen) | Wi-Fi, Bluetooth, Zigbee, Matter compatibility, under $100 |
| Aeotec Smart Home Hub | Supports Zigbee, Z-Wave, Matter, ideal for SmartThings users |
| Apple HomePod 2 | Premium sound, HomeKit support, temperature & occupancy sensors, $299 |
| Google Nest Hub Max | Smart display for video chats, security feeds, seamless Google integration |
| Amazon Echo Dot | Budget-friendly at $49, Wi-Fi, Bluetooth, Matter support, no Zigbee |
The Amazon Echo is your best overall choice for its affordability and features. If you prefer the SmartThings ecosystem, the Aeotec Smart Home Hub excels with multiple protocol support. For Apple fans, the Apple HomePod 2 offers more than just a hub—it's a premium audio device. Finally, the Google Nest Hub Max integrates beautifully with Google services, making it perfect for video interactions.
Key Features and Innovations
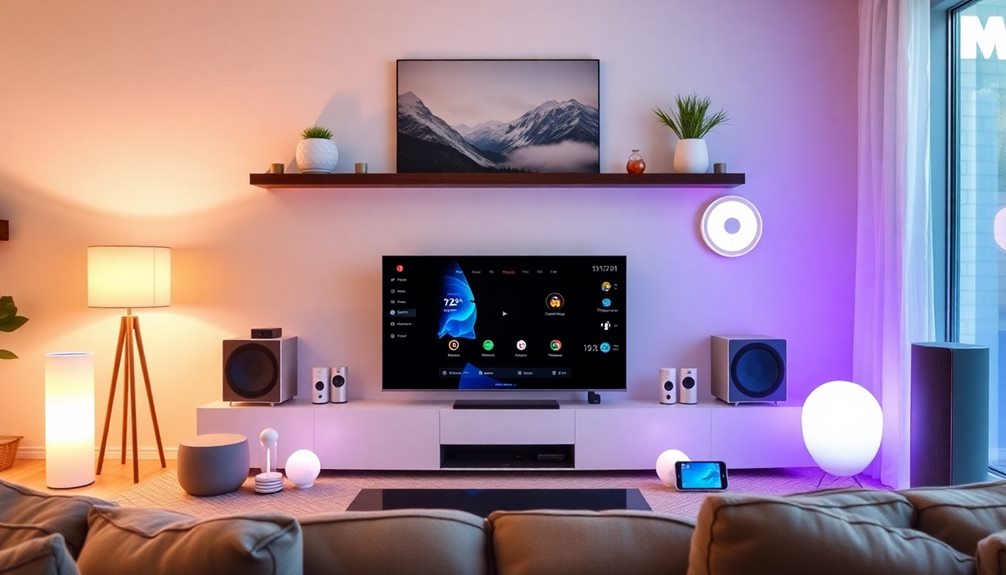
When choosing a smart home hub, you'll want to reflect on device compatibility standards, as they determine how many devices you can connect.
Voice assistant integration plays a vital role in how you interact with your hub, making it essential for a seamless experience.
Device Compatibility Standards
A wide range of device compatibility standards plays an essential role in the effectiveness of smart home hubs. These standards determine how well your smart devices can communicate with one another, guaranteeing a seamless integration into your smart home ecosystems.
The Matter standard, supported by over 200 companies, aims to unify device communication, promoting greater interoperability across various brands. Additionally, smart home hubs typically support protocols like Zigbee, Z-Wave, and Thread, enhancing connectivity among devices.
Here's a quick comparison of these standards:
| Standard | Key Features |
|---|---|
| Matter | Unifies communication across brands |
| Zigbee | Low-power, mesh network capability |
| Z-Wave | Designed for home automation |
| Thread | IP-based, secure, and efficient |
To make the most of your smart home hub, it's important to regularly check compatibility lists on manufacturers' websites. This way, you can confirm that your hub can control both existing devices and new purchases effectively. Regular software updates also play an essential role in maintaining device compatibility and enhancing security.
Voice Assistant Integration
Smart home hubs not only rely on device compatibility standards but also leverage voice assistant integration to enhance user experience.
With popular voice assistants like Amazon Alexa and Google Assistant, you can control your smart devices hands-free, making your life easier and more efficient. These hubs allow you to execute voice commands for various tasks, such as turning off lights or locking your security system with just a simple phrase.
Here are some key features and innovations in voice assistant integration:
- Seamless Control: Easily manage multiple smart home gadgets using just your voice.
- Enhanced Security: Features like Alexa Guard monitor for unusual sounds, keeping you informed and secure.
- Widespread Compatibility: Integrate with various third-party apps and services to expand your automation capabilities.
- User Preference: With 70% of consumers favoring voice-activated controls, it's clear this method is becoming essential in modern homes.
Embrace the convenience and innovation that voice assistant integration brings to your smart home hub, making everyday tasks simpler and more enjoyable.
Automation Capabilities Insights
Revealing the full potential of your smart home hub hinges on its automation capabilities. With the right hub, you can create routines that trigger multiple actions at once, like turning off lights and locking doors as you leave home.
Many hubs, such as the Amazon Echo (4th Gen) and Aeotec Smart Home Hub, support protocols like Zigbee, Z-Wave, and Matter. This support enhances your ability to connect and automate various smart devices, regardless of the manufacturer.
Advanced features like geofencing and scheduling give you the power to set custom triggers based on your location or specific times. This efficiency makes managing your home a breeze.
Plus, integration with voice assistants like Alexa and Google Assistant allows for seamless voice-activated automation. You can execute complex commands hands-free, making everyday tasks simpler.
Recent innovations, like the Google TV Streamer, even allow for Matter-compatible automation through a TV interface, broadening your interaction with smart devices.
Choosing the Right Smart Hub

When you're choosing a smart home hub, start by evaluating its compatibility with ecosystems like Alexa, Google Assistant, and Apple HomeKit to guarantee all your devices can communicate seamlessly.
Balance your budget with the features you need, as some models offer advanced capabilities at a higher price.
Ecosystem Compatibility Assessment
Choosing the right smart hub hinges on ecosystem compatibility, as this determines how well your existing devices will integrate. You'll want to ascertain that the hub supports major platforms like Amazon Alexa, Google Assistant, and Apple HomeKit. This compatibility guarantees seamless communication between devices, enhancing your smart home experience.
Here are some key points to reflect on:
- Matter Standard: Look for hubs that support the Matter standard, which boosts device interoperability across different ecosystems.
- Protocol Support: Check if the hub supports popular protocols like Zigbee and Z-Wave, as these can greatly impact device connectivity.
- Device Range: Amazon Alexa has the widest variety of compatible devices, while Apple HomeKit excels in security features.
- Future-Proofing: Reflect on hubs with Thread support to enhance connectivity and performance as smart home technology evolves.
Evaluating these factors will help you select a smart hub that not only meets your current needs but also adapts to future advancements in smart home technology.
Budget and Feature Balance
Finding the right balance between budget and features is essential when selecting a smart hub. You'll want to evaluate your budget constraints carefully, as options can range from entry-level models like the Amazon Echo Dot for around $49 to premium hubs exceeding $350. Reviewing essential features, such as voice assistant integration and automation capabilities, helps guarantee the hub meets your smart home needs.
Moreover, look for hubs supporting the Matter standard, which enhances cross-platform compatibility and keeps your investment relevant as new devices emerge. Analyzing the long-term value means comparing initial costs with potential savings gained from automation and energy efficiency.
Here's a quick comparison to guide your decision:
| Feature | Budget-Friendly Options |
|---|---|
| Price Range | Under $100 |
| Voice Assistant Integration | Yes |
| Automation Capabilities | Basic to Moderate |
| Matter Standard Support | Often Yes |
| Ideal For | Entry-level smart home experience |
Setup and Usability Factors
A smart home hub's setup and usability can make or break your entire smart home experience. When choosing the right smart home hub, think about its compatibility with your existing devices. This guarantees seamless integration and enhances user convenience.
Look for hubs that provide plug-and-play setup options, especially if you're not particularly tech-savvy. User reviews can also give insights into setup experiences.
To future-proof your smart home, select hubs that support various communication protocols like Zigbee, Z-Wave, and Matter. This flexibility allows you to add new devices without worrying about compatibility issues.
Evaluate the app interface as well; an intuitive design can greatly improve your user experience and simplify device management.
Here are key factors to reflect on:
- Setup options: Prioritize ease of use for a smoother experience.
- Communication protocols: Confirm support for multiple standards.
- Software updates: Choose a manufacturer known for timely updates.
- User experience: Look for a user-friendly app interface.
Compatibility and Future-Proofing

When evaluating smart home hubs, compatibility with multiple protocols—like Zigbee, Z-Wave, Bluetooth, and Wi-Fi—plays an important role in guaranteeing seamless integration with a variety of devices across different brands. You'll want to choose a hub that supports these protocols to maximize your connectivity options and enhance device integration.
The Matter standard is becoming essential for future-proofing your smart home. It promotes cross-platform compatibility, allowing devices from various manufacturers to work together effortlessly. Additionally, hubs that support Thread can act as border routers, improving connectivity between local networks and internet services.
To help you assess compatibility, consider the following table:
| Protocol | Functionality | Significance for Future-Proofing |
|---|---|---|
| Zigbee | Low-power control | Excellent for smart lighting |
| Z-Wave | Home automation | Stronger mesh networking |
| Bluetooth | Short-range connections | Great for audio devices |
| Wi-Fi | High-bandwidth tasks | Ideal for streaming and cameras |
| Matter | Cross-platform support | Crucial for device longevity |
Regular software updates are important, too. They maintain compatibility and security by adding new features and supporting additional devices. Always check compatibility lists to verify your hub meets your needs for automation now and in the future.
Safety and Security Considerations
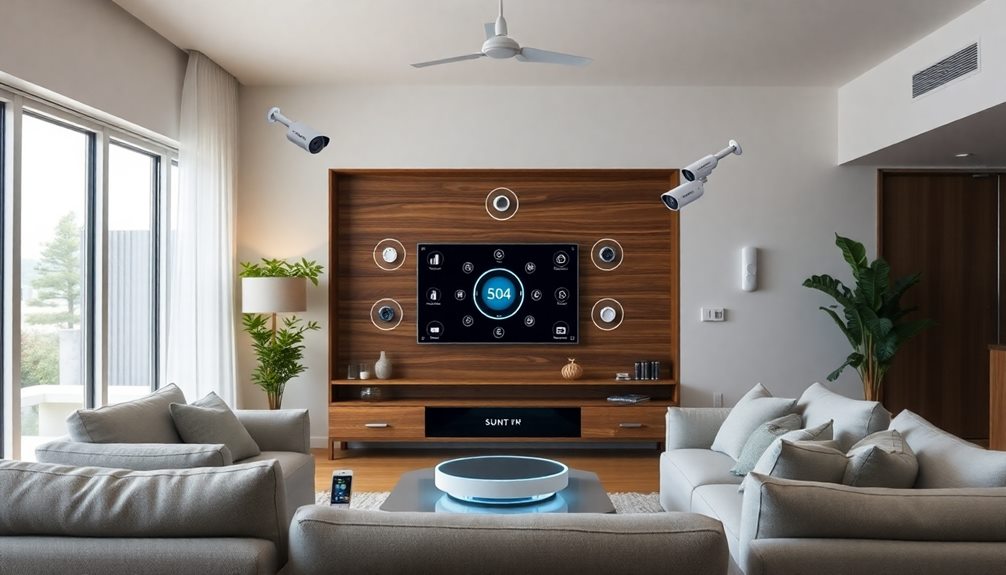
As you integrate various devices into your smart home, safety and security should be top of mind. Your smart home hub acts as the central point for multiple devices, making it essential to protect against vulnerabilities.
Start by regularly updating the firmware of your hub and connected devices to guarantee you have the latest security features. Implement strong, unique passwords for your accounts and enable multi-factor authentication to bolster your digital security.
Additionally, understanding the importance of budgeting can help you allocate funds for necessary upgrades and security measures.
Consider these key aspects to enhance your smart home's safety:
- Be aware of data collection practices; choose devices with transparent privacy policies.
- Use a separate guest network for your smart devices to protect your primary home network.
- Regularly review and manage permissions for third-party integrations to minimize unnecessary data access.
- Stay informed about manufacturers' security histories before purchasing new devices.
Setting Up Your Smart Home Hub
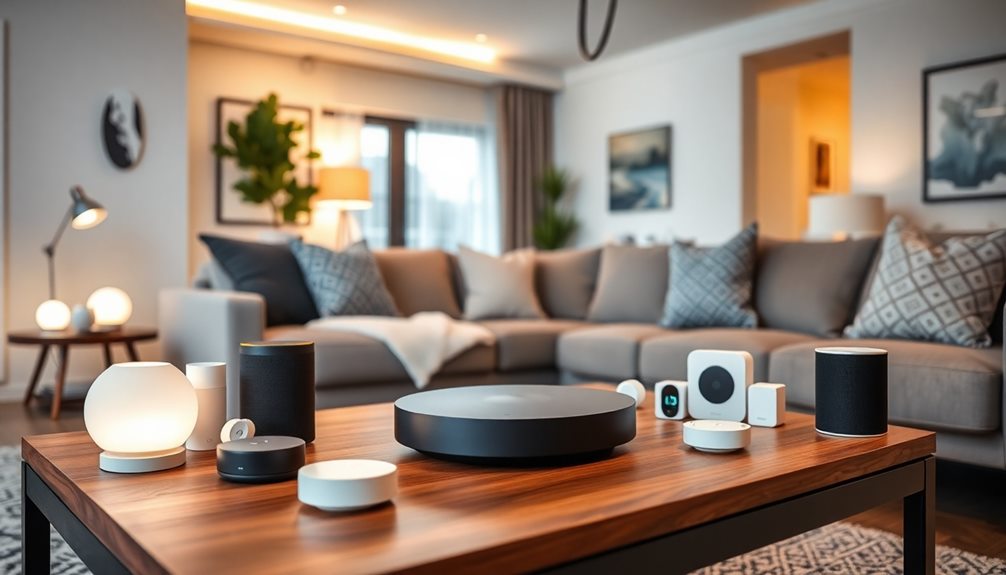
Setting up your smart home hub is a straightforward process that can greatly enhance your living experience. Start by placing your hub in a central location to guarantee ideal Wi-Fi coverage and communication with all your smart devices. Follow the manufacturer's instructions to connect the hub to your Wi-Fi network, checking for compatibility with your existing router.
Utilize the mobile app that comes with your hub for easy setup and management. This app often provides step-by-step prompts for adding devices and creating automation routines. For added convenience, consider integrating voice assistants like Alexa or Google Assistant, which allow for hands-free control of your smart home.
To maintain security and improve functionality, regularly check for firmware updates through the app. These updates can enhance compatibility and performance, guaranteeing your smart home runs smoothly.
Here's a quick overview of the setup process:
| Setup Step | Description |
|---|---|
| 1. Choose Location | Place hub centrally for best Wi-Fi coverage. |
| 2. Connect to Wi-Fi | Guarantee compatibility with your router. |
| 3. Use Mobile App | Follow prompts for device connection and routines. |
This simple process will set the foundation for your smart home.
Frequently Asked Questions
How Do I Choose a Smart Hub?
When choosing a smart hub, consider compatibility with your devices, communication protocols, ease of use, and your budget. Look for future-proof features to guarantee your setup remains functional and relevant for years to come.
What Is the Difference Between a Smart Hub and a Smart Gateway?
A smart hub centralizes control of various devices, allowing automation and voice commands. In contrast, a smart gateway connects different networks, enabling communication between devices and external services. Each serves distinct but complementary purposes.
What's the Best Smart Home Hub?
In the vast universe of smart home hubs, you'll find the Amazon Echo (4th Gen) shines brightest. It's versatile, affordable, and connects seamlessly with your devices, making your home smarter without breaking the bank.
Are Smart Hubs Worth It?
Smart hubs are definitely worth it. They simplify your life, enhance security, and integrate multiple devices into one system. Plus, they'll future-proof your home, making it easier to adapt as technology evolves.
Conclusion
To sum up, choosing the right smart home hub transforms your living space into a seamless blend of convenience and control. It enhances your daily routines, connects your devices effortlessly, and secures your home smartly. By understanding key features, ensuring compatibility, and prioritizing safety, you're empowered to create a future-ready environment. So, embrace the innovation, simplify your life, and enjoy the peace of mind that comes with a well-set-up smart home. Your smart journey starts now!
Xavier – Your Operations Partner Xavier is your operations partner, working tirelessly behind the scenes to ensure that everything runs smoothly so you can enjoy a seamless experience with Perfect Fit Living. From managing inventory to coordinating logistics, he’s committed to making your experience with us hassle-free.
Home Improvement
DIY Closet Organization Systems
Get inspired to transform your closet with DIY organization systems that maximize space and style—discover the secrets to a clutter-free haven!
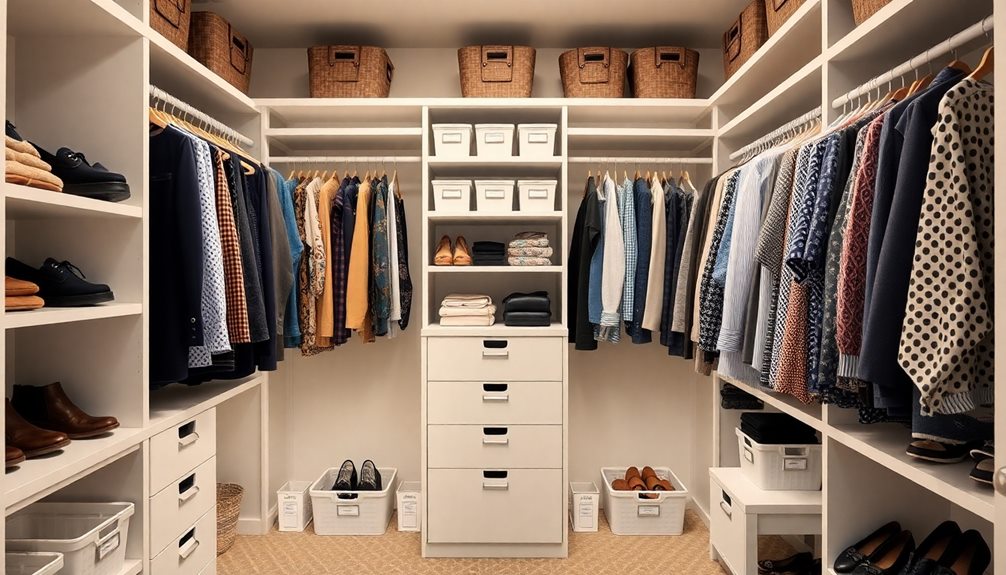
Creating your own DIY closet organization system can completely revamp your cluttered space. Start by gathering materials like MDF boards and a wooden closet rod. Use tools such as a tape measure and a circular saw for precise cuts. Measure your closet dimensions carefully and plan your design to maximize vertical space. Incorporate shelves, rods, and cubbies for versatility. Don't forget to paint and finish your system for a polished look. With these tips, you can make a stylish and efficient storage solution that suits your needs. Discover more ingenious ideas to elevate your closet organization!
Key Takeaways
- Measure closet space accurately, including back and side walls, to ensure a perfect fit for your organization system.
- Use wood boards, hanging rods, and cubbies to create a customized storage solution tailored to your needs.
- Incorporate vertical storage options like shelves and over-the-door organizers to maximize space efficiency.
- Utilize a Kreg Jig for pocket holes and screws to ensure a sturdy and durable assembly of your closet system.
- Finish with paint and trim for a polished look, ensuring to pre-paint hard-to-reach areas for ease of maintenance.
Materials Needed for DIY Closets
When you're diving into your DIY closet organization project, having the right materials is essential for success. Start with five 1x12x8 MDF boards; they'll provide a sturdy foundation for your DIY closet organizer.
Next, grab five 1x2x8 common boards, preferably pine, for the outer face. This choice not only enhances the look of your closet organization system but also keeps costs down.
Don't forget about optional shoe storage! Incorporate two 1×1 square dowels for cubbies that can neatly hold your favorite pairs.
For the top shelf supports, consider using two 1x4x12 boards, and if you're looking to save, scrap wood can work just as well.
Lastly, you'll need a wooden closet rod or a reusable, affordable 1.25 round dowel for hanging clothing. This element is vital for any functional closet organization system.
With these materials on hand, you're well on your way to creating a stylish and practical DIY closet organizer that meets your needs. So gather your supplies, and let's get started on transforming your closet into a space that works for you!
Tools for Closet Organization

When organizing your closet, having the right tools makes all the difference.
You'll need measuring and cutting tools to guarantee everything fits perfectly, along with assembly equipment for a sturdy build.
Don't forget your safety gear to keep yourself protected while you work!
Essential Tool Selection
Selecting the right tools is vital for a successful closet organization project. First on your list should be a tape measure. This tool will help you accurately measure your closet dimensions, guaranteeing that all components fit properly.
A circular saw is next; it's imperative for making precise cuts on wood boards, so you can achieve the exact dimensions needed for your organization system.
Don't forget a Kreg Jig, which is invaluable for creating pocket holes. These provide sturdy joints for assembling shelves and supports, assuring your system is durable.
If you're looking to speed up the assembly process, consider investing in a nail gun. It allows you to quickly fasten pieces together, although a hammer and nails can work just as well if you prefer a more traditional approach.
Lastly, a level is a must-have to verify everything is straight. Proper installation prevents items from sliding off and keeps your closet looking neat.
With these essential tools—tape measure, circular saw, Kreg Jig, nail gun, and level—you'll be well-equipped to tackle your closet organization project effectively. Happy organizing!
Measuring and Cutting Tools
Accurate measurements are the backbone of any successful closet organization project. To achieve this, grab a tape measure and a combination square. These tools will guarantee you get precise dimensions for all your closet organizers.
Once you've measured everything, you'll need cutting tools to transform your materials. A circular saw or miter saw is essential for cutting wood to the required lengths, providing clean and straight cuts that ensure stability.
After cutting, it's vital to install your shelves and supports evenly. Using a level tool will help you verify that everything is straight, preventing sagging and giving your closet a professional look.
Additionally, a drill with the appropriate drill bits is necessary for creating pocket holes and securing screws. This step enhances the durability of your assembled pieces, guaranteeing they stand the test of time.
Don't forget to prioritize safety while working with these cutting tools. Always wear safety gear, including goggles and dust masks, to protect yourself from debris and dust generated during the measuring and cutting process.
Assembly and Safety Equipment
As you immerse yourself in assembling your DIY closet organization system, having the right tools and safety equipment is vital for a smooth and efficient process.
Start with a stud finder to locate the wall studs; this is critical for securely attaching shelf supports. Proper attachment guarantees stability and durability for your organizer.
Next, you'll need a level tool to verify your shelves are installed evenly. This prevents sagging and enhances the overall look of your closet.
For cutting wood, consider using a miter saw or circular saw, as they provide accurate cuts. A Kreg Jig can help you create pocket holes for a sturdier assembly, while a nail gun will speed up the process by quickly securing pieces together.
Don't forget about safety equipment! Always wear safety glasses to protect your eyes from debris, hearing protection to shield against noise, and a dust mask to keep out fine particles when cutting MDF or plywood.
Regularly maintain your tools, confirming blades are sharp and drills are functional. This attention to detail not only helps you work efficiently but also keeps you safe throughout your DIY project.
Steps to Measure Closet Space
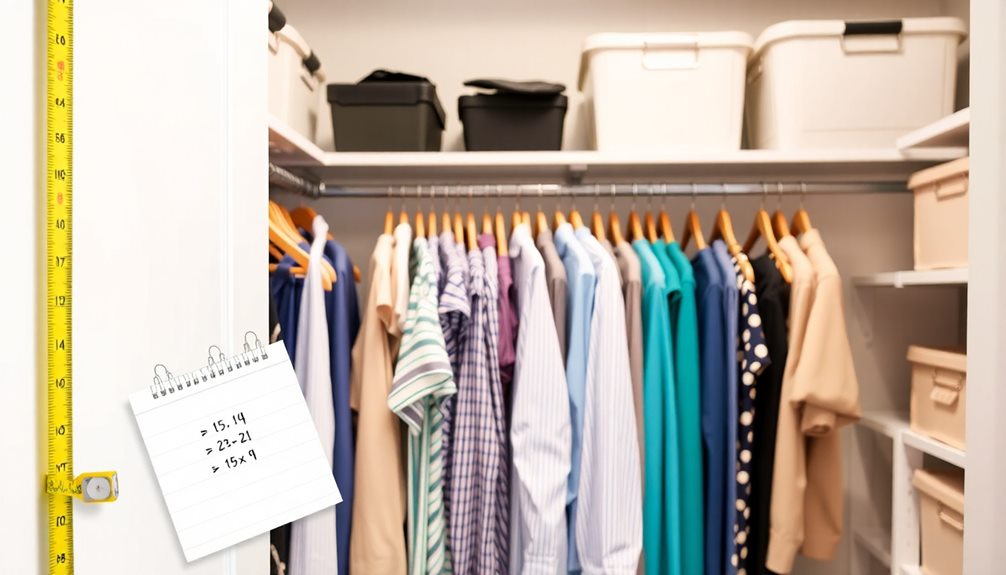
When it comes to measuring your closet space, getting precise dimensions is vital for effective organization. Start by measuring the back wall and both side walls to determine the total width and height available for your storage options.
Don't forget to deduct 1.5 inches from the back wall measurement to account for the thickness of the side walls when you're calculating shelf support lengths.
Next, measure the height from the floor to the ceiling. This will help you figure out how many shelves can fit and where you might want to place hanging rods. A typical closet depth is around 24 inches, so make sure to measure that as well to guarantee accessibility for your shelves and rods.
Using a tape measure, record all measurements carefully, as this information will be critical for optimizing your closet organizer's functionality.
Designing Your Closet System
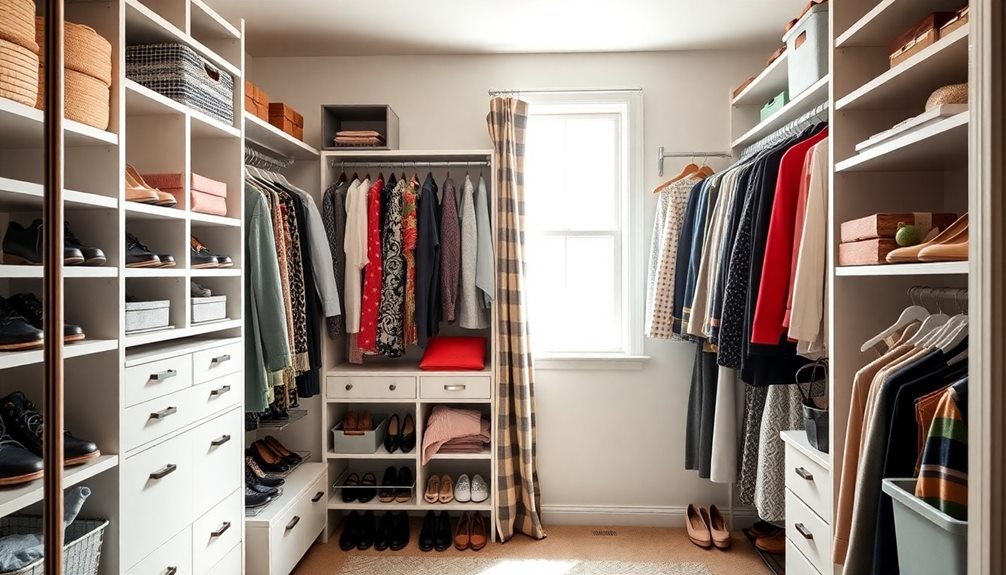
With your closet measurements in hand, you can now focus on designing a system that maximizes your space. Start by planning a variety of storage options, such as DIY closet shelves for folded clothes, rods for hanging items, and cubbies for shoes or accessories. This guarantees each item has a designated spot, making your closet organizer simple and efficient.
Consider implementing vertical storage solutions to further enhance your closet's functionality and keep the floor clear of clutter.
To visualize your layout, use painter's tape on the closet wall. This helps you confirm the placement and dimensions of your shelves and rods before proceeding. Consider incorporating adjustable shelves to accommodate different item sizes and make the most of your vertical space. This feature allows for easy reconfiguration as your storage needs change.
When selecting materials, opt for durable options like hardwood or high-quality plywood. These choices will ensure your customizable closet not only looks great but also stands the test of time.
With thoughtful planning and the right materials, you'll create a functional and attractive closet system that reflects your style and meets your storage needs. Start designing today, and transform your closet into a space that works for you!
Cutting and Preparing Materials

Before you start cutting, make certain you select the right materials and measure your closet dimensions accurately.
Accurate measurements are essential to guarantee that everything fits together perfectly. Once you've got that down, you can use efficient cutting techniques to prepare your materials for assembly.
Selecting Appropriate Materials
Choosing the right materials is vital for your DIY closet organization project. Start with MDF boards for the primary structure of your closet systems. They're sturdy yet cost-effective, making them perfect for building shelves and cubbies.
Here are three key steps to prepare your materials:
- Cutting: Use a miter saw or circular saw for precise cuts. Always double-check your measurements to avoid mistakes that could throw off your entire design.
- Pocket Holes: For a durable assembly, consider using a Kreg Jig to create pocket holes. This technique guarantees a strong and clean connection between the boards, enhancing the overall stability of your closet system.
- Sanding: After cutting, sand the edges and surfaces of all pieces to eliminate any splinters. This step is vital for achieving a smooth finish that's safe to handle and ready for painting.
Accurate Measurements Importance
Accurate measurements serve as the foundation for a successful DIY closet organization project. They guarantee that your system fits perfectly within the available space, preventing gaps or overcrowding.
Start by measuring the back wall and side walls, remembering to deduct 1.5 inches from the back wall measurement to account for the thickness of the side walls.
Using painter's tape to visualize your layout on the closet wall is a smart move. It allows you to confirm placements before you cut any materials.
Make certain to record all measurements meticulously, as this consistency is essential during the cutting and assembly process. By keeping everything documented, you'll reduce the likelihood of errors, which can be frustrating and time-consuming.
Regularly double-check your measurements against the cut pieces. This practice guarantees precision and maintains the integrity of your overall design.
Following these step-by-step instructions won't only help you achieve a polished look but also make the assembly process smoother.
Efficient Cutting Techniques
Efficient cutting techniques are vital for achieving a polished DIY closet organization project. To guarantee clean, precision cuts when cutting MDF, you'll want to use a miter saw or a circular saw. These tools help enhance the overall stability of your closet system.
Here are three significant tips to keep in mind:
- Measure Twice, Cut Once: Always double-check your measurements before making any cuts. Mark the wood clearly to avoid mistakes, particularly when considering the thickness of the MDF.
- Use Painter's Tape: Applying painter's tape along the cutting line helps guide your saw and reduces splintering on the edges, guaranteeing smoother finishes.
- Cut Outdoors: Since cutting MDF generates significant dust, it's best to wear a respirator and perform your cuts outdoors whenever possible for a safer environment.
Pre-cutting all shelf-size boards before assembly can save you time and minimize the amount of cutting needed during construction.
Assembly Techniques for Stability
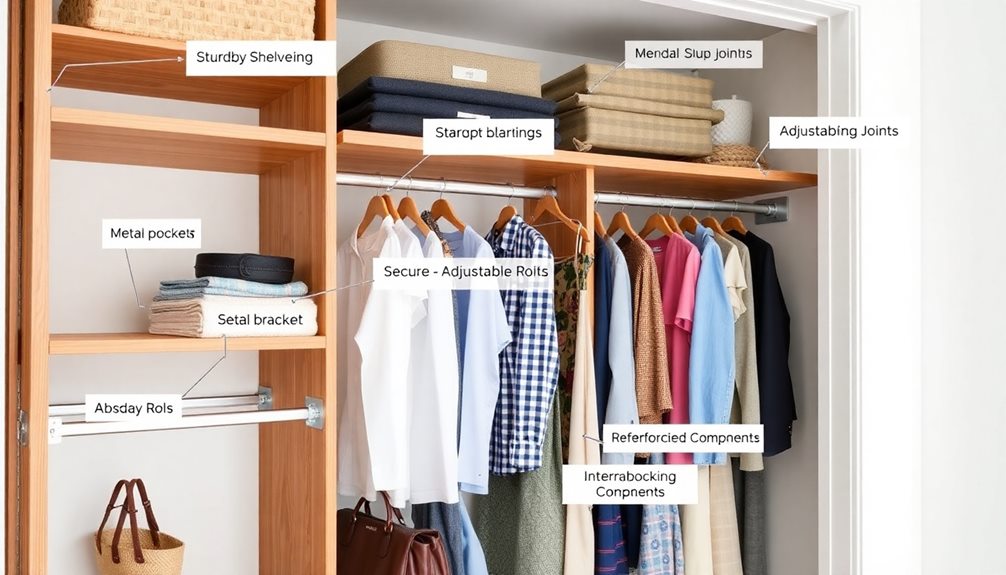
To guarantee your DIY closet organization system stands the test of time, focus on robust assembly techniques that prioritize stability. Start by utilizing pocket screws and a Kreg Jig to create reinforced joints, which is a smart approach similar to the importance of savings goals in financial planning. This assures a sturdy assembly capable of supporting heavy items on your shelves.
Incorporate vertical boards as side supports, securing them with nails and screws to establish a stable framework for your closet system.
While assembling, use a carpenter's square to check for squareness. This simple step prevents misalignment that could compromise structural integrity. For added stability, attach your shelves with wood glue in addition to screws. This creates a stronger bond, greatly reducing the likelihood of sagging over time.
Once your closet system is installed, don't forget to regularly inspect and tighten screws. This ongoing maintenance helps maintain stability and assures your organization system remains secure.
Painting and Finishing Touches
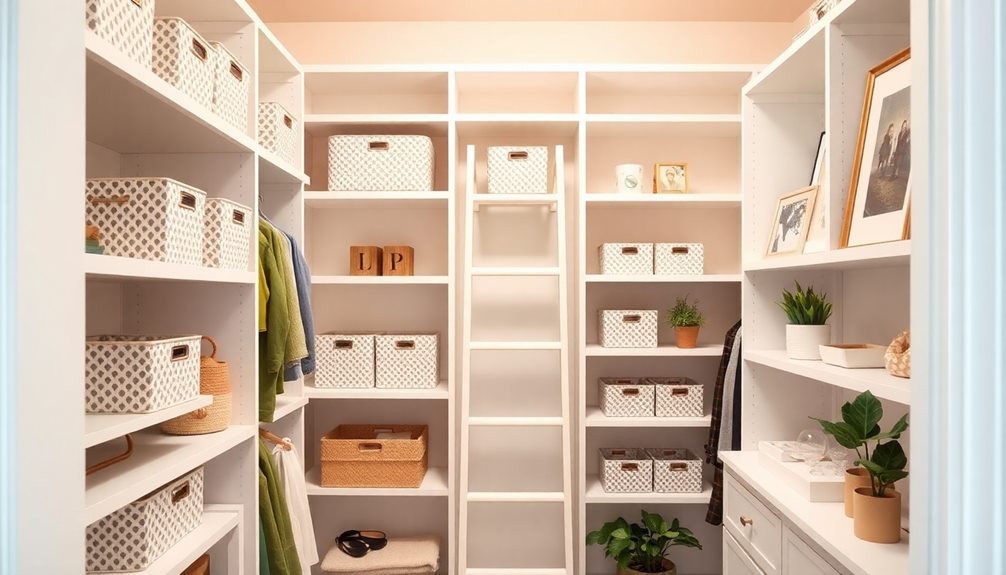
When it comes to painting your closet organization system, starting with loose boards before installation saves you time and effort.
Once everything's assembled, don't forget to apply a final coat to achieve that polished, cohesive look.
Using painter's tape will help you create clean lines, so your finished product looks sharp and professional.
Pre-installation Painting Techniques
Painting your closet components before installation can streamline the entire process and guarantee a flawless finish. By focusing on pre-painting efficiency, you'll save time and secure an even application, especially in hard-to-reach areas.
Here are three key tips to keep in mind:
- Remove Shoe Shelves: Take out shoe shelves for painting before adding the outer trim. This allows you to paint without obstruction, achieving a much cleaner finish.
- Access Difficult Areas: Pre-paint areas that might be tricky to reach once installed, like corners and behind supports. This will enhance the overall look of your closet and make it much easier to maintain.
- Final Touches: After installation, plan for trim painting separately. This ensures proper adhesion and helps create a cohesive finish with the rest of your closet organizer.
Once you've caulked and spackled, applying a final coat of paint will elevate the entire appearance, giving your closet system that professional touch.
Final Trim Application Tips
With the right approach, applying trim to your closet organization system can elevate the overall look and functionality of your space. Start by measuring and cutting your 1×2 boards carefully to guarantee a snug fit around shelves and cubbies. This attention to detail enhances the aesthetics of your organization system.
Next, use caulk to fill any gaps between the trim and the wall or shelves. Not only does this improve visual appeal, but it also helps prevent dust accumulation. For a polished finish, sand the edges of the trim before applying paint. This step guarantees a smooth surface that enhances paint adhesion and overall appearance.
Consider using high-quality paint or primer designed for wood surfaces. This choice provides better durability and a professional look. After painting, allow adequate drying time before reassembling any components to prevent smudging and guarantee your finish remains intact.
| Step | Action |
|---|---|
| Measure & Cut | Guarantee snug fit |
| Caulk Gaps | Fill spaces for a clean look |
| Sand Edges | Smooth surface for paint adhesion |
| Use Quality Paint | Enhances durability and appearance |
| Allow Drying Time | Prevents smudging |
Tips for Maximizing Storage
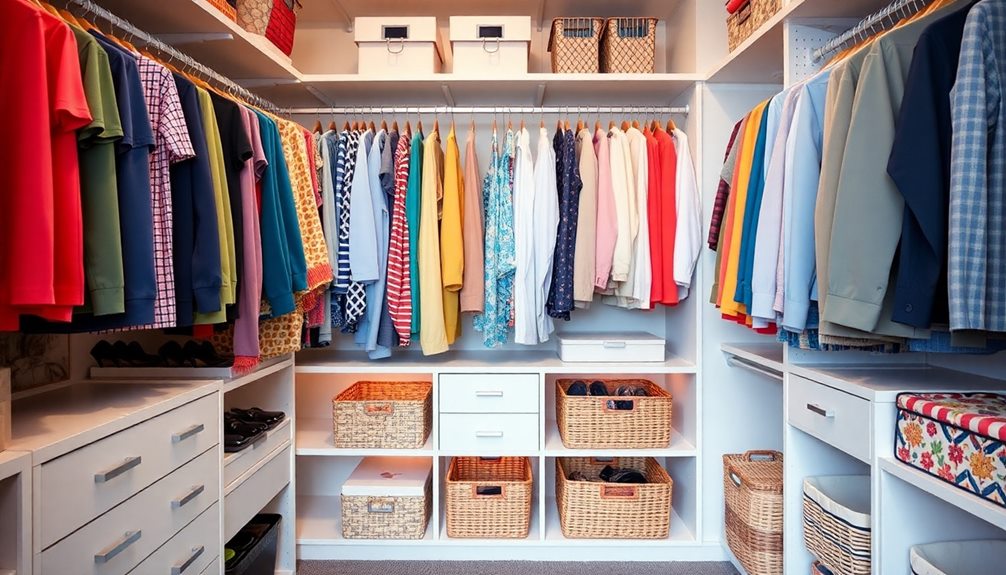
Maximizing storage in your closet is all about thinking vertically and using every inch efficiently.
Start by incorporating clever DIY Closet Organization Ideas that utilize your available space. Here are three effective tips to enhance your closet organization:
- Over-the-Door Organizers: Install over-the-door organizers or hanging shelves. They greatly increase storage capacity without sacrificing valuable floor space. You'll be amazed at how much you can fit!
- Drawer Dividers: Implement drawer dividers to compartmentalize accessories, socks, and undergarments. This not only enhances organization but also reduces clutter, making it easier to find what you need quickly.
- Seasonal Rotation: Rotate seasonal clothing using storage bins or vacuum bags to free up space for current items. This guarantees easy access to what you wear most and keeps your closet looking tidy.
Community Insights and Feedback

Many community members are enthusiastic to share their personal experiences and innovative solutions for DIY closet organization. This supportive environment encourages you to engage in your own projects, whether you're crafting cubbies and storage or exploring unique organizing techniques.
You'll find that many users highlight the cost-effectiveness of DIY systems compared to store-bought alternatives, which can save you money while allowing for customization. Feedback from fellow DIYers often stresses how satisfying and efficient their daily routines become after implementing personalized closet solutions.
They share tips on everything from selecting materials to assembly techniques, making it easier for both beginners and experienced organizers to tackle their own projects. Community discussions are filled with gratitude for shared insights, which not only inspire creativity but also foster a collaborative spirit.
As you interact with others, you'll notice recurring themes of innovation and practicality in closet organizing. These shared experiences motivate you to start on your own DIY journey, armed with valuable information from those who've walked the path before you.
Safety Tips for DIY Projects
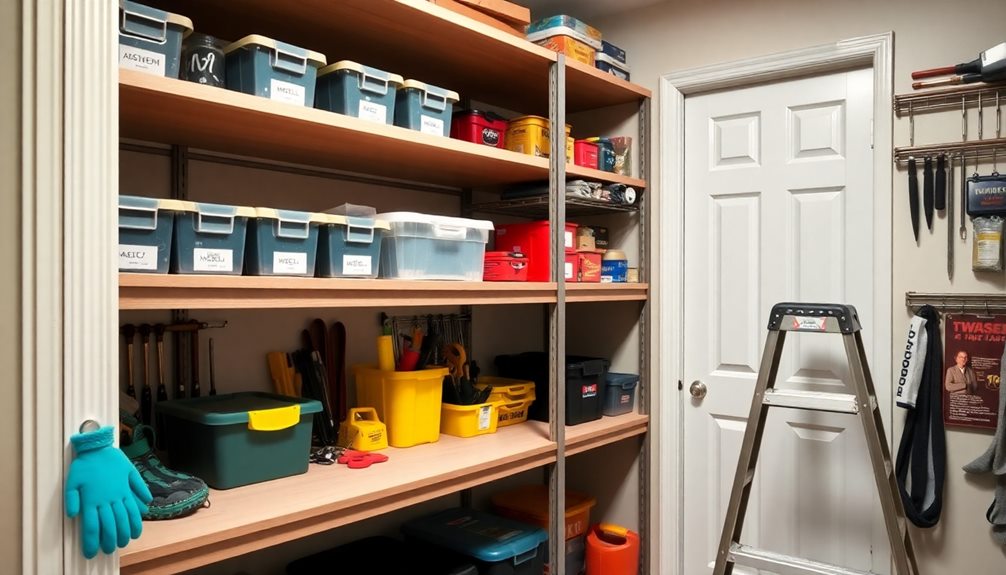
When diving into DIY projects, prioritizing safety is vital to guarantee a smooth and enjoyable experience. By following a few key safety tips, you can protect yourself and minimize potential hazards.
- Wear safety glasses and a dust mask: Always wear safety glasses and a dust mask when cutting materials, especially MDF. This protects your eyes and lungs from harmful dust particles.
- Maintain a clean workspace: A clean workspace is essential. Keeping your area organized reduces the risk of accidents and minimizes tripping hazards. Make sure tools and materials are neatly stored when not in use.
- Keep a first aid kit handy: Accidents can happen, so always have a first aid kit on hand for minor injuries. Familiarize yourself with its contents and know how to use them effectively.
Additionally, make sure your tools are regularly inspected and maintained for safe operation. Check for frayed cords on power tools and ensure blades are sharp and properly installed.
Frequently Asked Questions
Is It Cheaper to Build Your Own Closet System?
Yes, it's cheaper to build your own system. You'll save considerably by choosing materials wisely and customizing dimensions. Plus, you'll eliminate labor costs, making it a cost-effective solution tailored to your needs.
What Is the Best DIY Closet System?
If you think a best closet system magically appears, think again! For true elegance, consider modular designs; they adapt to your whims. Incorporate vertical space and sturdy materials, and watch your chaos transform into organized bliss.
How Do You Make a Homemade Closet Organizer?
To make a homemade closet organizer, measure your space, use durable materials like plywood, assemble with pocket holes, incorporate adjustable shelves, and finish with paint or stain for a polished look. You'll love the results!
How Do I Organize My Closet With Too Much Stuff?
You might think organizing's overwhelming, but it doesn't have to be! Start by purging unworn items, then use vertical storage and clear bins to maximize space. Rotate seasonal clothes regularly, keeping everything accessible and tidy.
Conclusion
Creating your own closet organization system not only saves you money but also allows you to customize the space to fit your needs. Did you know that an organized closet can increase your productivity by up to 30%? By following the steps outlined, you can transform your cluttered closet into a functional haven. Remember, the time and effort you invest now will pay off in efficiency and peace of mind every day. So, get started and enjoy your newly organized space!
Xavier – Your Operations Partner Xavier is your operations partner, working tirelessly behind the scenes to ensure that everything runs smoothly so you can enjoy a seamless experience with Perfect Fit Living. From managing inventory to coordinating logistics, he’s committed to making your experience with us hassle-free.
-

 Vetted6 months ago
14 Best Personalized Father's Day Gifts for Your Husband – Show Him You Care
-

 Alfresco5 months ago
Alfresco Stacker Doors: Seamless Indoor-Outdoor Living!
-

 Vetted6 months ago
15 Best EMS Foot Massagers for Neuropathy to Soothe Your Feet
-

 Craft and Textiles7 months ago
15 Best Places to Buy Appliances for Your Home – Top Retailers Reviewed
-
 Vetted5 months ago
Battle Born Batteries Review: Reliable Power Solution
-
 Vetted5 months ago
D-Link Switch Review: Lite Layer 3 Managed Networking
-

 Tableware and Dining Accessories7 months ago
What Is the Meaning of the Word Tableware
-

 Tableware and Dining Accessories7 months ago
What Is the Hindi Meaning of Tableware


