Home Improvement
Kitchen Cabinet Hardware Upgrade Guide
Perfect your kitchen’s style with our cabinet hardware upgrade guide, revealing essential tips that will elevate your space to a whole new level.
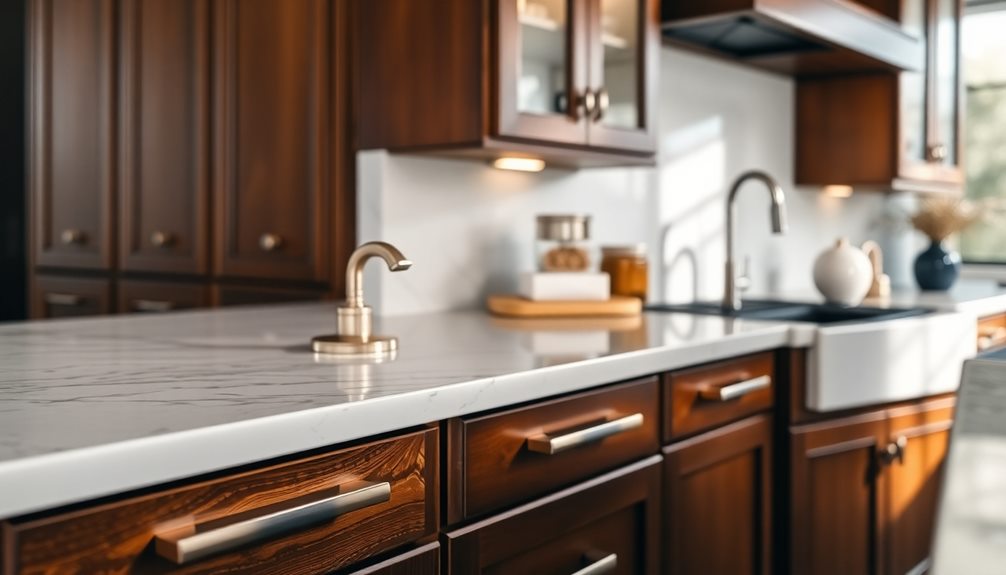
Upgrading your kitchen cabinet hardware can dramatically transform your space. Start by choosing the right metal; stainless steel and nickel are versatile, while brass adds warmth and black offers a modern touch. Next, select hardware types like knobs for cabinet doors and pulls for larger drawers. Consistency in design is key, so mix styles carefully. Consider placement, too—knobs should sit 2.5-3 inches from the bottom edge of upper cabinets. Following these guidelines helps guarantee a polished look. Want tips on specific product options and installation methods? There's plenty more to explore!
Key Takeaways
- Choose hardware in metals like stainless steel, nickel, brass, or black for a modern aesthetic and cohesive look across cabinetry.
- Select cabinet knobs for doors and drawer pulls for larger drawers to enhance usability and match kitchen dimensions effectively.
- Maintain consistent design and size across all knobs and pulls while varying pull lengths based on drawer size for visual harmony.
- Position hardware on upper cabinets 2.5-3 inches from the bottom and lower cabinets 2.5-3 inches from the top for uniformity and ease of access.
- Use templates or painter's tape to visualize and ensure precise hardware placement before drilling to avoid errors.
Choosing the Right Metal
When you're upgrading your kitchen cabinet hardware, choosing the right metal can greatly impact the overall aesthetic. Limiting yourself to two types of hardware can create a cohesive look, with stainless steel often being one of those choices.
Nickel is a timeless option that pairs well with various styles, while brass is currently trending, adding a warm aesthetic that many designers love.
If you're looking for a modern touch, consider incorporating black hardware, especially if your kitchen leans toward a farmhouse style. This color offers a striking contrast, enhancing the overall design.
However, steer clear of outdated options like Oil Rubbed Bronze, as it doesn't align with contemporary trends.
When selecting your second metal to complement stainless steel, brass or black hardware are excellent choices. Using these metals together not only enhances your kitchen renovation but also keeps a unified appearance throughout the space.
Types of Hardware Options
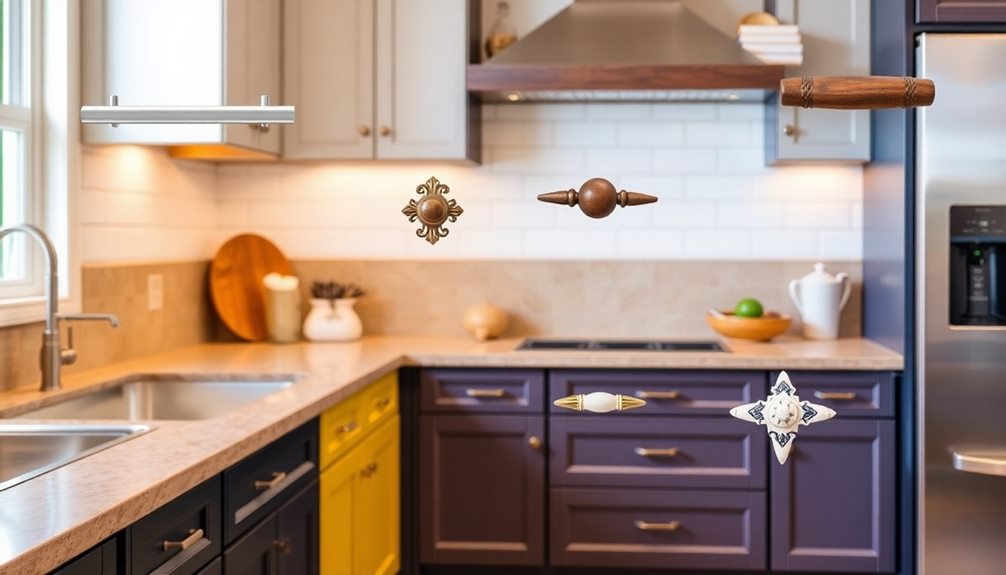
Exploring the various types of cabinet hardware options can greatly elevate your kitchen's functionality and style. When choosing between cabinet knobs and drawer pulls, think about how each will serve your needs. Knobs are typically best for cabinet doors, while pulls are preferred for drawers, especially larger ones, where scale and weight matter for ease of use.
Here's a quick overview of hardware options you might consider:
| Hardware Type | Best Use | Style Options |
|---|---|---|
| Cabinet Knobs | Cabinet doors | Traditional, Modern |
| Drawer Pulls | Drawers | Sleek, Vintage |
| All-Handles | Cohesive look | Minimalist, Rustic |
| Mixed Styles | Personal preference | Eclectic, Contemporary |
| Functional Focus | Usability enhancement | Ergonomic, Decorative |
Recommended Hardware Selections
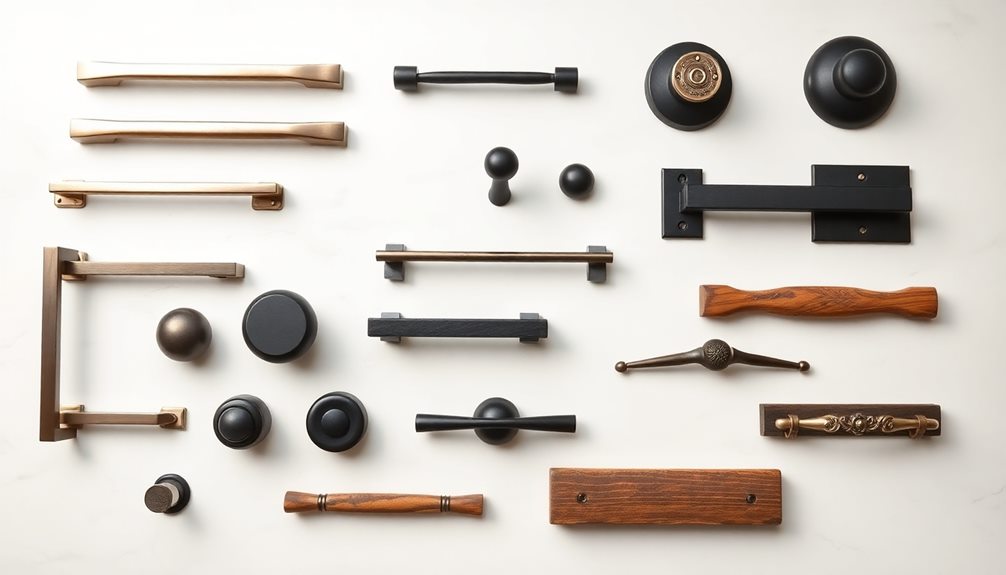
Selecting the right cabinet hardware can transform your kitchen's overall aesthetic and functionality. A well-considered selection not only enhances the kitchen's appearance but also aligns with your renovation goals and style preferences.
For a classic touch, consider the QiSun Solid Brass Knobs, which are 1.1 inches and priced at around $2 each. Their durability and timeless style make them a great choice. If you have large drawers, enhance their appearance with Honey Bronze Kinney Pulls, measuring 5 1/16 inches and available for about $10 each. These pulls provide both attractiveness and functionality.
For budget-conscious projects, the Amazon Basics Modern Finger Drawer Pull, at 4.41 inches and around $2.50 each, is ideal for smaller drawers. It combines affordability with a pleasing tactile experience.
When selecting your kitchen cabinet hardware, aim for a consistent design and prioritize a cohesive look by matching the hardware finish across all cabinetry. Pairing antique brass with polished nickel fixtures can create an appealing contrast.
Remember to assess your overall kitchen needs and desired aesthetic style to guarantee a harmonious renovation experience that enhances both form and function. assessing needs and planning
Knob and Pull Selection
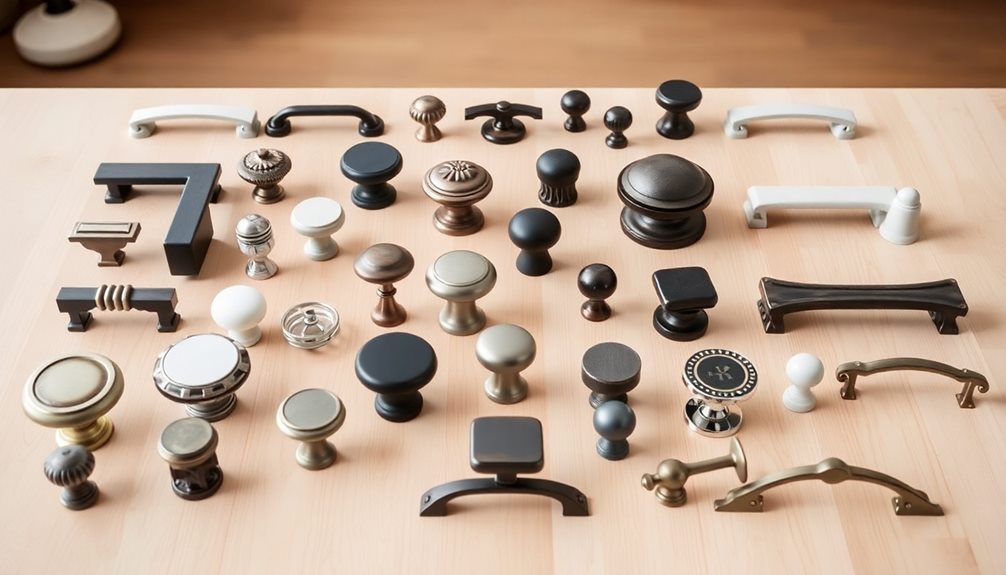
Choosing the right knobs and pulls can greatly enhance your kitchen's functionality and style. For cabinet doors, knobs are often ideal, while pulls work best for larger drawers, providing a better grip.
When selecting cabinet hardware, consider the size and scale of your knobs and pulls; they should match the dimensions of your kitchen cabinets. Larger drawers benefit from longer pulls, making it easier to access contents.
Mixing knobs and pulls can elevate both functionality and aesthetic design, allowing you to create a balanced look that reflects your personal style. For a cohesive appearance, maintain consistent sizing of knobs throughout your kitchen, but feel free to vary pull lengths based on the size of each drawer.
This approach not only enhances visual harmony but also maximizes usability.
Don't shy away from mixing metals; this trend can add a unique touch to your space. Just remember, functionality is key—ensure your pulls are placed at a comfortable height for easy access.
Placement Guidelines for Hardware
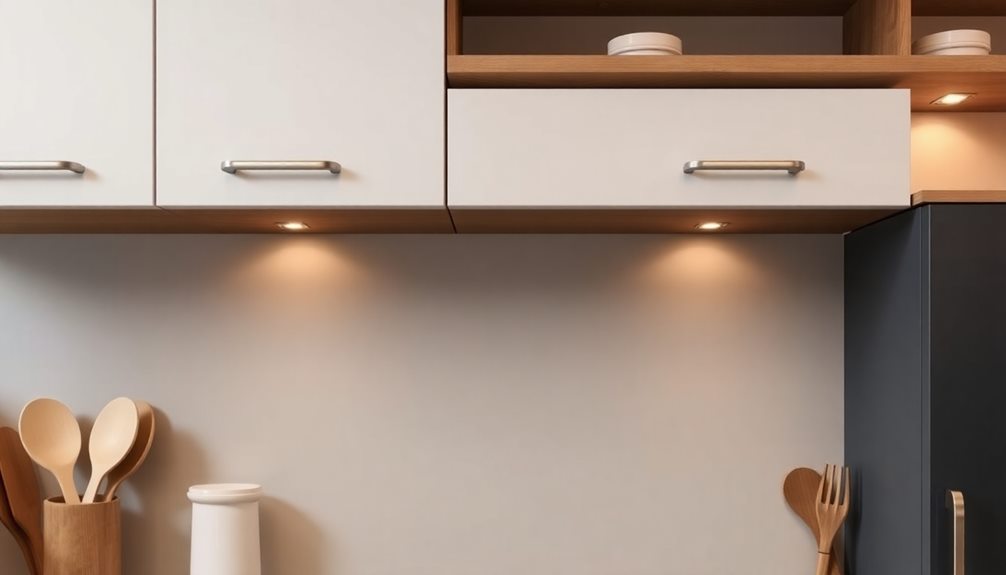
When installing cabinet hardware, proper placement is essential for both functionality and style. Following these placement guidelines will help you achieve a consistent look across your cabinetry:
- Upper Cabinets: Position knobs or pulls 2.5-3 inches from the bottom edge of the doors. This height guarantees ease of access while maintaining a streamlined appearance.
- Lower Cabinet Hardware: Install pulls or knobs 2.5-3 inches from the top edge. This creates a uniformity with the upper cabinets, enhancing the overall aesthetic.
- Drawer Hardware: Confirm that pulls or knobs are centered horizontally on the drawer faces. This not only looks balanced but also feels more intuitive during use.
To achieve precise placement, consider using templates or jigs. These tools can help maintain uniformity across all cabinets and drawers.
Additionally, utilize painter's tape to visualize hardware placement before drilling. This mock-up technique allows you to see how your choices complement the space, helping you avoid mistakes.
Frequently Asked Questions
What Is the 1 3 Rule for Cabinet Hardware?
The 1-3 Rule for cabinet hardware suggests your knobs or pulls should be one-third the width of the cabinet or drawer front. This keeps things balanced and visually appealing, enhancing your kitchen's overall aesthetic.
Can I Put New Hardware on Old Cabinets?
Yes, you can definitely put new hardware on old cabinets. It'll refresh their appearance and give your kitchen a modern touch. Just be mindful of screw placements and guarantee the new hardware fits well.
What Should Cabinet Hardware Match?
When sprucing up your space, think of your cabinet hardware as the finishing touch. It should harmonize with your appliances, plumbing fixtures, and lighting, creating a seamless and inviting atmosphere that feels intentionally designed.
What Color Hardware Does Not Go Out of Style?
When choosing hardware colors, stick with timeless options like polished nickel, stainless steel, or antique brass. Black hardware also offers a modern touch, ensuring your kitchen stays stylish without falling victim to fleeting trends.
Conclusion
Upgrading your kitchen cabinet hardware can breathe new life into your space, proving that "a little change can make a big difference." By carefully choosing the right metal, exploring various hardware options, and following placement guidelines, you can create a cohesive and stylish look. Don't underestimate the power of knobs and pulls—they're the finishing touches that elevate your kitchen's design. So go ahead, make that upgrade, and enjoy a kitchen that truly reflects your style!
Xavier – Your Operations Partner Xavier is your operations partner, working tirelessly behind the scenes to ensure that everything runs smoothly so you can enjoy a seamless experience with Perfect Fit Living. From managing inventory to coordinating logistics, he’s committed to making your experience with us hassle-free.
Home Improvement
Hardwood Floor Refinishing: DIY Approach
You can transform your hardwood floors and save money, but are you ready for the essential steps and tools needed for a successful DIY project?
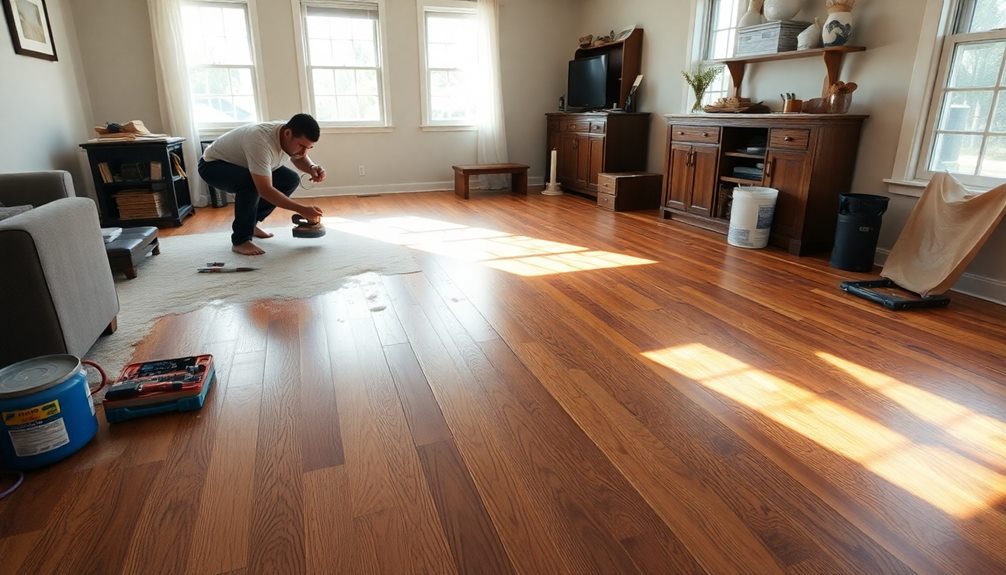
Refinishing hardwood floors yourself can save you a significant amount compared to hiring professionals, often up to $1,500. You'll need essential tools like a drum sander, edge sander, and safety gear. Begin with proper prep work by cleaning the floors and sealing off the workspace. The process includes sanding, applying a protective finish, and allowing for drying time. It's vital to choose between water-based or oil-based finishes based on your preferences. With a bit of effort and right techniques, you can achieve a stunning result. There's plenty more to explore to guarantee your project goes smoothly.
Key Takeaways
- Refinishing hardwood floors as a DIY project can save you significant costs compared to hiring professionals or replacing the flooring entirely.
- Essential tools for the refinishing process include a drum sander, edge sander, vacuum, and safety gear to protect against dust.
- Proper surface preparation and cleaning are crucial for achieving a smooth and durable finish during the refinishing process.
- Choose between water-based or oil-based polyurethane finishes, each requiring different numbers of coats for optimal durability and appearance.
- Regular maintenance and timely refinishing every few years help extend the life and beauty of your hardwood floors.
Project Overview
Refinishing hardwood floors can be a rewarding DIY project that saves you money while revitalizing your living space. As a homeowner, tackling this project allows you to enhance the beauty and longevity of your floors without the hefty price tag of professional services.
Typically, you can complete the entire process in just one day, covering prep work, sanding, and applying finishes like polyurethane.
To get started, gather essential tools such as a drum sander, edge sander, vacuum, and safety equipment like a respirator. Renting larger equipment can be a budget-friendly option. A step-by-step guide will help you navigate the refinishing process efficiently.
Don't underestimate the significance of prep work. Clean your floors thoroughly and seal off the workspace to guarantee effective dust containment. This preparation is vital for achieving a smooth and durable finish.
Cost Comparison
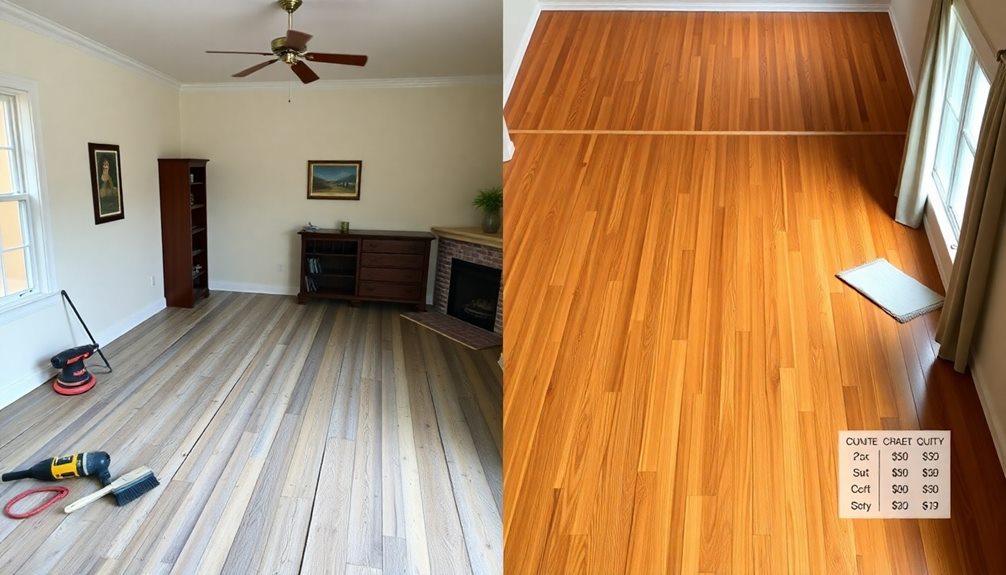
When considering the cost of hardwood floor refinishing, you'll find that tackling it yourself can save you a considerable amount of money. The average DIY refinishing cost typically ranges from $500 to $1,000, markedly lower than professional services, which can set you back anywhere from $1,100 to $2,663. Factors like square footage and finishing method influence your total costs.
Here's a quick cost comparison to visualize your options:
| Option | Cost Range |
|---|---|
| DIY Refinishing | $500 – $1,000 |
| Professional Services | $1,100 – $2,663 |
| Hardwood Floor Replacement | $2,475 – $7,031 |
| Renting Sanding Equipment (3 days) | $60 – $150 |
For a 700 sq. ft. area, your average DIY refinishing cost is around $1,000, or about $1.50 per square foot. While renting sanding equipment adds to your overall DIY costs, careful planning can help you maximize saving money. Ultimately, choosing DIY refinishing could be a smart financial decision for your hardwood floors.
Refinishing vs. Replacement
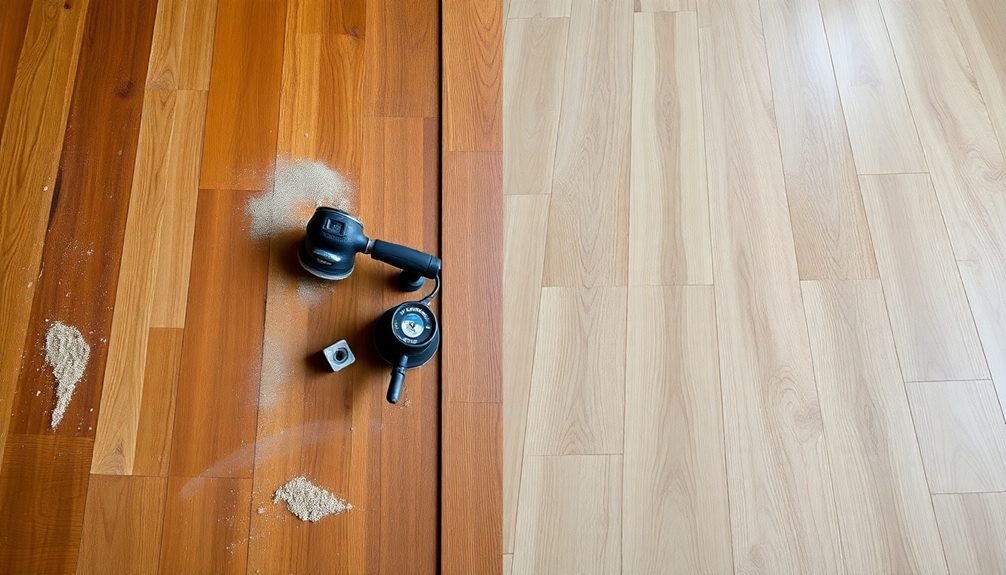
When you're faced with the choice between refinishing and replacement, cost and long-term benefits are key factors.
Refinishing your hardwood floors typically saves you a significant amount compared to the expense of replacing them entirely.
Plus, refinishing can extend the life of your existing floors, making it a smart investment for your home.
Cost Comparison
Choosing between refinishing and replacement can be a challenging decision, especially when considering the financial implications. A cost comparison reveals that refinishing hardwood floors is generally a more economical option than replacing them entirely.
Here's a breakdown of the costs you might encounter:
- DIY Refinishing: Typically between $500 and $1,000, depending on your materials and tools.
- Professional Refinishing: Ranges from $1,100 to $2,663 for expert service.
- New Hardwood Installation: Costs can skyrocket from $2,475 to $7,031, which includes both materials and labor.
- Materials Cost: Flooring materials vary from $6 to $25 per square foot, adding considerably to replacement expenses.
When you refinish your hardwood floors, the cost per square foot is often around $1.50, making it a budget-friendly alternative to the higher costs of professional installation or replacement.
Long-Term Benefits
Refinishing hardwood floors not only proves to be a more cost-effective choice compared to replacement, but it also offers significant long-term benefits that enhance both your home's aesthetics and value.
When you choose to refinish hardwood floors, you're investing in a solution that can extend the life of your flooring by several years. This means you can maintain your investment without facing the hefty costs associated with replacing hardwood flooring, which can range from $2,475 to $7,031.
The refinishing process revitalizes worn floors, enhancing their appearance and ultimately increasing the value of your home. Unlike replacement, which may not always guarantee a return on investment, refinishing can yield a more attractive outcome at a fraction of the cost—typically between $500 and $1,000 for DIY projects.
Additionally, regular refinishing every few years based on wear allows you to keep your floors looking fresh without committing to a permanent solution.
Incorporating a DIY approach can further reduce expenses while reaping these long-term benefits. By choosing to refinish rather than replace, you ascertain your hardwood flooring remains a beautiful and valuable asset in your home.
Considerations Before Refinishing
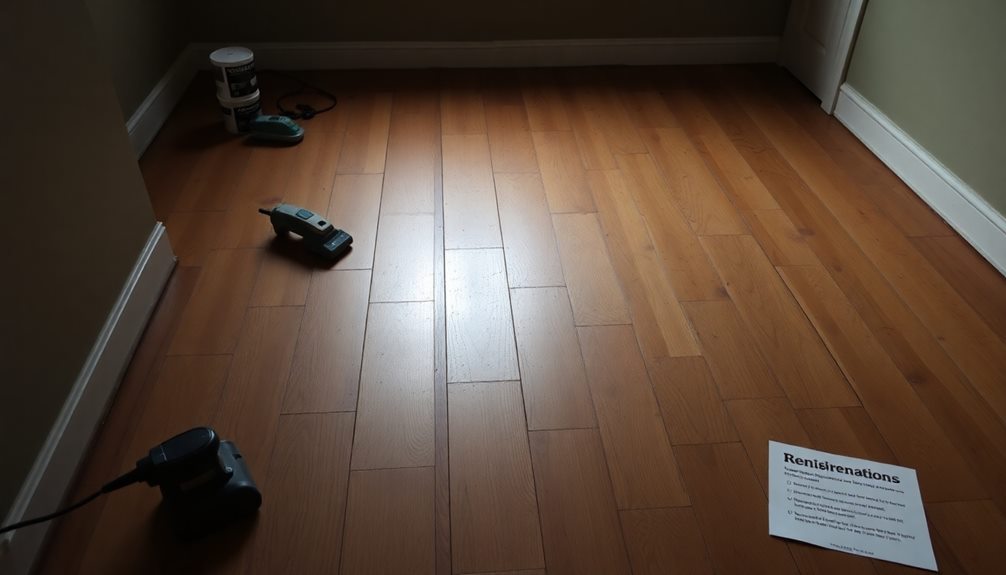
Before diving into the refinishing process, it's crucial to assess the condition of your hardwood floor.
You'll want to thoroughly inspect for any damage, as visible wear may necessitate sanding before refinishing.
Consider the following factors before you begin:
- Damage Assessment: Look for deep scratches, dents, or discoloration. If the damage is severe, full sanding may be required.
- Water Damage: Be cautious of water damage. Some wood types have tannins that can react with water-based polyurethane, leading to discoloration.
- Base Coat Application: To mitigate potential discoloration, consider applying a base coat. Allow it to dry for about two hours before proceeding.
- Maintenance Schedule: Regular maintenance and timely refinishing are key. Depending on wear, a refinishing schedule is typically recommended every few years.
Recommended Tools and Steps
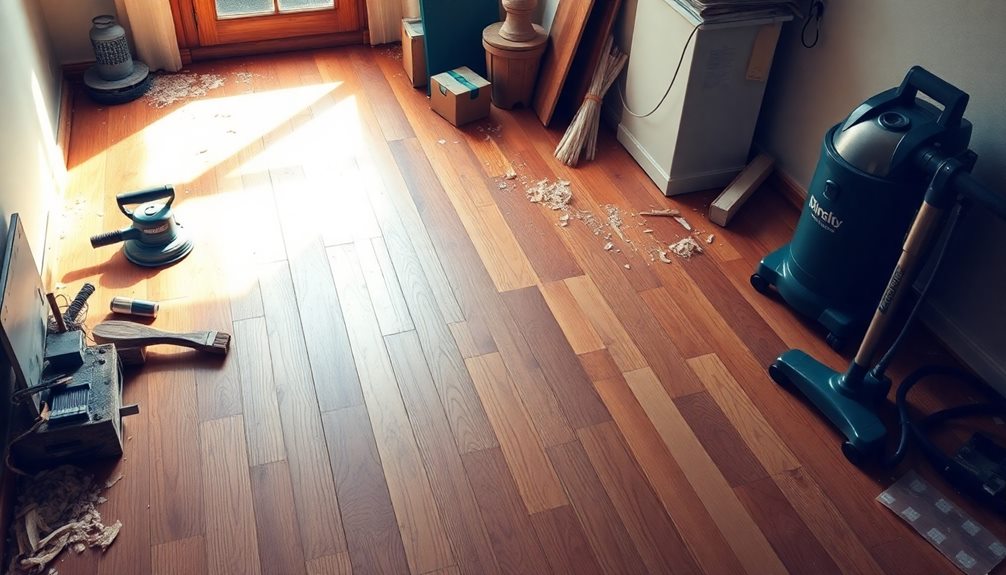
What tools do you need to successfully refinish hardwood floors? First, you'll require a floor sander and an edge sander to tackle both large areas and corners.
Don't forget coarse sandpaper, starting with 36-grit for heavy sanding, then moving to 60-grit and finally 100-grit for a smooth finish. A vacuum is essential for cleaning the floor after sanding, and a microfiber flat mop will help with the final clean.
Safety gear is a must—wear a respirator to protect yourself from dust. Before you start sanding, make sure to remove all furniture and base moulding to prepare your workspace.
Once the sanding is done, apply a protective wood finish, like oil-based polyurethane, using a lambs wool applicator. Lightly sand between coats with fine grit sandpaper for a uniform finish, and allow at least 24 hours of drying time between each coat.
Sanding Process Techniques
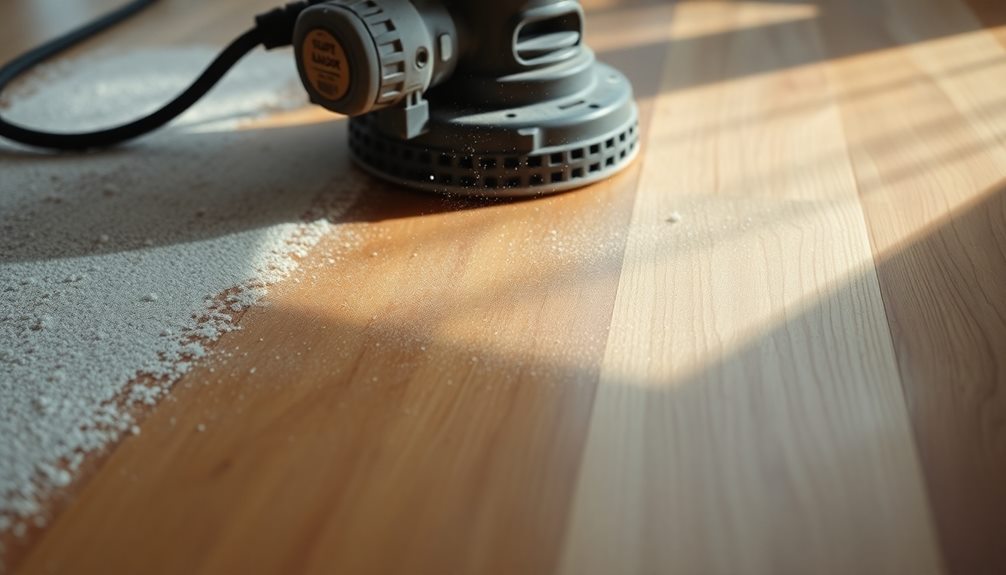
Once you've gathered your tools and prepared your workspace, it's time to focus on the sanding process. This stage is essential for achieving a smooth, uniform surface on your hardwood floors. Here's how to tackle it effectively:
- Start with coarse grit sandpaper (36-40 grit): Use a drum sander to remove old finishes and imperfections by sanding along the direction of the floorboards.
- Progress to medium grit (60 grit): After the initial sanding, switch to medium grit to refine the surface further. Remember to replace sandpaper regularly—about every 250 square feet.
- Finish with fine grit (100 grit): This step will give your floors that final smooth touch.
- Edge sanding: Don't forget the edges! Use a floor edger or small orbital sander with coarse-grit paper first, then shift to finer grades.
Throughout the sanding process, make sure to regularly clean the floor by sweeping and vacuuming to remove dust and debris.
Maintaining consistent pressure and pace while sanding helps prevent uneven spots, ensuring a beautiful finish on your hardwood floors.
Finishing Techniques
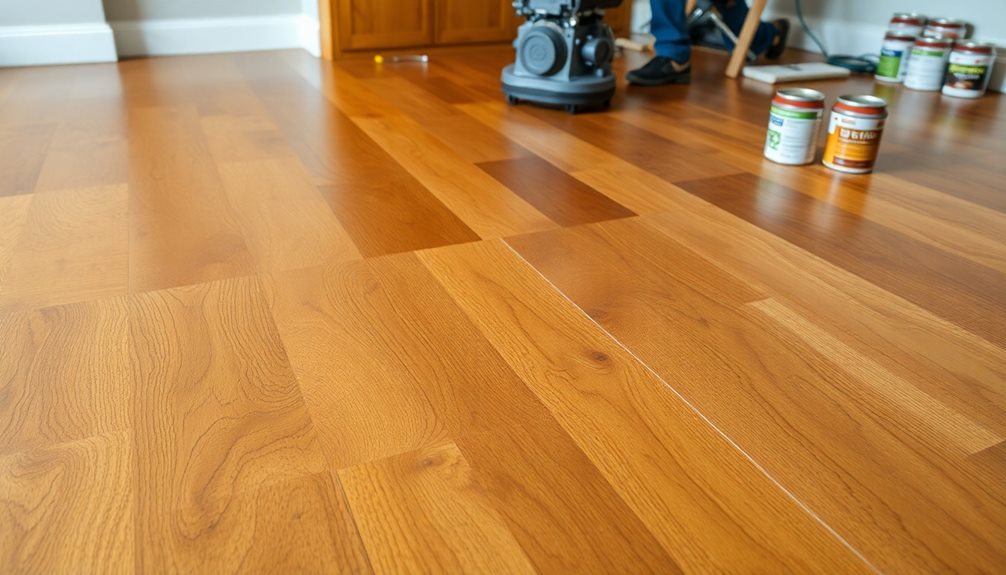
Achieving a flawless finish on your hardwood floors is essential for both aesthetics and durability. When you're ready to apply a wood finish, you can choose between water-based or oil-based polyurethane. Water-based finishes typically need four coats for maximum durability, while oil-based finishes require three.
Before you start, make certain to clean the surface thoroughly to avoid dust particles that can trap and create a rough texture. Use 220-grit sandpaper or #000 steel wool to lightly sand the surface between coats. This step improves adhesion for the subsequent layers and guarantees a smooth finish.
For an even application, a lambs wool applicator works wonders. Apply the finish in manageable sections to maintain a wet edge, preventing unsightly lines or uneven spots.
Don't forget about drying time: water-based finishes usually require about 24 hours, while oil-based finishes may need longer. Here's a quick reference table to help you:
| Finish Type | Coats Required | Drying Time |
|---|---|---|
| Water-Based | 4 | 24 hours |
| Oil-Based | 3 | 48 hours or more |
Frequently Asked Questions
Can I Refinish My Hardwood Floors Myself?
Yes, you can refinish your hardwood floors yourself! It involves renting the right tools, preparing the surface carefully, and following the sanding and finishing steps. With patience and effort, you'll achieve beautiful results.
How to Make Old Hardwood Floors Look Better Without Refinishing?
Can you imagine transforming those tired floors without the hassle of refinishing? Regular cleaning, applying polish, using area rugs, touching up scratches, and maintaining humidity can all breathe new life into your hardwood floors effortlessly.
Can Wood Floors Be Refinished Without Sanding?
Yes, you can refinish wood floors without sanding. By screening, you lightly abrade the surface, remove the old finish, and prepare it for a new coat, giving your floors a refreshed look without the hassle.
Is It Cheaper to Sand and Refinish Hardwood Floors or Replace Them?
It's definitely cheaper to sand and refinish hardwood floors than to replace them. Refinishing typically costs around $1.50 per square foot, while replacement can range from $6 to $25 per square foot. You'll save considerably!
Conclusion
In summary, tackling hardwood floor refinishing yourself can save you money and give your space a fresh look. For instance, when Sarah refinished her living room floors, she spent just $300 on supplies instead of the $1,500 quote from a professional. With the right tools and techniques, you can achieve stunning results and enjoy the satisfaction of a job well done. So roll up your sleeves, and transform your hardwood floors into a beautiful centerpiece of your home!
Xavier – Your Operations Partner Xavier is your operations partner, working tirelessly behind the scenes to ensure that everything runs smoothly so you can enjoy a seamless experience with Perfect Fit Living. From managing inventory to coordinating logistics, he’s committed to making your experience with us hassle-free.
Home Improvement
Smart Doorbell Installation and Setup
Unlock the secrets to effortless smart doorbell installation and setup—discover tips that will enhance your home security like never before.
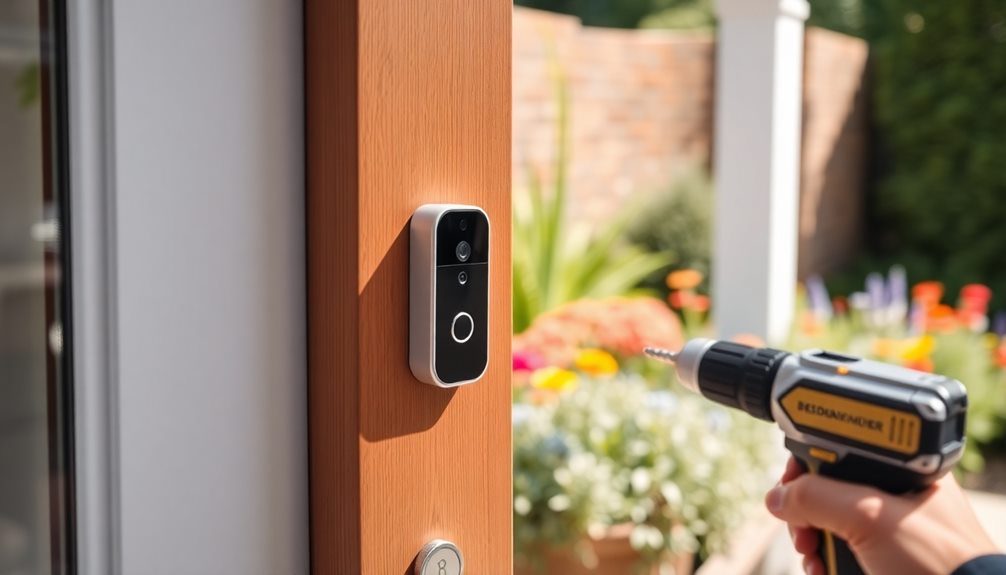
Installing your smart doorbell is a straightforward process that boosts your home security. Start by choosing a model that suits your needs, either battery-powered or wired. Gather essential tools like a drill, screwdriver, and multimeter for checking voltage. For battery-powered models, charge the battery and connect it to your Wi-Fi using the app. If you're going wired, verify the transformer is compatible and follow the wiring instructions closely. After installation, configure your app settings for notifications and motion detection. There's plenty more to discover about maximizing your doorbell's features and troubleshooting common issues.
Key Takeaways
- Choose between battery-powered or wired models, considering your home's setup and power availability for optimal installation.
- Gather necessary tools such as a drill, screwdriver, multimeter, and safety gear for a smooth installation process.
- Follow the manufacturer's app instructions for connecting the doorbell to your Wi-Fi network and customizing settings.
- Ensure proper voltage (8-24 VAC) for wired models and check existing wiring compatibility before installation.
- Utilize online resources and community forums for troubleshooting tips and installation guidance if issues arise.
Overview of Smart Doorbells
Smart doorbells have revolutionized home security, offering a seamless combination of technology and convenience. These innovative devices typically include a camera, speaker, and microphone, enabling you to monitor your front door from anywhere via your smartphone. With options like Full HD video and night vision, you'll never miss a moment, day or night.
When it comes to installation, you can choose between battery-powered models, which are easier to set up, and wired models that rely on your existing wiring. If you opt for a wired smart doorbell, make sure your home has the right transformers operating within 8 to 24 VAC specifications. This compatibility is essential for your device to function correctly.
Many smart doorbells connect to your Wi-Fi network, allowing you to access live feeds and recorded footage stored in the cloud. Advanced features like AI-powered motion detection enhance your security by alerting you when someone approaches your door.
Tools Needed for Installation
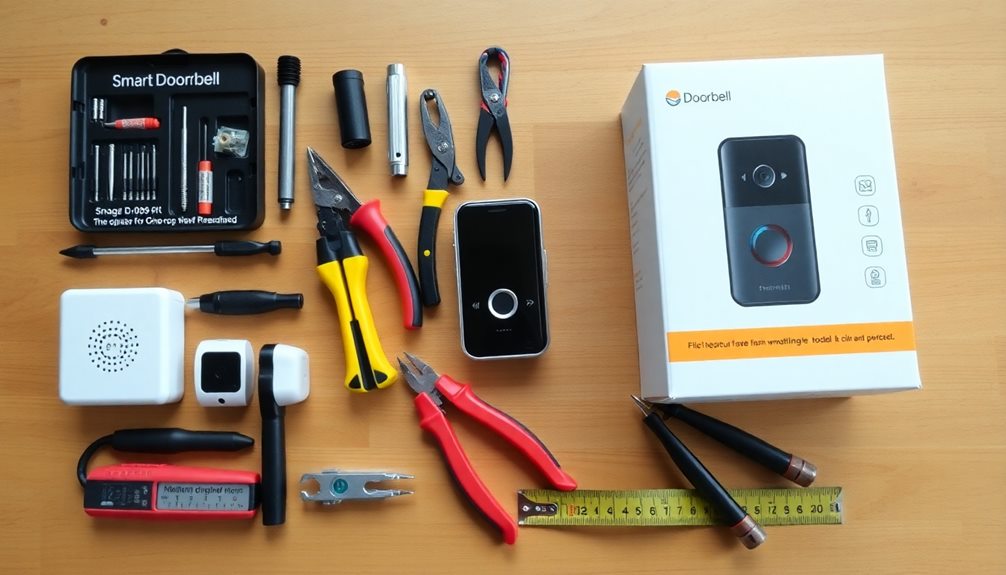
Installing a smart doorbell requires a few specific tools to guarantee a smooth process. For both wired and wireless models, you'll need a drill, screwdriver, and spirit level to confirm proper alignment and secure mounting.
If you're opting for a wired doorbell, a multimeter is vital to check the voltage of your existing doorbell transformer; it should be between 8 to 24 VAC to prevent damage. You'll also need wire cutters and strippers to prepare and connect wires during installation.
For wireless doorbells, verify you have a reliable Wi-Fi connection. If you experience weak signal strength, consider using a signal booster as an optional tool to enhance connectivity.
Don't forget about safety! Wearing gloves and goggles is essential when working with electrical components to protect yourself during installation.
Having the right tools and prioritizing safety will make your smart doorbell installation a breeze. With everything ready, you can confidently move forward, knowing you've got the right tools to successfully connect your new device and enjoy the convenience it brings to your home.
Installing Battery-Powered Doorbells
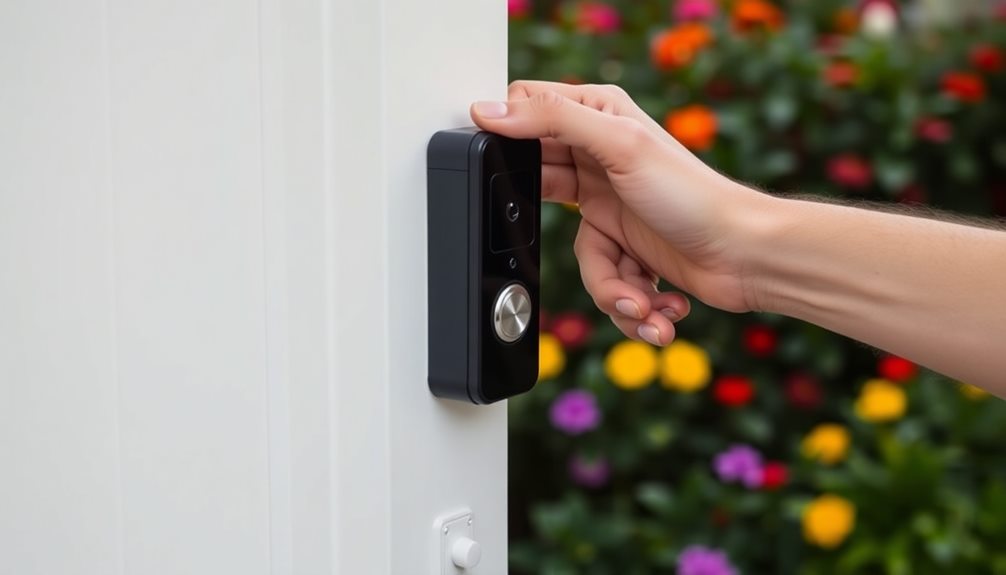
When you're ready to set up a battery-powered doorbell, start by fully charging the battery with the included USB cable. This guarantees peak performance.
Next, download the manufacturer's app to connect the doorbell to your Wi-Fi network. You may need to create an account for access.
Use the provided mounting template to mark where you'll drill holes, guaranteeing accuracy. Follow the manufacturer instructions to secure the doorbell frame with screws and anchors, making sure it's firmly attached to the wall.
Once the frame is in place, attach the faceplate. To enhance security, use the unique security screws provided, as these deter unauthorized removal.
After installation, regularly check and charge the battery every few months, depending on your usage, to maintain functionality and security.
Keeping your battery-powered doorbell charged will help guarantee you get the most out of its features and keep your home safe.
With these steps, you can successfully install your battery-powered doorbell and enjoy the convenience and added security it offers.
Installing Wired Doorbells
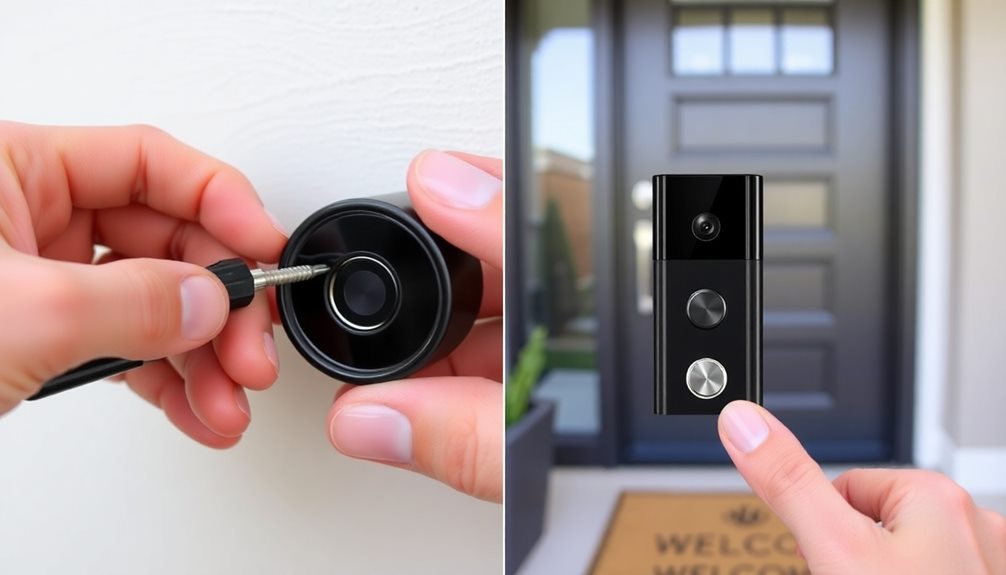
Battery-powered doorbells offer convenience, but for those seeking a more permanent solution, wired doorbells are a great option.
Before you start, check the existing transformer voltage. It should ideally be between 8 to 24 VAC to avoid damaging your new doorbell. Safety first: always turn off the power at the circuit breaker before you begin any installation work.
Once you've confirmed the power is off, use a multimeter to verify the voltage of the existing doorbell transformer. If it's below 16 volts, your new doorbell won't operate correctly.
Next, follow the installation instructions that came with your new doorbell. This typically involves securely connecting the wires to the appropriate terminals. Make sure you connect the wires correctly to avoid electrical issues.
After everything's wired up, restore power and test the device. This includes checking the video feed and alert notifications to confirm everything's functioning as it should.
Power and Chime Considerations
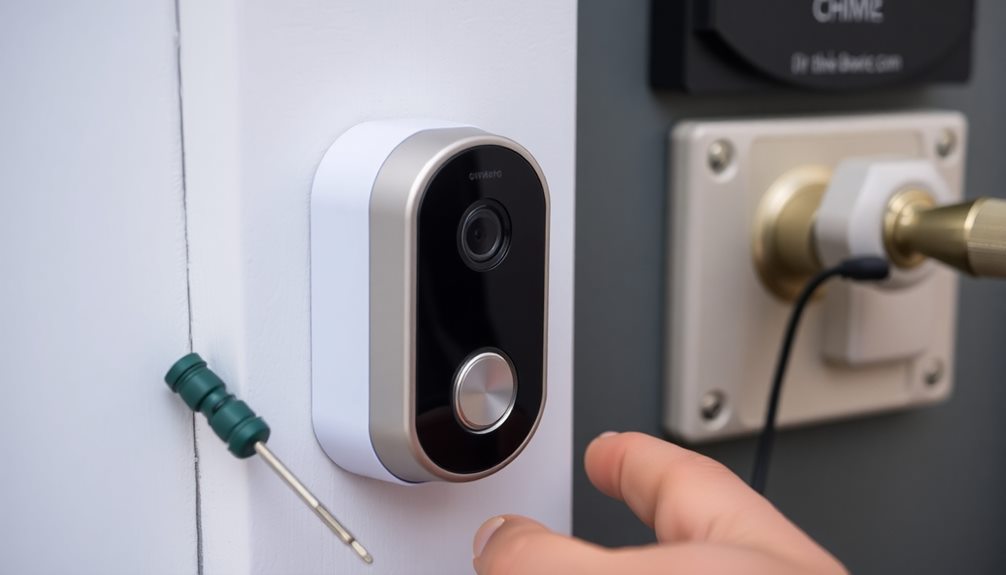
Understanding your smart doorbell's power requirements is essential for a successful installation. Most wired video doorbells need a power supply between 8 to 24 VAC, 50/60Hz, with an 8VA to 40VA capacity. Before you install, check your existing doorbell wiring to ascertain compatibility. Use a multimeter to verify the transformer voltage; this step can save you from future headaches.
When connecting your wired smart doorbell, make certain to turn off the power at the circuit breaker to avoid electrical hazards. It's also important to note that some wired models can disable your existing doorbell chime when pressed. If this happens, you'll need to contemplate dedicated smart chimes or alternative notification methods.
To guarantee peak performance, check that your doorbell transformer is in good condition and meets the voltage requirements. Inadequate voltage can lead to malfunction or even damage your smart home devices.
Configuring Your Doorbell App
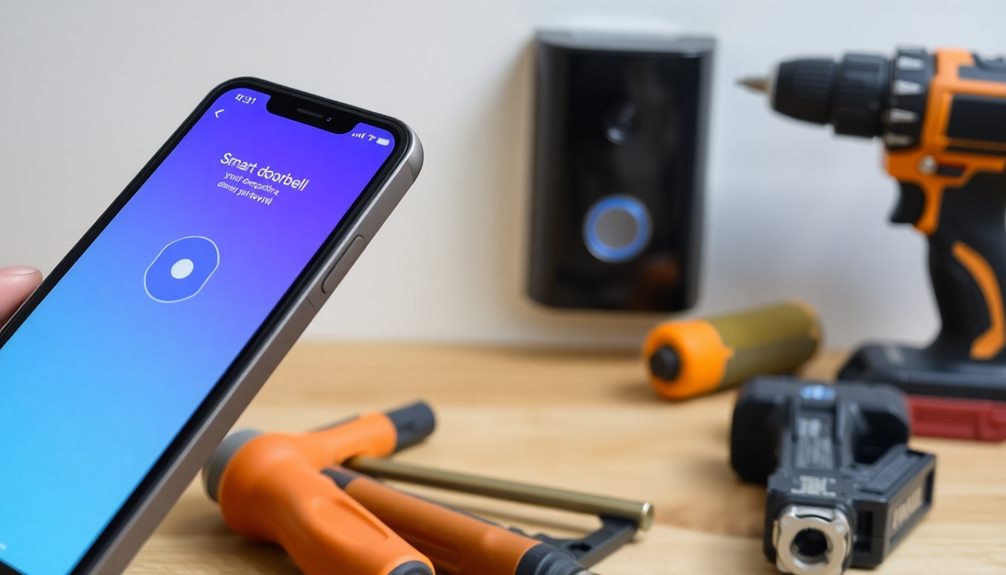
Now that you've confirmed your smart doorbell has the right power setup, it's time to configure the doorbell app for peak functionality.
Start by downloading the manufacturer's app from the App Store or Google Play, making sure it's compatible with your smartphone's operating system. Once downloaded, create an account or log in to initiate the setup process.
Follow the in-app instructions to connect the doorbell to your 2.4 GHz Wi-Fi network. Enter your Wi-Fi credentials when prompted to guarantee a successful connection.
After connecting, customize your motion detection settings within the app. Adjust the sensitivity to suit your needs, and enable features like two-factor authentication for enhanced security.
With your doorbell app configured, you can now access live video feeds from the camera, set chime types and volumes, and manage recording modes for peak functionality.
Make sure to explore all the app settings to take full advantage of your smart doorbell's capabilities. By following these steps, you'll be well on your way to enjoying the convenience and security your smart doorbell provides.
Troubleshooting Common Issues

Many users encounter issues with their smart doorbells, but most problems can be easily fixed. Start by checking the power supply; verify the transformer voltage is between 8-24 VAC since insufficient voltage can prevent operation. If you're facing connectivity issues, verify that your Wi-Fi signal strength is adequate. A signal booster might be necessary to enhance performance.
If you're having trouble with the app, confirm you've granted all necessary permissions, including location and Bluetooth access. Restarting both your smart doorbell and Wi-Fi router can resolve many connectivity issues and restore functionality.
For problems with notifications, check the app settings to verify alerts are enabled and that your device is linked correctly to your account. Here's a quick reference table for common issues:
| Issue | Solution |
|---|---|
| Doorbell won't turn on | Check power supply (8-24 VAC) |
| Weak Wi-Fi signal | Consider using a signal booster |
| App not functioning | Verify app permissions |
| Connectivity issues | Restart doorbell and Wi-Fi router |
| Notifications not received | Check app settings and device link |
Additional Resources and Tips
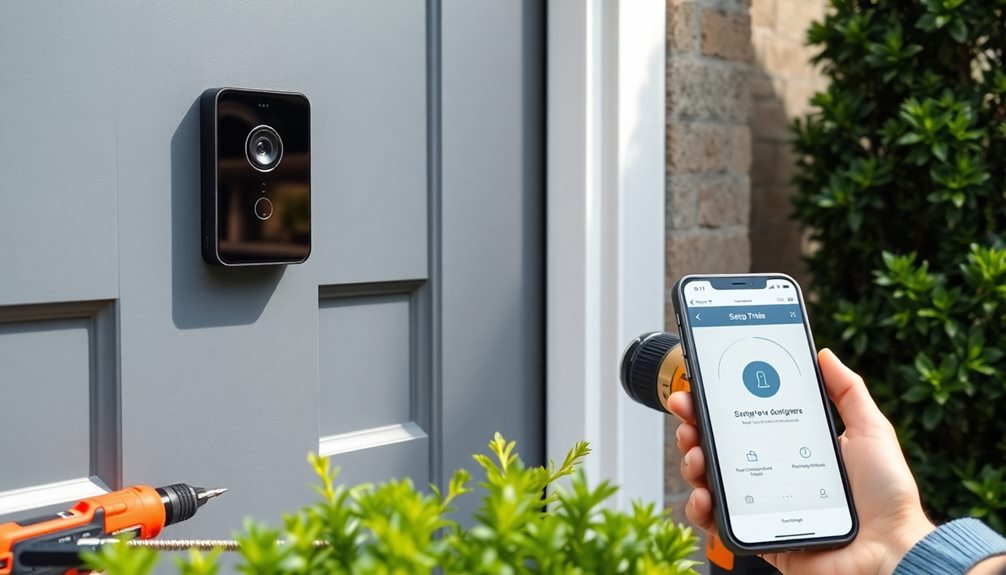
To get the most out of your smart doorbell, take advantage of the manufacturer's app. This app allows you to adjust camera settings, motion sensitivity, and notification preferences, making sure your new video doorbell performs at its best.
Don't forget to regularly check for firmware updates and adjust app settings, as these enhancements are vital for maintaining your home security.
If you're struggling with weak Wi-Fi signals, consider using a Wi-Fi extender. This can greatly improve connectivity and guarantee your video doorbell operates consistently.
It's important to follow the instructions provided by the manufacturer for both installation and troubleshooting.
Additionally, explore online resources and user forums for valuable troubleshooting tips and community advice. These platforms often address common installation issues and configurations you might face.
Familiarizing yourself with your specific model's features is also beneficial—understanding cloud storage options and smart home integration can maximize the utility of your device.
Frequently Asked Questions
How Do I Set up My Smart Doorbell?
To set up your device, start by charging its battery or checking wiring compatibility. Download the app, create an account, connect to Wi-Fi, mount it securely, adjust settings, and test functionality for ideal performance.
Do Smart Doorbells Require Wiring?
Sure, you can install a smart doorbell without wiring—unless you enjoy the thrills of electrical work. Battery-powered models don't need any wires, while wired ones do require some connection to your existing doorbell setup.
What Are the Disadvantages of a Smart Doorbell?
Smart doorbells can have disadvantages like dependency on Wi-Fi, potential privacy issues with cloud storage, battery maintenance hassles, installation costs, and delayed notifications. You'll want to weigh these factors before deciding on one.
Do You Need an Electrician to Install a New Doorbell?
You might need an electrician to install a new doorbell if it's wired and you lack experience. For battery-powered models, you can usually handle the installation yourself without any electrical connections or professional help.
Conclusion
To summarize, installing a smart doorbell not only boosts your home's security but can also enhance your daily convenience. Did you know that homes with smart security systems are 300% less likely to be burglarized? By setting up your doorbell, you're not just upgrading your tech; you're taking an important step toward protecting your home and loved ones. Now that you're equipped with the knowledge, it's time to enjoy the peace of mind a smart doorbell offers!
Xavier – Your Operations Partner Xavier is your operations partner, working tirelessly behind the scenes to ensure that everything runs smoothly so you can enjoy a seamless experience with Perfect Fit Living. From managing inventory to coordinating logistics, he’s committed to making your experience with us hassle-free.
Home Improvement
Gutter Guard Installation: Complete Guide
Discover essential tips for gutter guard installation that can protect your home, but will you choose DIY or hire a professional?
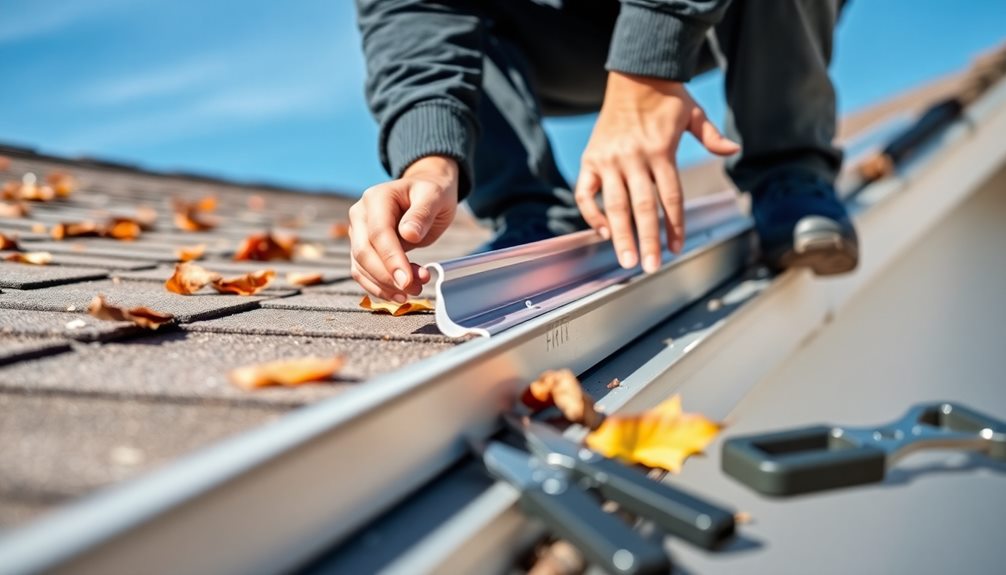
Installing gutter guards is an effective way to protect your home from water damage and extend your gutter's lifespan. Start by understanding the various types of guards available, like brush, foam, micro-mesh, and reverse-curve options. Choose the right guard based on your local climate and common debris. Before installation, prepare by cleaning existing gutters and gathering necessary tools. Follow specific steps to install the guards securely, ensuring a snug fit under roofing shingles. Keep safety at the forefront with proper equipment. By considering both DIY and professional options, you'll set yourself up for success. More helpful tips await!
Key Takeaways
- Gutter guards prevent debris buildup, protecting homes from water damage and extending gutter lifespan.
- Choose the right type of gutter guard based on local climate and common debris types.
- Proper installation involves measuring gutters, securing guards under shingles, and following specific instructions.
- Regular maintenance is essential, including inspections and cleaning, to ensure optimal performance.
- DIY installation can save costs, but consider professional help for complex types like micro-mesh.
Understanding Gutter Guards
When it comes to protecting your home from water damage, understanding gutter guards is vital. Gutter guards are barriers designed to prevent debris, like leaves and twigs, from clogging your gutters while allowing rainwater to flow freely. This simple addition can greatly reduce the need for gutter cleaning, keeping your home safe and dry.
Among the various types of gutter guards, micro-mesh gutter guards stand out due to their superior filtration capabilities. They require precise installation to effectively block small debris, making them one of the best options for gutter protection. With proper installation, you'll not only prolong the lifespan of your gutters but also minimize the risk of costly water damage.
Many homeowners opt for DIY installation to save money, but it's important to verify the guards are installed correctly. The right gutter guards can also enhance your home's fire resistance by preventing debris buildup, which FEMA has noted can ignite during wildfires.
Types of Gutter Guards
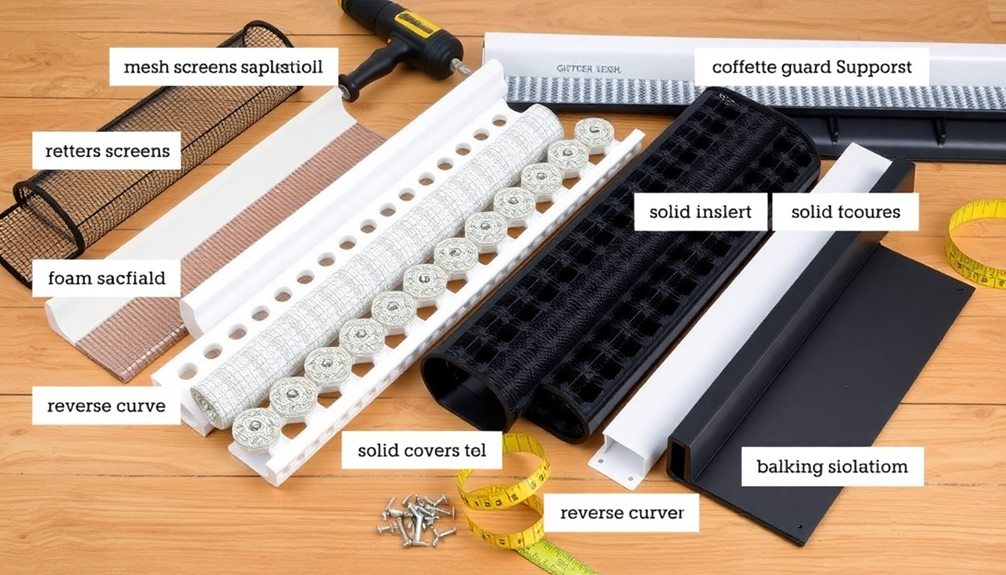
When choosing gutter guards, you'll find several types, each with its own advantages.
Brush and foam guards offer easy installation and effective debris blocking, while micro-mesh and screen guards provide superior filtration.
Then there are reverse-curve gutter guards, designed to redirect water while keeping debris out, which can be a bit more complex to install.
Brush and Foam Guards
Brush and foam gutter guards are popular choices for homeowners looking to minimize gutter maintenance with minimal effort.
Brush gutter guards consist of bristles that block large debris while allowing water flow through, making them suitable for areas with little leaf cover. However, you'll need to clean your gutters regularly to keep them effective.
On the other hand, foam gutter guards fit snugly inside your gutters, letting rainwater filter through while trapping leaves and debris on top. Keep in mind that foam guards can become waterlogged and might need replacement after heavy rainfall.
Both types are relatively easy to install, often requiring no special tools, which makes them great for DIY gutter guard installation.
Homeowners find that brush guards are typically less expensive, costing between $1 and $4 per linear foot, while foam guards range from $2 to $5 per linear foot.
They're most effective in regions with minimal rainfall and tree coverage, as they may struggle with heavy debris loads or excessive moisture.
If you're looking for an easy DIY solution to prevent clogged gutters, brush and foam guards could be your best bet.
Micro-Mesh and Screen Guards
Micro-mesh and screen guards are excellent choices for homeowners seeking effective gutter protection. Micro-mesh gutter guards feature a fine mesh that filters out debris while allowing water flow, making them highly efficient. On the other hand, screen guards, typically made from aluminum or plastic, have perforated surfaces that filter larger debris, but may let smaller particles through.
When it comes to installation, micro-mesh guards usually involve a more complex process, while screen guards offer a simpler DIY solution, often sliding easily under shingles. Although micro-mesh guards require less maintenance and tend to last longer, screen guards are generally more affordable and easier for DIY enthusiasts.
Both options help prevent clogs, reduce gutter cleaning frequency, and provide solid protection against water damage. However, the effectiveness of each type can vary based on your regional climate and the type of debris you face.
| Type | Maintenance | Installation |
|---|---|---|
| Micro-Mesh | Low | Complex |
| Screen Guards | Moderate | Easy (DIY Friendly) |
| Affordability | Higher | More Affordable |
Reverse-Curve Gutter Guards
Reverse-curve gutter guards stand out as an innovative solution for effectively managing rainwater while keeping your gutters clear of debris. Their unique design directs rainwater into the gutter while allowing larger debris, like leaves, to slide off and fall to the ground. This feature makes them particularly effective in filtering out unwanted materials.
However, the installation of reverse-curve gutter guards often requires professional help due to the complexity involved. You might need to adjust your roof shingles for a proper fit, which can be tricky.
While these guards notably reduce the frequency of gutter cleaning, you should still expect to perform some maintenance. Keeping an eye on water flow and clearing out any smaller debris is essential to prevent clogs.
Cost-wise, reverse-curve gutter guards can range from $3.00 to $7.00 per linear foot. While they're one of the more expensive options, many homeowners find value in their effectiveness and durability.
Selecting the Right Guard
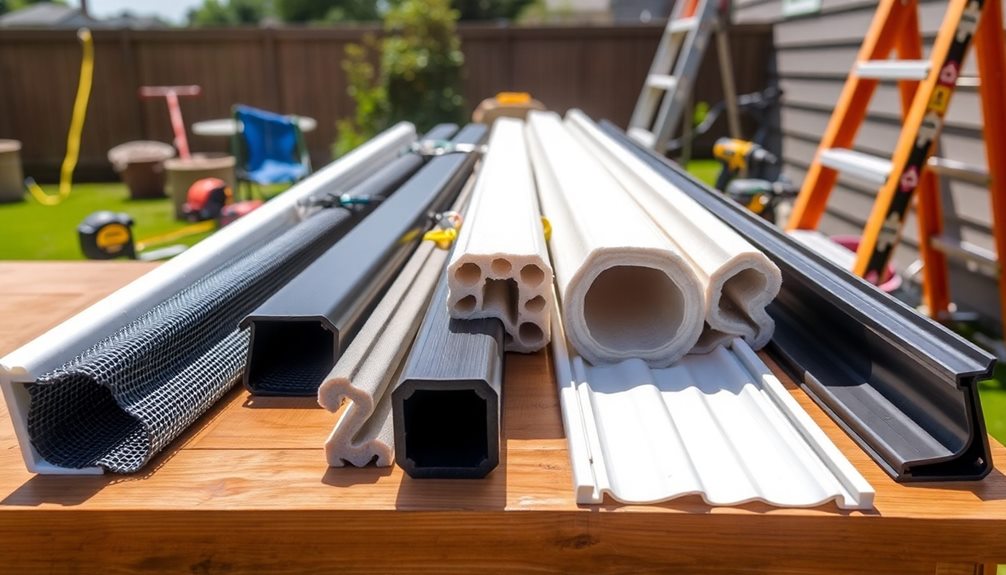
When selecting the right gutter guard, you need to take into account various factors like your local climate and how much maintenance you're willing to handle.
Different types of guards, like micro-mesh and brush options, come with their own pros and cons, especially regarding installation and durability.
Types of Gutter Guards
Choosing the right gutter guard can greatly impact your home's maintenance and water drainage efficiency. There are several types of gutter guards to evaluate, each with its unique advantages and installation complexity.
Micro-mesh guards are a top choice, offering superior filtration by blocking even the smallest debris while allowing water to flow freely. They're especially beneficial in areas with heavy leaf fall.
On the other hand, foam guards are easy to install and porous, but they may require regular cleaning to prevent waterlogging and freezing in winter.
Brush guards provide a straightforward installation method, as they simply sit inside the gutters. However, they mightn't filter out small debris as effectively as micro-mesh options.
Finally, plastic guards can resemble window screens, but their effectiveness depends on the size of the holes and the quality of their installation, which requires careful consideration based on your local environment.
Ultimately, understanding the types of gutter guards available will help you make an informed decision that suits your home's needs and keeps your gutters functioning optimally.
Key Selection Factors
Selecting the right gutter guard hinges on a few key factors that can considerably affect your home's drainage system. Understanding these factors helps you make an informed decision.
| Factor | Considerations |
|---|---|
| Debris Common | Identify what type of debris is common in your area. Mesh guards are great for leaves and twigs, while foam guards might let larger debris clog your gutters. |
| Material Quality | Choose durable materials like aluminum or stainless steel over plastic for better rust resistance. |
| Installation Difficulty | Decide if you want to tackle a DIY project. Brush and foam guards are usually DIY-friendly, but micro-mesh and reverse-curve types may require professional installation for peak performance. |
| Price Variability | Be aware of the price range, which can vary from $0.50 to $7.00 per linear foot. Installation costs can range from $100 to over $1,400. |
Additionally, consider your regional climate; micro-mesh guards work well in heavy rainfall, while reverse-curve designs are ideal in areas with a lot of debris. Balancing these factors will guarantee your gutter guards provide the best performance effectiveness for your home.
Preparation for Installation
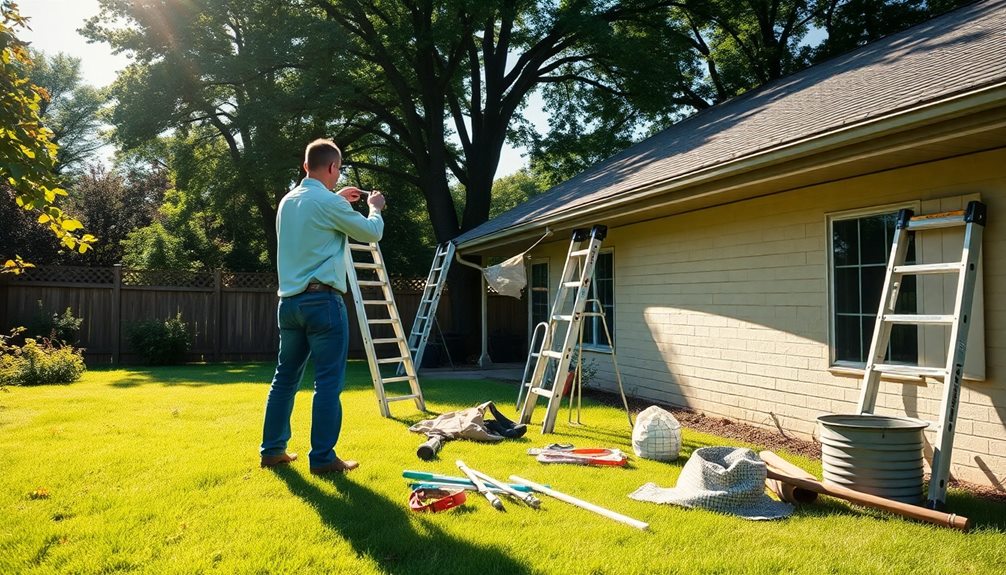
Before diving into the installation of gutter guards, it's vital to take several preparatory steps. First, measure the total length of your gutters to guarantee you buy the correct amount of gutter guards. Most homes have about 200 linear feet of gutters, so this step is fundamental for a successful installation.
Next, inspect your roof and gutters for any damage. Look for cracks or rust that might require repair before you install the gutter guards. Confirming everything is in good shape will prevent issues down the line.
You'll also want to clean your existing gutters and downspouts to remove any debris. This cleanup will facilitate a smoother installation and improve the performance of the gutter guards.
Take the time to research and compare different types of gutter guards to find the best fit for your location. Consider local rainfall patterns and tree coverage, as these factors greatly impact debris accumulation.
Installation Steps
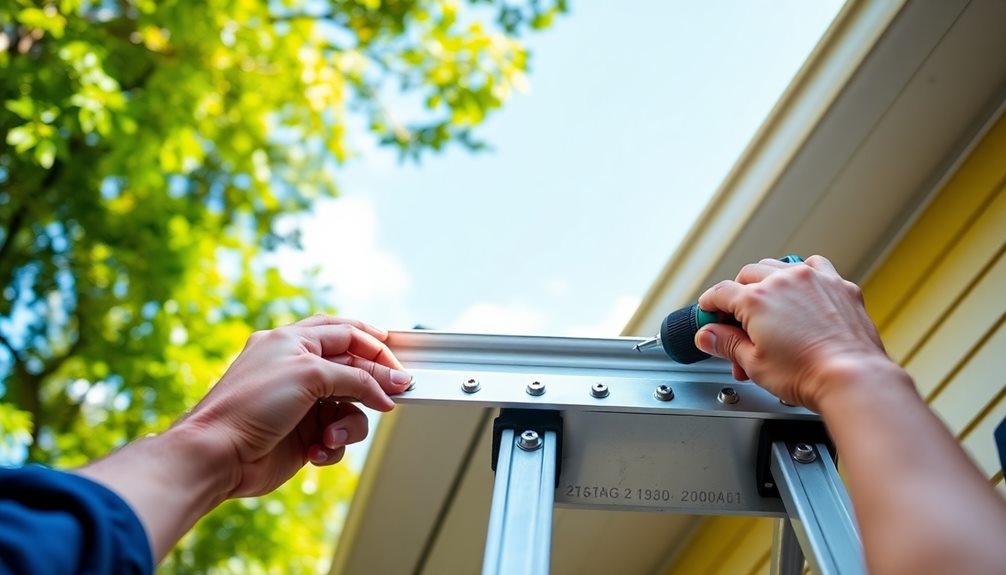
With your gutters cleaned and inspected, you're ready to start the installation of the gutter guards. Begin by cleaning your gutters thoroughly and verifying that downspouts are clear for proper water flow.
Next, measure the length of your gutters accurately to determine how much gutter guard you'll need, as they're typically sold in sections for easy installation.
For most types of gutter guards, start by sliding the flat edge under the roofing shingles at the top of the gutter. Confirm it fits snugly to prevent gaps, which can allow debris to enter.
You'll need to secure the gutter guards using fasteners, clips, or screws, especially for screen and micro-mesh types. Always follow the manufacturer's instructions for ideal results.
Once you've installed all sections, conduct a final inspection. Check for any gaps or misalignments, and make sure the guards are securely attached.
This is vital to guarantee they can withstand various weather conditions. By following these installation steps, you'll effectively protect your gutters and maintain their functionality for years to come.
Safety Precautions
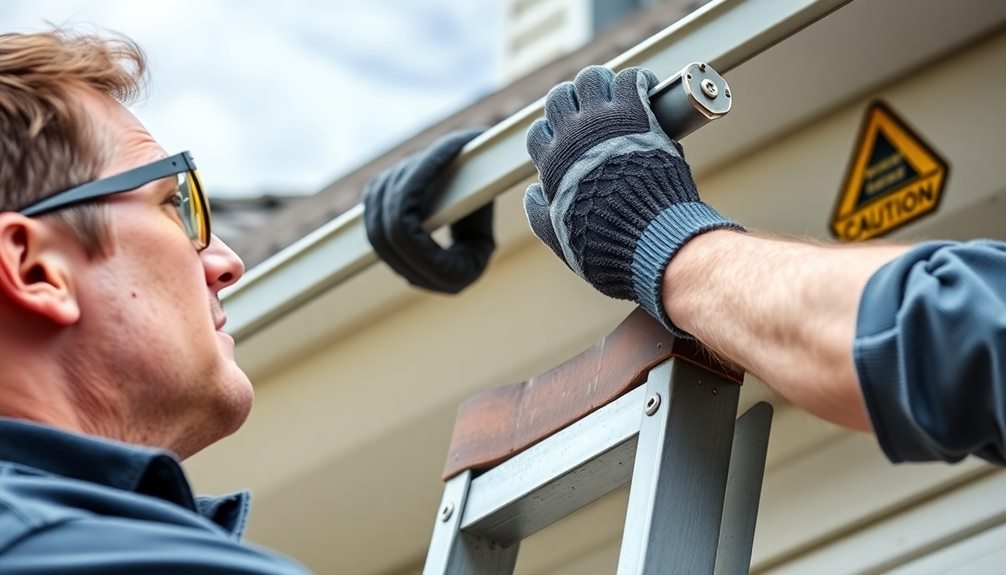
When installing gutter guards, it's essential to prioritize safety at all times. Here are some important safety precautions you should follow:
- Use a sturdy ladder: Always choose a ladder with a stabilizer to prevent slipping. This helps maintain a safe working height during installation.
- Follow proper ladder rules: Set your ladder at a 75-degree angle and avoid overreaching beyond the side rails to keep your balance.
- Wear safety gear: Equip yourself with gloves, safety glasses, and hard hats. These protective equipment pieces will shield you from falling debris and sharp tools.
- Get partner assistance: Work with someone who can stabilize the ladder and help with tools. This minimizes installation risks, especially when working at heights.
DIY vs. Professional Installation
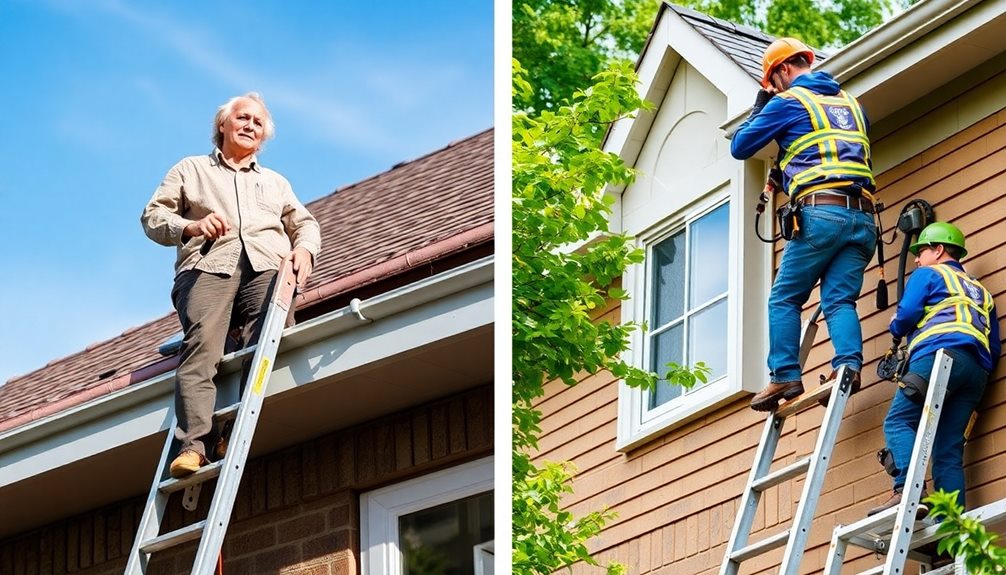
Choosing between DIY and professional installation for gutter guards involves weighing the benefits and challenges of each option.
DIY installation can save you on labor costs, often reducing the overall expense by 30-50%. However, while you might save money, you could miss out on the warranties that professional installations offer. These warranties cover both materials and labor, giving you peace of mind that your gutter guards are properly installed.
Certain gutter guard types, like micro-mesh, require precise installation and specialized tools that may be outside your expertise. If you're not comfortable with heights or lack experience with ladders, the safety risks associated with DIY installation can be significant.
Professional installers not only mitigate these risks but can also recommend the best gutter guard types suited for your home and local weather conditions.
Ultimately, the decision hinges on your budget, skill level, and comfort with safety. If you're confident in your abilities and choose simple gutter guards, DIY might be the way to go.
Otherwise, investing in professional installation could provide you with better long-term results and security.
Maintenance and Performance
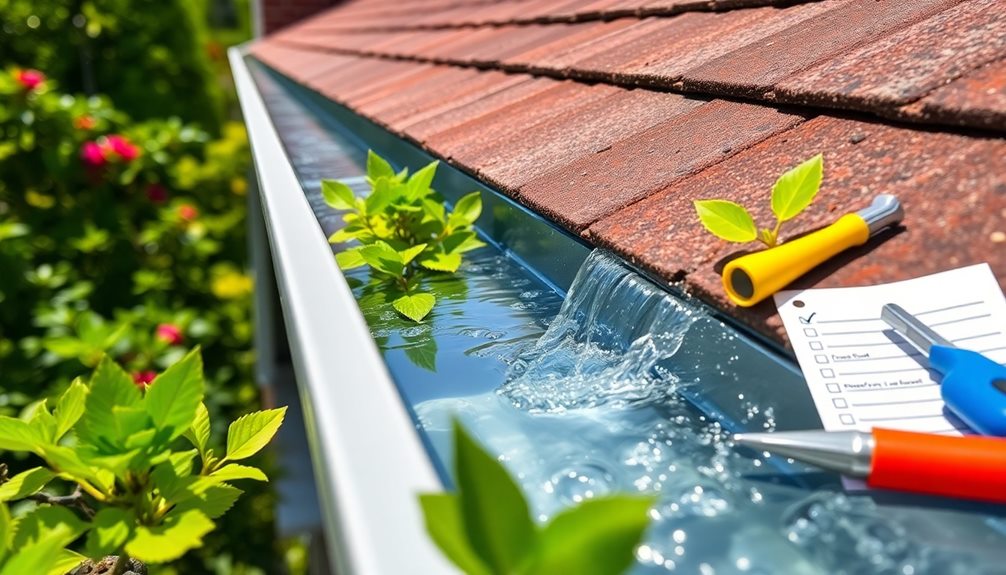
Regular maintenance is essential for guaranteeing your gutter guards perform at their best. By keeping an eye on your system, you can prevent clogging and guarantee peak water flow.
Here are four key maintenance tips to follow:
- Inspect Twice a Year: Check your gutter guards at least twice a year, especially after heavy storms or when leaves fall. This helps you spot any blockages or wear that could affect performance.
- Choose High-Quality Materials: Opt for stainless steel or aluminum micro-mesh guards. These materials resist rust and corrosion better than plastic, extending the lifespan of your installation.
- Clean as Needed: Depending on the type, some guards like foam and brush require periodic cleaning. Micro-mesh guards might need less frequent attention, but don't ignore them completely.
- Consider Regional Weather Conditions: Your local climate influences gutter guard performance. Heavy snowfall or frequent rain can lead to issues like ice dams, so guarantee your guards are designed to handle your specific weather patterns.
Frequently Asked Questions
How to Properly Install Gutter Guards?
To properly install gutter guards, start by cleaning your gutters. Measure accurately, slide the guard under shingles, and secure it with clips. Use a sturdy ladder and follow the manufacturer's instructions for best results.
What Do Roofers Say About Gutter Guards?
Roofers often say gutter guards reduce maintenance but don't eliminate the need for regular cleaning. They recommend micro-mesh guards for durability and stress the importance of professional installation to avoid water overflow and damage.
What Angle Should Gutter Guards Be Installed?
You might think any angle works, but for gutter guards, a 45-degree angle's ideal. This guarantees water flows smoothly while keeping debris out, preventing potential pooling and water damage to your home.
Can I Buy and Install My Own Gutter Guards?
Yes, you can buy and install your own gutter guards. You'll find various DIY options at home improvement stores. Just measure your gutters, gather basic tools, and follow safety precautions during installation for best results.
Conclusion
Now that you've got the scoop on gutter guard installation, you're ready to tackle this project with confidence. Who knew that keeping your gutters clean could be so straightforward? Just picture it: a rainy day, and instead of worrying about clogs, you can relax, knowing your home's protected. Whether you go the DIY route or call in the pros, you're one step closer to hassle-free home maintenance. So grab your tools or your phone, and let's get started!
Xavier – Your Operations Partner Xavier is your operations partner, working tirelessly behind the scenes to ensure that everything runs smoothly so you can enjoy a seamless experience with Perfect Fit Living. From managing inventory to coordinating logistics, he’s committed to making your experience with us hassle-free.
-

 Vetted6 months ago
14 Best Personalized Father's Day Gifts for Your Husband – Show Him You Care
-

 Vetted7 months ago
15 Best EMS Foot Massagers for Neuropathy to Soothe Your Feet
-

 Alfresco6 months ago
Alfresco Stacker Doors: Seamless Indoor-Outdoor Living!
-

 Tableware and Dining Accessories7 months ago
What Is the Meaning of the Word Tableware
-

 Tableware and Dining Accessories7 months ago
When Is Tableware on Sale at Hobby Lobby
-

 Tableware and Dining Accessories7 months ago
Which of the Following Is Not Classified as Tableware
-

 Craft and Textiles7 months ago
15 Best Places to Buy Appliances for Your Home – Top Retailers Reviewed
-
 Vetted6 months ago
Battle Born Batteries Review: Reliable Power Solution


