
To patch drywall like a pro, start by clearing your workspace and gathering the right tools, including a putty knife, sanding sponge, and drywall compound. Assess the damage carefully, remove loose debris, and clean the area thoroughly. Apply tape over cracks or holes, embed it with joint compound, and feather the edges for a smooth finish. Sand, prime, and paint for a seamless look—continue with the steps to perfect your repair skills.
Key Takeaways
- Assess damage thoroughly and clean the area to ensure a solid foundation for patching.
- Use proper patching materials and techniques, including embedding drywall tape and feathering joint compound.
- Sand the patched area smoothly, blending edges seamlessly with the existing wall surface.
- Apply primer before painting to seal the patch and ensure even color and texture.
- Match paint color and finish precisely, applying in thin coats for a professional, seamless look.

Drywall Repair Kit Drywall Hole Repair Patch Kits Wall Spackle Repair Paste with 8.5OZ White Wall Repair Putty with Scraper, Wall Surface Hole Fill Quick and Easy Solution (1Pack)
- Complete Repair Kit: Includes putty, patches, sandpaper, and scrapers
- Waterproof Formula: Dries quickly with no residue
- Strong Adhesion: Durable aluminum patches for lasting repairs
As an affiliate, we earn on qualifying purchases.
As an affiliate, we earn on qualifying purchases.
Preparing Your Workspace and Gathering Materials

Before you begin patching drywall, it’s essential to prepare your workspace and gather all the necessary materials. Start by clearing the area of furniture and debris to ensure safety and ease of access. Gather tools needed, such as a putty knife, sanding sponge, utility knife, and drywall compound. Wear safety precautions like gloves, safety glasses, and a dust mask to protect yourself from debris and dust. Make sure your workspace is well-ventilated to avoid inhaling fumes from the compound. Organize your tools and materials nearby, so you don’t have to search for them in the middle of the project. Proper preparation helps you work efficiently and safely, setting the stage for a smooth drywall patching process. Using essential fats can also help maintain your energy levels during your DIY projects.
Assessing and Cleaning the Damage Area

Once your workspace is ready, examine the damaged drywall area carefully to determine the extent of the harm. Look for loose drywall, cracks, or holes that may have affected wall anchors or drywall screws. Remove any loose debris or peeling drywall paper with a utility knife or putty knife. Clean the area thoroughly with a damp cloth to remove dust, dirt, or grease, ensuring a good bond for the patch. If there are existing wall anchors or drywall screws, check their stability. Tighten loose screws or remove damaged anchors, replacing them if necessary. Identifying these issues early helps you plan your repair properly, avoiding future problems. A clean, well-assessed surface sets the foundation for a seamless patch job, ensuring your repair lasts. Understanding emotional support can also help you manage stress during repair projects.
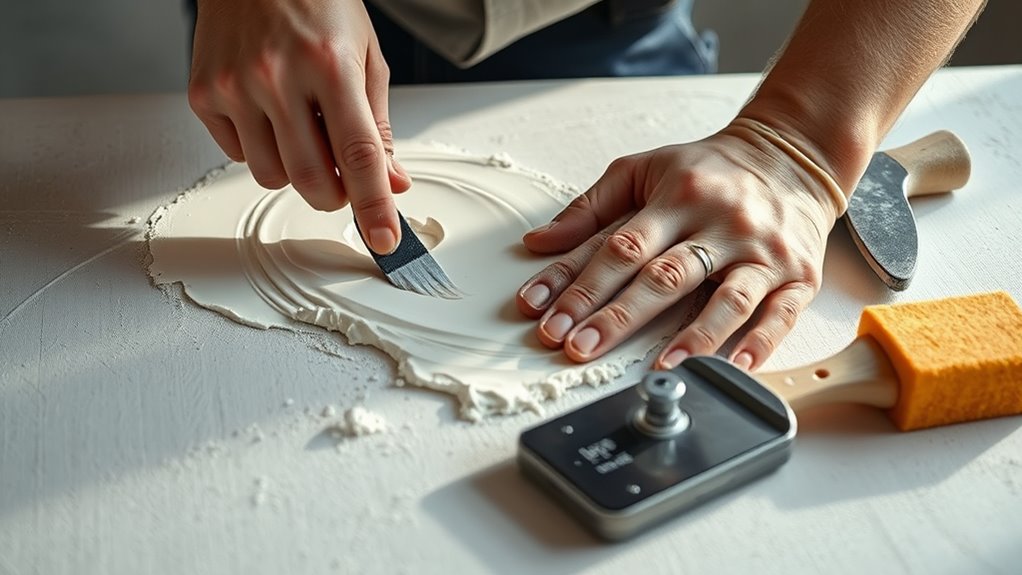
Applying the Patch and Ensuring a Smooth Finish
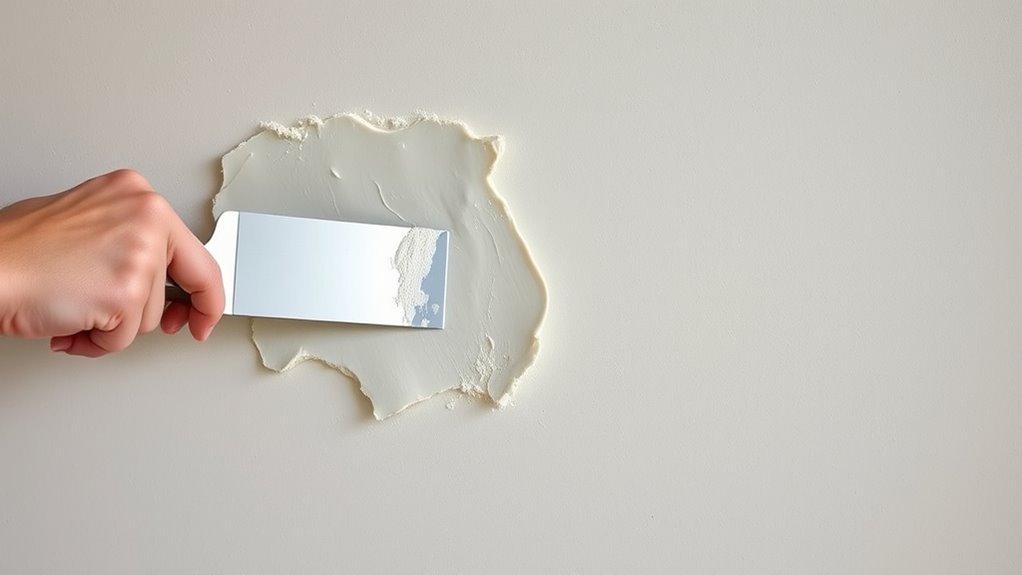
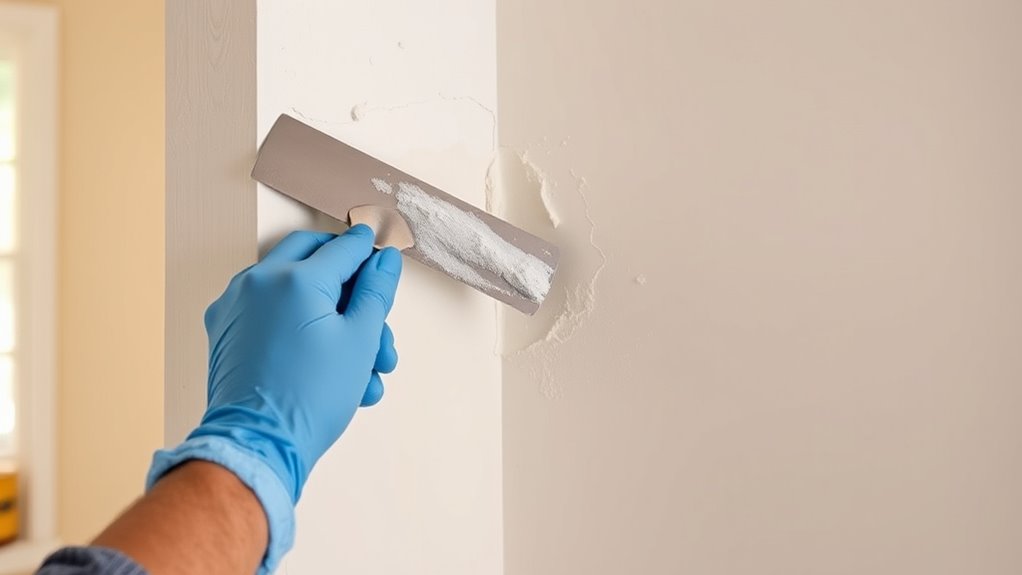
To apply the patch effectively and achieve a smooth finish, start by preparing the patch material according to the manufacturer’s instructions. Once ready, apply drywall taping over the seams or cracks, pressing it firmly into the patch to prevent bubbles. Use a joint compound to embed the tape, smoothing it out with a putty knife. After the tape is secured, apply thin coats of compound, feathering the edges to blend seamlessly with the surrounding wall. To match the existing texture, lightly stipple or swirl the compound if needed, ensuring the patch integrates well. Proper application of drywall taping and careful texture matching will set a solid foundation for a flawless, professional-looking finish. Additionally, examining the texture matching techniques used in drywall finishing can help you achieve a more seamless repair.
Sanding and Finishing for a Seamless Look

Sanding and finishing are essential steps to achieving a truly seamless drywall repair. Begin by sanding the patched area with fine-grit sandpaper, feathering the edges to blend the repair into the existing wall. Be careful not to sand too aggressively, which can damage the surrounding drywall. Once smooth, assess the texture matching—if your wall has a specific texture, you may need to recreate it using a sponge or brush before primer application. Applying a coat of primer helps seal the patch and creates an even surface for painting. Proper finishing ensures the joint compound is flush and smooth, making the shift invisible. Take your time during sanding and finishing to guarantee a professional, seamless look that blends perfectly with your existing walls. Ensuring the correct texture matching techniques are used is crucial for a flawless finish.
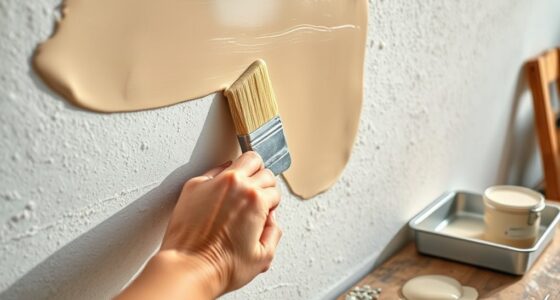
Painting and Final Touches to Match Your Walls
After you’ve finished sanding and finishing, the next step is to carefully select and apply paint that matches your wall’s color and finish. Begin with primer application to ensure the patch blends seamlessly and the paint adheres well. Choose a primer that matches your wall type and color for the best results. Once the primer dries, focus on paint matching; bring a small sample or a paint chip to your local store to find an exact shade. Apply the paint in thin, even coats, blending carefully with the surrounding wall. Use a quality brush or roller for smooth coverage. Take your time to achieve a consistent finish, and after the final coat dries, inspect your work and do any touch-ups necessary for a flawless, professional look. Utilizing matching skin tone and finish techniques can also help create a seamless appearance in your repair.
Frequently Asked Questions
How Long Should I Wait Before Painting After Patching Drywall?
You should wait at least 24 hours after drywall drying before painting to guarantee the patch is fully dry. This waiting period helps prevent issues with paint adhesion, which can occur if the drywall is still damp. Rushing the process may lead to peeling or uneven paint. To get the best results, make sure the patched area feels dry to the touch and use a fan or dehumidifier to speed up drying if needed.
Can I Use Regular Spackle for Large Drywall Repairs?
You can’t rely on regular spackle for large drywall repairs because spackle vs joint compound serve different purposes. Spackle is great for small holes and cracks, but for bigger repairs, use joint compound, which offers better coverage and durability. Drywall repair kits usually include joint compound, ensuring a smoother, stronger finish. So, opt for joint compound for large patches, and save spackle for minor touch-ups.
What Are the Best Tools for Feathering the Patch Edges?
You should use a sanding sponge to feather the patch edges for a smooth finish. Apply joint compound around the patch, then gently sand the edges with the sponge to blend seamlessly with the wall. This tool allows precise control and helps create a seamless shift. Keep the pressure light, and make sure you remove any excess joint compound to achieve a professional, even surface.
How Do I Prevent Bubbles or Cracks From Forming in the Patch?
Bubbles or cracks in your patch can feel like a disaster, but with proper moisture control and surface preparation, you can prevent them entirely. Start by ensuring the patch area is dry and free of dust, grease, or loose debris. Use a damp sponge to lightly smooth the surface before applying mud. Controlling moisture and preparing the surface creates a solid foundation, making your patch as durable as steel and crack-free.
Is It Necessary to Prime the Patch Before Painting?
Yes, you should prime the patch before painting. Applying primer helps improve paint adhesion, ensuring a smooth, durable finish. It seals the patched area, preventing uneven absorption and color mismatches. Make sure to use a primer suitable for drywall, and apply a thin, even coat over the patched surface. Let it dry completely before you start painting, and you’ll achieve a professional-looking result that blends seamlessly with the rest of your wall.
Conclusion
Now that you’ve mastered drywall patching, you’re ready to channel your inner Picasso—transforming a scarred wall into a flawless canvas. With patience and attention to detail, you’ll turn imperfections into perfection, much like a master artist restoring a priceless masterpiece. Remember, every great wall starts with a small fix. So go ahead, patch like a pro, and let your walls tell a story of craftsmanship and pride.