
The key to clean, professional-looking caulk lines is your control and prep work. Using the right tools, like a good caulk gun and a sharp knife, helps you create even, smooth beads. Proper surface cleaning guarantees better adhesion and neater results. Moving steadily along the joint without sudden stops or uneven pressure prevents messy blobs. If you want to master these techniques and elevate your caulking skills, there’s more to discover that can make your project look truly professional.
Key Takeaways
- Proper surface preparation ensures better adhesion and a cleaner, more seamless caulk line.
- Using the right tools, like a quality caulk gun and sharp trimming tools, improves control and accuracy.
- Applying consistent, steady pressure while moving smoothly creates uniform, professional-looking caulk beads.
- Trimming the caulk tube tip to the correct size prevents messy blobs and uneven lines.
- Finishing with smoothing tools and cleanup enhances the neatness and longevity of the caulk line.
When it comes to sealing gaps and cracks around your home, the quality of your caulk lines can make a big difference in both appearance and effectiveness. Achieving clean, professional-looking results starts with proper tool selection. You need the right tools—like a high-quality caulk gun, a steady hand, and perhaps a silicone or latex caulk suited for your specific surface. Using the correct tools ensures you can control the flow of caulk smoothly, preventing messy blobs or uneven lines. A sharp utility knife or a razor blade also comes in handy for trimming the tip of the caulk tube and for cleaning up excess once you finish.
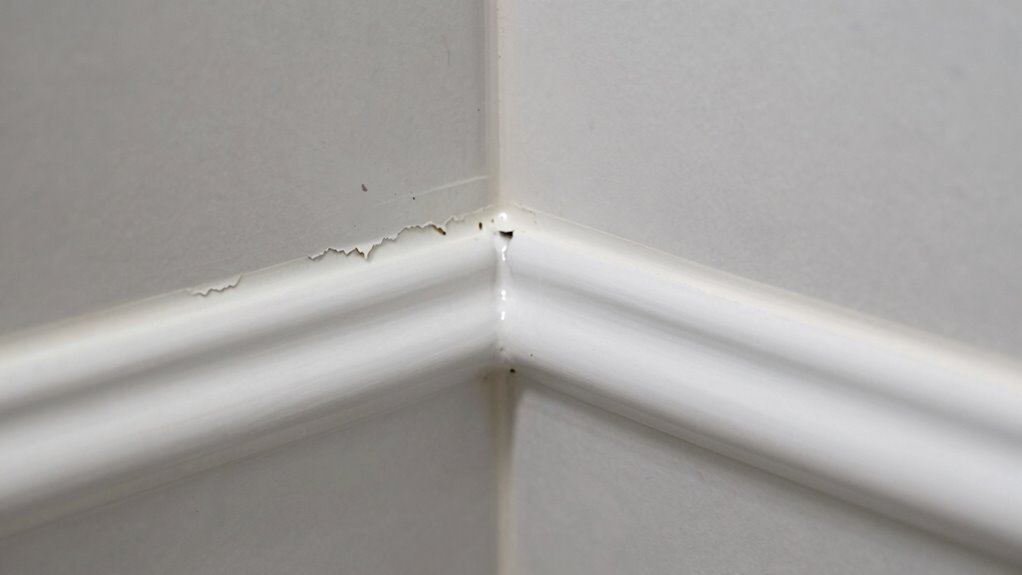
Surface preparation is equally critical. Before you even begin applying the caulk, you should thoroughly clean the area to remove dust, old caulk, grease, or debris. This step helps the new caulk adhere firmly and last longer. Use a brush or vacuum to clear out loose particles, and wipe the surface with a damp cloth to remove any lingering dust or grease. Let the surface dry completely before applying any caulk. If the old caulk is cracked or peeling, use a caulk removal tool or putty knife to gently scrape it away. This step ensures the new bead bonds properly and prevents gaps from reappearing later.
Once your surface is prepped, focus on your tool selection again. A quality caulk gun will give you better control and less fatigue during application. Some guns have features like adjustable flow control or a smooth trigger, making it easier to produce a consistent bead. When you cut the tip of the caulk tube, make sure to start with a small opening—this allows you to control the flow and create a thinner, more precise line. Applying steady pressure and moving smoothly along the joint helps you produce clean, even caulk lines that look professional.
As an affiliate, we earn on qualifying purchases.
Frequently Asked Questions
What Types of Caulk Are Best for Different Projects?
For different projects, you should choose caulk based on its type, color, and flexibility. For instance, acrylic latex caulk works well for interior gaps and offers easy caulk removal if needed. Silicone caulk is better for areas exposed to water, like bathrooms and kitchens, with color options matching fixtures. Always pick the right caulk color to match your surface, ensuring a seamless look.
How Long Does Professional Caulking Typically Last?
Professional caulking typically lasts between 5 to 20 years, depending on the caulking longevity and the durability of the product used. High-quality, professionally applied caulk offers better professional caulk durability, especially in areas exposed to moisture or temperature changes. Proper surface preparation and application techniques also enhance longevity, ensuring your caulking remains effective longer. Regular inspections can help identify when repairs are needed, maintaining a professional finish over time.
What Tools Do Professionals Use for Precise Caulking?
Professionals use specialized tools like caulking guns with adjustable pressure and ergonomic design, ensuring precise application. They often employ finishing tools like caulk smoothing tools or finger cuffs to achieve clean, smooth lines, following advanced caulking techniques. These tools improve tool ergonomics, reducing hand fatigue and increasing accuracy. By using these, you can attain professional-grade caulking results, with straight, even lines that last longer and look better.
Can DIY Caulking Be Fixed if It Looks Uneven?
Yes, you can fix uneven finishes in DIY caulking. First, gently smooth out the uneven areas with a caulk finishing tool or your finger dipped in water. If needed, remove the old caulk with a utility knife and reapply a fresh bead, taking your time for a cleaner finish. Avoid DIY pitfalls like rushing or over-applying, which can make the caulk look uneven and less professional.
How Do Weather Conditions Affect Caulking Application?
Weather conditions greatly influence caulking application. Temperature fluctuations can cause the caulk to cure too quickly or too slowly, affecting adhesion and finish. High humidity levels may lead to poor curing, resulting in a weak seal or mold growth. For best results, apply caulk in moderate temperatures, ideally between 40-80°F, and when humidity levels are low to guarantee proper adhesion, smooth application, and long-lasting seals.
Conclusion
So, the next time you’re tackling a caulking project, ask yourself: do you want your lines to look like a professional’s masterpiece or a DIY mishap? With a steady hand and some patience, you can achieve smooth, clean caulk lines that elevate your space. Remember, the difference often comes down to attention to detail. Why settle for less when you’ve got the skills to make your work stand out?