To use peel-and-stick materials properly, start by cleaning and drying your surface to guarantee good adhesion. Carefully measure and mark where you’ll place the material to prevent misalignment. Peel off the backing gradually while pressing the material onto the surface, smoothing out any bubbles with a squeegee or credit card. Take your time adjusting edges before the adhesive sets, and be mindful of environmental conditions that could affect sticking. Keep going for more tips to get professional results.
Key Takeaways
- Fully clean and dry the surface to ensure optimal adhesion and prevent bubbles or lifting.
- Measure and mark placement precisely to avoid misalignment during application.
- Peel the backing gradually and press firmly, smoothing out air bubbles from the center outward.
- Reposition large pieces and edges early before the adhesive fully sets for better alignment.
- Consider environmental conditions like humidity and temperature for lasting, professional results.
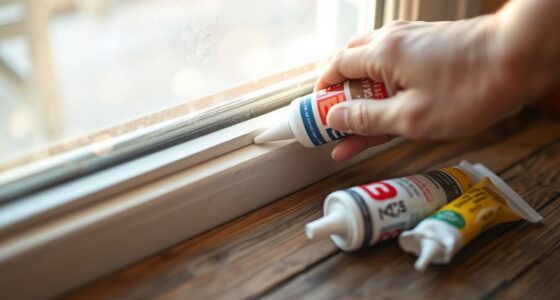
Peel-and-stick materials are a quick and easy way to update your space without the mess of traditional adhesives. To get the best results, you need to pay attention to application techniques and surface preparation. Proper surface preparation guarantees your peel-and-stick material adheres firmly and lasts longer. Start by thoroughly cleaning the area where you plan to apply the material. Use a mild cleaner or rubbing alcohol to remove dust, grease, or any residue. Dirt and oils can prevent the adhesive from sticking properly, so take your time to make sure the surface is spotless and dry before proceeding.
Once the surface is clean, examine it for any imperfections. Sand down rough spots or bumps that could interfere with a smooth application. For textured or uneven surfaces, consider applying a primer or a smooth, even base layer to improve adhesion. This extra step can make a significant difference, especially on surfaces like painted walls, tiles, or laminate. If you’re working with a large piece, measure and mark your placement carefully to avoid misalignment. Use a level or ruler to ensure straight lines and proper positioning before peeling off the backing.
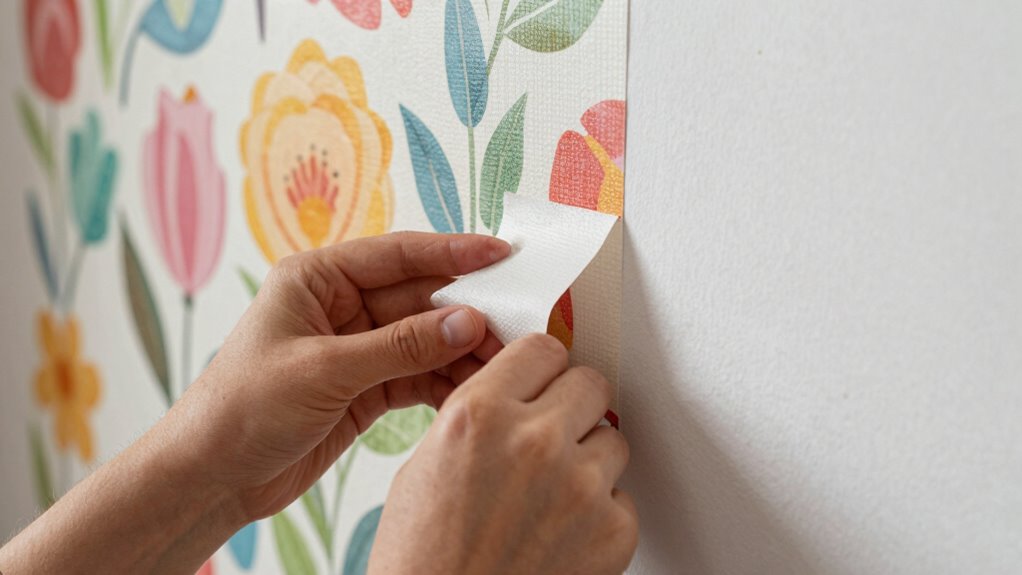
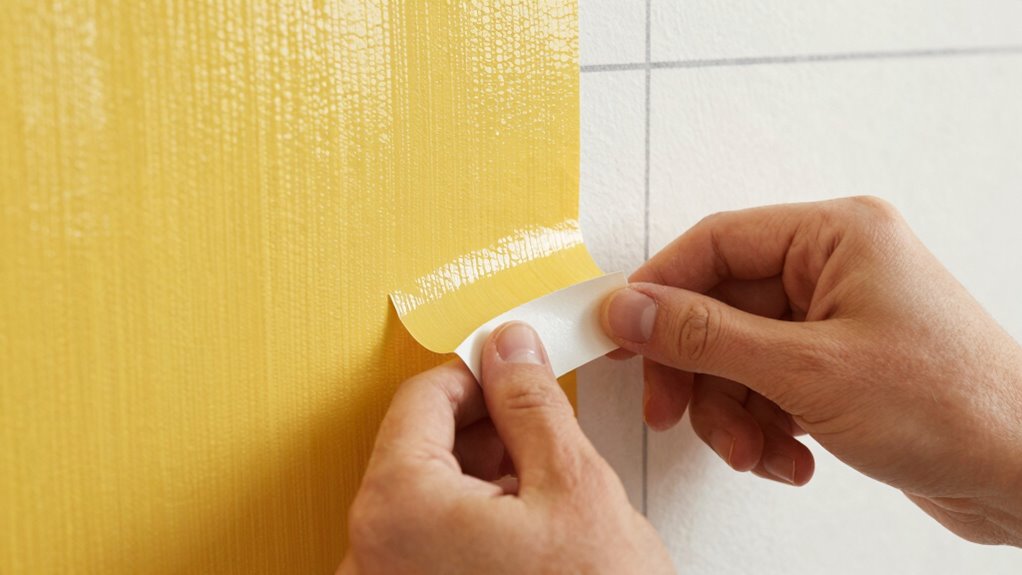
When you’re ready to apply the peel-and-stick material, start at one edge, gently peeling back a small section of the backing paper. As you press the material onto the surface, work slowly to avoid air bubbles and wrinkles. Use a squeegee or a credit card to smooth out the material as you go, starting from the center and moving outward. Applying steady pressure helps secure the adhesive and eliminates trapped air. If you notice bubbles forming, puncture them with a pin and smooth out the area again.
If you’re working with larger pieces, peel off the backing gradually and press down as you go to prevent misalignment. For corners or edges, take your time to align everything perfectly—it’s easier to make adjustments before the adhesive fully sets. Always press firmly to ensure a good bond, but be gentle enough to avoid stretching or damaging the material. If you need to reposition the piece, do so within the first few minutes, as most peel-and-stick products allow for some reapplication before they fully set. Additionally, understanding adhesion properties can help you select the right materials for different surfaces and conditions. Recognizing the surface type and its compatibility with peel-and-stick products can greatly influence the success of your project. Being aware of surface preparation techniques can also prevent issues like peeling or lifting over time. Furthermore, considering environmental conditions such as humidity and temperature during application can impact how well the material adheres initially and over time.
Following these application techniques and surface preparation steps will help you achieve professional-looking results with your peel-and-stick materials. Proper handling not only enhances adhesion but also extends the life of your update, making your project both simple and satisfying.
As an affiliate, we earn on qualifying purchases.
Frequently Asked Questions
Can Peel-And-Stick Materials Be Removed Without Damaging Surfaces?
Yes, you can remove peel-and-stick materials without damaging surfaces if you prepare the surface properly and consider the adhesive strength. Gently peeling from one corner helps minimize damage, and using heat from a hairdryer softens the adhesive, making removal easier. Take your time and avoid pulling too forcefully, especially on delicate surfaces, to prevent peeling or tearing. Proper surface prep and patience are key for damage-free removal.
What Is the Best Way to Clean Surfaces Before Applying?
Imagine a fresh canvas waiting for your creative touch—that’s what a clean surface feels like. To guarantee proper surface preparation, start by removing dust and debris with a vacuum or a soft brush. Then, use a damp cloth with mild soap or a vinegar solution to wipe down the area. Avoid harsh chemicals or excessive moisture. Proper cleaning techniques help peel-and-stick materials adhere smoothly and last longer.
How Long Do Peel-And-Stick Materials Typically Last?
Peel-and-stick materials usually last between 5 to 10 years, depending on their adhesive strength and material durability. You can maximize their lifespan by ensuring surfaces are clean and dry before application. High-quality materials with strong adhesive strength tend to stick longer and resist peeling or damage. Keep in mind that exposure to moisture, sunlight, or temperature fluctuations can affect durability, so choose the right product for your environment.
Are Peel-And-Stick Options Suitable for Outdoor Use?
Peel-and-stick options can be perfect for outdoor projects if you pick the right product. You’ll enjoy design flexibility and a variety of color options, but only if the material is weather-resistant. Look for outdoor-specific peel-and-stick options that withstand moisture, sunlight, and temperature swings. When you choose durable, waterproof materials, you open up endless outdoor design possibilities, making your space stylish, vibrant, and weatherproof with minimal effort.
How Do I Fix Bubbles or Wrinkles During Installation?
If you notice air bubbles or wrinkles during installation, don’t panic. Use a plastic scraper or credit card to gently push out air bubbles, starting from the center and moving outward. For wrinkles, lift the material carefully and reapply, smoothing as you go. Patience is key—working slowly helps guarantee a smooth, professional finish. This technique helps with effective wrinkle removal and keeps your peel-and-stick project looking great.
Conclusion
Remember, the key to using peel-and-stick materials successfully is patience and preparation. When you take the time to clean, measure, and carefully apply, everything lines up perfectly — almost as if it was meant to be. Coincidentally, the very act of paying attention to these details makes your project look professional. So, trust the process, stay precise, and you’ll be amazed at how seamless your results turn out — it’s almost like magic!