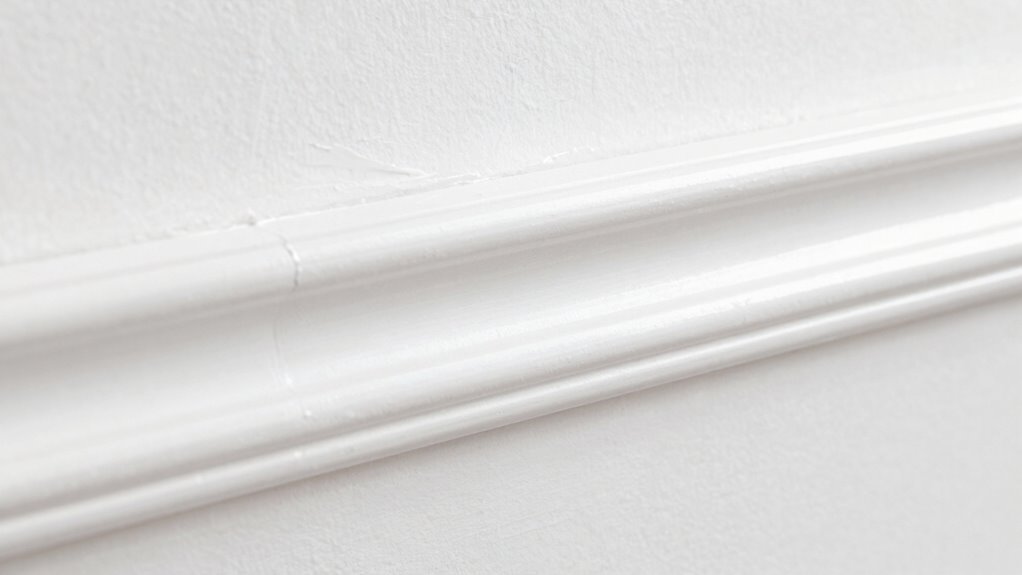

To make your paint jobs look cleaner, focus on creating crisp, sharp edges where your walls meet the baseboard. Use painter’s tape for precise masking and make sure it’s firmly pressed down to prevent paint bleed. Carefully cut in along tape lines with a steady hand for a flawless finish. Proper surface prep and smooth paint application also contribute to a polished look. Stick with these tips, and you’ll achieve professional-looking results—there’s more to perfecting this detail if you keep going.

Get furniture and decor delivered free with Prime
- Fast, free delivery on millions of items
- Prime Video, Amazon Music and more included
- Member-only deals all year
Key Takeaways
- Precise taping along wall and floor edges creates sharp, clean paint lines.
- Proper surface preparation ensures smooth paint adhesion and reduces touch-ups.
- Using high-quality brushes or rollers applies even coats for a professional finish.
- Carefully trimming paint bleed with a small brush or razor blade sharpens line edges.
- Allowing each coat to dry fully prevents smudging and enhances overall sharpness.
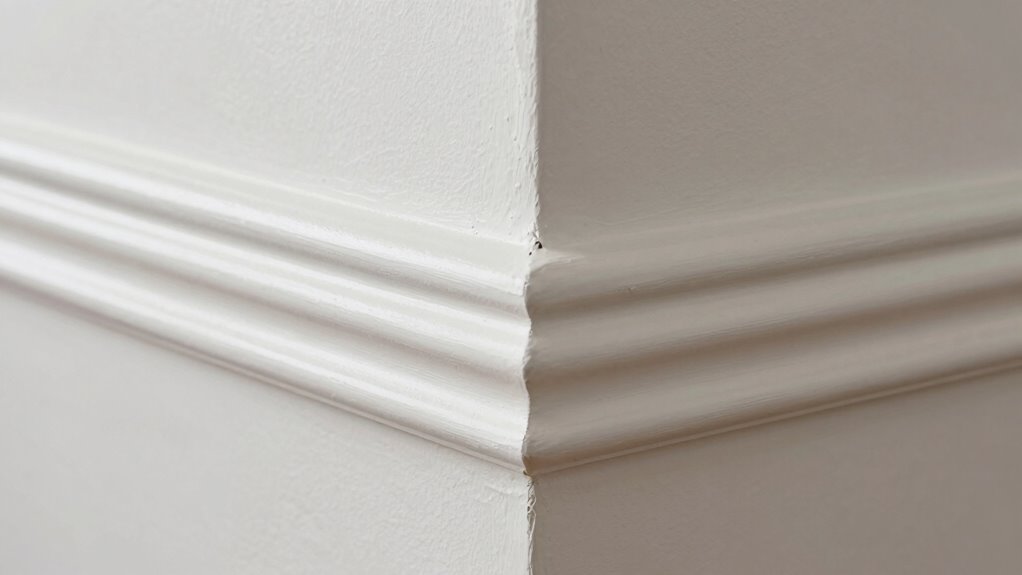
Once your baseboards are securely in place, the next vital step is mastering paint prep techniques. Proper preparation makes all the difference in achieving sharp, crisp lines and professional-looking results. Start by removing any dust, dirt, or grease from the surface. Lightly sanding the baseboards can help create a smooth surface, especially if they’re rough or previously painted. Use a fine-grit sandpaper and go over the edges and flat surfaces, then wipe away the dust with a damp cloth. Applying painter’s tape along the wall and floor edges is essential to keep paint confined to the baseboard area. Make sure the tape adheres well and press down firmly to prevent paint bleed.
When it’s time to paint, use high-quality brushes or small rollers designed for trim work. Apply paint in thin, even coats, allowing each layer to dry thoroughly before adding another. This technique prevents drips and uneven coverage. A key detail often overlooked is to cut in along the tape line with a steady hand, creating a sharp, clean edge. If you mess up, don’t rush to fix it immediately; let the paint dry, then carefully trim away any bleed with a small brush or razor blade for a crisp line. Paying attention to paint prep techniques can significantly improve the final outcome and reduce touch-ups. Additionally, taking the time to properly tape and prep surfaces can help achieve a more professional finish. When the surface is properly smoothed and prepared, paint adhesion improves, resulting in a seamless appearance.
You’ll find that paying close attention during the paint prep and installation stages results in a neater, more polished finish. The right preparation minimizes touch-ups and makes your paint job look more professional. By ensuring your baseboards are well-installed and thoroughly prepped, you set yourself up for success. The clean lines and smooth surface will elevate the overall aesthetic of the room, making it look freshly updated and well-maintained. A little extra effort upfront pays off in the final appearance, giving your space that crisp, finished look everyone notices.
Products Worth Considering

Shark AI Ultra Robot Vacuum with Matrix Clean and Self-Empty Base

Dyson Airstrait Styling Brush

Roborock Qrevo S Pro Robot Vacuum and Mop, 18,500 Pa Suction
As an affiliate, we earn on qualifying purchases.
Frequently Asked Questions
How Long Does It Take to Complete This Baseboard Detail?
It typically takes about 30 minutes to an hour to complete this baseboard detail, depending on your home’s size and condition. You’ll start with baseboard cleaning to remove dust and dirt, then carefully do paint touch-ups for a crisp, clean look. Rushing can lead to uneven paint or missed spots, so take your time. Proper preparation and patience *guarantee* your baseboards look polished and professional.
Can This Technique Be Used on Textured or Ornate Baseboards?
Can you use this technique on textured surfaces or ornate designs? Absolutely, but you’ll need to adapt your approach. For textured surfaces, use a fine brush or angled tool to carefully follow the contours. For ornate designs, take your time with a small, detail brush to guarantee precision. Isn’t it worth the extra effort for a flawless finish? With patience, you can achieve professional-looking results on any baseboard style.
What Tools Are Essential for This Baseboard Finishing Method?
You’ll need a few essential tools for this baseboard finishing method. Start with a high-quality paintbrush or a small foam roller to guarantee smooth paint application, which improves paint adhesion and creates a cleaner look. Use a utility knife for cleaning edges, and have painter’s tape on hand for precise baseboard cleaning. Finally, a damp cloth helps remove dust and debris, ensuring the surface is ready for a flawless paint job.
Is Special Preparation Needed Before Applying This Detail?
Think of your baseboard as a clean canvas ready for a masterpiece. Before applying the detail, you need to do surface cleaning, removing dust and grease that could hinder paint adhesion. Skipping this step is like painting on a dirty canvas—it won’t stick well or look polished. Proper preparation guarantees smooth paint application, enhances durability, and gives your baseboards that professional, clean finish you desire.
How Durable Is the Paint With This Baseboard Technique?
The paint with this baseboard technique is quite durable if you focus on proper surface preparation and paint adhesion. You should thoroughly clean and sand the surface before painting to guarantee the paint bonds well. Using high-quality paint and applying a primer if needed will also enhance durability. When these steps are followed, your baseboards will resist chipping and peeling, maintaining a clean, professional look over time.
Conclusion
By paying close attention to the baseboard detail, you can instantly elevate the look of your painted walls, making everything appear more polished and professional. When you add that clean, precise edge, it’s like giving your room a fresh new frame. Isn’t it satisfying to see your space transformed with just a small detail? With this simple trick, you’ll create a crisp, flawless finish that truly impresses—so why settle for anything less?