TL;DR

Get furniture and decor delivered free with Prime
- Fast, free delivery on millions of items
- Prime Video, Amazon Music and more included
- Member-only deals all year
Hunker reports that creator Jazzy of JH Photomum turned an empty sardine can into a hanging miniature display, using craft-stick shelves and small decorative objects. The report outlines ways to clean, decorate and hang a tin, while warning that its edges may be sharp and outdoor materials need sealing.
Hunker has reported on a sardine-can upcycling project by Jazzy, the creator behind JH Photomum, who turned an empty tin into a hanging miniature display with shelves made from craft sticks and small decorative objects. The idea offers a way to reuse a container as home decor, though the finished piece is small and requires care around the can’s edges.
The example in Hunker’s report uses an empty sardine can as a frame for a tiny scene. Jazzy added craft-stick shelves and decorated them with miniature pumpkins, a lamp and other small items. The report says the display can hang indoors or outdoors, depending on its materials and protection from weather.
To prepare a tin, the guide recommends washing it in warm, soapy water to remove residue, then handling it carefully because the metal edges may be sharp. Pliers can be used to crimp down sharp areas. The can may be spray-painted inside and out, or lined with an image or patterned paper. Thin craft sticks or narrow scraps of wood can be cut to fit across the tin and glued in place as shelves.
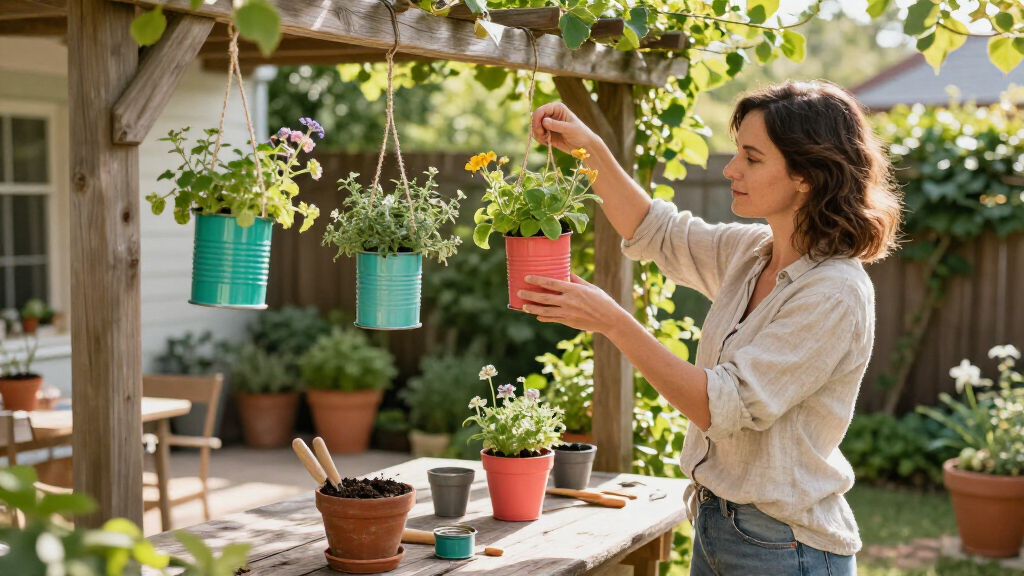
Small trinkets, dollhouse decorations or accents made from air-dry clay can fill the scene. Hunker advises gluing decorations in place so they do not fall. For hanging, the report suggests attaching string, twine or ribbon, either through holes punched near the top or by gluing the hanger around the can’s edge. It recommends sealing the display for outdoor use, especially where it will be exposed to weather.
A Small Tin Becomes Reusable Decor
The project turns a food container that might otherwise be recycled into a personalized, compact decoration. Its shallow shape can frame a miniature scene, while the metal body is described in the report as lightweight and durable. Those qualities make the tin a practical base for a small hanging display, although the finished object’s suitability depends on how securely its contents and hanger are attached.
The approach also gives people a way to adapt the design rather than buy a ready-made piece: they can choose the backdrop, shelf finish and miniature decorations. For outdoor displays, the advice to use a sealer matters because paper, wood, paint and other craft materials can be affected by moisture and exposure. The report does not provide testing or evidence about how long a finished piece lasts.
As an affiliate, we earn on qualifying purchases.
How the Miniature Display Is Built
Hunker presents the sardine-can project as one option for reusing a container in home decor. The source describes the tin’s shape as a natural frame for a small scene and suggests using air-dry clay to make custom three-dimensional details when ready-made miniatures do not fit. Because the interior is limited, the scale of the decorations must match the container.
The guide also offers ways to expand the idea: glue several cans together to create a larger display, or hang multiple tins beside one another. It suggests numbering cans with a street address for an outdoor arrangement. These are project ideas from the report, not evidence of a tested installation or a recommendation for permanent outdoor use.
““The metal construction makes the tins durable, so they’ll hold up well.””
— Hunker’s report on the project
Safety and Weather Resistance Limits
The source does not say how long the display will last indoors or outdoors, which sealers work best, or whether a particular attachment method can support different tin sizes and decorations. It also gives no measurements, product recommendations or test results. Outdoor performance is not established, and a sealer may not prevent all damage from rain, sun or temperature changes.
The report warns that can edges may be sharp but does not describe a complete safety assessment. Readers should inspect the tin carefully, use pliers to blunt sharp areas where needed, and handle the metal cautiously. The source also does not specify how to make holes safely or how to verify that a glued hanger will remain secure.
Prepare and Hang the Finished Tin
Hunker’s guide describes a do-it-yourself process rather than a scheduled product launch or formal follow-up. Anyone trying it can start by cleaning and inspecting an empty tin, then decide whether to paint it or add a paper backdrop. After fitting and gluing shelves and decorations, they can attach a hanger and, for outdoor placement, apply a suitable sealer according to its product instructions.
The report does not identify a next update or confirm that the displayed project has undergone further testing. The practical next step is to keep the finished piece in a location suited to its materials and check that the hanger and glued components remain secure.
Key Questions
What materials are suggested for the shelves?
Hunker suggests craft sticks or thin, narrow pieces of scrap wood, cut to the width of the tin and glued inside.
Can the display be hung outside?
The guide says it can be used outdoors and recommends applying a sealer to protect the materials from weather, particularly in an exposed area. It does not establish how weather-resistant a finished piece will be.
How should sharp edges be handled?
The report advises washing the can carefully and using pliers to crimp down sharp areas if needed. Handle the metal cautiously and inspect it before decorating or hanging.
How can the project be made larger?
Hunker suggests gluing multiple cans together to make a larger display, or hanging several tins next to one another. Each can can hold a separate miniature scene.
Source: rss
Fall Picks
fall essentials
As an affiliate, we earn on qualifying purchases.