
To create a successful long-arm quilting space, you need more than just a machine—you need thoughtful layout, ample room for movement, and organized storage. The right space prevents machine overheating, reduces fatigue, and improves safety and efficiency. Measure your studio carefully and plan zones for cutting, quilting, and maintenance. If you’re short on space, vertical storage and modular furniture help. Keep optimizing your setup, and you’ll discover even better workflows as you go.
Key Takeaways
- Adequate space prevents machine overheating, facilitates maintenance, and reduces eye strain for long-arm quilting projects.
- Precise measurements of studio width, depth, and clearance are essential for efficient layout and workflow.
- Maximize vertical storage and use wall-mounted solutions to optimize limited studio space.
- Flexible, modular furniture and adjustable tables help accommodate equipment and future expansion.
- Clear zones for cutting, sewing, and quilting enhance safety, organization, and overall productivity.

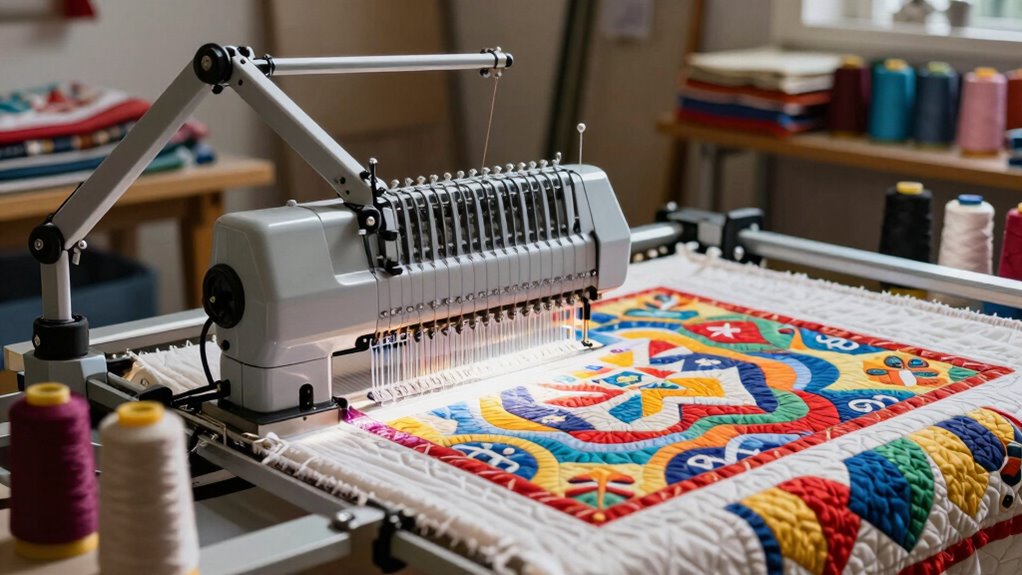
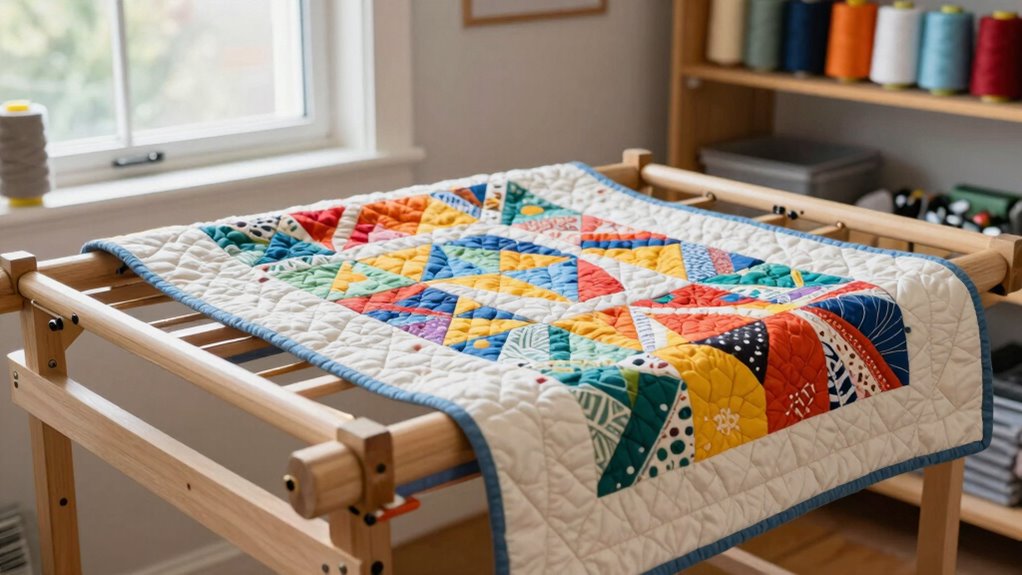
Q'nique 16X Long Arm Quilting Machine and Cutie Table Top Quilting Frame
COMFORTABLE HANDLES & CONTROLS | Ergonomic handles help reduce stress to your hands arms and shoulders so you…
As an affiliate, we earn on qualifying purchases.
As an affiliate, we earn on qualifying purchases.
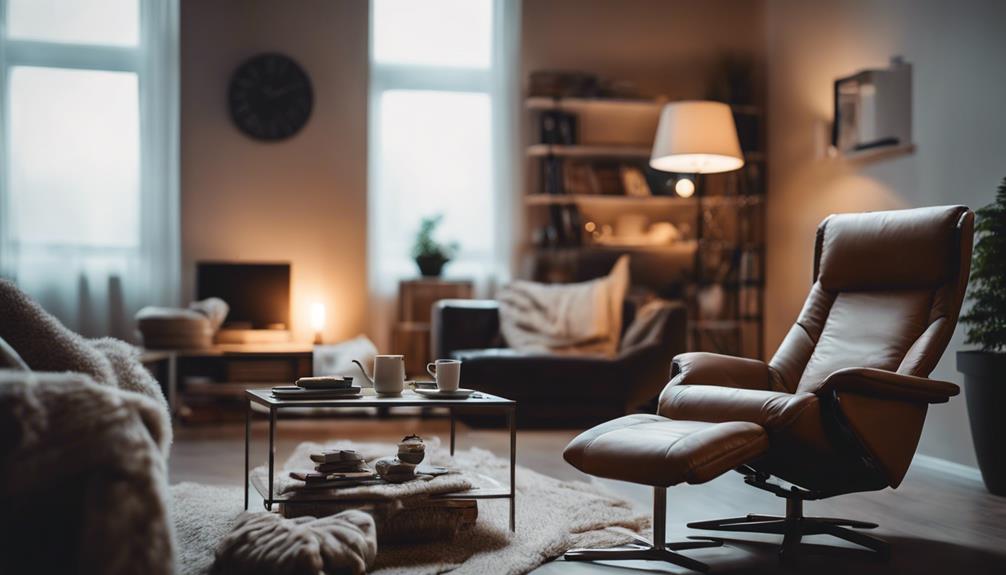
Why Do You Need Extra Space for Long-Arm Quilting?
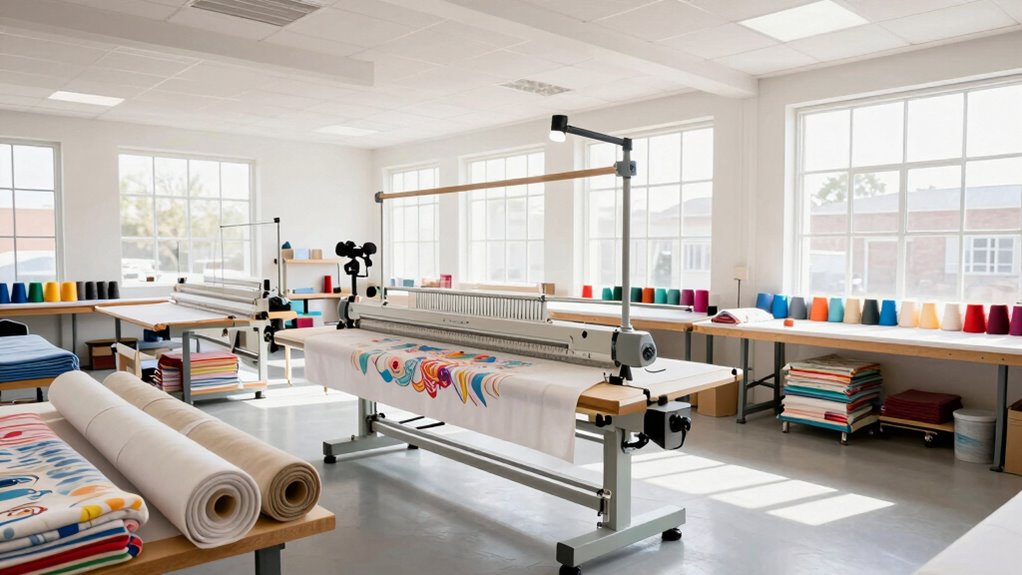
Having extra space for long-arm quilting is crucial because it allows you to work comfortably and efficiently on larger projects. A spacious area helps prevent your machine from overheating and makes routine machine maintenance easier, keeping your equipment in top condition. Proper workspace lighting is also critical; good lighting reduces eye strain and helps you see details clearly, ensuring precise stitching. When you have ample room, you can move fabric smoothly without feeling cramped, which improves your overall quilting quality. Additionally, a larger workspace minimizes the risk of accidents or fabric bunching. Proper lighting and color accuracy are essential for accurately matching fabric colors and achieving the desired visual effects. An organized and well-lit workspace enhances productivity, making your quilting sessions more enjoyable and less stressful. Furthermore, understanding field-of-view and imaging scales can help you optimize your workspace layout for maximum efficiency. Creating a comfortable environment is also key to maintaining focus and preventing fatigue during long quilting sessions. Essentially, extra space supports your productivity, protects your machine’s longevity, and creates a more enjoyable, stress-free quilting experience. Additionally, considering ergonomic setup ensures you can work comfortably over extended periods.
Soolla Studio Bag: Art Supply Storage Organizer & Pottery Tool Bag, Washable Tote, Yarn Bag, Crochet, 30 Pockets, 15+ Colors (Becca Sands)
PREMIUM ART SUPPLY & STATIONERY BAG FOR CREATORS – Designed by artists, the Soolla Studio Bag is a…
As an affiliate, we earn on qualifying purchases.
As an affiliate, we earn on qualifying purchases.
How to Measure Your Studio for a Long-Arm Machine
Measuring your studio accurately is essential to guarantee your long-arm quilting machine fits comfortably and operates smoothly. Start by evaluating the available space, considering both width and depth, and leave room for movement and accessories. Use a tape measure to record dimensions, noting any obstructions. Think about color coordination and lighting solutions to optimize visibility and comfort during long sessions. Proper lighting reduces eye strain, while coordinated colors can make your workspace more inviting. Here’s a quick reference:
| Area | Measurement | Notes |
|---|---|---|
| Width of Studio | Include space for accessories | |
| Depth of Studio | Consider lighting placement | |
| Clearance Space | For comfortable movement |
Accurate measurements help create a functional, inspiring space for quilting mastery, especially when considering space planning to maximize efficiency.

Wall Mounted Quilting Ruler Rack – 18 Slot Ruler Holder Organizer – Made in USA (White)
18 ruler slots – Keep your quilting rulers neatly organized and within easy reach, making your quilting workspace…
As an affiliate, we earn on qualifying purchases.
As an affiliate, we earn on qualifying purchases.
What Size Space Is Typical for a Long-Arm Quilting Machine?
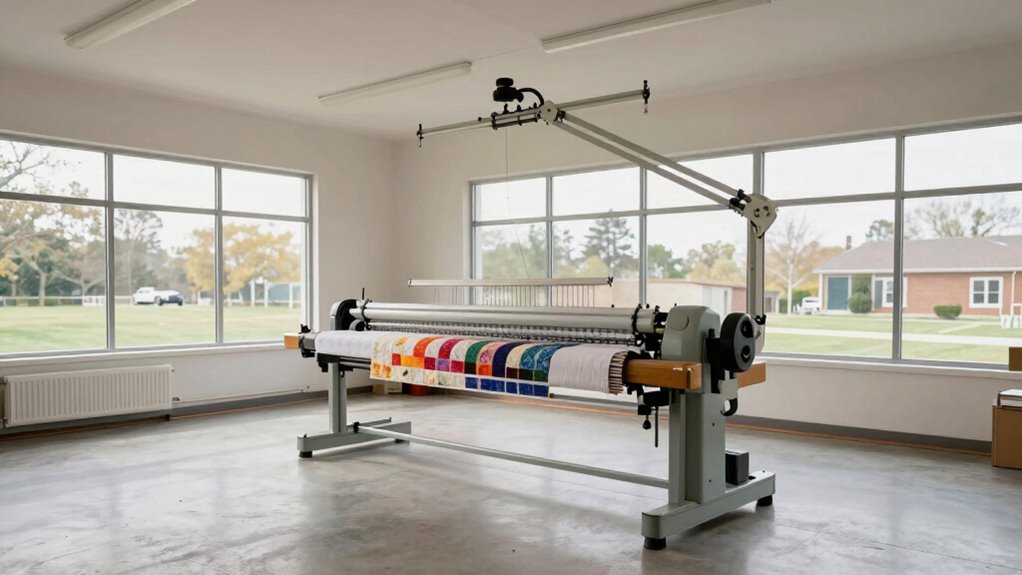
What size space do you need for a long-arm quilting machine? Typically, a dedicated area of at least 12 to 14 feet wide and 10 to 12 feet deep functions well. This provides enough room for machine operation, fabric handling, and smooth movement. Keep in mind that your space should accommodate regular machine maintenance, like cleaning and adjustments, without feeling cramped. An ergonomic setup is essential—your workspace should allow you to stand or sit comfortably while quilting to prevent fatigue. Adequate clearance around the machine also helps with visibility and maneuverability. Additionally, having enough space to support breakfast can promote better meals and breaks during long quilting sessions. Incorporating proper soundproofing can also reduce noise levels, making your quilting environment more comfortable and focused. Ensuring proper lighting and ventilation is also crucial for a comfortable and safe quilting environment. Furthermore, planning for storage solutions can help keep your workspace organized and efficient. It’s also beneficial to consider future expansion options, so your space can adapt as your quilting needs grow.

Pink Power Sewing Chair with Wheels and Adjustable Back Support – Hydraulic Armless Machine Chair for Crafting, Quilting, Artists – Sewing Room Furniture – Ergonomically Designed Professional
Ergonomically Engineered: This hydraulic koala sewing chair is designed with a backrest from 9" – 13" for better…
As an affiliate, we earn on qualifying purchases.
As an affiliate, we earn on qualifying purchases.
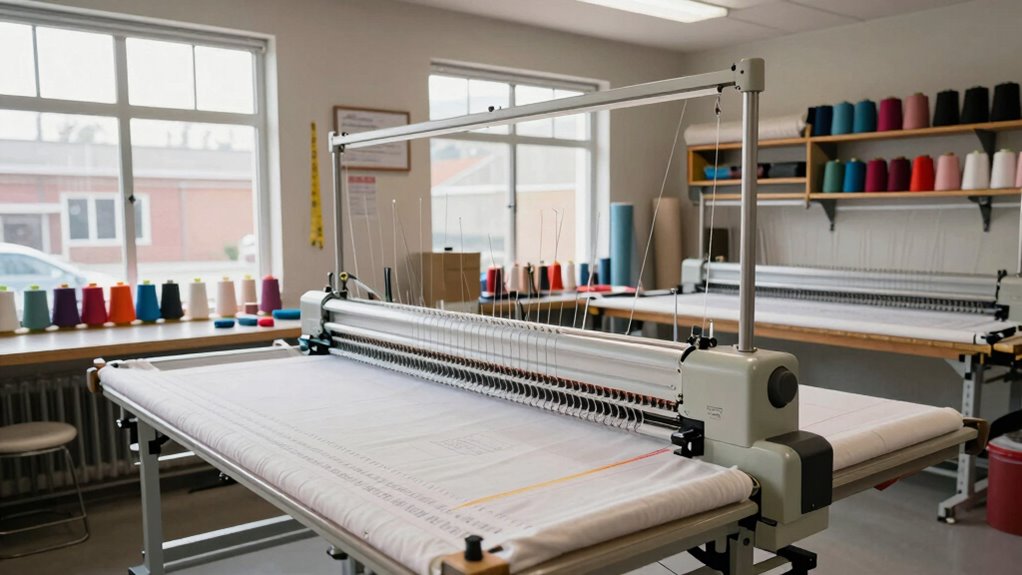
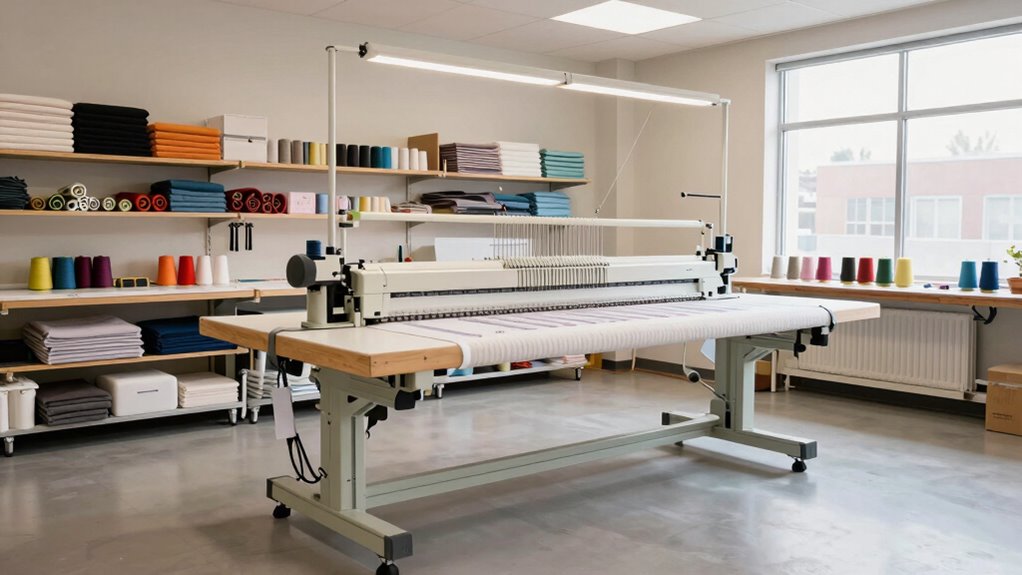
Setting Up Your Long-Arm: Space for Installation and Maintenance
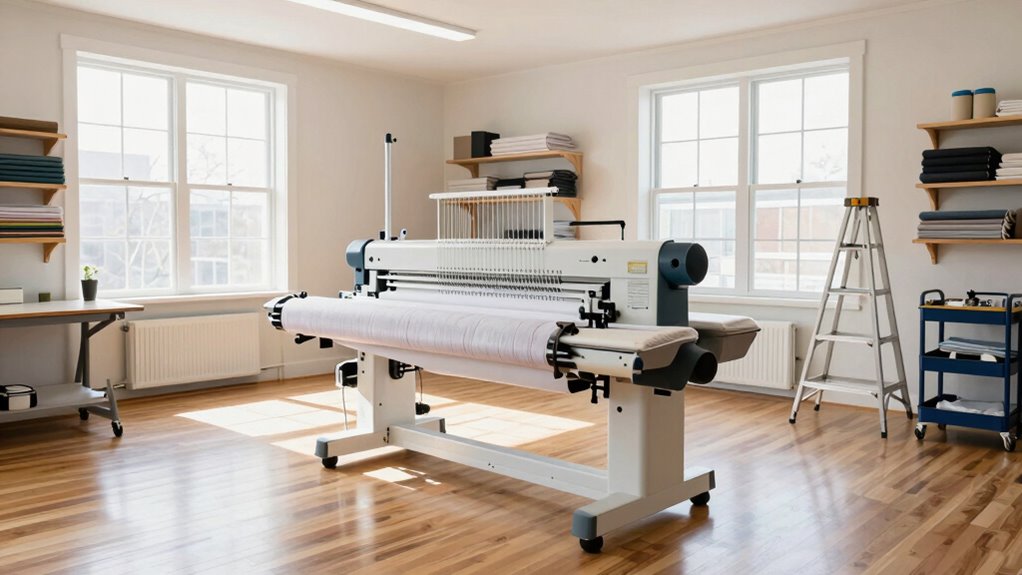
Setting up your long-arm quilting machine requires careful planning of your space to guarantee proper installation and ongoing maintenance. Confirm there’s enough room around the machine for easy access to perform machine maintenance, like cleaning and adjustments. A stable, level surface is essential to prevent vibrations that could affect quilting quality. Lighting considerations are also critical; install bright, even lighting to reduce eye strain and accurately see your work. Avoid shadows or glare that can interfere with precision. Keep electrical outlets nearby and organized to prevent tripping hazards or loose cords. Proper ventilation helps control dust and heat, prolonging your machine’s lifespan. Proper workspace setup can significantly impact your overall quilting experience and ease of maintenance. Planning these elements now makes future maintenance smoother and helps you create a comfortable, efficient quilting environment. Additionally, considering climate control can help maintain optimal conditions for your machine and workspace. Ensuring good air quality in your quilting area can further extend your machine’s lifespan and improve your comfort during long quilting sessions. Paying attention to ventilation systems can also reduce dust accumulation and keep the environment healthier for both you and your machine.
How to Organize Storage and Supplies in Your Quilting Studio
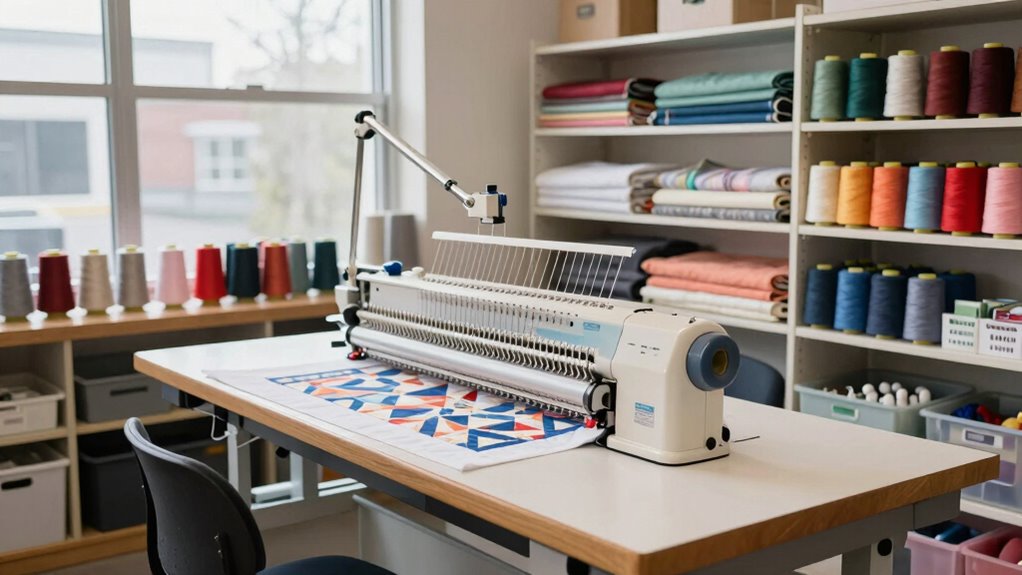
Organizing your quilting studio’s storage and supplies is essential for maintaining an efficient workspace. Start with fabric storage—use clear bins or rolling carts to keep fabrics visible and accessible. Fold fabric neatly and organize by color or type to streamline your workflow. Install shelving or wall-mounted racks to maximize space and keep supplies within reach. Incorporate proper lighting solutions, such as adjustable lamps or bright overhead lights, to ensure you can see details clearly and reduce eye strain. Keep frequently used tools, thread, and notions in labeled containers close to your work area. Regularly declutter, discarding worn-out fabrics or unused supplies. Additionally, consider integrating organization fundamentals that are designed specifically for quilting supplies to optimize your organization. This approach is similar to net worth management, where a clear overview helps in maintaining stability. Employing storage solutions tailored for quilting can further streamline your setup, minimizing clutter and enhancing your workflow. A well-organized studio minimizes frustration, saves time, and allows you to focus on your quilting projects with ease. Incorporating digital organization tools can also help track your supplies and projects more efficiently.
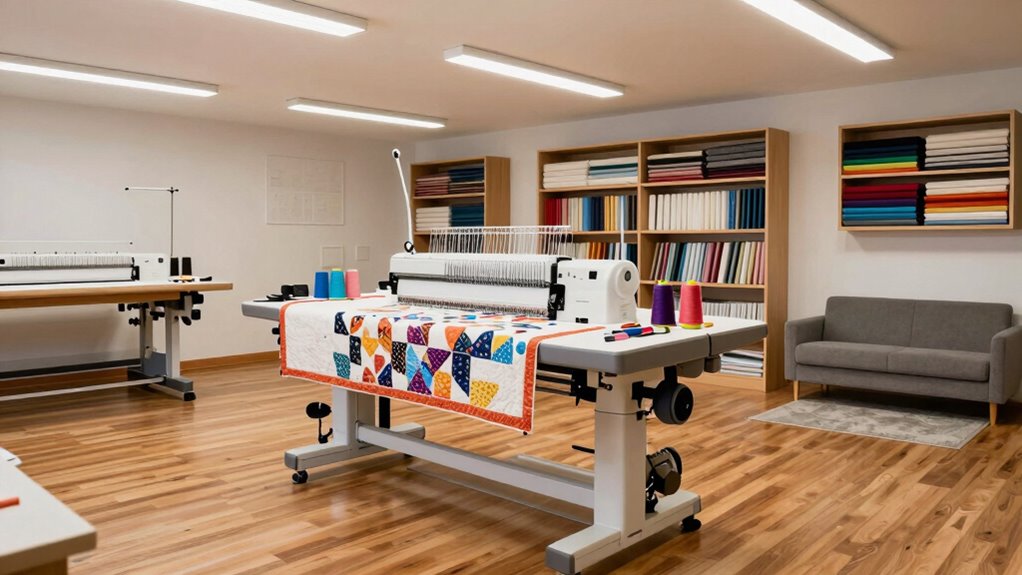
Design Your Workspace: Creating Zones for Efficiency and Safety
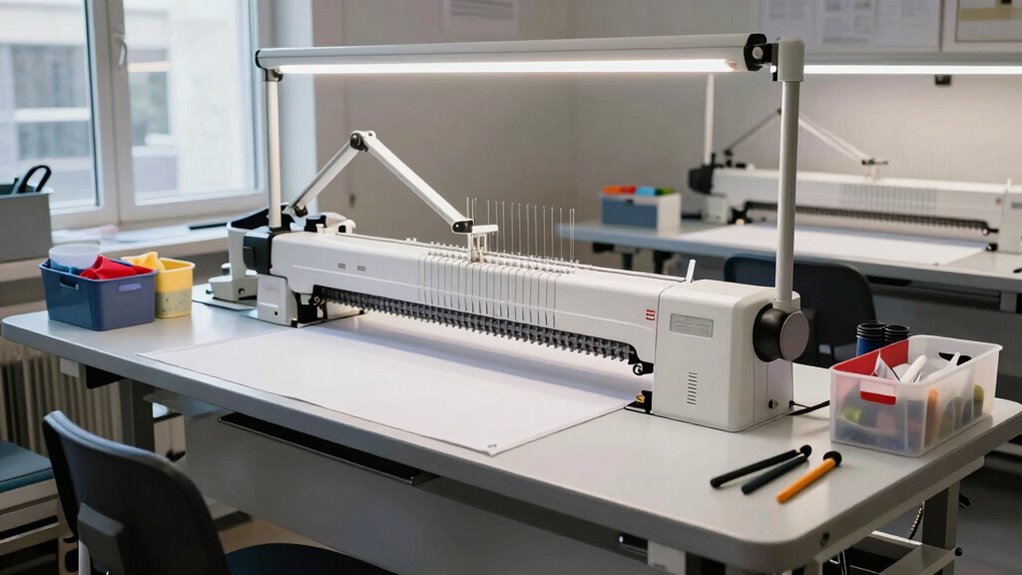
Creating designated zones within your quilting studio helps boost efficiency and guarantee safety. By organizing your space into specific areas for cutting, sewing, pressing, and stitching, you minimize movement and reduce the risk of accidents. Make certain each zone is equipped with ergonomic seating to prevent fatigue and discomfort during long sessions. Proper lighting solutions are essential; install adjustable, bright lights at each station to reduce eye strain and improve precision. Keep tools and supplies within reach in each zone to streamline your workflow. Clearly marking boundaries and arranging furniture thoughtfully helps you move smoothly between tasks. A well-structured layout not only enhances productivity but also creates a safer environment, making your long-arm quilting sessions more enjoyable and less stressful. Additionally, incorporating space planning principles ensures that your studio is optimized for both safety and efficiency, allowing you to make the most of your quilting time. Thoughtful studio organization can further enhance your workflow by reducing clutter and confusion. To maximize safety, consider adding proper storage solutions to keep your workspace tidy and prevent accidents. Implementing ergonomic furniture can also help reduce fatigue during extended quilting sessions.
Tips for Making the Most of Small or Limited Studios
To maximize your small studio, focus on vertical space by adding shelves or wall-mounted storage. Choose compact, multifunctional equipment that fits your workspace without cluttering it. Keep your tools organized with efficient storage solutions to save time and stay tidy during quilting sessions. Additionally, consider using space-efficient appliances to make the most of your limited area.
Optimize Vertical Space
Maximizing vertical space in your quilting studio can dramatically improve your workflow and storage efficiency. Start by evaluating your ceiling height to determine the best ways to utilize vertical storage. Wall-mounted shelves and pegboards allow you to keep tools, rulers, and supplies within arm’s reach without cluttering your workspace. Consider installing tall cabinets or stacking bins to make use of every inch of vertical real estate. Hanging fabric on wall-mounted rods or tension bars keeps your materials organized and accessible, freeing up table space. Use vertical dividers for quilting rulers and patterns. By thinking upward, you’ll create more room for your long-arm quilting machine and reduce clutter, making your studio more functional and inspiring.
Choose Compact Equipment
Choosing compact equipment can make a significant difference when working in a small or limited quilting space. Opt for machines with high portability, so you can easily move or store them when not in use. Ergonomic design is vital—look for features that reduce strain and improve comfort during long quilting sessions. Compact machines often come with versatile features that maximize functionality without taking up much room. To help decide, consider this comparison:
| Feature | Compact Machine A | Compact Machine B | Full-Size Machine |
|---|---|---|---|
| Machine Portability | High | Moderate | Low |
| Ergonomic Design | Yes | Yes | No |
| Workspace Required | Small footprint | Slightly larger | Large |
Choose wisely to make the most of your limited space!
Organize Storage Efficiently
When space is limited, organizing your quilting supplies efficiently becomes essential to maintaining a functional and clutter-free studio. Start by optimizing fabric storage: use vertical racks or clear bins to keep fabrics visible and accessible. This prevents clutter and makes selecting materials quick. Incorporate smart lighting solutions—wall-mounted or adjustable lamps—to brighten your workspace without taking up table space. Good lighting highlights your fabric choices and reduces eye strain during long sessions. Keep frequently used tools within arm’s reach in small caddies or wall-mounted organizers. Use stackable containers for notions and thread to maximize storage. Regularly declutter and reevaluate your setup to ensure everything has a designated spot, making your quilting process smoother and more enjoyable despite limited space.
How to Expand or Reconfigure Your Space as Your Quilting Business Grows
As your quilting business grows, you’ll need to adapt your workspace to keep up with increased demand and new projects. Start by reevaluating your layout to guarantee your long-arm machine has ample space for efficient machine maintenance and smooth operation. Consider adding shelving or cabinets to optimize fabric storage, making it easier to access materials quickly. You might also invest in adjustable tables or modular furniture that can be reconfigured as your needs change. Clutter can slow you down, so clear out unnecessary items and create dedicated zones for cutting, piecing, and quilting. Expanding thoughtfully will help you stay organized and productive while preventing workspace congestion, ensuring your business can scale without sacrificing quality or workflow.
Is Your Studio Ready? Final Checklist for Long-Arm Quilting Space
Before diving into your long-arm quilting projects, it’s essential to guarantee your studio is fully prepared. A well-organized space ensures smooth workflow and quality results. First, check your fabric storage—make sure fabrics are easily accessible and well-organized to save time during projects. Second, evaluate your lighting solutions; proper lighting reduces eye strain and highlights details. Third, verify your workspace layout, ensuring your long-arm machine has ample clearance and that your tools are within reach. Clear clutter, optimize storage, and select lighting that provides consistent, bright illumination. These steps help create an efficient, comfortable environment, preventing delays and frustration. Preparing your studio with these key elements ensures you’re ready to produce beautiful quilts with ease.
Frequently Asked Questions
What Are Common Pitfalls When Designing a Long-Arm Quilting Space?
When designing your long-arm quilting space, watch out for space constraints that can limit movement and workflow. Avoid clutter by planning effective storage solutions for fabrics, tools, and accessories, so everything stays organized and accessible. Poor layout choices can cause frustration and inefficiency. Be sure to measure your equipment and space carefully, ensuring enough room for free motion and future growth, making your quilting experience smooth and enjoyable.
How Can I Maximize Lighting in a Limited Studio Area?
You can maximize lighting in a small studio by combining natural light and artificial lighting effectively. If windows are limited, install bright, adjustable LED fixtures to eliminate shadows and guarantee consistent brightness. Use reflective surfaces like white walls and ceilings to bounce light around the space. Keep window treatments open during the day to harness natural light, and layer your lighting sources to create a well-lit environment that enhances your quilting precision.
What Safety Considerations Are Essential in a Long-Arm Quilting Studio?
You need to prioritize safety in your quilting studio by wearing appropriate safety gear, like gloves and eye protection, especially when handling machinery. Keep emergency exits clear at all times, and make certain they’re well-marked and accessible. Regularly inspect your equipment for hazards, and follow manufacturer safety guidelines. Staying alert and prepared helps prevent accidents, so always have a fire extinguisher nearby and know how to use it.
How Do I Choose the Best Flooring for My Quilting Space?
Think of your quilting space as a canvas—your flooring sets the tone. You should choose flooring options that prioritize comfort considerations, like cushioned vinyl or laminate, to reduce fatigue during long hours. Look for durable, easy-to-clean materials that withstand frequent use. Comfort and practicality matter most, so consider how your flooring supports your workflow and keeps you comfortable, just as a well-chosen fabric enhances your masterpiece.
Are Soundproofing Techniques Necessary for a Quilting Studio?
Soundproofing concerns depend on your space and noise sensitivity. If you’re near others or have noise-sensitive neighbors, implementing noise reduction techniques is a good idea. You can add acoustic panels, thick curtains, or rugs to absorb sound. These methods help minimize noise, creating a more peaceful environment. Even simple measures can markedly reduce noise transmission, making your quilting studio more comfortable for you and those around you.
Conclusion
Think of your quilting studio as a ship steering vast oceans. With the right space and organization, you’ll steer smoothly through every project, avoiding storms of clutter and cramped corners. Preparing your space is your compass, guiding you to calm waters where creativity flows freely. When your studio is ready, you’ll sail confidently into each quilting adventure, knowing you’ve charted a course that keeps your craft steady and your inspiration afloat.