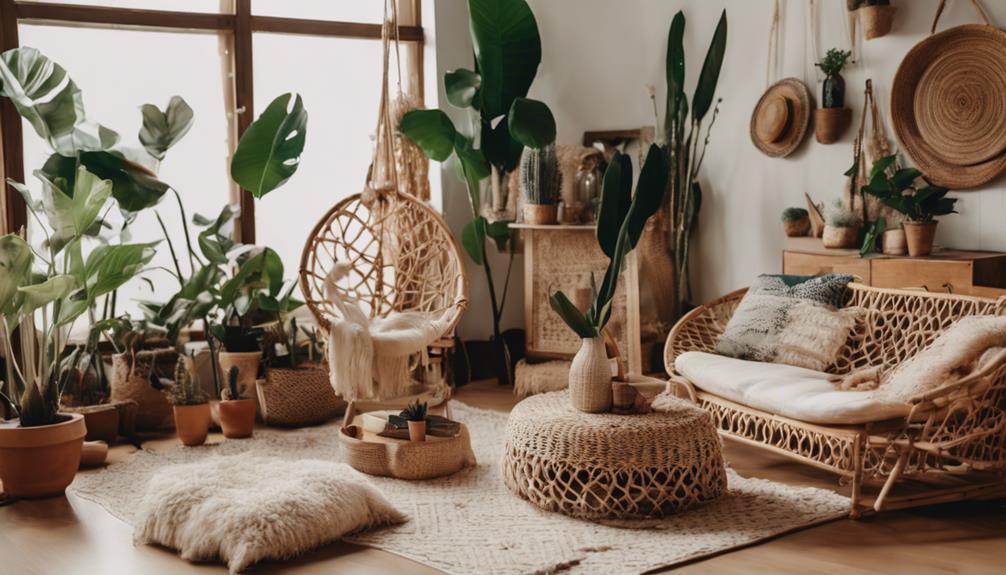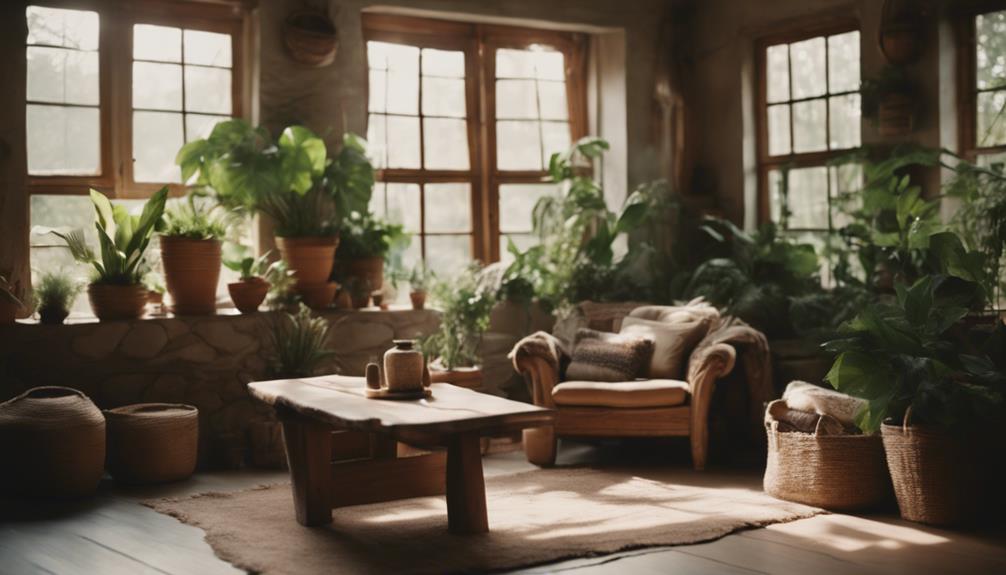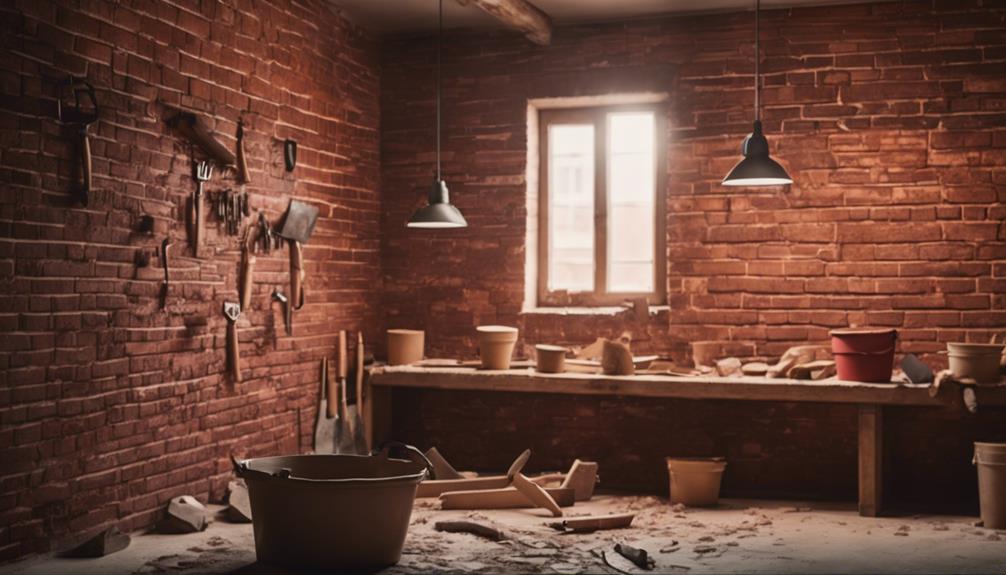

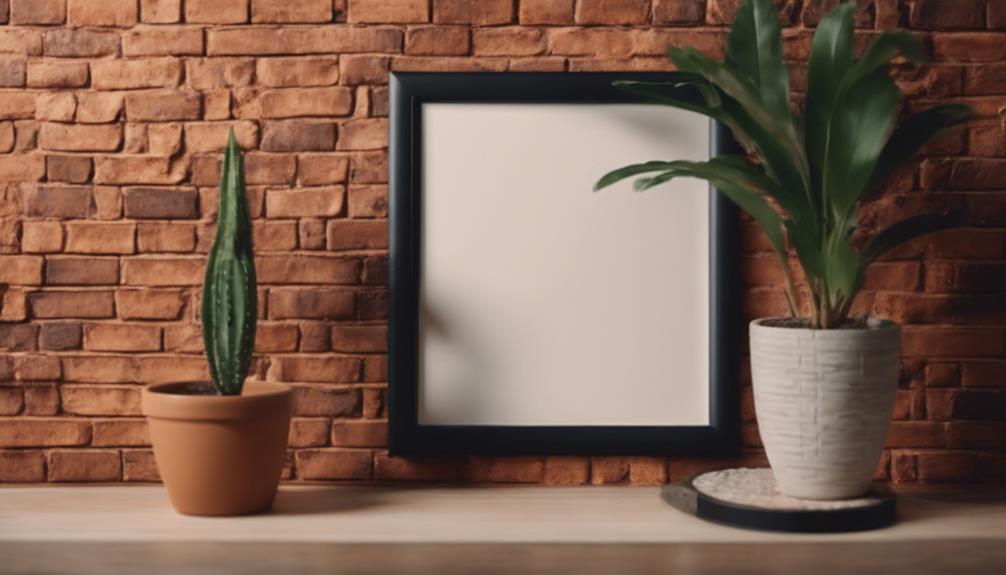
You're about to transform a dull, ordinary wall into a stunning focal point with a beautifully crafted brick accent wall. Start by selecting the right bricks, considering thin bricks or brick veneer with a rustic or weathered finish that complements your existing decor. Make sure you accurately measure the wall space and determine the quantity needed. Next, clear the workspace, protect the floor, and remove debris to prepare the area. Then, locate wall studs, apply Loctite adhesive, and lay the brick foundation with level and even spacing. From there, you'll install the brick accent wall, grout and seal the bricks, and add the finishing touches. As you move forward, you'll uncover the intricacies of creating a stunning brick accent wall that becomes the centerpiece of any room.
Key Takeaways
• Select the right bricks for your accent wall, considering thin bricks, brick veneer, and rustic or weathered finishes that complement your decor.
• Prepare the workspace by clearing the area, protecting the floor, and ensuring the wall is clean and free of debris.
• Lay the brick foundation by locating wall studs, applying Loctite adhesive, and cutting bricks for a custom fit, while wearing protective gear.
• Install the brick accent wall by measuring the wall accurately, applying adhesive, and arranging bricks in a desired pattern, considering different brick pattern options.
• Grout and seal the bricks by mixing grout to a peanut butter consistency, using a grout bag, and employing a tuck pointer tool for a clean finish, then sealing the grout and bricks once dry.

43.3in-59in Extendable Round Dining Table for 4-8,Modern Kitchen Oval Dining Table with Removable Leaves Space Saving,Wood Base with Storage Shelf for Kitchen Living Room (Walnut)
Retractable dining table for 4-8 people: Considering the use in different scenarios, the dining table adopts a retractable...
As an affiliate, we earn on qualifying purchases.
Preparing the Workspace
Before you begin constructing your brick accent wall, clear the workspace and protect the floor with a tarp or plastic sheeting to prevent damage or mess. This initial step is vital in ensuring a smooth and successful installation process.
As you prepare your workspace, make sure to remove any debris, dirt, or obstacles that could hinder your progress. A clean and clear workspace will allow you to focus on the task at hand, without any distractions or setbacks.
Next, take a moment to confirm the wall you're working on is clean and free of debris. This will provide a solid foundation for your brick installation. Gather all necessary materials and tools, such as adhesive, bricks, safety goggles, and a tile saw, to ensure you have everything you need within arm's reach.

41 in-78 in Extendable Dining Room Table for 4-8, Round Expandable Kitchen Table with Fluted Base, Modern Farmhouse Oval Dinner Tables for Dining Room Kitchen Living Room (Natural)
【Versatile Expandable Design】This expandable round oval dining table transforms from a cozy 41-inch round table for 4 into...
As an affiliate, we earn on qualifying purchases.
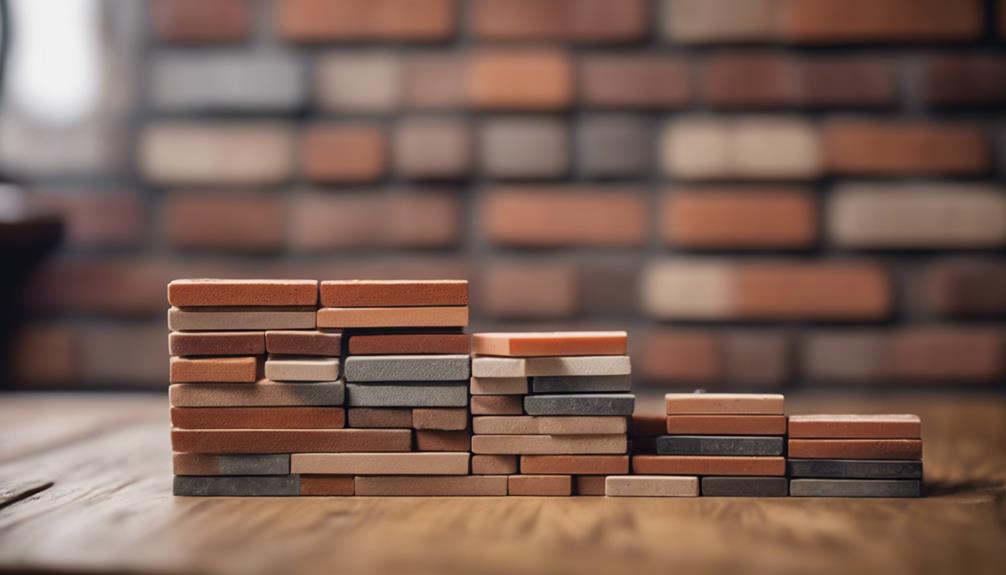
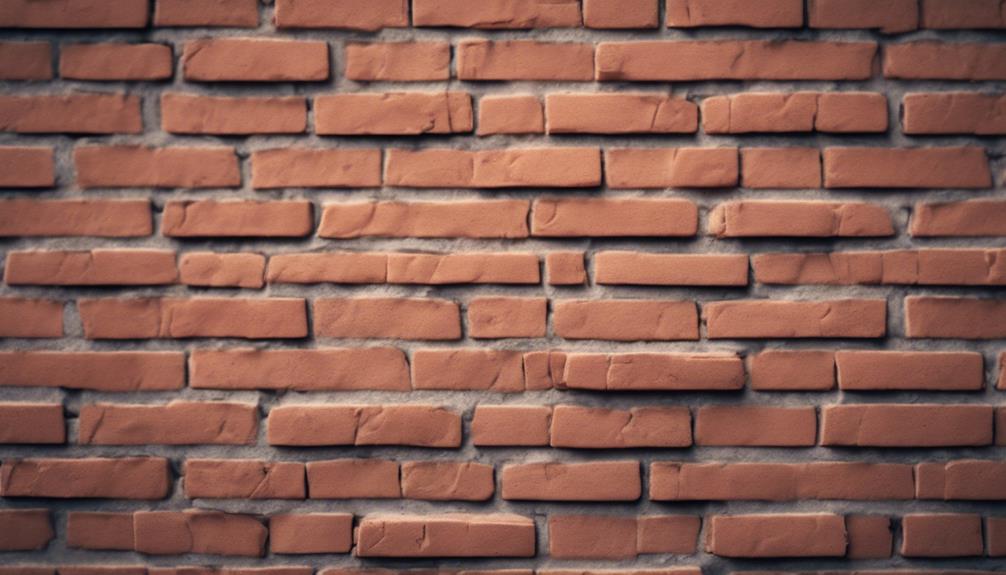
Choosing the Right Bricks
What kind of bricks will help you achieve the perfect blend of style and functionality for your accent wall?
When selecting the right bricks, consider using thin bricks or brick veneer for a lightweight and easy installation process. This won't only make the installation process smoother but also reduce the weight on your wall.
Additionally, look for bricks with a rustic or weathered finish to add a charming and cozy aesthetic to your space. The finish you choose should complement the existing decor and color scheme of the room, so take your time to select the perfect hue.
Before making a final decision, measure the wall space accurately to determine the quantity of bricks needed for the accent wall.

VASAGLE MAEZO Collection - Extendable Dining Table for 4/6/8, Kitchen Table with Tapered Legs, Curved Transitions, for Dining Room, Kitchen, Home Office, Honey Brown UKDT090K01V1
Style Reigns: Discover the MAEZO Collection—a furniture line featuring streamlined designs, tapered legs, and smooth, curved transitions. Each...
As an affiliate, we earn on qualifying purchases.
Laying the Brick Foundation
With your bricks selected, start by locating the wall studs using a stud finder, establishing a secure foundation for your accent wall. This step is important in DIY projects like this to prevent your brick accent wall from collapsing. Next, apply Loctite adhesive to the back of bricks for easy mounting. Make sure to follow the manufacturer's instructions for application and drying times.
| Tips for Laying the Foundation | Why It Matters |
|---|---|
| Locate wall studs | Secure foundation |
| Apply Loctite adhesive | Easy mounting |
| Ensure level and even spacing | Professional finish |
| Cut bricks as needed | Custom fit |
As you begin laying the bricks, make sure to wear protective gear, including gloves and safety goggles. You'll be working with heavy materials and power tools, so it's important to prioritize your safety. Be sure to wear a dust mask when cutting bricks to avoid inhaling grout and brick particles. By following these steps, you'll be well on your way to creating a stunning brick accent wall that adds character and charm to any room.

HOMBIX Extendable Dining Table, Transformer Folding Console Table for 10-12 People, Space Saving Dining Room Table for Apartments & Homes, Walnut
Features 5 removable extension leaves (35.4" x 19.7" each), allowing the table to expand from a compact 20.1"...
As an affiliate, we earn on qualifying purchases.
Installing the Brick Accent Wall
As you begin installing the brick accent wall, you'll need to take into account the pattern in which you'll lay the bricks, as it can greatly impact the overall aesthetic of the finished wall.
You'll also need to accurately measure the wall to guarantee a precise fit, taking into account the dimensions of the bricks themselves.
Brick Pattern Options
You have several options to contemplate when it comes to choosing a pattern for your accent wall.
A classic choice is the running bond pattern, which features bricks laid in a staggered pattern to create a dynamic look.
For a more modern take, ponder a stacked bond pattern, which can give your brick wall a clean and contemporary feel.
If you want to add some visual interest to your space, try mixing different brick sizes or colors in a random pattern. This can add texture and depth to your accent wall.
Don't be afraid to experiment with different brick layouts to find the one that best complements your room's style and decor.
Remember, the key to a successful accent wall is choosing a pattern that complements the overall aesthetic of your space.
Measuring the Wall
Now that you've chosen a brick pattern, it's time to measure the wall where you'll install your accent wall, a step that's just as important as selecting the right brick design. This is essential to make sure you purchase the correct amount of materials and avoid costly mistakes.
To measure your wall, use a tape measure to determine the dimensions of the area where you'll be installing the brick accent wall. Typically, this area is around 6 x 8 feet.
Here are some key considerations to keep in mind when measuring your wall:
- Measure the height and width of the wall to create a visually appealing accent that fits the space.
- Ensure precise measurements to purchase the right amount of bricks or brick veneer for the project.
- Mark the area to determine the amount of materials needed.
- Consider the dimensions of the brick or brick veneer you'll be using.
- Proper measurement ensures that the installation process goes smoothly and the end result looks cohesive and well-proportioned.
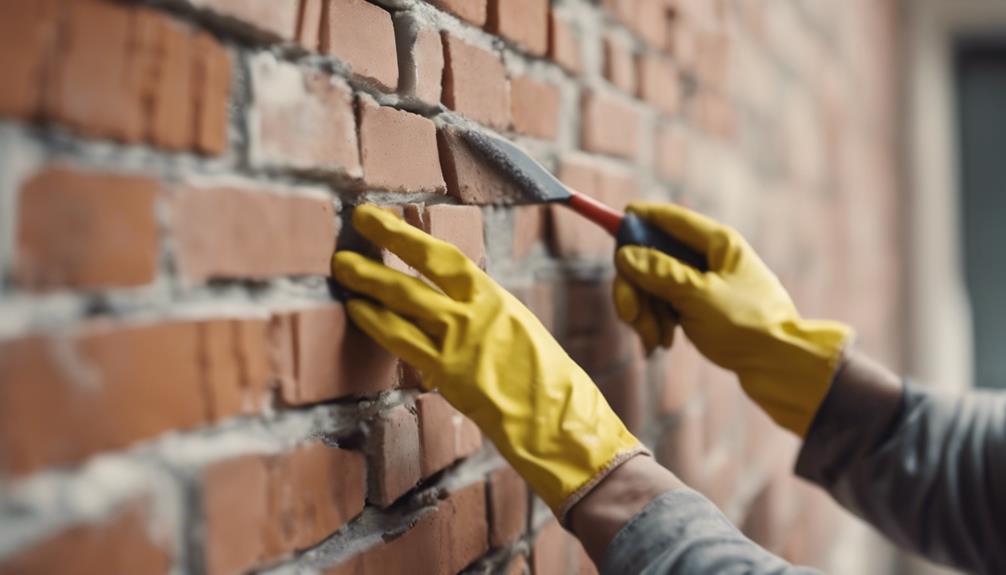
Laying the Brick
With your measurements in hand, start by applying a thin layer of Loctite adhesive to the wall. Arrange the bricks in your desired pattern, staggering each row to create a visually appealing design. Make sure to press the bricks firmly onto the wall, ensuring even spacing and a secure attachment.
As you work, cut individual bricks as needed to fit smaller spaces or corners. Once you've arranged all the bricks, use a grout bag to fill in the gaps between them. Hold the bag at a 45-degree angle and squeeze the grout into the spaces, using a gentle pushing motion to fill them completely.
Let it dry completely, then use a gallon bucket of water to clean off any excess grout. Finally, let the grout dry completely before sealing the bricks with a protective coating to complete your accent wall.
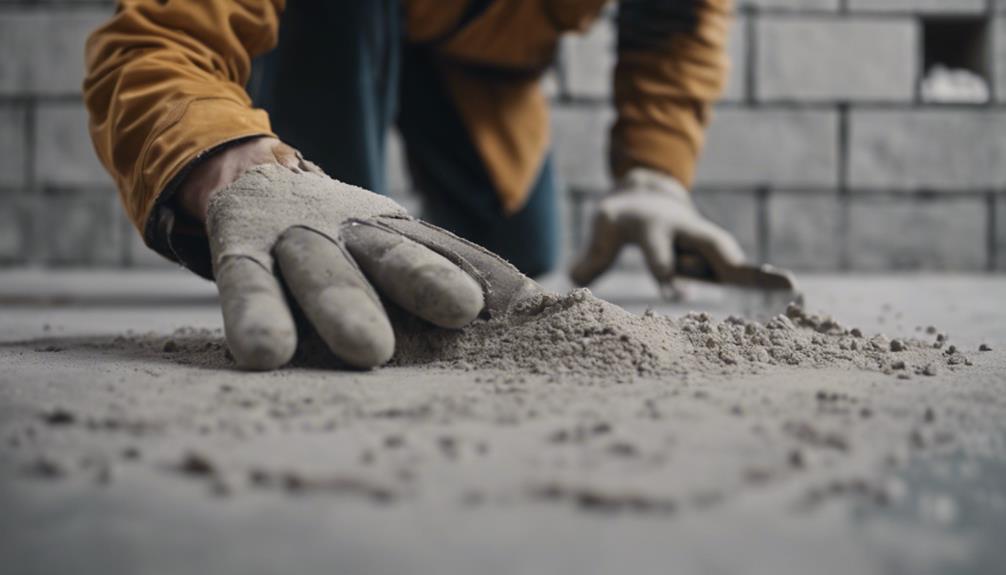
Grouting and Sealing the Bricks
How do you achieve a professional-looking finish on your accent wall, ensuring the grout lines are evenly filled and the bricks are protected for years to come? In this DIY tutorial, we'll guide you through the grouting and sealing process, an essential step in creating a stunning brick accent wall.
Here's a step-by-step guide to grouting and sealing your bricks:
- Mix grout to a peanut butter consistency for easy application and shaping.
- Use a grout bag to fill in the grout lines, ensuring even distribution.
- Employ a tuck pointer tool to tuck the grout in with gentle pressure for a clean finish.
- Brush off excess grout with a damp sponge to reveal the brick surface.
- Seal the grout and bricks once dry to protect and maintain the accent wall.
Finishing Touches and Maintenance
As you step back to admire your beautifully crafted brick accent wall, remember that regular maintenance is key to preserving its stunning appearance and ensuring it remains a focal point in your space.
To keep your brick accent wall looking its best, make cleaning a priority. Regularly dust or vacuum the surface to remove dirt and debris that can accumulate over time. When it's time for a deeper clean, use a mild detergent and water solution to maintain the bricks' appearance without causing damage. Avoid harsh chemicals, as they can potentially harm the surface and affect its longevity.
Periodically inspect the brick wall for any loose bricks or signs of damage that may require immediate attention or repair. Finally, reapply sealant as needed to protect the brick accent wall from wear and tear and maintain its integrity over time.
Troubleshooting Common Issues
When mistakes occur during the grouting process, don't panic – most issues can be easily fixed with the right techniques and a little patience. As a DIY enthusiast, it's essential to know how to troubleshoot common grouting issues that may arise during your brick accent wall project.
Here are some common mistakes and their solutions:
- If you notice air bubbles in the grout, let them dry to prevent spreading.
- Over-grouted sections can be fixed by letting the excess dry and then removing it with a tuck pointer.
- If you accidentally grout the wrong area, let it dry and gently remove it using a tuck pointer.
- For visual guidance on troubleshooting common grouting issues, utilize video tutorials that offer step-by-step instructions.
- Remember to always let mistakes dry before fixing them to prevent further complications.
Frequently Asked Questions
How Do You Make a Decorative Brick Wall?
When creating a decorative brick wall, you'll need to choose the right materials, like thin brick or brick veneer.
Next, apply adhesive or mortar to the back of each brick, ensuring they're level and evenly spaced for a polished look.
Don't forget to cut bricks as needed for corners or smaller spaces, and seal the wall for added protection and longevity.
With these steps, you'll be well on your way to a stunning, professional-looking brick wall.
How to Put up a Fake Brick Wall?
When putting up a fake brick wall, you'll want to start by preparing the surface, ensuring it's clean and dry.
Next, apply a thin layer of Loctite adhesive to the back of each brick panel, pressing them firmly into place.
Make sure to cut individual bricks to fit smaller spaces for a seamless look.
How to Properly Do an Accent Wall?
You're probably thinking, 'I've got this, I'll just slap some brick on the wall and voilà, instant accent wall!' But, not quite. To properly do an accent wall, you need a solid plan and some serious skill.
It's not just about slapping brick on the wall; it's about measuring, applying mastic, and grouting with precision. You'll need to mix mortar to the perfect consistency, fill those grout lines, and tuck it all in with a gentle touch. It's a process that requires patience, attention to detail, and a willingness to learn.
How to Hide Seams on a Faux Brick Wall?
When it comes to hiding seams on a faux brick wall, you'll want to use a matching caulk in a similar color to the brick. Apply it along the seams where the panels meet, and smooth it out with a damp cloth or finger for a professional finish.
Make sure it's fully dried before painting or sealing the wall, and regularly inspect and touch up the caulking to maintain a seamless appearance.
Conclusion
As you step back to admire your handiwork, the brick accent wall rises like a triumphant monument, its rustic charm infusing the space with warmth and character. Like a masterpiece of modern art, the carefully crafted installation unfolds before your eyes, a validation of your patience, dedication, and DIY prowess.
With every brick meticulously placed, your creation stands as a beacon of sophistication, a symphony of texture and color that elevates the entire room.