To create a stunning DIY plant sconce, start by gathering essential materials like wall sconces, mason jars, and river rocks. Next, cut and assemble the boards using a band saw or table saw, and attach plant pots and hooks strategically. Prepare the soil with a lightweight mix and add organic matter if needed. Hang the sconces securely, ensuring level positioning and adequate sunlight. Finally, add decorative elements, and maintain your plants by monitoring water levels and trimming dead leaves. As you work through this step-by-step guide, you'll uncover more expert tips and techniques to bring your plant sconce vision to life.
Key Takeaways
• Use a stud finder to locate wall studs and ensure secure hanging of sconces with screws and wall anchors.
• Choose lightweight, durable pots with drainage holes and add organic matter to the soil mix if needed.
• Assemble the sconce using a band saw or table saw, and employ a scroll saw for precision cutting and a roundover bit for rounded edges.
• Strategically place hooks for plant pots and use sturdy, securely anchored hooks to prevent falling.
• Prioritize wide-mouthed pots and consider hanging planters to add aesthetic appeal to the DIY plant sconces.

Heiple 2 Pack Wood Glass Wall Sconces, Farmhouse Planters for Indoor Plants, Rustic Decor for Living Room, Hanging Vase (Brown)
RUSTIC WOOD FARMHOUSE WALL DECOR: The package includes 2 pack wood wall glass vases and 2 string lights….
As an affiliate, we earn on qualifying purchases.
As an affiliate, we earn on qualifying purchases.
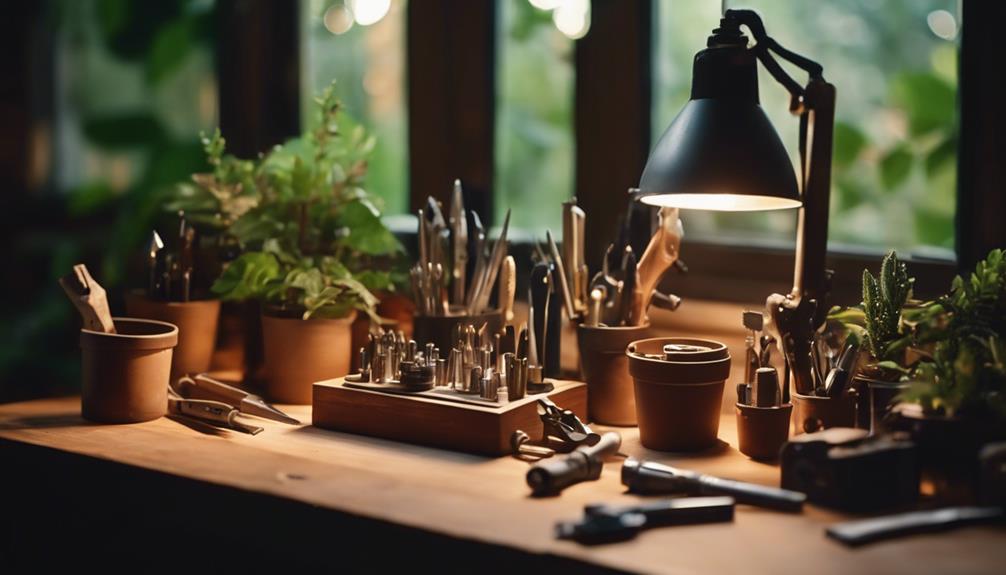
Gathering Essential Materials
Gather the essential materials for your DIY plant sconces, including wall sconces, mason jars, cork mats, indoor plants like Pothos, and organic potting mix. You'll need these materials to create a beautiful, thriving planter sconce that adds a touch of greenery to your walls.
The wall sconces, also known as planter sconces, will provide a sturdy base for your mason jars, which will be filled with your chosen indoor plants. Don't forget to grab some cork mats, which will be inserted into the sconce bottoms to protect your walls and provide stability.
Additionally, you'll need river rocks for drainage and decoration in the mason jars. If you're planning to hang your sconces securely, you may also need a stud finder, screws, and wall anchors. Having all these materials at hand will guarantee a smooth and successful DIY project.
With these essentials, you'll be well on your way to creating stunning plant sconces that bring life and beauty to your space.
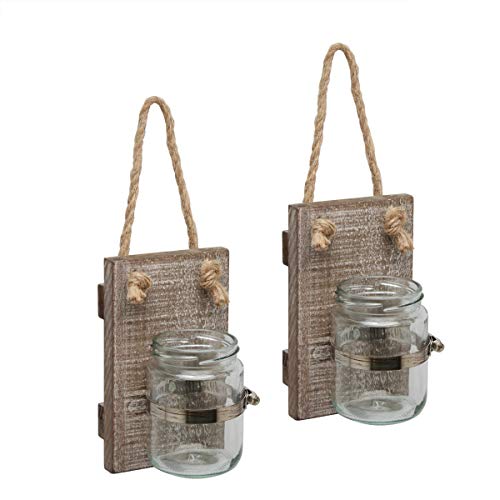
Stonebriar Rustic White Wash Wooden Mason Jar Wall Sconce Set with Hanging Loop
Stonebriar's decorative wooden scone set features a worn white painted wood finish for a rustic feel and 2…
As an affiliate, we earn on qualifying purchases.
As an affiliate, we earn on qualifying purchases.
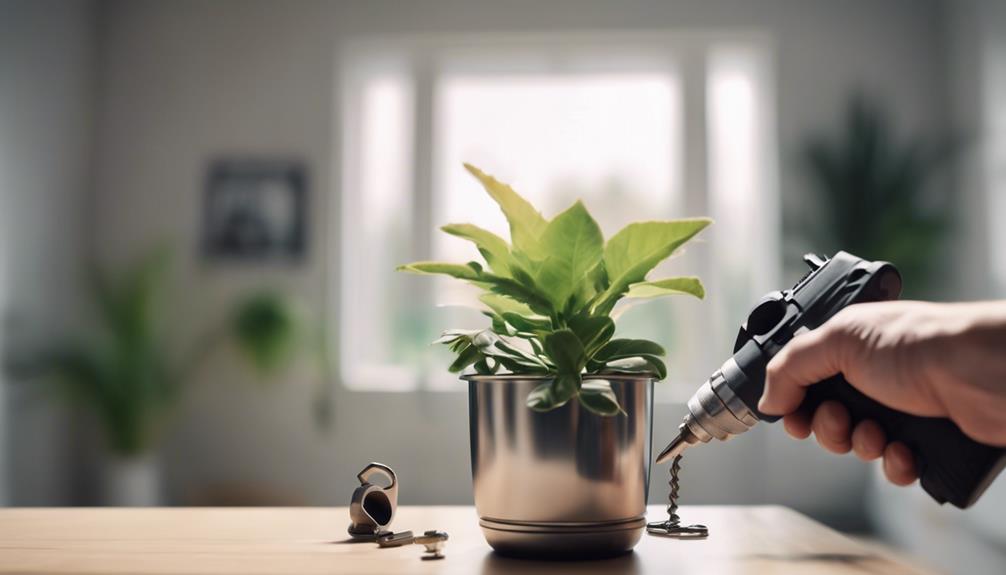
Cutting and Assembling Boards
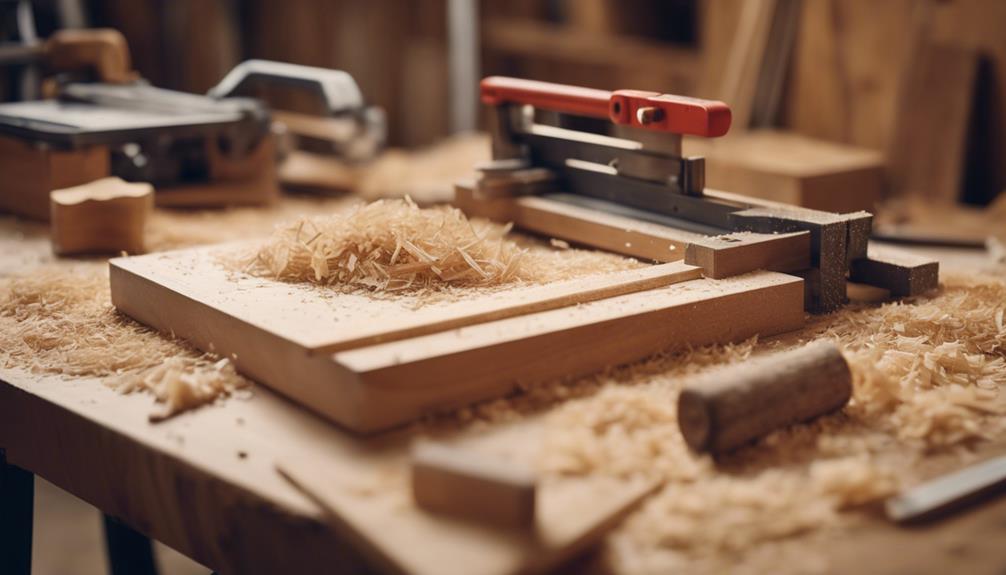
With your materials in hand, you can now focus on crafting the wooden boards that will form the foundation of your DIY plant sconces.
To begin, use a band saw or table saw to cut the wooden boards into the required shapes and sizes for your wall sconces.
Next, create templates by tracing the shapes of your sconces onto the boards. Using a scroll saw, carefully cut out the sconce shapes, taking advantage of its precision.
Once you have your sconce pieces, use a roundover bit or sanding to round the edges of the boards, ensuring a smooth finish.
Now it's time to assemble the sconce pieces together. Apply waterproof wood glue to the joints, making sure they fit securely. As you assemble the boards, double-check that the corners are aligned and the edges are flush.
With your wooden boards now assembled, you're one step closer to creating beautiful DIY plant sconces that will add a touch of elegance to any room.

FEED GARDEN Wall Hooks for Hanging Plants 10 Inch – 2 Pack Heavy Duty Metal Plant Brackets, Holds 48 lbs, Rust Resistant Black L-Shape Hooks for Indoor Outdoor Decor
PREMIUM QUALITY CONSTRUCTION: Heavy-duty iron hooks with powder-coated black finish, rust and corrosion resistant for long-lasting indoor and…
As an affiliate, we earn on qualifying purchases.
As an affiliate, we earn on qualifying purchases.
Attaching Plant Pots and Hooks
As you move on to attaching plant pots and hooks, you'll need to take into account a few key factors to guarantee a sturdy and visually appealing display.
You'll want to think about the criteria for selecting the right pots, where to place those hooks to create a balanced look, and how to secure them safely to the wall.
Pot Selection Criteria
When selecting pots to attach to your sconces, prioritize those with wide mouths, as this will make it easier to secure them to the hooks or brackets. This will guarantee a sturdy attachment, preventing your wall planters from toppling over.
You'll want to opt for lightweight pots to prevent strain on your wall sconces when hanging. This is important, as you don't want your beautiful DIY project to come crashing down. Consider pots made of durable materials like ceramic or metal for longevity.
Additionally, make sure your pots have drainage holes or add rocks at the bottom for proper plant care. This will prevent waterlogged soil and root rot, keeping your plants healthy and thriving.
Hook Placement Options
You'll need to strategically place hooks to securely attach your chosen pots to the sconce, ensuring a sturdy and stylish display. When selecting hooks, consider the weight capacity, style, and color scheme to match your wall sconces. The hooks should be sturdy enough to hold the weight of the plant pots and securely anchored to the wall to prevent any accidents.
Here are some key considerations for hook placement:
- Choose hooks that match the style and color scheme of your sconces for a cohesive look
- Place hooks at a height that allows the plants to hang freely without touching the ground
- Opt for hooks with a curved design to prevent the plant pots from slipping off easily
Secure Attachment Methods
To securely attach your plant pots to the sconces, start by selecting durable hooks or brackets that can hold the weight of your chosen planters. Make sure they are properly sized and rated to prevent any accidents.
| Material | Weight Capacity | Recommended Use |
|---|---|---|
| Stainless Steel | Up to 20 lbs | Heavy planters or large plants |
| Aluminum | Up to 15 lbs | Medium-sized planters or small plants |
| Plastic | Up to 5 lbs | Small planters or herbs |
Next, drill pilot holes in the sconces for the hooks or brackets to prevent splitting or damage. Use screws or bolts to attach them to the sconces for added stability. Finally, test the attachment by gently tugging on the plant pots to make sure they are securely in place. By following these steps, you'll be able to attach your plant pots to the sconces with confidence.
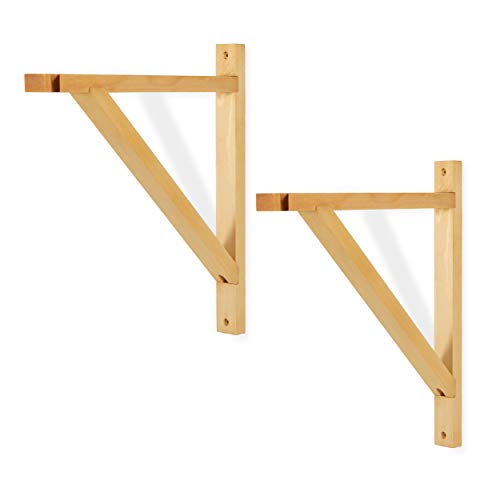
Rustic State Palma Wall Mount Wood Triangle Sconce Bracket for Plug in Hanging Pendant Light Lamp Cord Kit Fixture – DIY Shelf Project Decoration – Decorative Plant Hanger – Natural – Set of 2
Easy to Put Together: This set of 2 wood brackets are easy to put to work.Each bracket is…
As an affiliate, we earn on qualifying purchases.
As an affiliate, we earn on qualifying purchases.
Planting and Soil Preparation
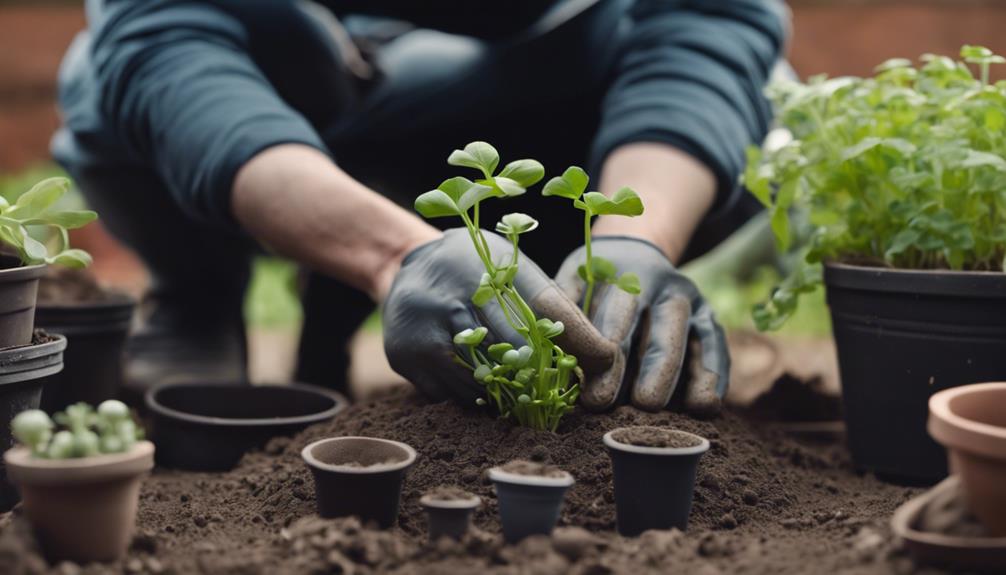
As you move on to the planting and soil preparation stage of your DIY plant sconces, it's crucial to focus on selecting the right soil and mastering the planting techniques that will guarantee your plants thrive.
You'll need to take into account factors like soil composition, moisture levels, and drainage to create a perfect environment for your plants to grow. By doing so, you'll be setting the stage for healthy, flourishing plants that will bring life and beauty to your space.
Soil Selection Guide
Selecting the appropriate soil mix is essential for your DIY plant sconces, since it directly impacts the health and longevity of your plants. When choosing a soil mix for your wall sconce, remember that it's not just about picking any old soil off the shelf. You need a mix that's specifically formulated for indoor plants, with good drainage and aeration to prevent root rot and maintain proper moisture retention.
Here are some key considerations to keep in mind:
- Opt for a lightweight mix with ingredients like peat moss, perlite, and vermiculite to provide adequate aeration and drainage for plant roots.
- Avoid heavy garden soil or outdoor potting mixes that may compact and suffocate plant roots in indoor containers.
- Consider adding organic matter like compost or coconut coir to enrich the soil with nutrients and enhance microbial activity for plant health.
Planting Techniques
Now that you've chosen the perfect soil mix, it's time to get your hands dirty and start planting your DIY plant sconces.
Begin by placing a layer of river rocks at the bottom of your mason jar sconce planters to guarantee proper drainage.
Next, carefully replant your Pothos from their plastic pots into the mason jars, taking care not to disturb the roots. Make sure to leave enough space for the plants to grow and thrive.
As you plant, keep in mind that these sconces will likely be placed in low-light areas, so choose plants that can tolerate these conditions.
Water your plants carefully, avoiding overwatering that can lead to root rot.
Finally, prepare your sconces for hanging securely on the wall, and you'll be ready to enjoy your beautiful DIY plant sconces.
Hanging and Positioning Sconces
You'll want to pinpoint the wall's studs using a trusty stud finder to guarantee your sconces hang securely. This is important to make certain that your plant sconces don't come crashing down, taking your beautiful plants with them.
Once you've located the studs, use screws and wall anchors if needed to properly fix the sconces in place. Make sure they're level before finalizing their position on the wall.
To add an extra layer of security, insert cork mats in the bottom of the sconces to provide a stable base for the plants. This will prevent them from toppling over and make it easier to move them around if needed.
Here are a few things to keep in mind when hanging and positioning your sconces:
- Make sure the sconces are level and securely fastened to the wall to prevent accidents.
- Use high-quality screws and wall anchors to ensure a sturdy hold.
- Take your time when positioning the sconces to ensure they're perfectly aligned and visually appealing.
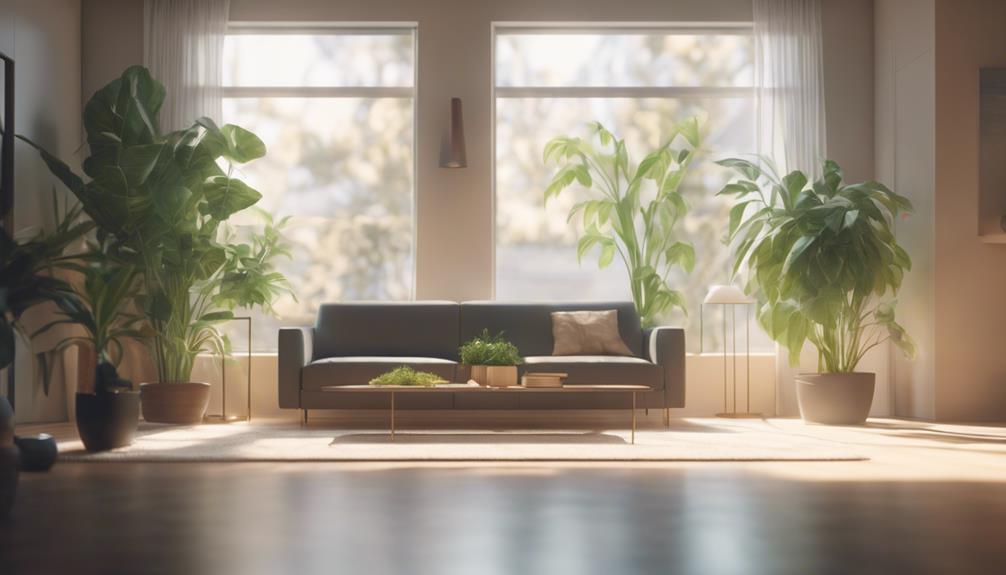
Final Touches and Maintenance
As you put the finishing touches on your DIY plant sconces, consider adding decorative elements like ribbons or labels to give them a personalized flair. This is your chance to get creative and make your sconces truly unique.
Once you're happy with the aesthetic, it's time to focus on maintenance. To keep your plants thriving, make it a habit to check the water levels, trim dead leaves, and make sure they're getting the right amount of sunlight. If your plants prefer higher humidity, don't hesitate to break out the plant mister.
As you monitor their growth, adjust your watering schedule accordingly to avoid overwatering or underwatering. Remember to rotate your sconces occasionally to promote even growth and prevent your plants from leaning towards the light source.
By following these simple tips, you'll be well on your way to becoming a plant expert. And if you have any questions or need further guidance, don't hesitate to reach out to our team at [email address].
Next time you take on a DIY project, you'll be even more confident in your abilities.
Frequently Asked Questions
How to Create an Outdoor Plant Wall?
To create an outdoor plant wall, you'll need to choose a suitable wall with sufficient sunlight exposure. Select plants that thrive in your climate and are compatible with vertical growing. Install a sturdy support system, like a trellis or grid, and guarantee proper irrigation with a drip system or watering schedule.
Regularly monitor plant growth, water needs, and signs of pests or diseases to secure a thriving outdoor plant wall.
How to Create a Living Wall Indoors?
When creating a living wall indoors, you'll want to select a suitable wall space with adequate lighting for your plants.
Choose low-maintenance varieties like Pothos, Spider Plants, or Peace Lilies, which thrive in indoor conditions.
Use wall planters or sconces to maximize space, and don't forget to add pebbles or rocks for proper drainage.
Regular watering and maintenance will promote healthy growth and a vibrant display.
How to Secure a Post in a Planter?
When securing a post in a planter, you'll want to start by digging a hole in the soil with a post hole digger.
Then, pack the soil tightly around the post to make sure it's sturdy and secure.
Consider adding concrete or gravel at the base for extra stability.
Use a level to confirm the post is straight, and regularly check its stability to prevent leaning or tipping.
How to Attach Pots to a Wall?
When attaching pots to a wall, you'll want to choose wall sconces with flat surfaces for easy attachment. Drill through the back of the sconce to secure the pot, or consider using hooks or brackets to hang it.
Opt for lightweight pots to prevent wall damage, and make sure they're securely attached to prevent accidents.
Conclusion
As you step back to admire your handiwork, the soft glow of the sconce lights dancing across the lush greenery, it's hard to believe that just hours ago, you were staring at a pile of wooden boards and plant pots.
Your DIY plant sconce, born from humble beginnings, now adds a touch of elegance to your space, a proof of the power of creativity and elbow grease.