
To paint your mirror like a pro in 7 steps, start by preparing the surface by cleaning and lightly sanding the frame, then apply a white gesso base for better paint adhesion. Next, use high-quality painter's tape to protect the mirror's edges. Remove the mirror, prime the frame, and apply two coats of paint for a smooth finish. After removing the tape, touch up any imperfections and reattach the mirror securely. Finally, inspect your work from different angles and address any minor issues. By following these steps, you'll achieve a flawless, professional-looking finish – and uncover the secrets to a perfect paint job.
Key Takeaways
• Clean and prepare the mirror frame by sanding rough spots and applying a white gesso base for better paint adhesion.
• Apply high-quality painter's tape to protect the mirror surface, pressing down firmly to prevent paint bleed.
• Remove the mirror from its frame, prime the frame for better paint adhesion, and allow the primer to dry completely.
• Apply two coats of high-quality paint, allowing the first coat to dry before applying the second coat for a smooth finish.
• Inspect the finished frame from different angles, addressing any imperfections with touch-ups and additional coats if needed.

FrogTape Multi-Surface Painter's Tape with PAINTBLOCK, 1 in Wide (0.94 in x 60 yd), Quick Stick Medium Adhesion, Premium Green Painters Tape Removes Clean, 1 Roll
- Surface Compatibility: Suitable for multiple surfaces
- PaintBlock Technology: Seals edges to prevent paint bleed
- Easy Removal: Removes cleanly up to 21 days
As an affiliate, we earn on qualifying purchases.
As an affiliate, we earn on qualifying purchases.
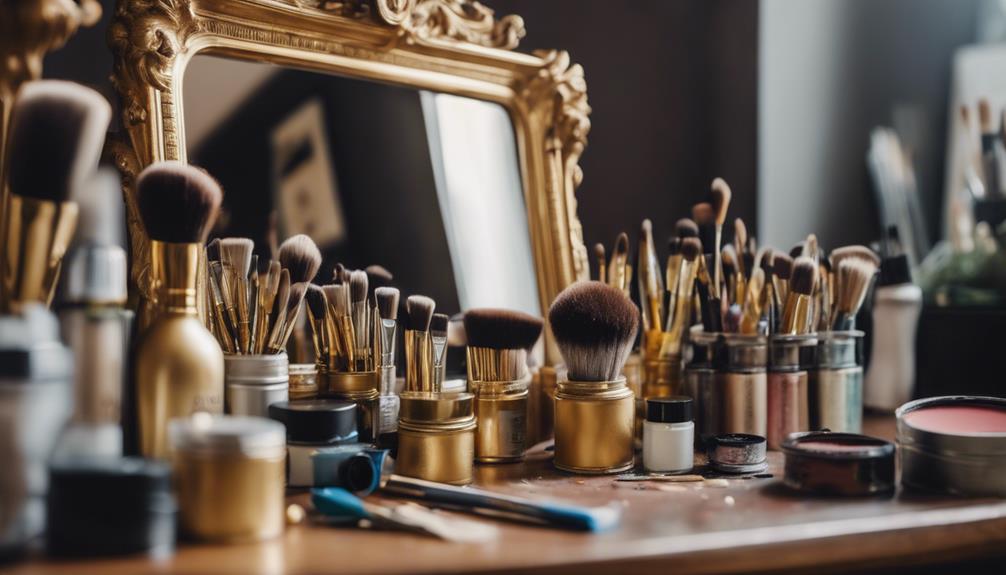
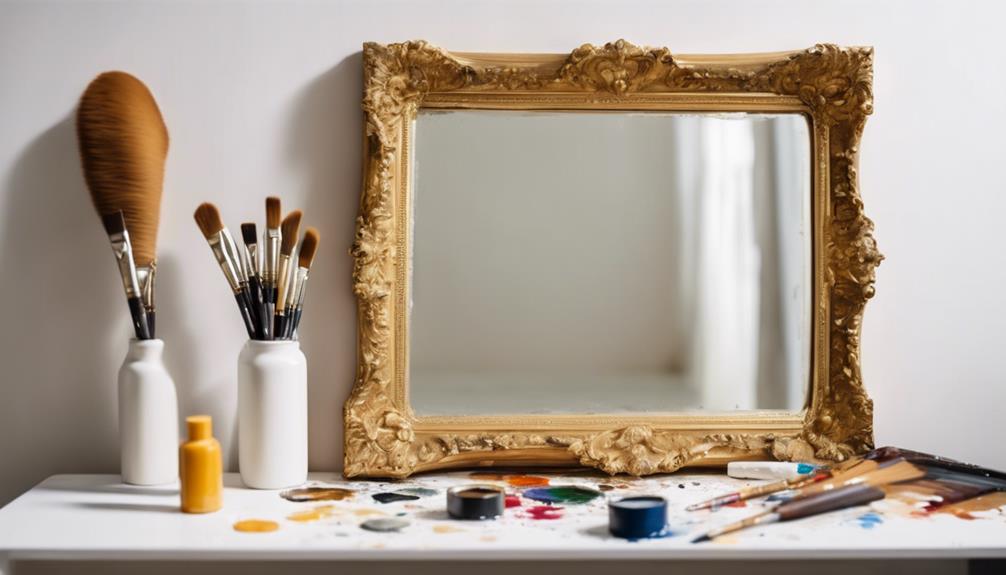
Prepare Your Mirror for Painting
Before you can tap into your creativity and start painting your mirror, are you certain you've properly prepared the surface for a flawless finish? A well-prepared surface is essential for a professional-looking paint job.
Start by cleaning the mirror frame with a microfiber cloth to remove any dust and debris that may interfere with the paint's adhesion. If the frame has any rough spots, lightly sand them to create a smooth surface. This will ensure that your paint adheres evenly and doesn't flake off over time.
Next, apply a white gesso base to the frame to promote better paint adhesion and coverage. Let the gesso dry for 24 hours before moving forward. Remember to use painter's tape to protect the mirror surface from paint seepage – you don't want any unwanted paint getting on your mirror!
Apply Painter's Tape for Edges
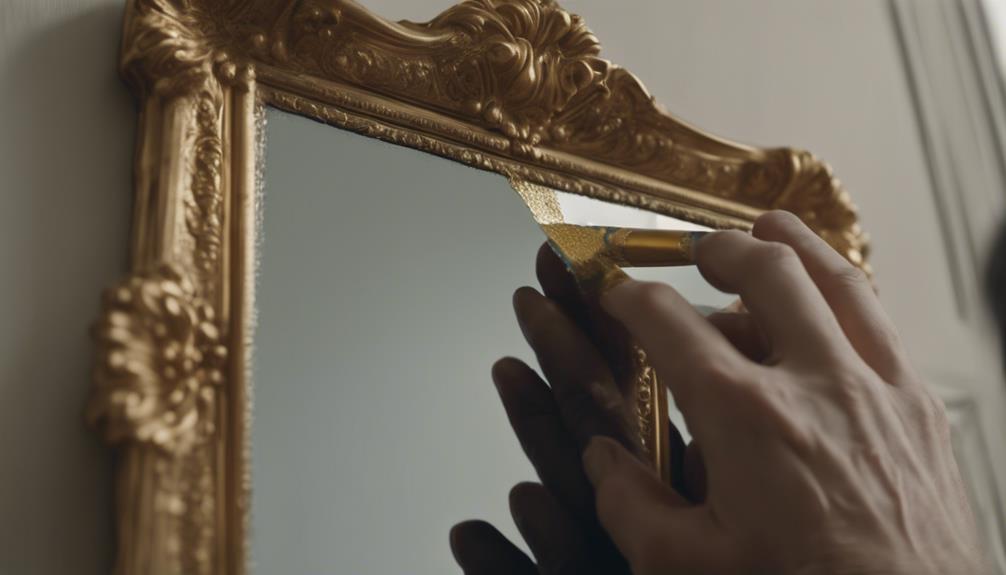
With your mirror frame properly prepared, it's time to apply painter's tape to create crisp, clean edges around the mirror's surface. This essential step guarantees that your paint job looks professional and polished.
To get started, you'll need high-quality painter's tape, such as Frog Tape, which is specifically designed for creating sharp lines and crisp edges.
Here are some vital tips to keep in mind when applying painter's tape:
- Press down firmly on the tape to prevent paint bleed and establish a strong bond.
- Apply the tape carefully, making sure it's aligned with the edges of the mirror's surface.
- Use a credit card or similar tool to smooth out any air bubbles or wrinkles in the tape.
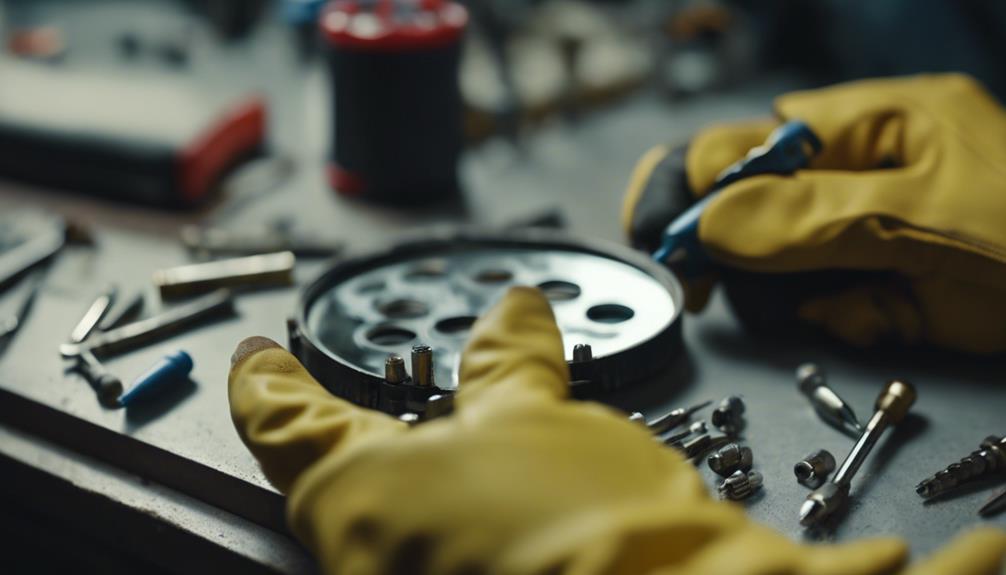
Remove the Mirror and Prime
Remove the mirror from its frame to prevent accidental damage and make painting easier. This important step guarantees that your mirror remains intact while you focus on transforming the frame.
By removing the mirror, you'll avoid any potential scratches or breakages that could occur during the painting process.
Once the mirror is safely set aside, it's time to prime the frame. This step is vital in creating a smooth surface for the paint to adhere to, ensuring better coverage and a longer-lasting finish.
Apply a high-quality primer suitable for your frame material, making sure to cover the entire surface evenly. Allow the primer to dry completely before moving forward, as this will guarantee a professional-looking finish.
Don't skip this step, as a well-primed frame will make all the difference in the final result.
Paint the Frame With Two Coats
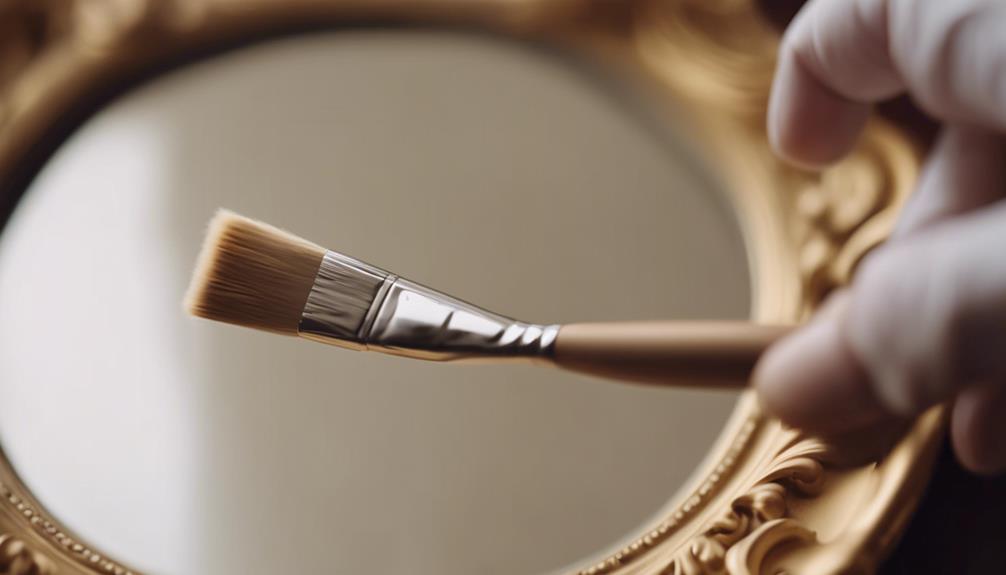
You're ready to apply the first coat of paint to the mirror frame, ensuring complete coverage and even application. This is an important step in giving your mirror a professional-looking makeover. As you begin painting, keep in mind that you'll need to apply two coats of paint to achieve a smooth, even finish.
To guarantee a flawless finish, make sure to:
- Use high-quality paint that matches your desired color and finish
- Allow the first coat to dry completely before applying the second coat
- Remove any painter's tape carefully after each coat while the paint is still wet to achieve clean edges
Remember to work in a well-ventilated area, and consider using a paint with low VOCs (volatile organic compounds) to minimize fumes.
Remove Tape and Touch Up Edges
Now that you've completed the second coat of paint, it's time to remove the masking tape and inspect your work.
As you gently peel off the tape at a 45-degree angle, you'll want to carefully examine the edges for any mistakes or bleeding.
This is your chance to rectify any errors and guarantee crisp, clean lines that will make your mirror frame look professionally painted.
Removing Masking Tape
With the paint fully dry, gently peel off the painter's tape at a 45-degree angle to guarantee the paint from lifting. As you remove the masking tape, inspect the edges of your mirror for any imperfections. If you notice any areas where the paint bled under the tape, don't worry! You can easily fix these mistakes with a few simple tools.
To touch up the edges, follow these steps:
- Use a razor blade or craft knife to carefully scrape off any excess paint that seeped under the tape.
- Smooth out any rough edges with fine-grit sandpaper for a clean finish.
- Apply a small amount of touch-up paint with a fine brush to fix any imperfections.
Remember to work carefully and patiently to guarantee crisp, clean edges.
Once you've touched up the edges, step back and admire your handiwork! Your mirror should now have a professionally painted finish, complete with sharp, clean lines and a flawless coat of paint.
Fixing Edge Mistakes
After removing the tape, inspect the mirror's edges closely to identify any areas where the paint may have seeped underneath. If you notice any mistakes, don't panic – they can be easily fixed.
Carefully remove the painter's tape at a 45-degree angle to prevent peeling off dried paint. Then, use a fine-tipped brush to touch up any areas where paint may have bled under the tape. Gently wipe excess paint with a damp cloth for a clean finish. Make sure to wipe in one direction to avoid spreading the paint further.
Once you've touched up the edges, allow them to dry completely before reassembling the mirror. To guarantee a seamless and professional finish, inspect the edges under different lighting conditions. This step is vital, as it will help you identify any imperfections that might've been missed.
Reattach the Mirror Securely
Now that your mirror's paint job is complete, it's time to reattach it securely to the frame. To guarantee a sturdy mount, you'll want to focus on three key points: checking your mounting hardware, applying a secure adhesive, and tightening screws firmly.
Mounting Hardware Check
Before reattaching the mirror to the wall, take a moment to thoroughly inspect the mounting hardware to make sure it's securely fastened to the mirror frame. You want to confirm that everything is securely attached to prevent any accidents or damage.
Here are a few things to check:
- Use a screwdriver to tighten any screws or brackets that may have come loose during the painting process.
- Inspect the mirror frame for any signs of wear or damage that could affect the mounting hardware.
- Check for any loose or missing hardware that needs to be replaced before reattaching the mirror to the wall.
Secure Adhesive Application
Apply a strong adhesive like mirror mastic to the back of the mirror, spreading it evenly to guarantee a strong bond with the frame. This step is essential to reattach the mirror securely and make sure it stays in place. Follow the manufacturer's instructions for the adhesive application process, as improper application can lead to a weak bond. Allow the adhesive to cure for the recommended time before hanging or moving the mirror.
| Adhesive Type | Curing Time | Bond Strength |
|---|---|---|
| Mirror Mastic | 24 hours | High |
| Acrylic Adhesive | 12 hours | Medium |
| Epoxy Adhesive | 48 hours | High |
Tighten Screws Firmly
How firmly are you prepared to tighten those screws to guarantee your mirror is securely reattached in its frame? This important step is often overlooked, but it's vital to make sure your mirror stays put.
To reattach your mirror, use a screwdriver to tighten any screws that were removed during the painting process. Make sure to check the alignment of the mirror before tightening the screws for a straight and centered position.
Here are some key points to keep in mind when tightening your screws:
- Ensure all screws are tightened firmly to secure the mirror back in place.
- Properly securing the mirror prevents it from shifting or falling out of the frame.
- A securely reattached mirror adds a professional touch to the finished painted frame.
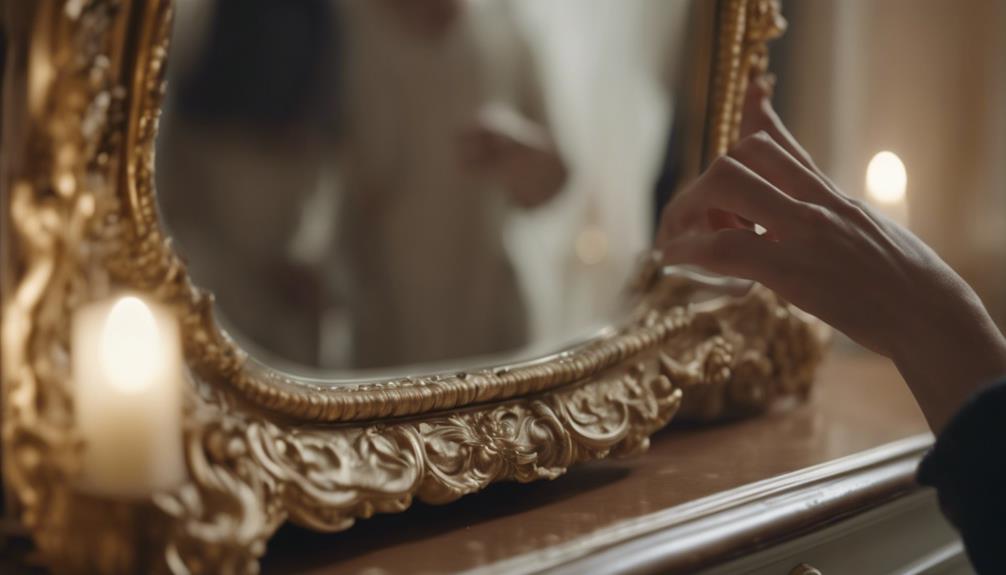
Inspect and Enjoy Your Work
Take a step back from your newly painted mirror frame to admire your handiwork and inspect it from different angles. You've put in the effort, and now it's time to enjoy the fruits of your labor.
As you inspect your work, look for any imperfections or areas that may require additional coats of paint for a flawless result. Check for any missed spots or uneven paint application that may need touch-ups. This is your chance to catch any mistakes and make adjustments before calling it a day. Take your time, and don't hesitate to grab a small brush to address any minor issues.
Once you're satisfied with the finish, take a moment to appreciate the transformation of your mirror frame. You've successfully given it a professional-looking makeover. Share your painted mirror project with friends and family to showcase your painting skills. You should be proud of yourself – you've earned it!
Frequently Asked Questions
How to Do Mirror Painting?
When it comes to mirror painting, you're probably wondering where to start.
First, understand that it's not just about slapping on some paint – you need to prep the surface and protect the glass.
You'll want to clean the frame thoroughly, mask off the edges with painter's tape, and apply two coats of paint, letting each dry before adding the next.
How to Get Mirror Finish When Painting?
When you're trying to get a mirror finish when painting, you'll want to use high-gloss paint or metallic finishes to achieve that reflective shine.
Make sure to sand the surface of the mirror frame for better paint adhesion and a smoother finish.
Apply thin, even coats of paint to avoid drips or streaks that can affect the mirror-like shine.
How to Spray Paint a Mirror?
As you stand in front of your old, worn-out mirror, you envision a sleek, revamped reflection staring back at you. To achieve this, you're wondering how to spray paint a mirror.
Start by removing the mirror from its frame and lightly sanding the surface for better paint adhesion. Next, use painter's tape to mask off the mirror and surrounding areas to prevent overspray.
How to Get Mirror Gloss Finish?
When aiming to achieve a mirror gloss finish, it's essential to use high-quality spray paint specifically designed for glossy surfaces.
Make sure the surface of your mirror is clean and smooth before applying the paint.
Then, apply thin, even coats, allowing each coat to dry completely before adding more.
This method will help you avoid drips and enable you to achieve a professional gloss appearance.
Conclusion
With a few strokes of genius, your once-ordinary mirror now shines like a masterpiece, reflecting not only your image but also your impeccable taste.
As you step back to admire your handiwork, the frame's vibrant colors seem to pulse with an inner light, infusing the entire space with a renewed sense of elegance.
Your DIY project has transformed a humble mirror into a stunning focal point, a demonstration of your creativity and skill.