
You're about to give new life to an old dresser by converting it into a bookshelf. Start by removing drawers and hardware, then fill holes with wood filler and sand the entire dresser. Next, measure and cut shelves to fit, assemble them with hidden holes, and add furniture feet for stability. Paint or stain the dresser to match your decor, and attach a back panel for support. Add decorative trim if desired, then organize your books and enjoy your new bookshelf. As you work through these steps, you'll discover how to bring your vision to life with the right materials and techniques, transforming your old dresser into a functional piece of art.
Key Takeaways
• Remove all drawers and hardware, filling holes with wood filler for a seamless finish.
• Take precise measurements of the dresser's interior to determine shelf dimensions, accounting for irregularities.
• Assemble shelves using hidden holes and a Kreg Jig for a polished look and secure attachment to the dresser frame.
• Add furniture feet for stability, air circulation, and floor protection, and attach a back panel for structural support.
• Finish the bookshelf by painting or staining it to match the room's decor and style, with optional decorative trim for added appeal.
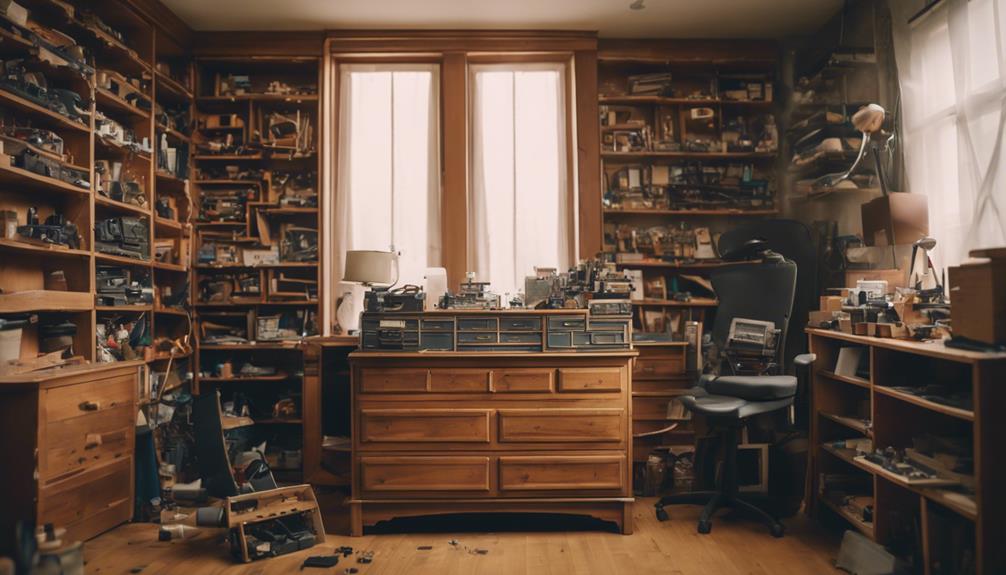
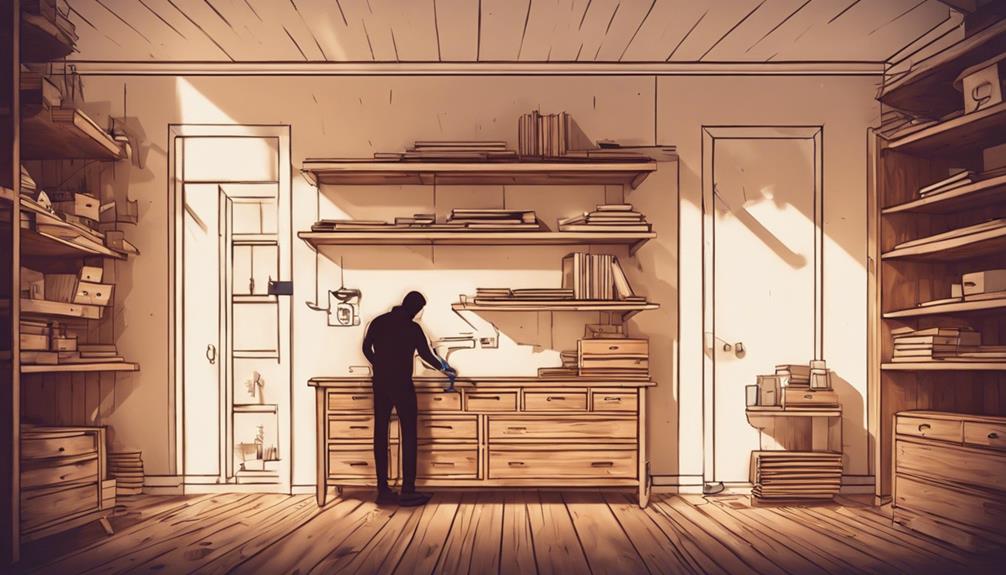
Remove Drawers and Hardware Completely
Remove all the drawers from the dresser, and set them aside, as you'll be repurposing the frame to create your new bookshelf. This is the first step in transforming your old dresser into a functional bookshelf.
As you detach the drawers, make sure you remove all hardware, including screws, knobs, and handles, to avoid any obstructions during the conversion process. Take your time to thoroughly inspect the dresser, making certain all components are removed, including drawer supports and runners. This will create the necessary space for your future shelves. A clean slate is essential for a successful conversion.
With the drawers and hardware out of the way, you'll have a better understanding of the dresser's frame and how it can be repurposed. Take a closer look at the dresser's structure, and you'll start to envision your new bookshelf taking shape.
Fill Holes With Wood Filler
When you start filling holes with wood filler, it's crucial to make sure you're doing it correctly to achieve a smooth, seamless finish.
You'll need to identify the locations of all the holes, ensuring to fill them completely to avoid any imperfections.
Filling Holes Completely
You'll need to fill any holes left behind from removing hardware or previous attachments on the dresser with wood filler to create a smooth surface for painting and finishing. This step is vital in ensuring a professional-looking finish for your repurposed bookshelf.
When applying wood filler, make sure to fill the holes completely, so the filler is flush with the surface of the dresser. If the filler doesn't fill the hole entirely, it can create an uneven surface, which can be difficult to paint and finish properly.
Once you've filled the holes, let the wood filler dry according to the manufacturer's instructions. After it's dry, use sandpaper to smooth out the filled areas, creating a seamless look with the rest of the dresser.
Properly filled holes with wood filler will contribute to a polished and professional appearance of your converted bookshelf. By taking the time to fill the holes correctly, you'll be rewarded with a beautiful, one-of-a-kind piece of furniture that showcases your creativity and DIY skills.
Identifying Hole Locations
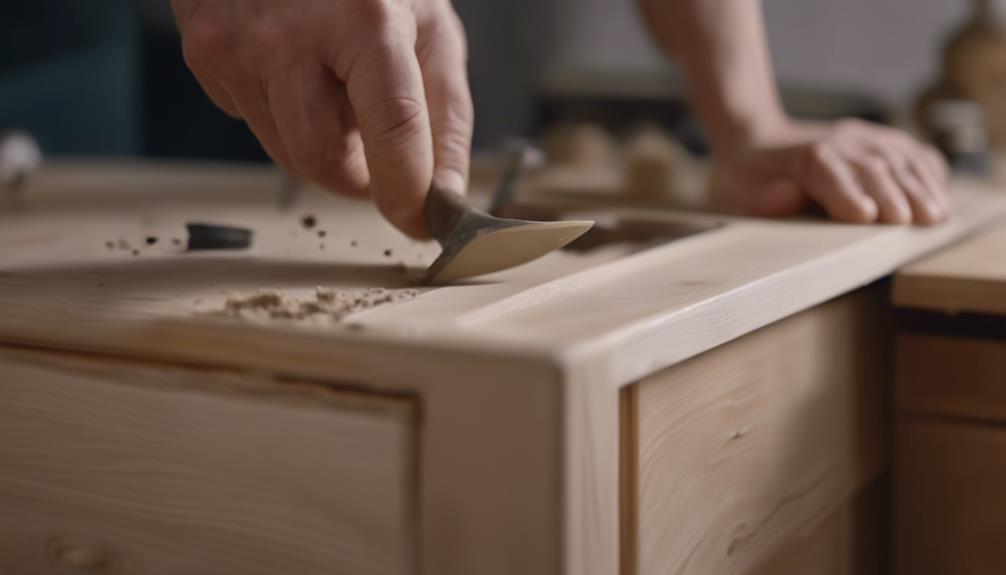
Take a close look at the dresser's surface to identify any holes left behind by hardware, handles, or knobs, as these need to be filled with wood filler to achieve a smooth finish. You'll want to locate each hole carefully, making note of their size and location. This step is vital, as any overlooked holes can lead to an uneven finish.
Once you've identified all the holes, you can begin filling them with wood filler. Be sure to use a high-quality wood filler that matches the color and texture of your dresser as closely as possible. When filling the holes, use a putty knife to apply the filler, spreading it smoothly and evenly. Don't overfill the holes, as excess filler can be difficult to sand down.
Allow the filler to dry completely before sanding, following the manufacturer's instructions for drying time. By taking the time to carefully identify and fill these holes, you'll be able to achieve a uniform, professional-looking finish for your repurposed dresser-turned-bookshelf.
Mixing Filler Correctly
Before filling the holes, mix the wood filler according to the manufacturer's instructions to achieve the correct consistency, ensuring a smooth and even application. This step is essential in achieving a professional-looking finish for your dresser-to-bookshelf conversion project.
Here are the essential steps to follow:
- Mix the wood filler: Combine the wood filler with the recommended amount of hardener or water, stirring thoroughly to eliminate lumps.
- Apply the wood filler: Use a putty knife to press the wood filler into the holes, smooth it out for a flush finish, and allow it to dry completely.
- Sand the surface: Once the wood filler is dry, sand the filled holes with medium grit sandpaper to blend them seamlessly with the surrounding wood.
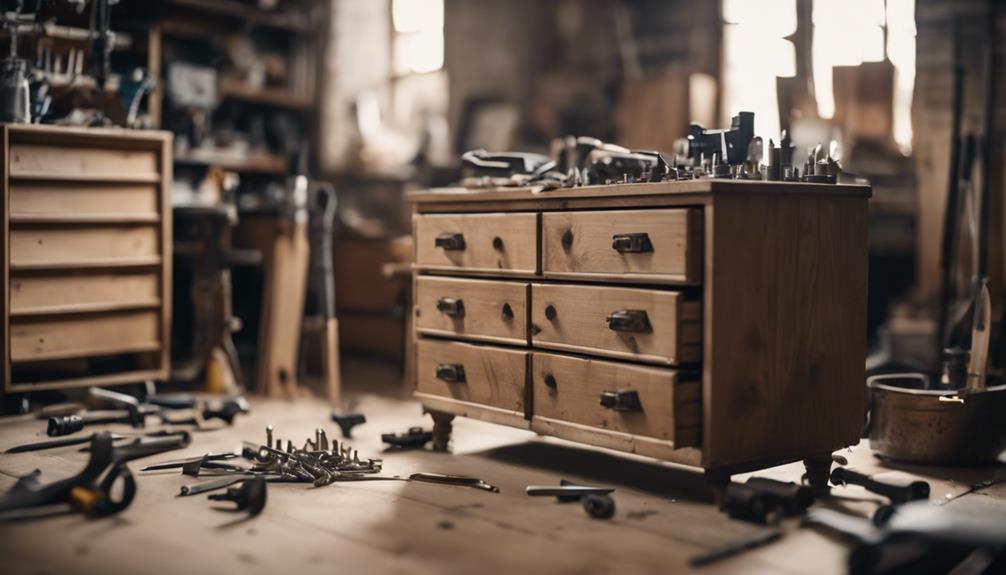
Sand the Entire Dresser
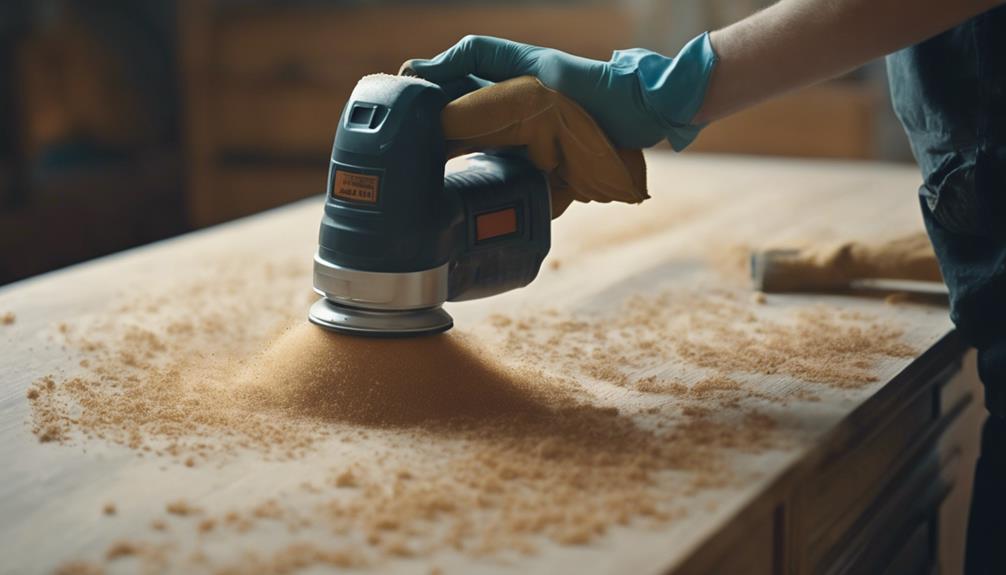
With your trusty sandpaper in hand, start vigorously sanding the entire dresser to strip away old finishes, smooth out imperfections, and create a clean slate for the new look. This step is vital in transforming your old dresser into a beautiful bookshelf.
As you sand, focus on every nook and cranny, including the drawers, sides, and edges of the dresser. Medium grit sandpaper is ideal for this task, allowing you to effectively remove old finishes and smooth out imperfections. Pay attention to details such as corners, edges, and intricate designs on the dresser, making sure to sand them thoroughly.
Proper sanding is essential in achieving a polished and refined appearance for your repurposed bookshelf. By sanding the entire dresser, you'll ensure better adhesion of paint or stain and a professional finish.
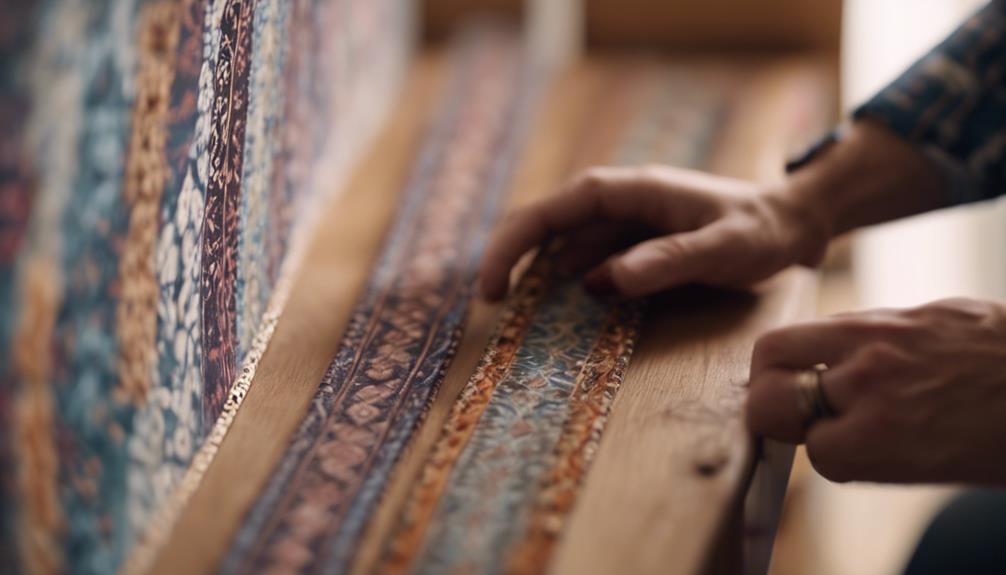
Measure and Cut Shelves to Fit
As you begin measuring and cutting shelves to fit your converted dresser, you'll need to carefully consider the dimensions and cutting techniques that will guarantee a snug, stable fit.
You'll want to take precise measurements of the inside of the dresser to determine the ideal shelf size, and then use a saw to cut the shelves to those exact dimensions.
Shelf Dimensions
Measure the inside dimensions of the dresser to determine the width and depth needed for the shelves, taking care to account for any obstructions or irregularities in the dresser's interior. This is an important step in converting your dresser into a bookshelf, as it guarantees a snug and secure fit for your shelves.
To get accurate measurements, use a measuring tape to record the width, depth, and any obstructions, such as drawer fronts or supports. Take note of any irregularities, like uneven surfaces or curved lines, to plan your shelves accordingly.
Here are some key considerations when measuring for shelf dimensions:
- Width: Measure the width of the dresser, taking into account any obstructions or supports.
- Depth: Record the depth of the dresser, ensuring your shelves fit comfortably within.
- Obstructions: Note any obstructions, like drawer fronts or supports, that may impact shelf placement.
Cutting Techniques
Guarantee the accurate size of your shelves by carefully feeding the measured wood through a saw, making sure to maintain a steady hand and a keen eye for precision.
To guarantee precise cuts, double-check your measurements before feeding the wood into the saw. A table saw or circular saw would be optimal for this task, as they provide a straight and clean cut.
As you cut each shelf, set it aside and repeat the process until you have all the necessary shelves.
Taking your time and making accurate cuts is crucial to prevent gaps or misalignment when fitting the shelves into the dresser.
Remember, fitting shelves properly will enhance the overall look and functionality of your repurposed dresser bookshelf.
Assemble Shelves With Hidden Holes
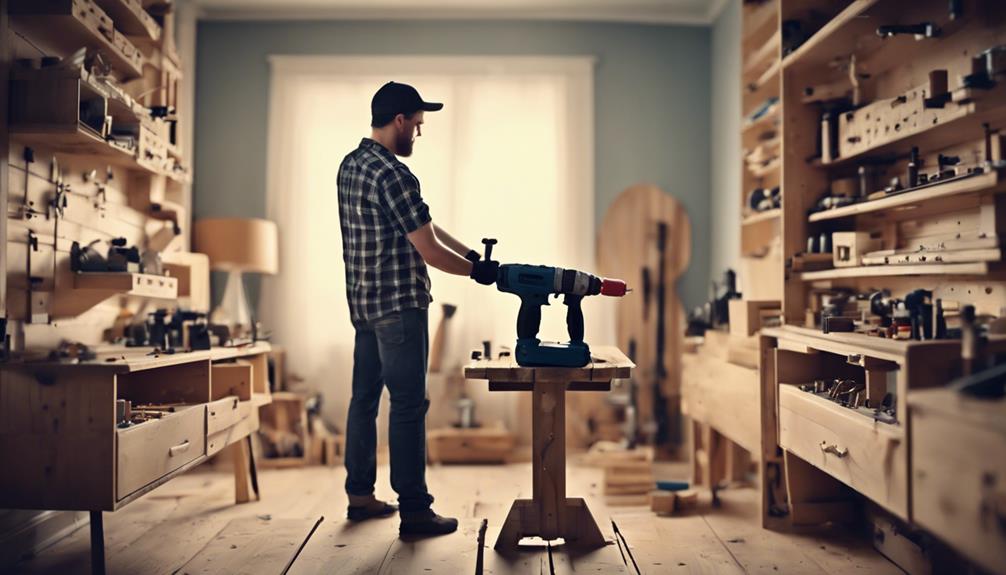
Using a Kreg Jig, you'll create hidden pocket holes that will securely attach your shelves inside the dresser, producing a sleek, screw-free finish. This technique guarantees a professional and polished look, keeping the focus on your bookshelf design rather than the hardware used for installation.
To assemble your shelves with hidden holes, follow these steps:
- Drill precise pocket holes: Use your Kreg Jig to drill accurate holes for strong shelf support.
- Apply Wood Glue: Apply a small amount of Wood Glue to the shelf's underside, ensuring a secure bond.
- Assemble shelves: Attach the shelves to the dresser, using the hidden holes for a seamless finish.
Add Furniture Feet for Stability
As you prepare to add furniture feet to your dresser-turned-bookshelf, stability and support become top priorities, guaranteeing that your new bookcase stands sturdy and secure. You want to make sure that your bookshelf doesn't topple over, causing damage to the surrounding area or, worse, injury to someone nearby.
By adding furniture feet, you'll not only provide stability but also elevate the bookshelf off the ground, allowing for better air circulation and preventing moisture damage. This is especially important if you plan to place your bookshelf in a humid or damp environment.
Choose furniture feet that match the style and height requirements of your bookshelf for a cohesive look. Installing furniture feet can also help protect your floors from scratches and damage caused by the weight of the bookshelf.
Make sure to securely attach the furniture feet to the bottom of the dresser to maintain the overall stability of the bookshelf. With the right furniture feet, you can enjoy peace of mind knowing your bookshelf is stable and secure.
Paint or Stain to Match Decor
As you prepare to give your dresser-turned-bookshelf a fresh new look, you'll need to deliberate on a paint or stain that complements your room's decor.
You'll have a range of color scheme options to choose from, and you'll also need to contemplate the type of finish you want, whether it's a glossy paint or a rich stain that showcases the wood grain.
Color Scheme Options
You can transform your dresser into a unique bookshelf by selecting a color scheme that complements your room's decor. When repurposing your dresser, contemplate the overall aesthetic you want to achieve. A harmonious color scheme will create a cohesive look and make your bookshelf a stunning focal point.
Here are some color scheme options to ponder:
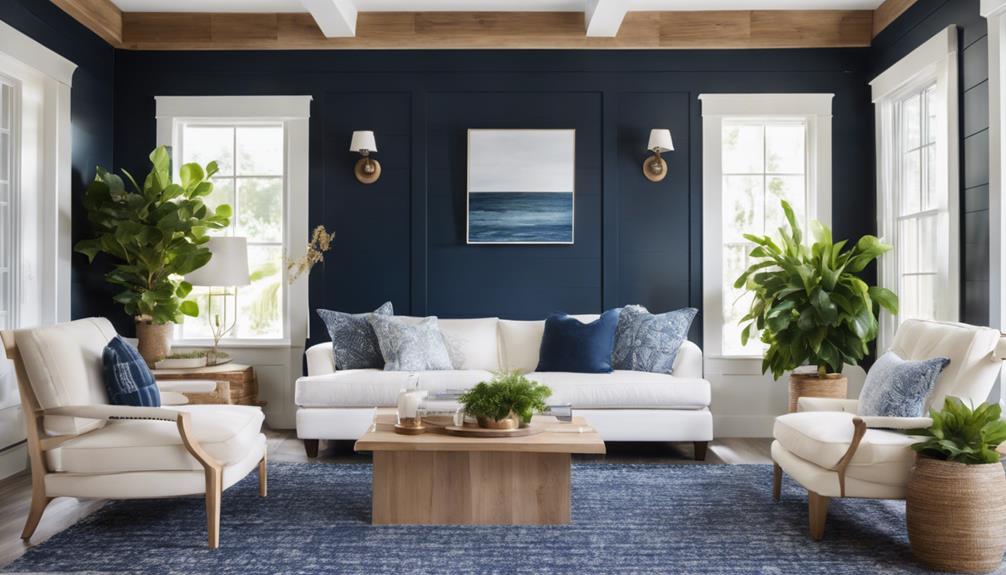
- Soft and Calming: Paint the dresser in a soft blueish/grayish color mix for a calming and versatile look that will blend with any decor.
- Rich and Elegant: Utilize a Dark Walnut stain to bring out the rich, elegant wood grain contrast that will add sophistication to any room.
- Distressed Chic: Experiment with distressing techniques to achieve a vintage or shabby chic aesthetic that adds a touch of whimsy to your bookshelf.
Remember to coordinate the color scheme with the room decor to create a cohesive look. Take into account the room's color palette, furniture, and overall style when making your decision.
With a little creativity, you can turn your old dresser into a one-of-a-kind bookshelf that reflects your personal style.
Finish Types Available
Now that you've chosen a color scheme, it's time to decide on a finish type that will bring your unique bookshelf to life. You have two primary options: paint or stain.
Let's explore the benefits of paint, a versatile and popular choice. With paint, you can choose from a wide range of colors to match any decor style, from modern and bold to traditional and subtle. Paint offers a smooth, opaque finish that can cover imperfections and create a uniform look. Plus, it provides a durable and easy-to-clean surface, ideal for high-traffic areas like a bookshelf. This makes paint an excellent option for those who want a low-maintenance finish.
Additionally, paint can be used to create a bold, eye-catching statement piece or blend seamlessly with surrounding decor. Whatever your style, paint can help you achieve the look you want. By choosing the right paint finish, you'll be able to showcase your unique bookshelf with confidence.
Stain Vs. Paint
When starting on your DIY dresser-to-bookshelf transformation, this important decision will set the tone for your entire project.
Here are three key factors to take into account when choosing between stain and paint:
- Natural beauty vs. bold statement: Stain allows the natural wood grain to shine, while paint provides a smooth, uniform finish perfect for modern or eclectic interiors.
- Maintenance and durability: Stain requires less maintenance and touch-ups over time, while paint may chip or fade with wear.
- Color options and room decor: Paint offers a wide range of color options to match any decor style, while stain enhances the dresser's original texture and beauty.
Ultimately, consider the existing room decor and desired aesthetic when selecting between stain or paint for your dresser-to-bookshelf transformation.
Attach Back Panel for Support

Secure the back panel to the dresser frame, making sure it's flush with the surrounding surfaces, to provide essential structural support and stability to your bookshelf.
This vital step will prevent your shelves from sagging or bowing under the weight of books or items. By attaching the back panel securely, you'll not only guarantee the overall functionality of your dresser bookshelf but also add a finished look to the piece, hiding any wall gaps.
To attach the back panel, use wood screws and wood glue to firmly secure it to the dresser frame. Make sure the panel is level and even, adjusting as needed to achieve a seamless fit.
The back panel's role in providing structural support can't be overstated – it's a critical component of your dresser bookshelf's overall stability.
Add Decorative Trim (Optional)
You can elevate the aesthetic appeal of your dresser bookshelf by adding decorative trim, which can be made from various materials like wood, metal, or plastic. This optional step can add a polished look to your dresser bookshelf, making it a unique piece that stands out in your home.
When choosing trim, consider the style of your decor, such as traditional, modern, or farmhouse, to guarantee a cohesive design.
Here are some tips to keep in mind when adding decorative trim:
- Select trim that complements your decor style to create a cohesive look.
- Apply trim to hide imperfections or gaps in your dresser bookshelf.
- Paint or stain the trim to match or contrast with the dresser for a cohesive design.
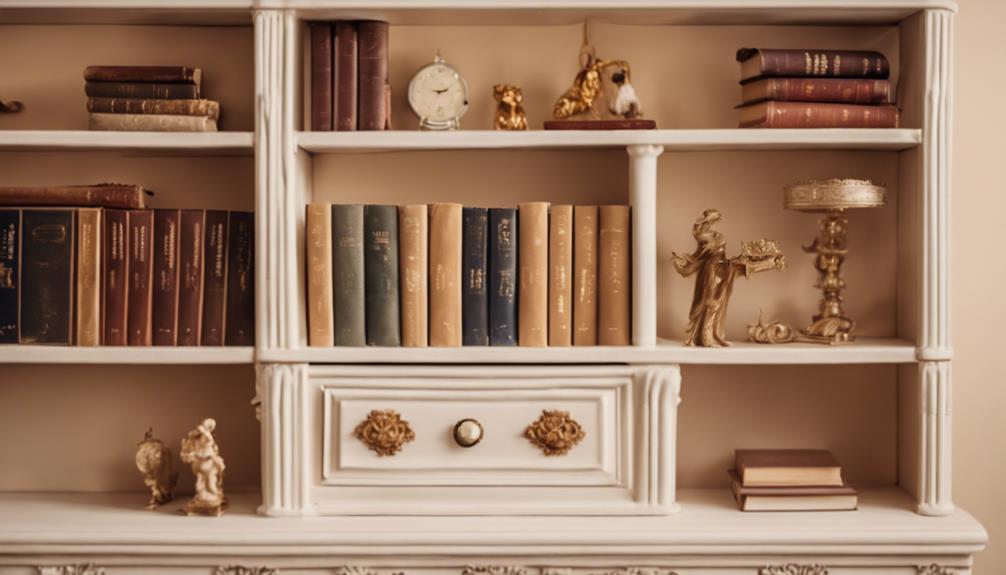
Organize Books and Enjoy
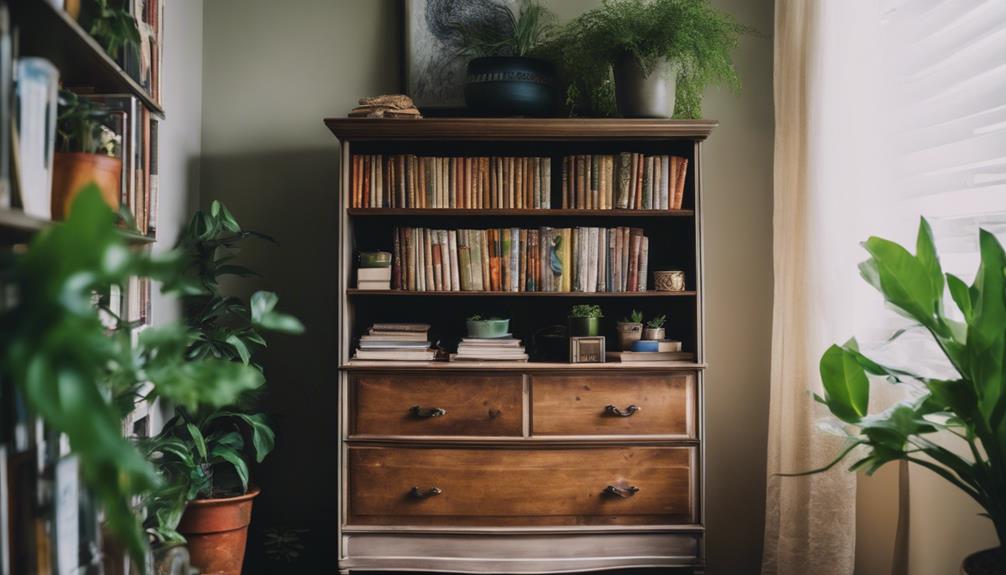
How will you style your new bookshelf to reflect your personal taste and complement your home's decor? Now that you've converted your dresser into a bookshelf, it's time to add the finishing touches.
Arrange your favorite books, decorative items, and personal treasures on the shelves to create a visually appealing display. You can also add some unique finds from a Thrift Store to give your bookshelf a one-of-a-kind look.
As you organize your books, consider grouping them by genre, author, or color to create a cohesive look. You can also add some decorative bookends or book stacks to keep your books upright and add visual interest. Don't forget to leave some space between the books to create a clean and uncluttered look.
With your new bookshelf, you'll be able to enjoy your favorite books and decorative items in a functional and stylish way. Stand back and admire your handiwork – you've successfully converted a dresser into a beautiful bookshelf that reflects your personal style!
Frequently Asked Questions
Can You Turn a Dresser Into a Bookshelf?
You're wondering if you can turn a dresser into a bookshelf? Absolutely! With some creativity and DIY skills, you can repurpose an old dresser into a unique bookshelf that adds a personalized touch to your home decor.
How to Make Shelves From Dresser Drawers?
You're wondering how to make shelves from dresser drawers. Start by removing all hardware and filling in holes with wood putty.
Sand the drawers for a smooth finish, then measure their inside dimensions to determine the shelf width.
Next, use a miter saw and Kreg Jig to cut and attach boards securely, and don't forget to add furniture feet and wood screws for stability.
How to Repurpose Dresser Drawers?
You're probably wondering how to repurpose dresser drawers, and the possibilities are limitless!
Explore the world of upcycling and discover the excitement of transforming old furniture into functional pieces.
From shelving units to pet beds, the versatility of repurposed drawers is unmatched.
By thinking outside the box (or drawer, in this case), you can create unique storage solutions that add a touch of personality to any room.
How to Turn a Dresser Into a Toy Box?
You're looking to turn a dresser into a toy box, a creative way to repurpose old furniture.
To start, remove the drawers and supports, then cut and shape the dresser to fit your desired dimensions.
Secure the pieces together with wood glue, screws, and additional reinforcement.
Finish it off with a coat of paint or a protective finish, and consider adding features like wheels, handles, or safety hinges to make it functional and safe for little ones.
Conclusion
With your dresser-turned-bookshelf now complete, you've successfully transformed a tired, outdated piece of furniture into a functional and stylish book haven.
Your creativity and elbow grease have paid off, and your newly repurposed bookshelf stands tall, like a phoenix risen from the ashes of its former life.
Now, fill it with your favorite tomes and bask in the satisfaction of a job well done.