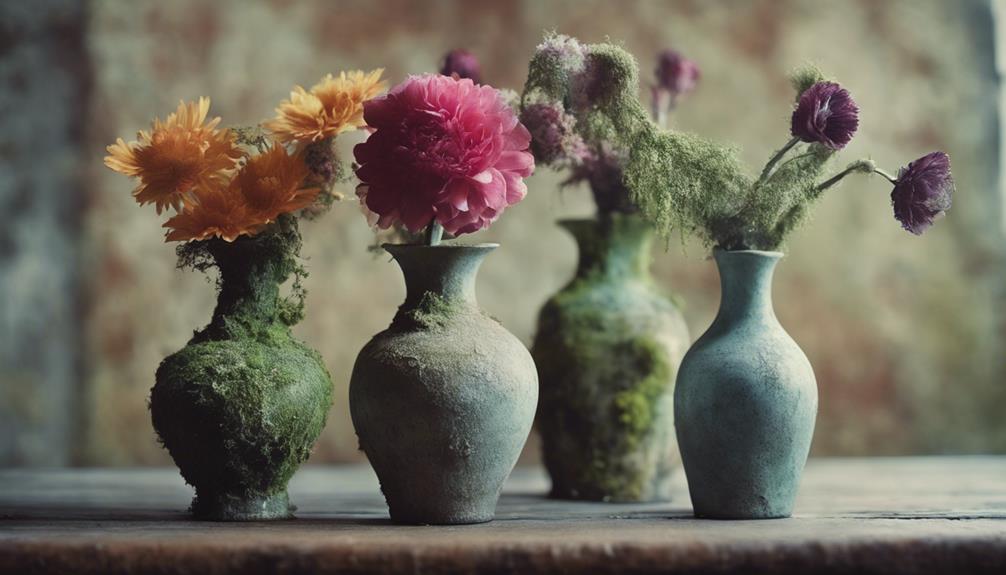
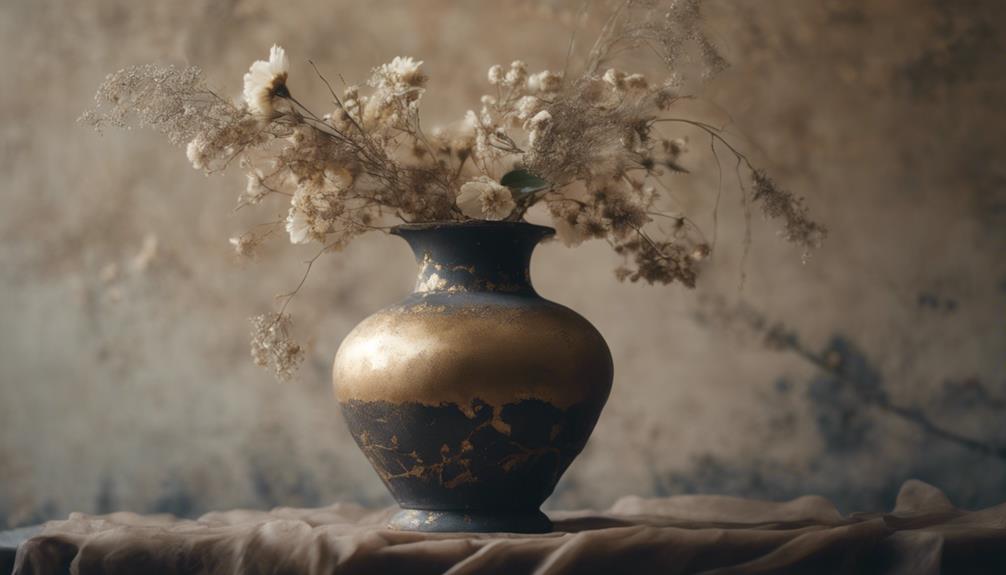
We can achieve a stunning aged appearance on vases by carefully preparing the surface, applying a weathered base coat, and strategically adding imperfections and cracks, resulting in a beautifully textured and realistic finish that exudes vintage charm. By roughening the surface with sandpaper and mixing white acrylic paint, brown, and baking soda, we create a weathered base coat. Blending earthy stone colors with a sponge-tipped brush adds depth, while guaranteeing the finish with a spray sealant ensures durability. With these steps, we can transform a plain vase into a unique, aged piece that adds elegance to any room. Next, we'll explore the finer details of this process.
Key Takeaways
• Roughen the vase surface with sandpaper to create scuff marks for a realistic aged look.
• Blend earthy stone colors with a sponge-tipped brush to create a textured, aged appearance.
• Apply a weathered base coat using a paint brush, then seal with a spray sealant for durability.
• Add imperfections and cracks using varying shades of paint, dry brushing, and stippling for depth.
• Seal the aged finish with a clear coat of sealant to preserve the weathered beauty and add a subtle sheen.

Vase Pearlfection Transparent Water Gels Kit- Fills 1 Gallon for Your Vases for the Floating Effect- with Measured Prep and Storage Bag for Best Results
Transform ordinary vases into EXTRAordinay centerpieces and wow your guests with these fascinating vase decorations and vase fillers….
As an affiliate, we earn on qualifying purchases.
As an affiliate, we earn on qualifying purchases.
Preparing the Vase Surface
We begin by roughening the vase surface with sandpaper, creating subtle scuff marks that will help our paint adhere better and set the stage for a beautifully aged finish. This essential step guarantees our base coat will bond seamlessly with the vase, giving us a strong foundation for our aging effect.
Next, we mix our base coat, combining white acrylic paint, brown, and a pinch of baking soda – about two tablespoons should do the trick. This unique blend will give our vase a distinct, weathered appearance, imbuing it with a one-of-a-kind character. We apply the base coat evenly, making sure to cover the entire vase surface for a consistent, aged look.
Blending the coat well is key to achieving a natural, textured appearance on the vase. By preparing the vase surface effectively, we're laying the groundwork for a realistic, aged, and weathered ceramic look that's sure to impress.
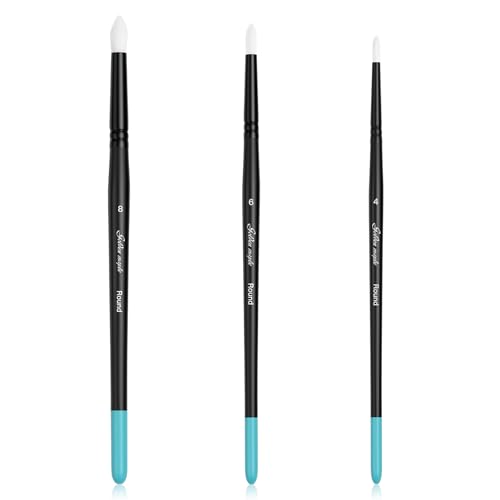
Weathering Paint Brushes-Golden Maple 3pcs Round Paint Brushes Set for Weathering Effects, Textures, Washing and Dry Brushing on Miniature Painting
Round Weathering Brushes – Designed for creating realistic texture and weathering effects on models and terrain, with Size…
As an affiliate, we earn on qualifying purchases.
As an affiliate, we earn on qualifying purchases.
Applying the Aging Effect
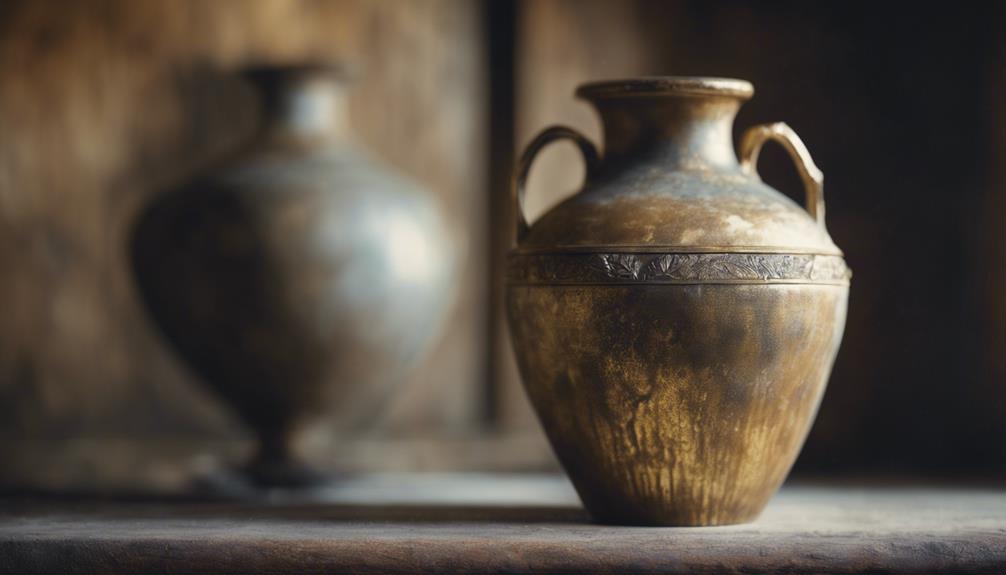
With our vase surface prepared, we're ready to apply the aging effect, using earthy stone colors and a sponge to create a textured, aged look. To achieve this, we'll blend colors with a sponge-tipped brush, focusing on reaching crevices and adding depth. This faux aged ceramic look is surprisingly easy to achieve, and with a few simple steps, we can create a beautiful, weathered appearance.
Here's a breakdown of the process:
| Step | Description |
|---|---|
| 1 | Mix white acrylic paint, brown, and baking soda for a weathered base coat |
| 2 | Apply base coat to the vase surface using a paint brush |
| 3 | Use a sponge to apply earthy stone colors, creating a textured look |
| 4 | Blend colors with a sponge-tipped brush for added depth |
| 5 | Seal the aged effect with a spray sealant for durability |
This super simple process yields impressive results, giving our vase a beautifully aged appearance. As we work through these steps, we'll be amazed at how easily we can create a stunning, aged ceramic piece.

DIY Mosaic Vase Kit for Adults – Waterproof & Non-Slip Craft Set, Complete Mosaic Kits for Adults Women, Handmade Home Decor & Gift Idea
Professional-Grade, Hassle-Free Materials Experience crafting ease with our adult craft kit featuring waterproof glue and a unique non-slip…
As an affiliate, we earn on qualifying purchases.
As an affiliate, we earn on qualifying purchases.
Adding Imperfections and Cracks
By strategically adding small imperfections like cracks and chips, we can take our aged vase to the next level, giving it a unique character and a sense of history. To achieve this, we'll use a fine-tipped brush or toothpick to create subtle imperfections on the vase's surface, mimicking natural wear and tear. This process enhances the aged look, making our vase visually appealing and interesting in home decor.
Here are some key techniques to keep in mind:
- Varying shades of paint: Use brown, gray, or black paint to mimic dirt and grime settling into the cracks for a realistic effect.
- Dry brushing and stippling: Experiment with different techniques to create depth and dimension in the cracks and imperfections.
- Strategic placement: Place imperfections strategically on the vase's surface to create a sense of authenticity.
artificial crack and imperfection paint set
As an affiliate, we earn on qualifying purchases.
As an affiliate, we earn on qualifying purchases.
Sealing the Aged Finish

As we put the finishing touches on our aged vase, a clear coat of sealant is vital to preserve the weathered beauty we've carefully crafted.
Sealing the aged finish is an essential step in safeguarding the weathered look we've achieved through our painting techniques. To do this, we'll use a spray sealant, which provides long-lasting durability and prevents the paint from chipping or flaking over time.
This clear coat not only safeguards our hard work but also adds a subtle sheen to the vase, enhancing its overall appearance. By properly sealing the aged finish, we guarantee that our vase makeover stays intact and maintains its vintage charm.
This step is critical, as it prevents the paint from deteriorating and losing its weathered look. According to experts, 'a good sealant can make all the difference in preserving the aesthetic of an aged vase.'
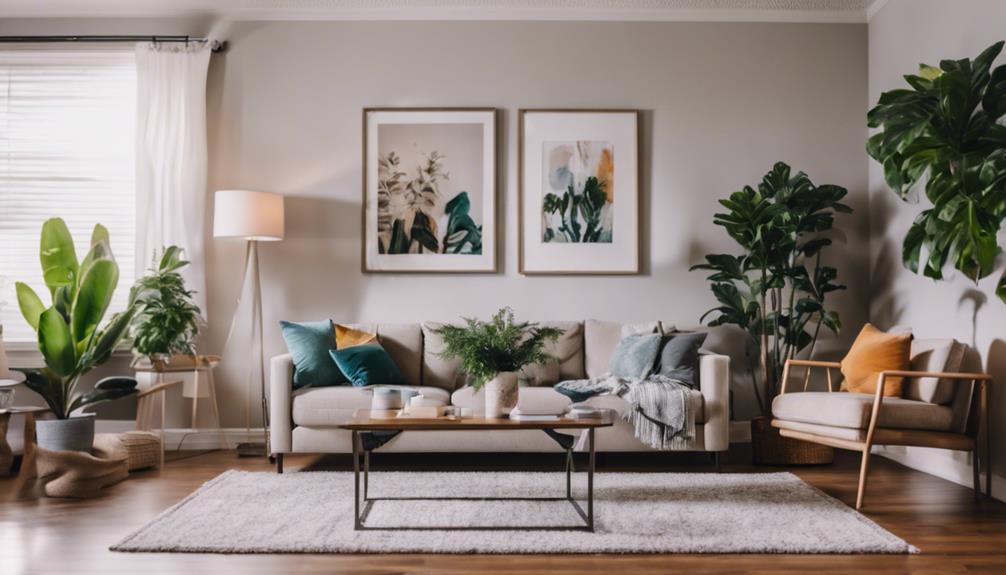
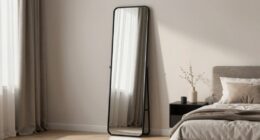
Displaying Your Vintage Vase
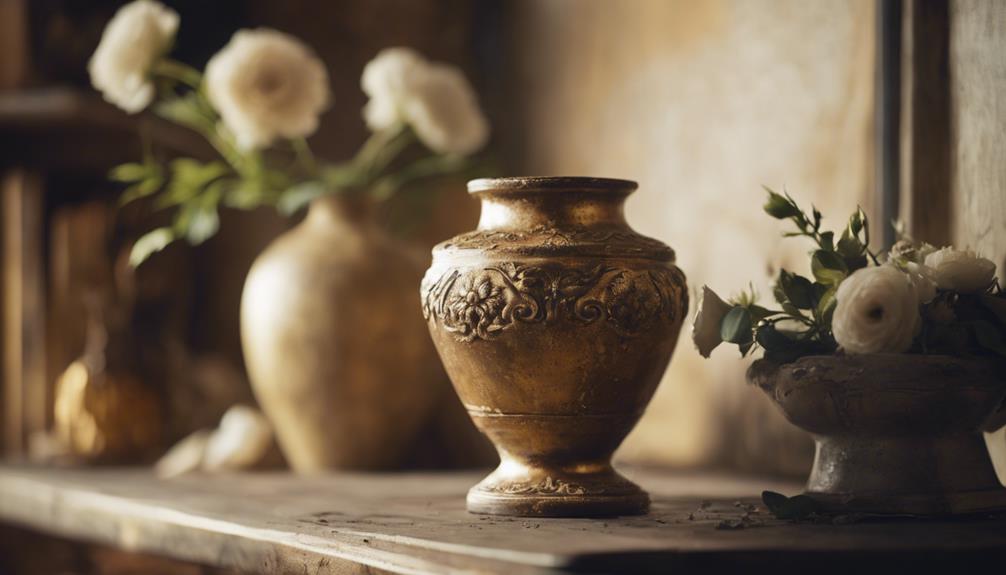
We're now ready to showcase our beautifully aged vase in a way that highlights its unique character and adds a touch of elegance to any room. Now that we've sealed the aged finish, it's time to display our vintage vase in a way that showcases its charm.
We're going to add a touch of sophistication to our decor by placing our vase on a mantel, shelf, or as a centerpiece on a dining table. This will allow us to look forward to admiring our handiwork every day.
Here are a few tips to keep in mind when displaying our vintage vase:
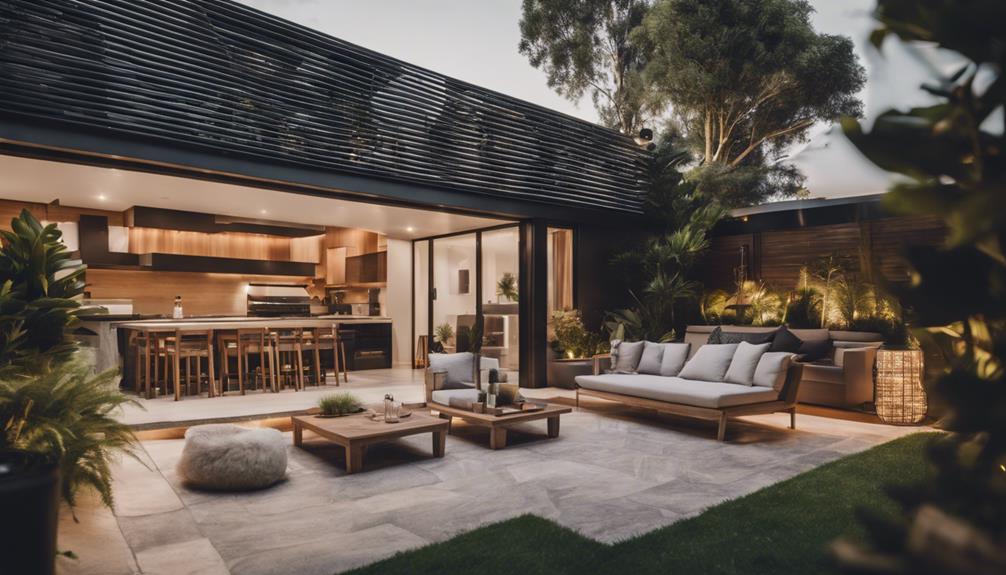
- Mix and match: Combine our aged vase with modern decor for a stylish and eclectic aesthetic.
- Highlight its uniqueness: Showcase our vase in a way that highlights its unique character, such as on a decorative shelf or in a prominent display case.
- Create a vignette: Group our vase with other decorative items, like candles or decorative boxes, to create a beautiful vignette.
Frequently Asked Questions
How to Make a Vase Look Older?
We're often asked how to make a vase look older, and honestly, it's a great question! To achieve an aged look, we sand the surface, apply a weathered base coat, and add textured earth tones with a sponge for a beautifully distressed finish.
How to Make a Vase Look Distressed?
We're looking to distress our vase, so we'll sand the surface to create scuff marks, then apply a textured, earthy-toned paint job, blending colors in crevices for a natural, weathered appearance.
How to Make Pottery Look Aged?
As we begin on this creative journey, our brushes dance with excitement, ready to breathe life into our pottery. We'll conjure an aged look by blending earthy tones, texturing with sponges, and sealing our masterpiece with a protective coat.
How to Antique Glass Vase?
We're excited to share how to antique glass vases, giving them a timeless charm. We'll sand the surface, prime with a base coat, layer on darker hues, and sand again to reveal a beautifully distressed, aged look.
Conclusion
As we carefully place our newly aged vase on the shelf, it's hard not to admire the subtle cracks and imperfections that give it a story to tell – like a fine wine that's been aged to perfection, its beauty lies in the journey, not the destination.
Our careful application of the aging effect has transformed a simple vase into a treasured heirloom, full of character and charm.
With a finish that's both delicate and resilient, our vintage vase is now ready to be passed down for generations to come.