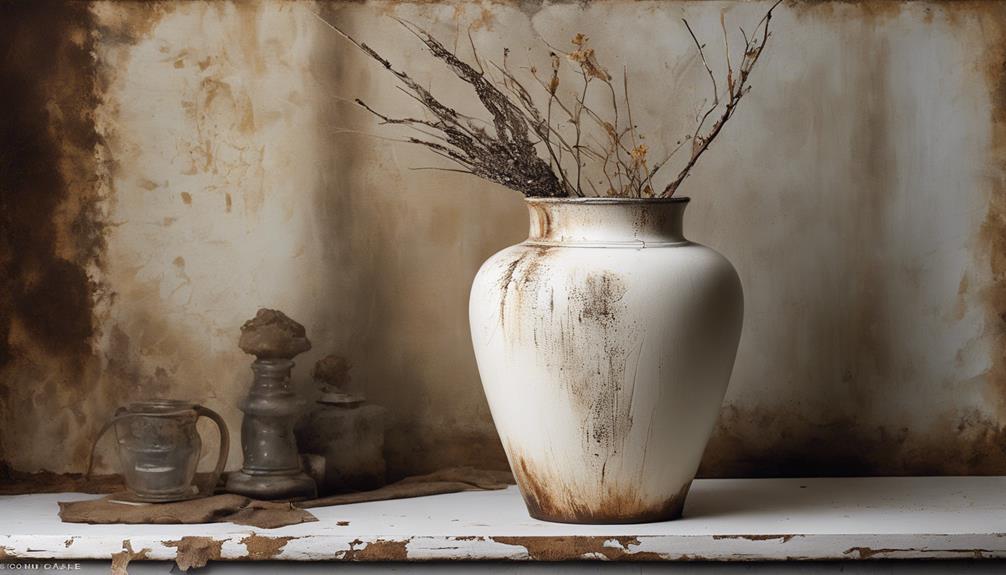
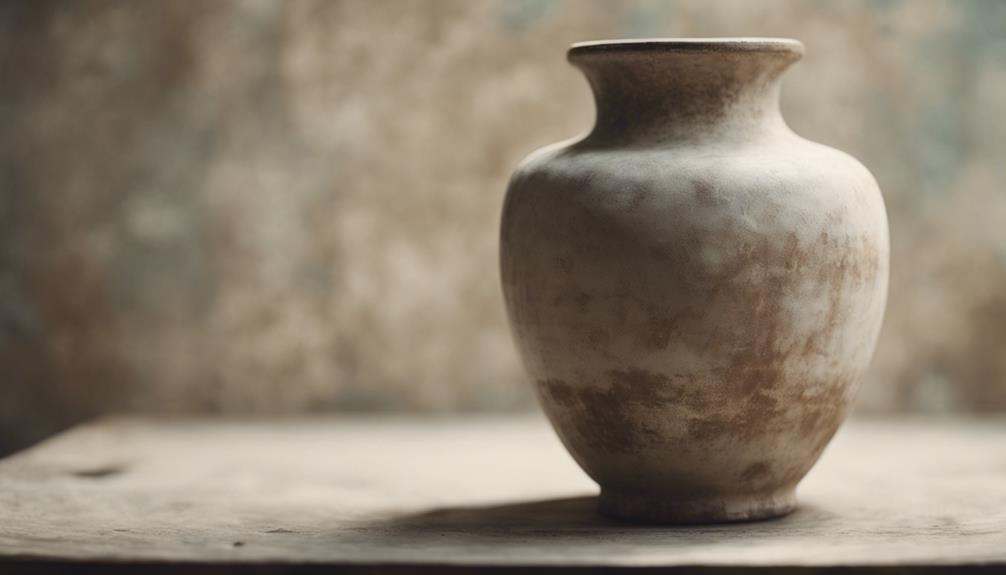
To create an aging effect on vases in 10 steps, start by sanding the vase smooth. Apply an off-white base coat for a vintage look. Add baking soda for texture and mix earthy stone colors for depth. Use a sponge to achieve a weathered appearance. Finish with protective spray. Consider metallic paint, distressed edges, and decorative elements. Keep it budget-friendly with earthy tones, texture, and sealant. Opt for eco-friendly options with natural materials and sustainable practices. For a cost-effective DIY project, follow custom aging techniques, faux finishes, and proper sealing.Transform plain vases into timeless pieces with these steps.
Key Takeaways
- Sand down the vase for proper paint adhesion and to remove imperfections.
- Apply an off-white base coat for even coverage and to set the groundwork.
- Mix baking soda for texture, mimicking natural weathering on stone surfaces.
- Use earthy stone colors with a sponge technique for a weathered look.
- Finish with spray sealant, metallic paint, distressed edges, and decorative elements for an aged aesthetic.
As an affiliate, we earn on qualifying purchases.
Sanding Down the Vase
When aging vases, we begin by sanding down the surface to guarantee proper paint adhesion. Sanding creates a rough surface that helps the paint adhere better to the vase.
Using fine-grit sandpaper, we scuff up the vase evenly to ensure an ideal base for the aging effect. This process also helps in removing any existing finish or imperfections on the vase, allowing for a smoother application of subsequent coats.
It's essential to sand the entire surface of the vase thoroughly to achieve a consistent aging effect across the entire piece. Proper sanding not only ensures that the paint adheres smoothly but also helps in enhancing the overall quality of the finished aged look.
Applying Off-White Base Coat
We begin by sanding the vase to create a smooth surface.
Then, we apply an off-white base coat using spray paint, ensuring even coverage.
This base coat lays the groundwork for achieving the desired vintage look on the vase.
Off-White Base Application
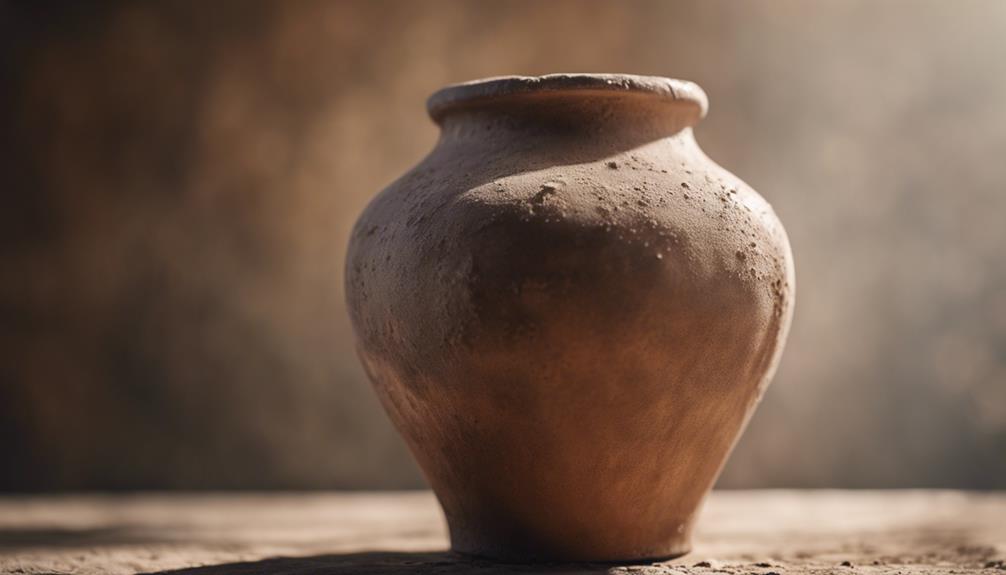
To start the process of creating an aged stone effect on a ceramic vase, the first step involves sanding down the surface to enhance paint adhesion.
Once the surface is prepared, we apply an off-white base coat to the vase, adding baking soda for texture. This off-white base coat acts as the foundation for achieving a faux aged ceramic appearance.
By using earthy stone colors and a sponge, we can then create a weathered look on the vase, giving it a realistic and aged appearance. Taking your time during this step is crucial to achieving the desired effect.
Finally, to seal the aged stone effect on the vase and preserve the finish, a protective spray is applied. This step not only protects the surface but also enhances the overall look of the faux aged ceramic vase.
Following these steps carefully will result in a beautifully aged stone effect that adds character and charm to your vase.
Achieving Vintage Look
Sanding down the vase creates a smooth surface for better paint adhesion, setting the stage for applying the off-white base coat to achieve a vintage look.
To achieve this aged appearance, incorporating baking soda into the base coat is essential.
Here's how we can achieve the vintage look:
- Sand the vase thoroughly to guarantee a smooth surface.
- Mix baking soda with the off-white base coat paint for added texture.
- Apply the base coat evenly to create the foundation for the vintage effect.
- Utilize the baking soda mixture to add dimension and create an aged look.
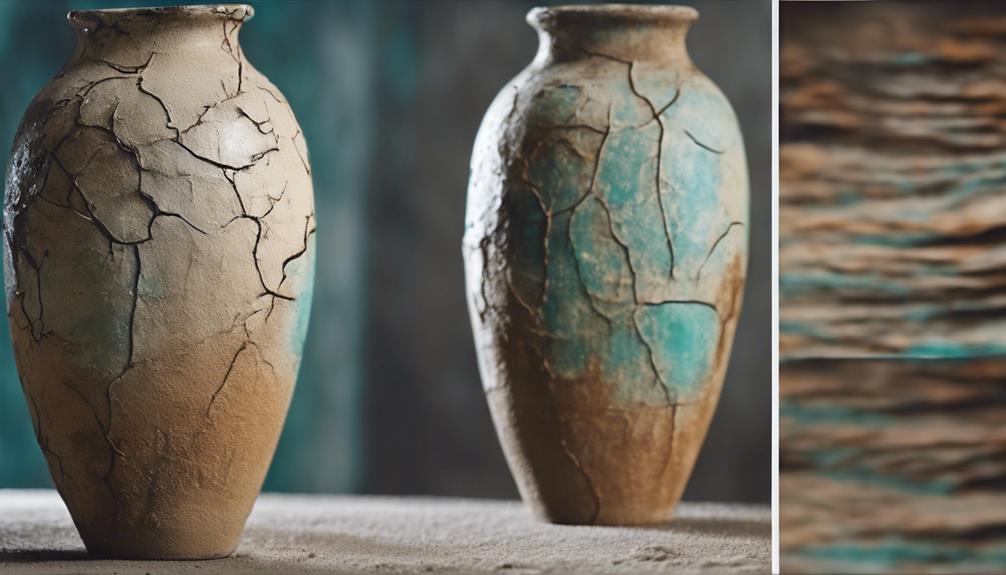
Mixing in Baking Soda for Texture

Let's enhance the texture of your vases by incorporating baking soda into the paint mixture for a gritty, aged stone effect. Adding baking soda to paint not only creates a textured finish but also mimics the natural weathering seen on stone surfaces.
This simple technique can be applied using a brush or sponge to achieve depth and dimension in your vase design. The baking soda helps the paint adhere better to the vase's surface, ensuring durability and longevity of the aged look.
Experimenting with different ratios of baking soda to paint allows for customization of the texture level and the degree of aging you wish to achieve on your vases. By adjusting these proportions, you can create varying levels of grittiness and visual interest in your design.
Whether aiming for a subtle weathered appearance or a more pronounced aged effect, incorporating baking soda into your paint mixture is a versatile method to elevate the texture and overall aesthetic of your vases.
Using Earthy Stone Colors
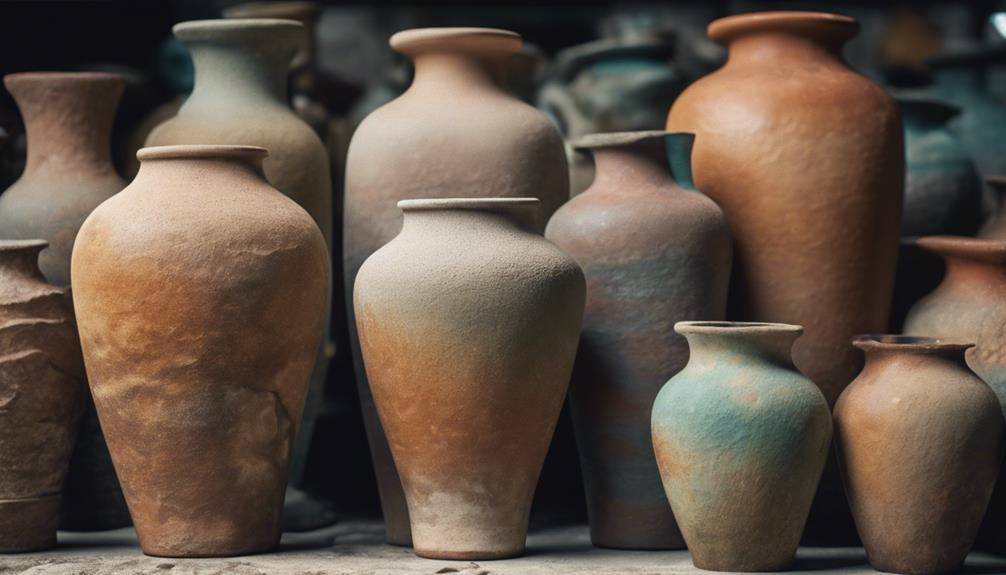
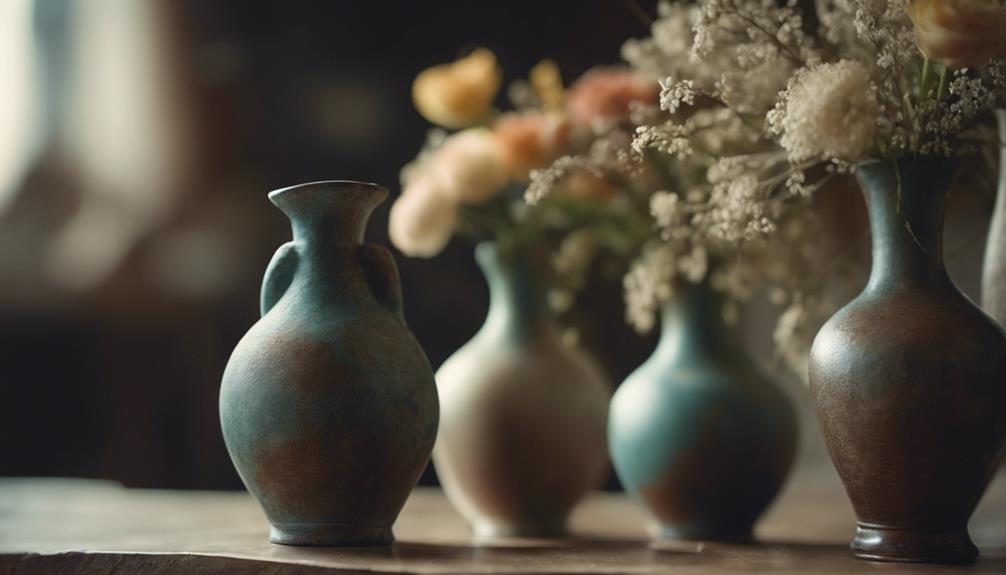
We'll enhance the aged appearance of vases by incorporating earthy stone colors like beige, taupe, and gray. These colors are perfect for transforming a regular vase into one that resembles ancient stone.
Here are some key tips for using earthy stone colors on a stone vase to achieve an aged look:
- Natural Tones: Earthy stone colors such as beige, taupe, and gray closely mimic the hues found in aged stone, giving your vase a realistic weathered appearance.
- Sponge Technique: Applying these earthy stone colors with a sponge can help create a textured and weathered look, adding to the vintage aesthetic of the vase.
- Layering Shades: Layering different shades of beige, taupe, and gray adds depth and complexity to the finish, making the vase look more authentically aged.
- Protective Sealant: After painting, sealing the vase with a protective spray helps maintain the aged stone effect, ensuring its longevity and durability.
Achieving a Weathered Look With a Sponge
In order to achieve a weathered look on vases, we recommend using a natural sponge to apply earthy stone colors. Lightly dabbing the sponge on the vase will create a textured and aged appearance.
It's crucial to blend different stone colors and experiment with varying pressure and angles for a realistic weathered effect.
Sponge Application Technique
For achieving a weathered look on vases, the sponge application technique is a simple yet effective method.
When using a sponge for painting, consider the following tips:
- Varied Textures: Experiment with different sponge textures to create unique aging effects on the vase surface.
- Light Dabbing: Lightly dab the sponge in paint to achieve a subtle distressed look on the vase.
- Gentle Pressing: Gently press the paint-soaked sponge onto the vase for a realistic aged appearance.
- Layering and Blending: Blend colors and layer paint using the sponge technique to add depth and dimension, enhancing the aging effect.
Blending for Realism
Exploring the art of blending for realism when achieving a weathered look with a sponge involves using natural sea sponges and layering paint to create depth and dimension on vases.
To start, dab the sponge in a base color, then gradually add darker shades to build up the aged effect. Varying the pressure and angle of the sponge helps mimic the natural wear and tear that occurs over time.
The key to achieving a realistic weathered look is to blend the colors seamlessly, ensuring a natural and authentic appearance. Experimenting with different sponge sizes and textures can further enhance the aged stone effect on the vase, allowing for a unique finish.
Sealing the Vase
We need to seal the vase to preserve its aged effect and guarantee its longevity. Sealing the vase with a clear protective spray or varnish is essential in maintaining the authenticity of the aged appearance.
Here are key points to take into account when sealing the vase:
- Protection: Sealing the vase helps safeguard the painted surface, preventing chipping, fading, and other damage that could compromise the aged effect.
- Durability: The sealant provides a sturdy layer that shields the vase from wear and tear, ensuring the aged finish remains intact.
- Enhanced Appearance: Sealing the vase results in a smooth and polished surface, enhancing the overall look of the aged effect.
- Longevity: Properly sealing the vase ensures that the aging effect endures over time, even with regular handling and cleaning.
Adding Protective Spray
Let's apply the protective spray to the vase to seal and safeguard its aged finish. This step is vital in ensuring the longevity and durability of the aged effect we've carefully created. By adding the protective spray, we create a shield that helps prevent the paint from chipping or fading over time.
Not only does the spray protect the finish, but it also adds an extra layer of durability to the vase, making it easier to clean and maintain.
Choosing a clear protective spray designed for painted surfaces is essential for achieving the best results. This type of spray will enhance the overall look of the aged effect, giving it a polished finish that will last for a long time.
The protective spray acts as a barrier, sealing in the aged finish and ensuring that your vase remains looking beautiful for years to come.
Finishing Touches
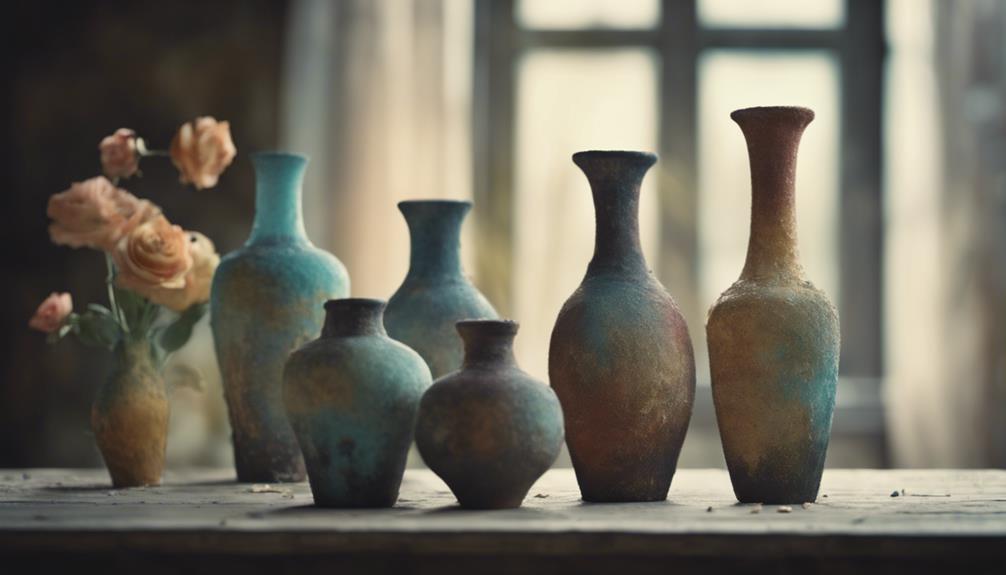
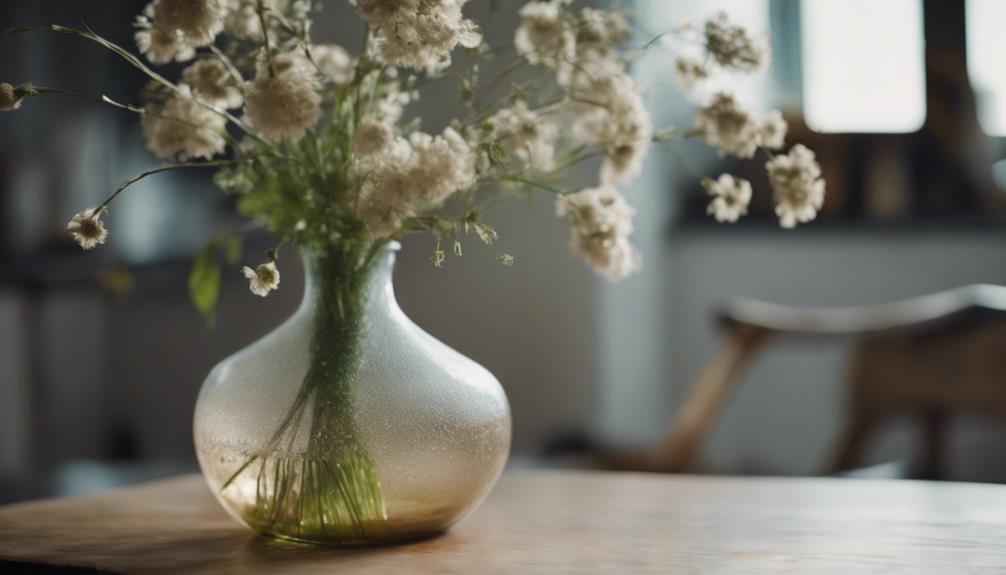
For added elegance and personalization, consider incorporating subtle touches to enhance the aged effect on the vase. Here are some finishing touches to perfect the antique look on your ceramic vase:
- Spray Sealant: Apply a protective spray coat to seal the aged finish, ensuring longevity and preventing chipping.
- Metallic Paint: Add a touch of metallic paint for a shimmering effect that contrasts beautifully with the aged surface.
- Distressed Edges: Use sandpaper lightly along the edges to distress them, creating a more natural and weathered appearance.
- Decorative Elements: Experiment with twine, ribbon, or dried flowers to further customize the aged vase and harmonize with your decor style.
These finishing touches will elevate the overall aesthetic of your ceramic vase, providing a unique and aged look that adds character to your space.
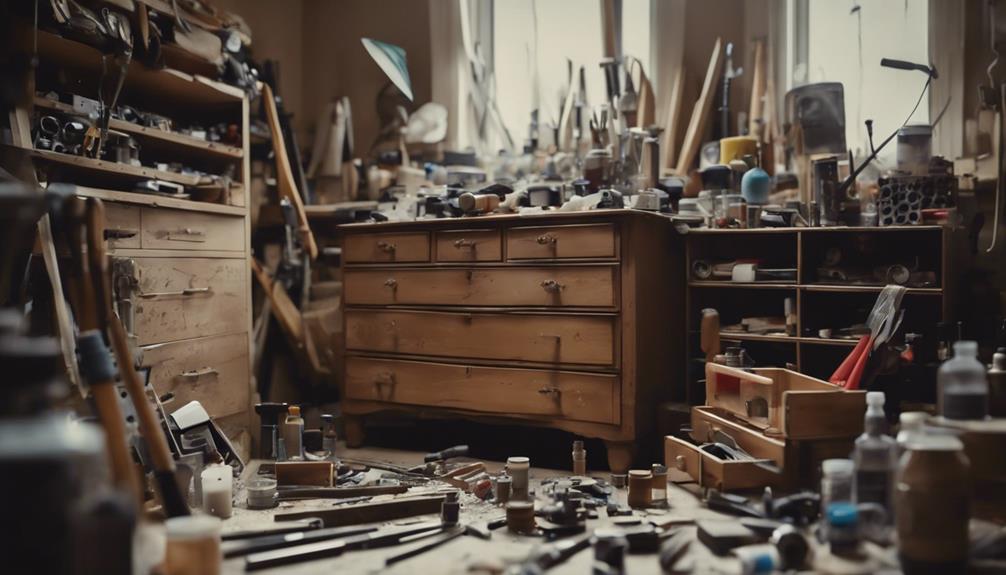
Cost-Effective DIY Project

Transforming vases on a budget is achievable through simple and cost-effective DIY aging techniques. By using basic materials like paint, sandpaper, and varnish, you can effortlessly create an aged effect that enhances your home decor.
Customizing vases with faux antique finishes not only adds a unique flair but also promotes eco-friendly upcycling practices.
Budget-Friendly Vase Transformation
With a few simple materials like paint, sandpaper, and varnish, we can easily transform a vase into an aged masterpiece. Here are some budget-friendly tips to elevate your vase turning it into a stunning aged piece:
- Choose the Right Colors: Opt for earthy tones like beige, brown, or grey for a natural weathered look.
- Add Texture: Consider using dirt or mud to create a textured appearance that enhances the aging effect.
- Distress with Sandpaper: Gently sand the vase after painting to distress the surface and give it a worn-out look.
- Seal with Varnish: Finish off your DIY project by sealing the vase with varnish to protect the aged finish and add a subtle sheen.
Simple DIY Aging Technique
To achieve a beautifully aged look on a vase without breaking the bank, consider utilizing a simple DIY aging technique that's both cost-effective and straightforward. Start by sanding down the vase to create a rough surface for better paint adhesion.
Next, apply an off-white base coat mixed with baking soda to add texture and character to the vase. Utilize earthy stone colors and a sponge to create a weathered appearance, mimicking the natural aging process.
Once you've achieved the desired look, seal the vase with a protective spray to preserve the aging effect for the long term. By following these steps, you can transform a regular vase into one that resembles an expensive aged stone piece, all with simple and budget-friendly methods.
This technique offers a creative way to add depth and personality to your decor without spending a fortune on new items.
Eco-Friendly Vase Makeover
Let's explore how giving old vases an eco-friendly makeover can enhance their aesthetic appeal while promoting sustainability.
When upcycling old vases, we not only reduce waste but also contribute to a more environmentally friendly lifestyle. Using natural materials like dirt and sandpaper allows for the creation of an eco-friendly aging effect that adds a unique charm to the vases.
DIY vase makeovers provide an opportunity for personalization and creativity, all while avoiding the need to purchase new items. Transforming vases with aging techniques not only breathes new life into old pieces but also adds character and warmth to your home decor.
These eco-friendly vase makeovers aren't only cost-effective but also align with environmentally conscious practices, offering a sustainable alternative to buying new decor items. By embracing upcycling and aging techniques, we can revitalize our vases in a way that benefits both our homes and the planet.
Frequently Asked Questions
How Do You Make a Vase Look Older?
To make a vase look older, we can use various techniques. Sanding the surface for paint adhesion is essential.
Layering flat spray paint in desired colors creates an aged appearance. Adding dirt or mud while the paint is wet can enhance texture. Optionally, using mortar or spackling can further the aged look.
Finish by sanding excess texture and applying a final paint coat for a realistic aged stone effect.
How to Make a Vase Look Distressed?
To make a vase look distressed, we scuff it with sandpaper for paint adhesion.
Adding spackling or joint compound enhances texture.
Using a mix of white paint and baking soda creates a stone-like finish.
Incorporating dirt or mud in painting boosts the weathered effect.
Seal the vase with protective spray for a lasting aged appearance.
These steps transform a vase into a distressed piece with character and charm.
How to Create Texture on a Vase?
To create texture on a vase, start by scuffing the surface with sandpaper for a rough base.
Mix paint with baking soda or salt for added texture, then apply using a sponge or dry brush technique for a weathered look.
Consider incorporating dirt or mud for an authentic aged effect.
Seal the vase with a protective spray to maintain the texture and finish.
These steps will help achieve a textured and aged appearance on your vase.
How to Make a Vase Look Like Pottery?
To make a vase look like pottery, we sand it down for better paint adhesion. Mixing off-white paint with baking soda creates a pottery-like texture.
Then, we use earthy stone colors and a sponge to give the vase a weathered appearance. Sealing it with a protective spray preserves the effect.
With these steps, we transform a plain vase into a beautiful pottery-inspired piece.
Conclusion
To wrap up, aging vases in 10 simple steps can give your home decor a charming vintage touch. Remember, 'old is gold' when it comes to creating a weathered and textured look for your vases.
This cost-effective DIY project isn't only eco-friendly but also a fun way to express your creativity. So grab your supplies and get ready to transform your plain vases into beautiful pieces with a touch of age and character.