You're about to create a cozy haven for birds using natural materials. First, gather sticks, grass, twigs, feathers, moss, and yarn, avoiding synthetic materials. Choose a secluded area with shelter, protection from elements, and easy access to food sources. Form the base with long, flexible plant stems, weaving them together for a sturdy foundation. Refine the shape with smaller loops and weaving, decorating with feathers, bark, and moss. Add soft linings and insulation layers, regulating temperature and maintaining warmth. As you continue, you'll discover the intricate nuances of crafting a realistic bird's nest.
Key Takeaways
• Choose a secluded location for the nest, away from predators and human disturbance, with access to food and materials.
• Gather natural materials like sticks, grass, twigs, feathers, moss, and yarn, avoiding synthetic or harmful materials.
• Form the nest's base with flexible plant stems, weaving them together for a sturdy foundation, and refine the shape with smaller loops.
• Use natural adhesives like mud and spiderwebs to secure the structure, and add insulation layers like feathers, fur, and moss for warmth and comfort.
• Decorate the nest with feathers, bark, moss, and other natural materials, and securely attach it to a sturdy branch or hook.

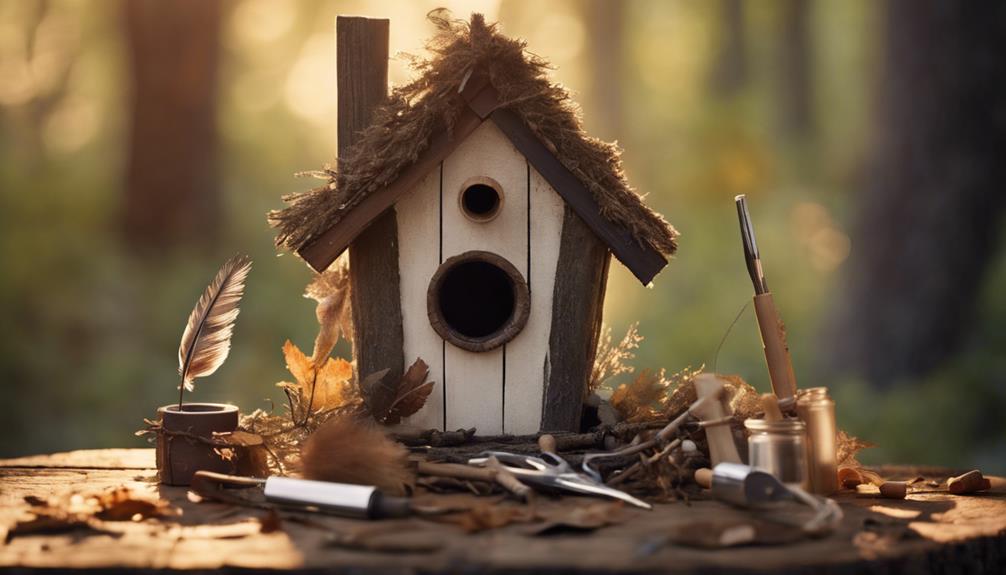
Pontuss Modern Birdhouse Woodworking Kit, Natural Cedar Wooden birdhouses for Outdoors with Paint Set, Creative DIY Birdhouse Gift, Build Your Own Bird House Kit
- Complete Birdhouse Crafting Kit: Includes wood, paint, tools, and accessories
- Ideal for Family Bonding: Build and paint together outdoors
- Perfect DIY Gift: Great for birthdays, holidays, housewarmings
As an affiliate, we earn on qualifying purchases.
As an affiliate, we earn on qualifying purchases.
Gathering Essential Materials
As you venture outdoors, start collecting an assortment of natural materials like sticks, grass, twigs, and other plant-based finds that will form the foundation of your DIY bird nest. You'll want to gather a variety of textures and sizes to create a sturdy and comfortable nest for birds.
Look for soft, flexible materials like feathers, moss, and yarn to add insulation and comfort. Consider using mud, spiderwebs, and caterpillar cocoons to help bind the nest materials together. These natural adhesives will help hold your nest together without harming the birds or their eggs.
Remember to avoid synthetic or harmful materials that could be detrimental to the birds' well-being. By collecting a diverse range of natural materials, you'll be well on your way to build a nest that's both safe and inviting for your feathered friends.
Selecting a Suitable Location
As you move forward with your DIY bird nest project, it's crucial to pinpoint a suitable location that meets the needs of your feathered friends. When selecting a spot, you'll want to take into account factors such as nesting site options, bird-friendly plantings, and nearby food sources that will guarantee the well-being of the bird family.
Nesting Site Options
Selecting a suitable location for your DIY bird nest is important, and placing it in a secluded area away from predators and human disturbance sets the stage for a successful bird-friendly habitat. When deciding where to build a bird's nest, you'll want to take a few key factors into account.
Here are some tips to bear in mind:
- Choose a location that provides good shelter and protection from the elements, such as wind and rain.
- Opt for a spot with easy access to food sources and nesting materials for the birds.
- Make sure the nest is placed at a height that's safe and secure for the bird species you're trying to attract.
- Take into consideration the specific nesting habits and preferences of the bird species you're targeting when selecting a location.
Bird-Friendly Plantings
You can create a bird-friendly habitat by incorporating native plants that provide food, shelter, and nesting materials, which will attract a diverse range of bird species to your DIY bird nest.
By choosing plants that offer berries, seeds, and insects as food sources, you'll create an inviting environment for birds to thrive. Consider planting shrubs, trees, and flowers that provide the necessary resources for birds to build and maintain their nests.
Additionally, incorporating water sources like birdbaths or ponds will further enhance the habitat. Avoid using pesticides and herbicides, as they can harm birds and their habitats.
By creating a bird-friendly habitat, you'll increase the chances of attracting birds to your DIY bird nest. Remember, the goal is to provide a welcoming environment that supports the entire life cycle of birds, from nesting to foraging.
Nearby Food Sources
When placing your DIY bird nest, consider locations near trees, bushes, or water sources, as these areas typically offer a steady supply of food for birds. By doing so, you'll increase the chances of attracting birds to your nesting area, as they prefer to nest near food sources for easy access while caring for their young.
Here are some tips to keep in mind:
- Plant native plants that produce berries, seeds, or nectar to attract specific bird species to your DIY bird nest location.
- Consider installing a birdbath or small pond to provide a water source, which can increase the attractiveness of your nesting area to birds.
- Offering a variety of food sources can attract a diverse range of bird species to your nesting area.
- Keep in mind that different bird species have different dietary needs, so incorporating a mix of plants and water sources can help cater to their varying requirements.
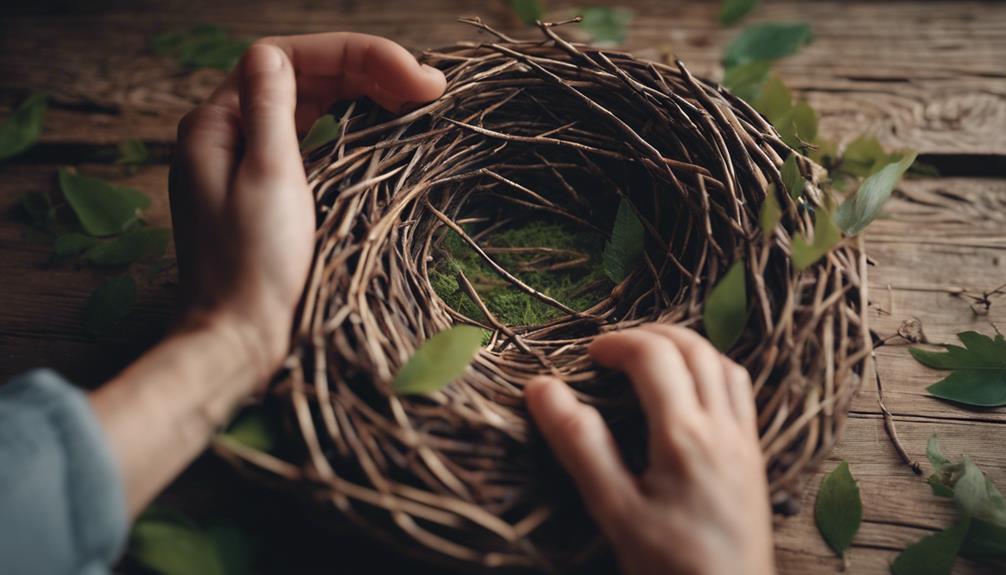
Shaping the Nest Structure
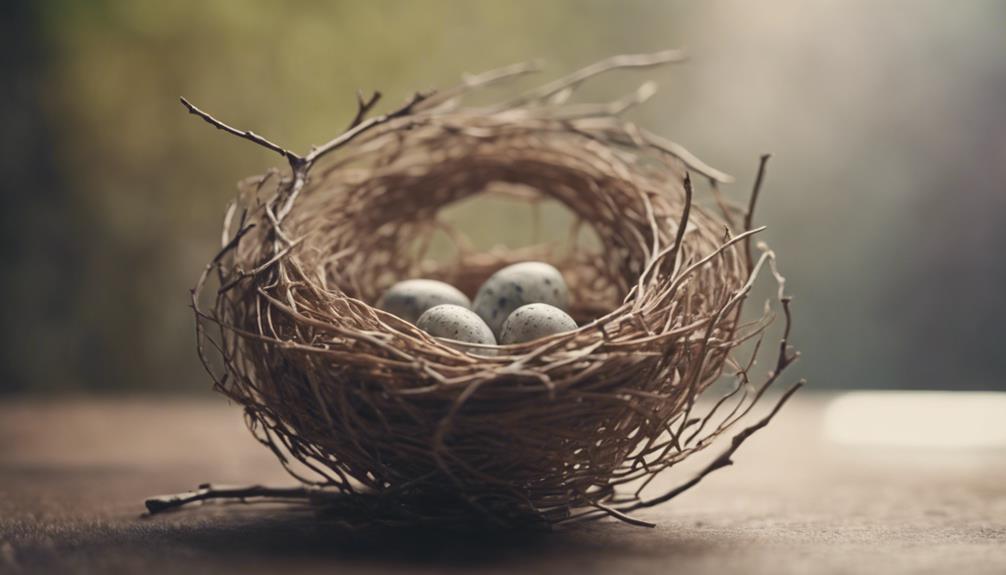
Now that you've selected a suitable location for your DIY bird nest, it's time to shape the nest structure.
To start, you'll form the base of the nest by bending long, flexible plant stems into loops and securing them in place, creating a sturdy foundation.
Next, you'll refine the nest's shape by adding smaller loops and weaving them together, eventually crafting a cozy, intricate space for your decorative eggs.
Nest Base Formation
By bending long, flexible plant stems into a loop, you create the foundation of your nest's structure. This initial shape will serve as the base of your DIY bird nest, providing a framework for you to build upon.
To secure the stems in place, you'll need to weave them together, creating a sturdy base that can support the rest of the nest.
As you build your nest, keep in mind the following key points:
- Use long, flexible plant stems to create the main shape of the nest
- Bend the stems into a loop and secure them in place
- Add smaller loops and shapes to build the rest of the nest structure
- Decorate the nest with scavenged materials like feathers, bark, and moss.
Nest Shape Refining
With your nest base formed, you'll start refining the shape of your DIY bird nest by adding smaller loops and stems to create a sturdy, cup-shaped structure. This is where you'll really start to see your nest take shape.
Take the long, flexible plant stems and bend them into smaller loops, securing them in place to refine the basic structure. As you add more loops and shapes, your nest will begin to take on a more defined, cup-like shape. Make sure to confirm each stem carefully to guarantee the structure remains sturdy.
Remember, the goal is to create a cozy, protective space for your decorative eggs. As you work, keep in mind the shape and size of the eggs you'll be placing inside the nest. You want to make a nest that's both visually appealing and functional.
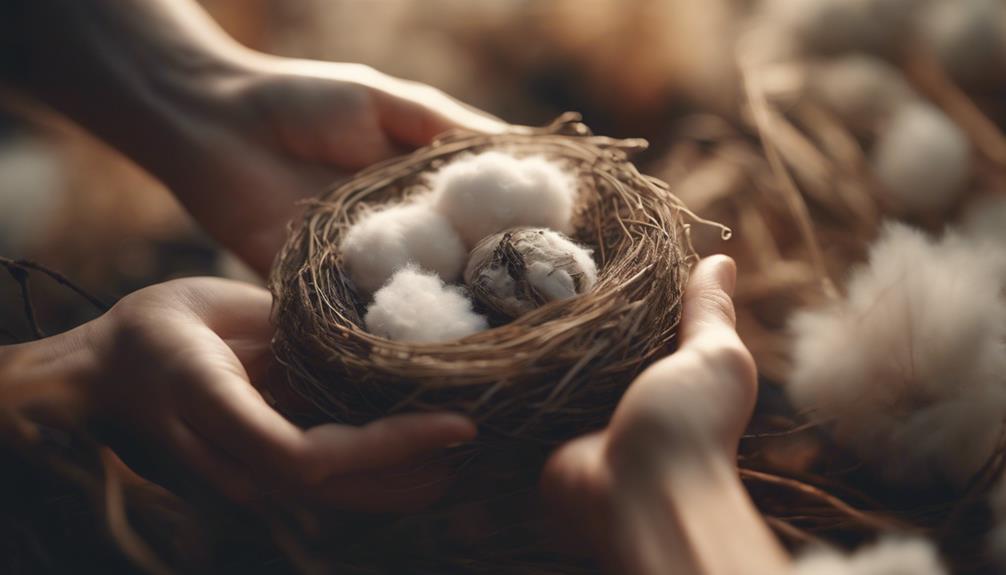
Collecting Soft Linings
As you gather materials for your DIY bird nest, you'll find that collecting soft linings is an important step in creating a cozy and nurturing environment for your feathered friends.
Soft linings play an essential role in providing warmth and comfort for bird eggs and hatchlings in the nest. To create a realistic and inviting space, you'll want to gather materials that mimic the soft, natural materials birds would typically use.
Some ideal materials for soft linings include:
- Feathers, which provide excellent insulation and comfort
- Fine grass, which adds a natural, earthy feel to the nest
- Moss, which helps regulate temperature and maintain humidity
- Fur, which provides an extra layer of warmth and coziness
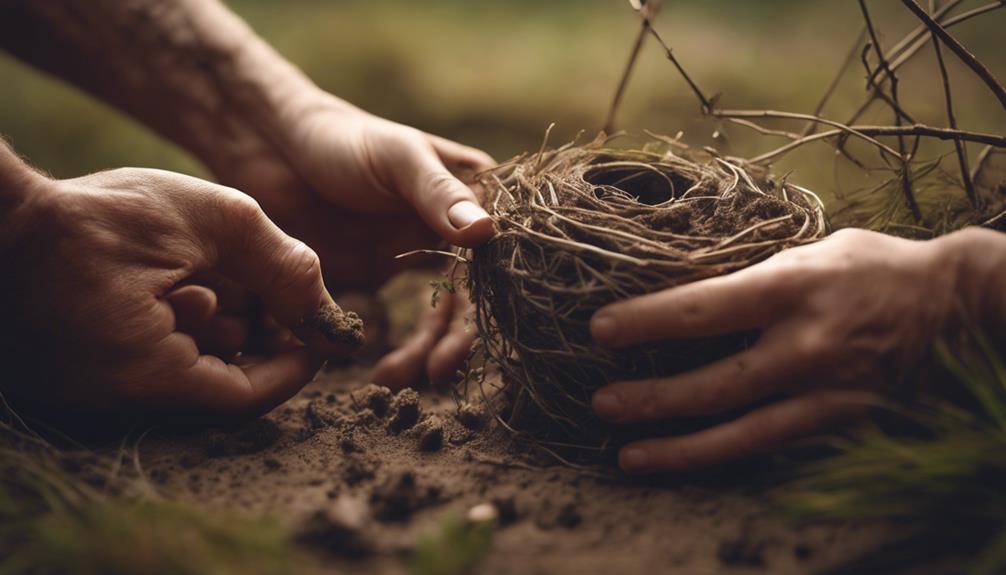
Building the Nest Base
You'll begin building the nest base by selecting a suitable location in a secluded area, where you can lay down a sturdy foundation using natural materials like sticks, grasses, and dirt. This foundation will provide the base for your bird's nest, so it's crucial to get it right.
| Material | Purpose |
|---|---|
| Sticks | Create a sturdy foundation |
| Grasses | Add insulation and comfort |
| Dirt | Bind materials together |
| Mud | Strengthen stick walls |
Next, you'll insert corner posts to provide structure and support for the nest. Then, layer sticks in a diamond and square pattern alternately to create a stable base. As you build, add mud to the sides of the stick walls to strengthen them. Finally, line the cup of the nest with soft grasses for comfort. By following these steps, you'll make a sturdy base for your bird's nest.
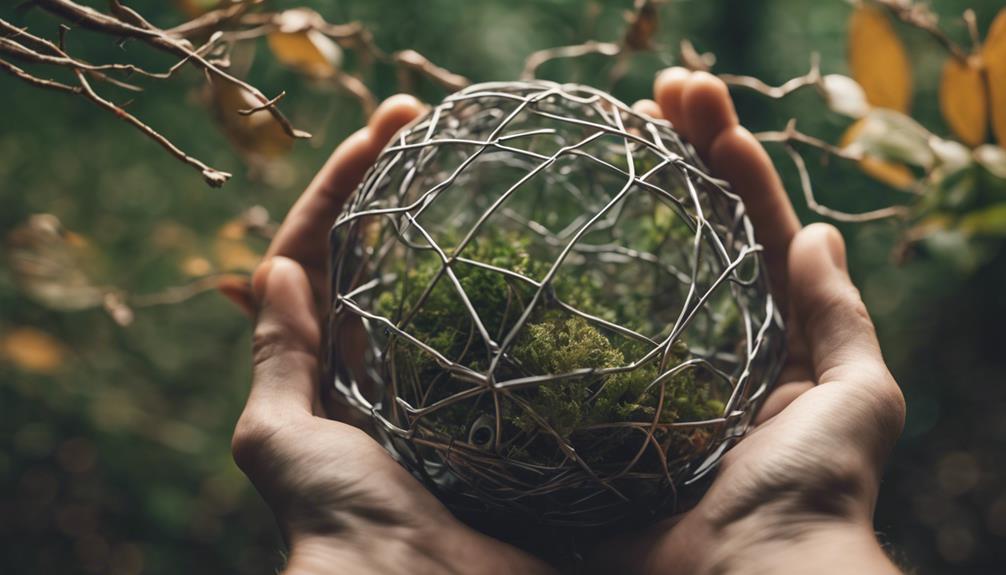
Adding Insulation Layers
To create a cozy environment for your bird, add insulation layers strategically within the nest structure, using materials like feathers, fur, and soft plant fibers to regulate temperature and maintain warmth. This important step guarantees the survival and well-being of the young birds.
When adding insulation layers, remember that birds use these materials to protect their eggs and chicks from extreme weather conditions. By mimicking this natural process, you'll create a comfortable space for your bird to thrive.
Consider the following nest materials when adding insulation layers:
- Feathers: Soft and lightweight, feathers provide excellent insulation while allowing for airflow.
- Fur: A natural insulator, fur can be used to line the nest or create a warm, cozy layer.
- Soft plant fibers: Materials like cotton or wool can be used to create a soft, warm layer within the nest.
- Dry grass: A natural, readily available material that can be used to add insulation to the nest.
Shaping the Nest Cup
Moving on to shaping the nest cup, you'll need to contemplate three key aspects:
- The structure of the cup itself
- The selection of materials to use
- How to form the cup's shape
You'll want to ponder how these elements will come together to create a sturdy and cozy space for your feathered friends.
Nest Cup Structure
Shaping the nest cup requires layering sticks in a diamond and square pattern to create a vital foundation. This structure is essential for keeping eggs safe and protected from the elements. As you build the nest cup, remember to use mud to reinforce the sides of the stick walls and create a secure structure.
Here are some key considerations for building a sturdy nest cup:
- Make sure the nest cup is well-formed and insulated to maintain the ideal temperature for developing bird embryos.
- Line the inside of the nest cup with soft grasses to provide a comfortable environment for eggs.
- The nest cup structure is crucial for keeping eggs safe and protected from the elements.
- Use mud to reinforce the sides of the stick walls and create a secure structure.
Nest Material Selection
You'll want to choose pliable materials like long, flexible plant stems to shape the main structure of the nest cup. These stems will form the base of the nest, providing a sturdy foundation for your DIY bird nest.
As birds use a variety of materials to build their nests, you can get creative with your selection. Consider using natural materials like feathers, bark, and moss to decorate and line the inside of the nest cup. This won't only add aesthetic appeal but also provide a cozy and safe environment for nesting birds.
When selecting your materials, keep in mind that the nest cup should be spacious enough to hold eggs comfortably. You'll want to make sure that the structure is sturdy and secure, without being too constricting.
By choosing the right materials, you'll be able to create a nest that's both functional and visually appealing. Remember, the key is to create a safe and welcoming space for your feathered friends.
With the right materials, you'll be well on your way to crafting a beautiful and functional DIY bird nest.
Cup Shape Formation
With your pliable materials in hand, gently mold the stems into a rounded, concave structure that cradles the nest cup, ensuring a snug fit for eggs or young birds. This cup shape formation is vital in creating a cozy and protective environment for the eggs or young birds.
As you shape the nest cup, keep the following tips in mind:
- Ensure the nest cup is deep enough to securely hold eggs or young birds
- Pay attention to the size and shape of the cup to mimic natural bird nests
- Adjust the sides of the cup to provide a cozy and protective environment for the eggs
- The cup shape should be well-defined and stable to prevent eggs from rolling out
Finalizing the Nest Shape
As you work on finalizing the nest shape, adjust the loops and overall structure by incorporating additional plant stems to achieve a sturdy and balanced design. This will guarantee your nest is secure and stable, with no weak points that could collapse under the weight of eggs or decorative items.
| Nest Shape | Materials Needed |
|---|---|
| Rounded | Flexible branches, twigs |
| Oval | Long grasses, thin vines |
| Cup-shaped | Sturdy stems, thicker vines |
| Unique | Experiment with different materials |
When finalizing the nest shape, consider the type of bird you're creating the nest for. Different species have unique nesting preferences, so research the specific needs of your chosen bird. For a natural look, create a rounded or oval shape, mimicking the design of a real bird's nest. Remember to reinforce any weak points with extra tying or weaving to make sure the nest is stable and secure.
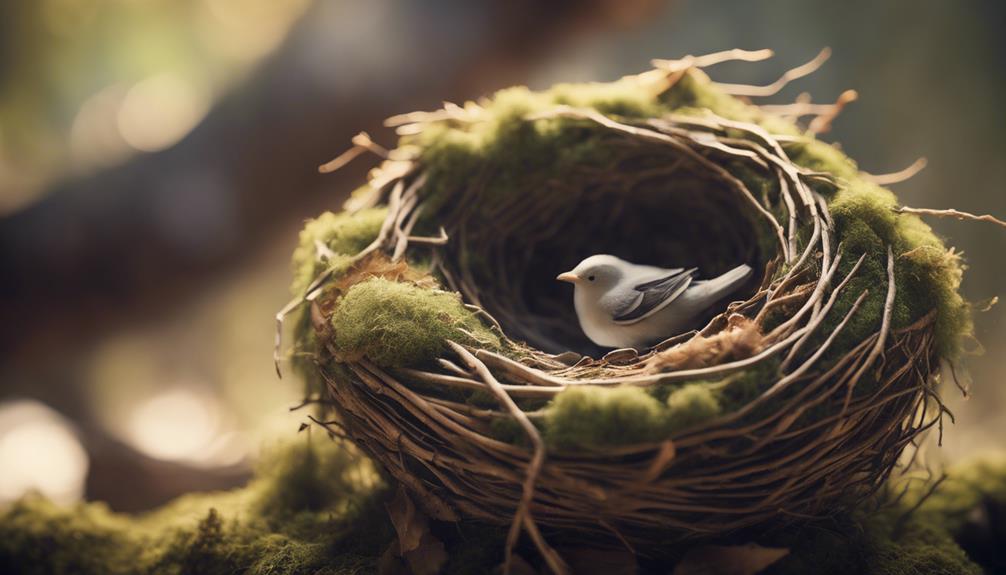
Adding Decorative Elements
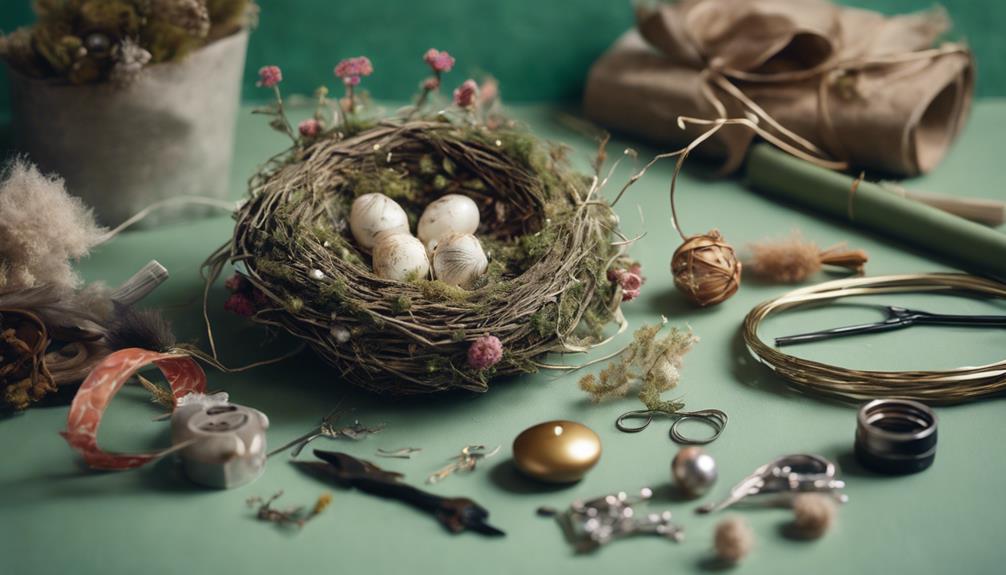
Your DIY bird nest takes on a new level of charm when you start adding decorative elements that reflect the beauty of nature. You've carefully crafted the nest shape, and now it's time to add some personality to your creation.
With a few simple yet thoughtful touches, you can transform your nest into a cozy haven that's sure to delight.
To get started, consider adding some of the following decorative elements:
- Feathers, bark, or moss to bring in natural textures and colors
- Small twigs or colorful yarn to add a playful touch
- Shiny objects like beads or sequins for a whimsical feel
- Faux eggs to create a realistic and charming finishing touch
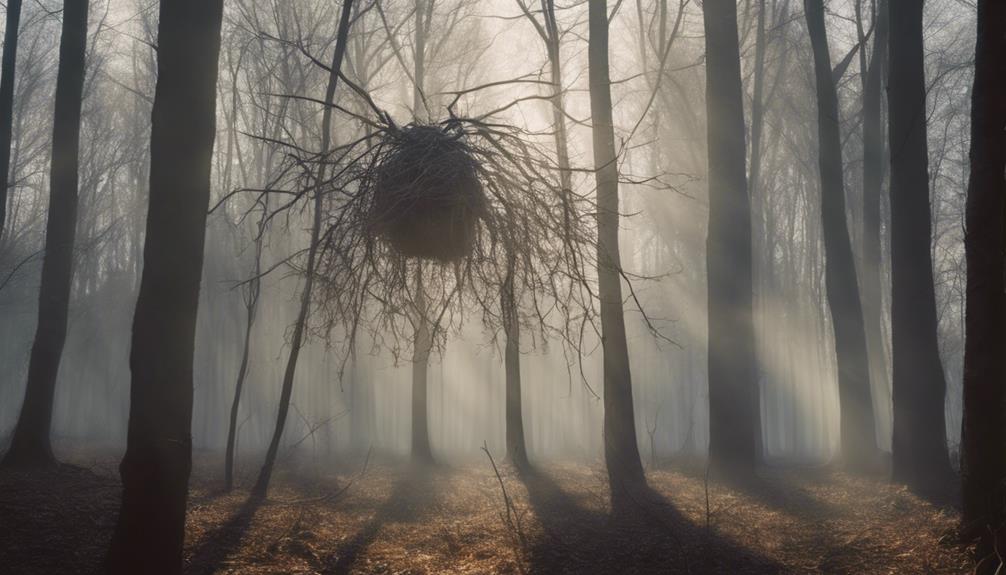
Installing the Nest Safely
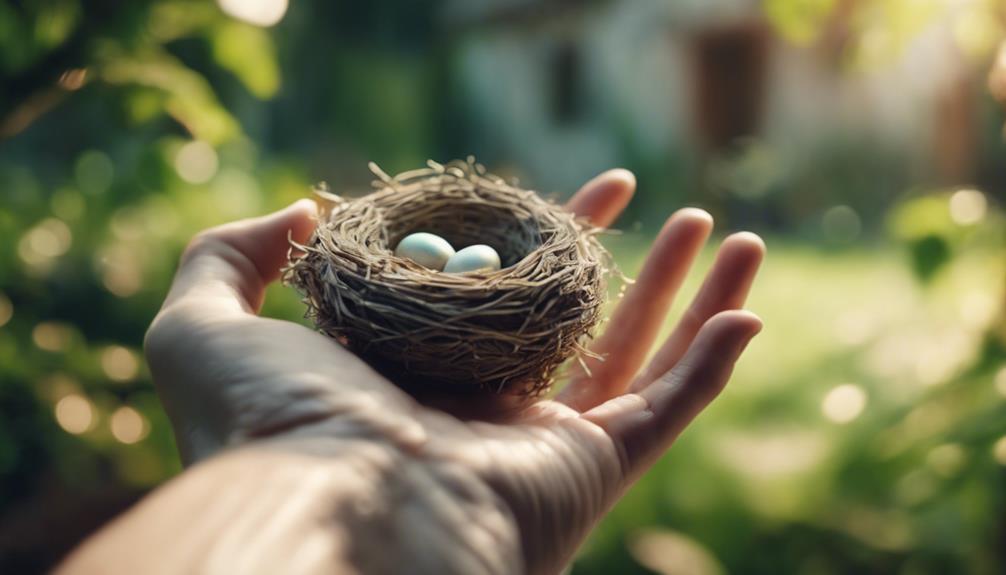
Secure your DIY bird nest to a sturdy branch or hook, ensuring it's firmly attached to prevent it from toppling over in the wind or under the weight of its occupants. When choosing a location for your nest, consider the height and placement to provide a safe and elevated spot for the birds. Avoid installing the nest near high-traffic areas or potential predators' pathways to minimize disturbances and protect the birds and their eggs.
Regularly check the nest for any signs of damage or wear and tear to maintain its safety and functionality. Keep in mind that the nest should be securely attached to a stable structure to prevent it from falling, which could harm the birds or destroy the nest.
Frequently Asked Questions
How to Build a Bird Nest Step by Step?
When you decide to build a bird nest, start by gathering materials like sticks, grasses, and dirt. Find a secluded area to construct the nest, laying down a foundation and inserting corner posts for structural support.
Then, layer sticks in a diamond and square pattern, adding mud for stability. Finally, line the cup-shaped nest with soft grasses for comfort and insulation, creating a cozy home for your feathered friends.
How to Build a Bird Box Step by Step?
You're looking to build a bird box, and you want to do it right.
First, select a design tailored to the bird species you're trying to attract.
Gather materials like untreated wood, screws, and a drill, and follow step-by-step instructions to cut and assemble the pieces.
Don't forget to guarantee proper ventilation, drainage, and predator guards.
How to Make a Bird's Nest From Twigs?
As you venture into the world of bird nesting, imagine yourself as a feathered architect, crafting a cozy haven amidst the branches.
To make a bird's nest from twigs, you'll need to gather flexible stems, bend them into loops, and secure them with twine.
Then, add smaller loops and shapes by intertwining additional stems to create your desired design.
With patience and creativity, you'll soon have a natural, inviting space for your feathered friends.
How to Make a Craft Nest for Kids?
To create a craft nest for kids, you'll need some basic materials like glue, string, and natural materials like moss and feathers. Start by inflating a small balloon, which will serve as a mold for the nest.
Then, dip string in glue and carefully wrap it around the balloon to create the nest's structure. Let it dry for a few hours before popping the balloon to reveal the finished craft nest, a fun and educational project for kids to enjoy.
Conclusion
Congratulations, you've successfully built a DIY bird nest! According to the Audubon Society, about 20% of bird species are known to use nesting materials provided by humans.
By following these 10 steps, you've not only created a cozy home for your feathered friends but also contributed to the preservation of bird populations.
Install your nest safely, and get ready to welcome your new avian neighbors!