
You're ready to create a stunning interior brick accent wall. Start by evaluating your wall for damage, cracks, and weaknesses, ensuring it's structurally sound. Clean and dry the surface, removing old adhesives and sanding lightly for an even finish. Choose the right brick type, considering thin brick veneer or real brick veneer, and research suppliers for quality and price. Apply mortar and bricks carefully, maintaining consistent thickness and spacing, and fill gaps with grout. Finish with a brick sealer and grouting, then maintain your new accent wall with regular cleaning and inspections. As you continue, every detail will come together to create a breathtaking focal point.
Key Takeaways
• Inspect the wall for damage or imperfections, ensuring it's structurally sound before applying brick veneer.
• Choose the right type of brick veneer, considering thin or real brick options, and select a style that complements the room.
• Apply mortar and mastic to the back of each brick, maintaining consistent thickness for proper placement and even spacing.
• Grout the joints with mortar, using a grout bag and tuck pointer to fill gaps between bricks, and gently brush off excess grout.
• Regularly clean and maintain the brick wall with mild soap and water, inspecting for loose bricks or grout and resealing periodically.
As an affiliate, we earn on qualifying purchases.
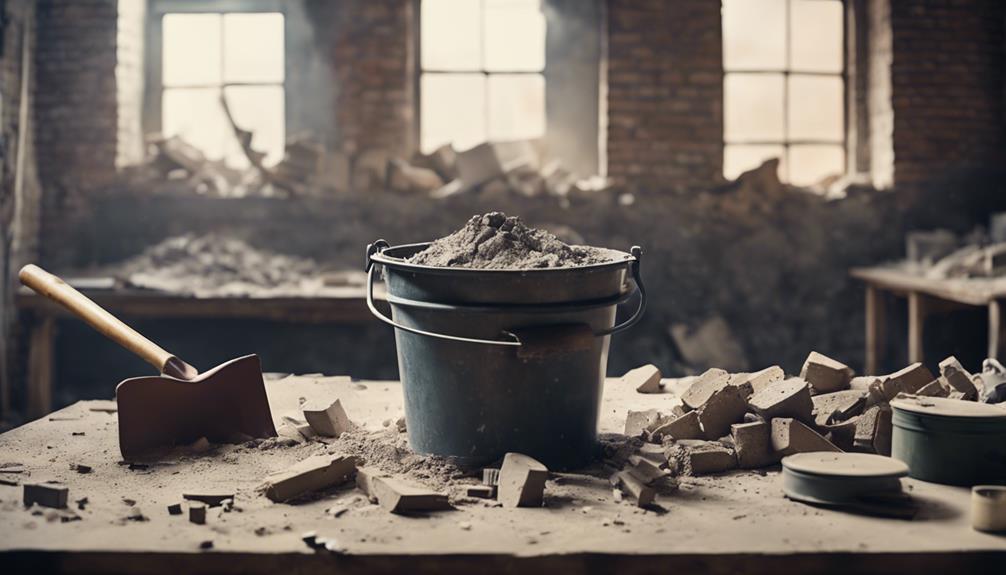
Assessing the Wall for Installation
Before you begin installing your brick accent wall, carefully inspect the wall for any existing damage or imperfections that may affect the installation process. You'll want to identify any cracks, holes, or weaknesses in the wall that could compromise the structural integrity of your brick veneer. Take a close look at the wall's surface, checking for any signs of water damage, warping, or unevenness that could affect the installation.
Next, confirm the wall is structurally sound and can support the weight of the brick veneer. This is essential, as a weak or damaged wall can lead to a costly and time-consuming repair down the line.
Measure the wall area accurately to determine the amount of brick veneer needed for installation. This will help you avoid running out of materials mid-project and reduce waste.
Choosing the Right Brick Type
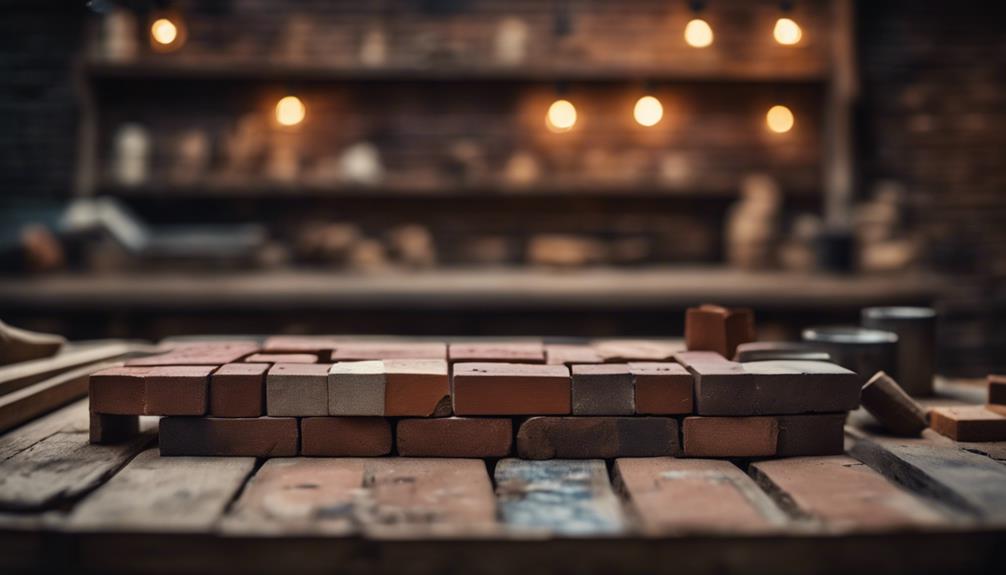
With your wall assessed and prepared, you can now focus on selecting the perfect brick type to bring your accent wall vision to life.
When it comes to choosing the right brick type for your interior wall, you have two primary options: thin brick veneer and real brick veneer. Thin brick veneer is a lightweight and cost-effective alternative that offers flexibility in design choices for your interior space. It comes in various styles and colors, making it easy to find a match for your existing decor.
On the other hand, real brick veneer is a thicker option, typically around 1/2 inch thick, making it suitable for interior applications without the need for additional structural support. Regardless of which brick type you choose, it's essential to select an option that complements the existing style of the room, creating a cohesive look.
Research different brick veneer suppliers to find the best quality and price for your brick accent wall project. By considering these factors, you'll be able to find the perfect brick type to bring your interior brick accent wall to life.
Preparing the Wall Surface
As you start preparing the wall surface, keep in mind that a clean slate is crucial for a successful brick accent wall installation.
You'll need to cleanse the surface of dirt, dust, and old adhesives that may interfere with the new brick veneer's adhesion.
Cleansing the Surface
Clean your wall surface thoroughly with a mild detergent and water to remove any dirt, dust, or debris that may interfere with the brick installation. Use a sponge or cloth to scrub the wall gently, making sure to remove any stubborn dirt or grime.
Once you've scrubbed the entire surface, use a clean towel to dry the wall completely. This step is important, as any moisture left behind can impact the adhesive properties of the brick veneer.
As you clean and dry the wall, inspect it for any cracks, holes, or imperfections that may need to be repaired before applying the bricks. Consider sanding or smoothing out any rough patches on the wall to create a more even surface for the brick veneer.
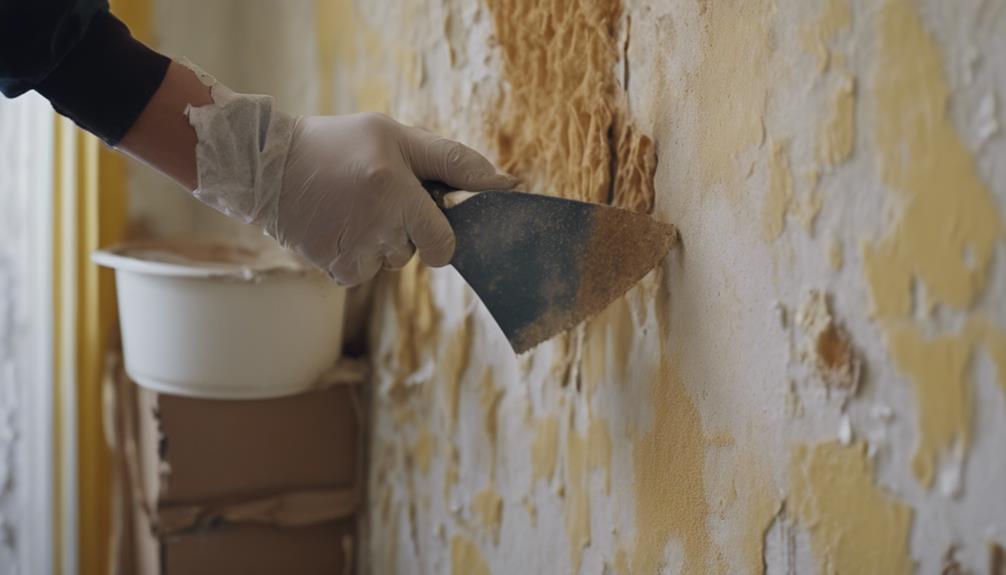
Removing Old Adhesives
After scrubbing and drying the wall, you'll need to remove any old adhesives that might still be lingering on the surface. These remnants can interfere with the new brick veneer, so it's important to eliminate them completely.
To do this, use a heat gun or adhesive remover to soften the old adhesives, making them easier to remove. Once you've applied the heat or remover, use a scraper or putty knife to scrape off the residue left behind. Be gentle, as you don't want to damage the wall surface.
After removing the residue, clean the wall thoroughly to ensure a smooth and clean surface for applying the new brick veneer. Finally, lightly sand the wall to remove any rough patches or remaining adhesive remnants.
Mixing and Applying the Mortar
As you prepare to mix and apply the mortar, keep in mind that consistency is key: you're aiming for a peanut-butter-like texture that will guarantee ideal adhesion.
To achieve this, you'll need to mix the mortar to the right consistency, then apply even layers to the back of each brick and the wall itself.
Mortar Consistency Matters
To achieve a strong and durable bond, you need to mix and apply mortar with a consistency similar to peanut butter, which is essential for a successful interior brick accent wall.
When mixing mortar, it's important to get the water ratio just right, as this will impact the final consistency. If the mortar is too runny, it won't hold the thin brick in place, and if it's too thick, it won't spread evenly.
Aim for a consistency that's similar to peanut butter, as this will guarantee a strong bond between the brick and the wall.
When applying the mortar, make sure to apply it evenly, using a notched trowel to spread it across the surface. This will help you achieve a consistent brick pattern and prevent uneven placement.
Remember, inconsistent mortar can lead to weak attachment and uneven brick placement, so take your time and get it right.
Applying Even Layers
Now that you've achieved the perfect mortar consistency, it's time to apply even layers of it to secure a sturdy bond between the brick and the wall. To do this, you'll need to use a trowel to spread a thin layer of mortar onto the back of each brick. Remember to maintain a consistent thickness, as this will guarantee that your bricks are properly spaced and leveled.
Here are some key tips to keep in mind when applying even layers of mortar:
- Use a notched trowel to create grooves in the mortar, allowing for better brick adhesion.
- Apply a thin layer of mortar to the back of each brick, spreading it evenly with your trowel.
- Hold the trowel at a 45-degree angle to achieve the right amount of pressure.
- Press the brick firmly into place, making sure it's level and plumb.
- Use a level to check the brick's alignment, making adjustments as needed.
Setting the Bricks in Place
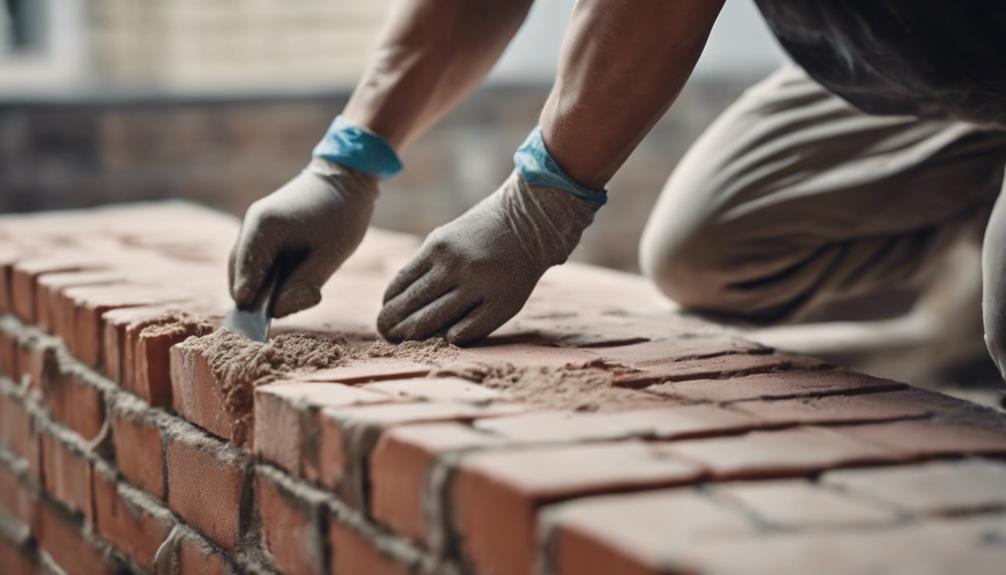
You'll begin setting the bricks in place by applying a thin layer of mastic on the back of each brick before placing it on the wall. Make sure to use a level to guarantee the bricks are straight and evenly spaced during installation. Maintaining a consistent 1/8 inch gap between each brick is essential for a professional finish.
| Tips and Considerations | Best Practices |
|---|---|
| Start from the bottom | Avoid slippage during installation |
| Use a level | Ensure straight and even spacing |
| Maintain 1/8 inch gaps | Achieve a professional finish |
| Adjust bricks as needed | Maintain seamless pattern and alignment |
| Use a grout bag | Efficiently fill gaps between bricks |
As you set each brick in place, take your time to adjust them as necessary to maintain a seamless pattern and alignment. Remember, using Faux Brick Veneer can save you time and effort in the long run. With the right tools and attention to detail, you'll be on your way to creating a stunning interior brick accent wall that will elevate your space.
Filling Gaps and Sealing the Wall
With the bricks in place, it's time to focus on filling the gaps between them with mortar to achieve a seamless look. This important step requires attention to detail to guarantee a professional finish.
To fill the gaps, you'll need to use a grout bag to apply the mortar. Make sure the consistency is suitable for filling gaps without being too runny or thick.
Here's a summary of the process:
- Use a grout bag to fill the gaps between the bricks with mortar
- Guarantee the grout consistency is suitable for filling gaps without being too runny or thick
- Work in small sections to fill gaps and wipe off excess grout with a damp sponge
- Allow the grout to dry completely before sealing the wall to prevent moisture penetration
- Apply a brick sealer to protect the grout and bricks from stains, water damage, and wear over time
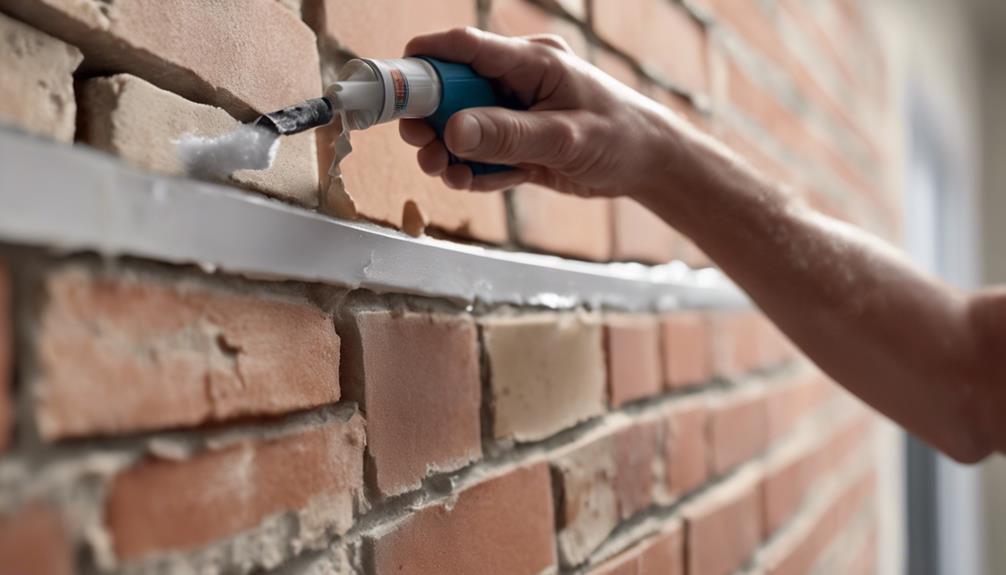
Grouting and Finishing Touches
Finish the brick accent wall by meticulously grouting the joints, an essential step that demands patience and attention to detail.
To start, mix the mortar to a peanut butter consistency, which will make it easier to work with.
Next, use a grout bag to carefully fill the grout lines between the bricks, making sure to fill them completely.
Employ a tuck pointer to press and shape the grout into the joints, ensuring a clean and even finish.
As you work, gently brush off excess grout to avoid a messy finish.
Once you've completed the grouting process, let it dry for the recommended time, following the manufacturer's instructions. This is a critical step, as it allows the grout to set properly.
After the grout has dried, you can put the finishing touches on your brick accent wall.
Take a step back and admire your handiwork – you've successfully created a beautiful and unique feature wall that adds character to your interior space.
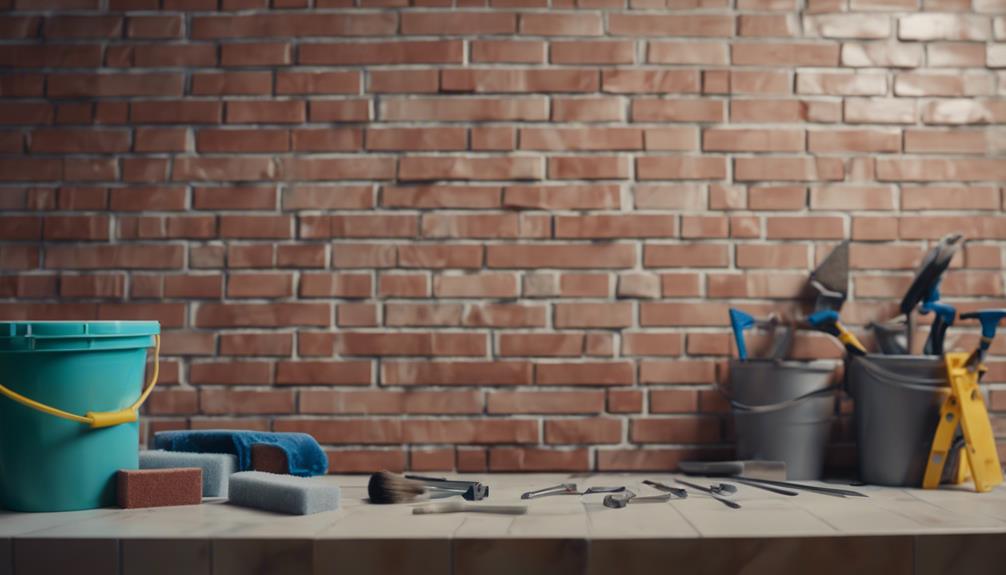
Maintenance and Upkeep Essentials
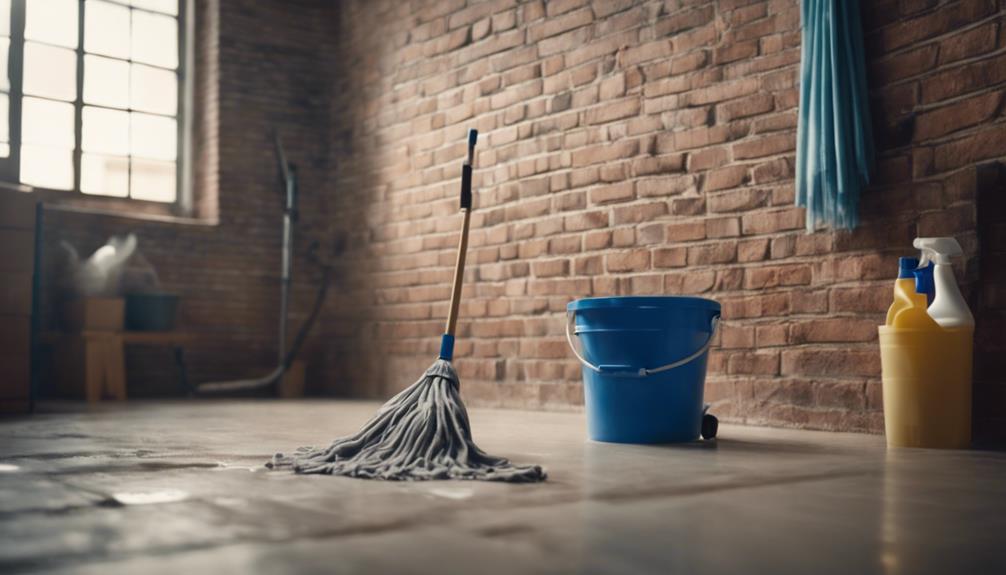
Regular cleaning is crucial to preserve the beauty and integrity of your newly created brick accent wall. You'll want to maintain your brick walls by cleaning them regularly with mild soap and water to keep them looking their best. Avoid using abrasive cleaning materials that could damage the brick surface.
Here are some essential maintenance tips to keep in mind:
- Clean your brick walls regularly with mild soap and water
- Avoid using abrasive cleaning materials that could damage the brick surface
- Inspect for any loose bricks or grout and repair them promptly to prevent further damage
- Consider resealing the brick veneer periodically for added protection and longevity
- Proper maintenance guarantees the durability and aesthetic appeal of your brick accent wall over time
Frequently Asked Questions
How Do You Build a Brick Wall Step by Step?
You're about to start on a brick-laying journey!
To build a brick wall step by step, start by measuring and marking the area where you want the wall to go.
Next, apply adhesive or mortar to the back of each brick and press it firmly onto the wall, starting from the bottom.
As you work your way up, use spacers or your fingers to maintain consistent spacing between the bricks.
How Do You Make an Interior Wall Look Like Brick?
Here's a surprising fact: over 80% of homeowners consider the aesthetic appeal of a brick wall a top priority when designing their interior space.
To make an interior wall look like brick, you can use thin brick veneer or brick panels, which offer a realistic appearance without the hefty weight of traditional bricks.
Simply apply mastic or adhesive to the back of each brick and maintain consistent spacing for a professional finish.
How to Add Brick to an Interior Wall?
You're looking to add brick to an interior wall, which can be a fantastic way to enhance the aesthetic appeal of your space.
To get started, you'll need to purchase thin brick veneer from a local supplier or home improvement store.
Next, prepare the wall surface by cleaning it and applying a layer of adhesive or mastic for the brick veneer to adhere to.
How Do You Decorate an Internal Brick Wall?
As you stand in front of your newly installed internal brick wall, you might wonder how to decorate it. Think of your brick wall as a blank canvas, waiting for your personal touch.
You can add a gallery wall with framed art or photographs to complement the rustic charm, or incorporate wall-mounted shelves to display decorative items. Whatever you choose, remember to balance elegance with the textured backdrop of the brick wall.
Conclusion
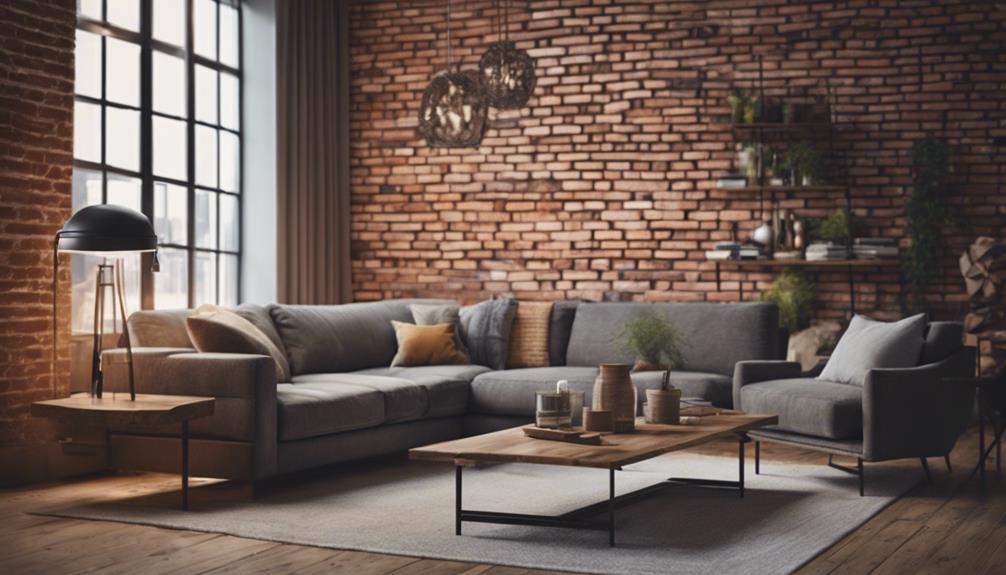
As you step back to admire your handiwork, the rustic charm of your new brick accent wall radiates warmth and character, transforming the space into a cozy retreat.
Like a masterpiece of industrial chic, the rough-hewn bricks seem to tell a story of their own, infusing the room with a sense of history and depth.
With every glance, you'll uncover new textures, new shades, and new reasons to fall in love with your labor of love.