To achieve perfect spacing in your gallery wall, start by creating paper templates of each frame size. Arrange these templates on your wall to visualize the layout and adjust as needed. Use painter’s tape or pencils to mark key points for accurate placement. Double-check your spacing and alignment before hanging, and use a level for straight lines. Keep experimenting with arrangements—if you keep going, you’ll find the foolproof method for a stunning display.
Key Takeaways
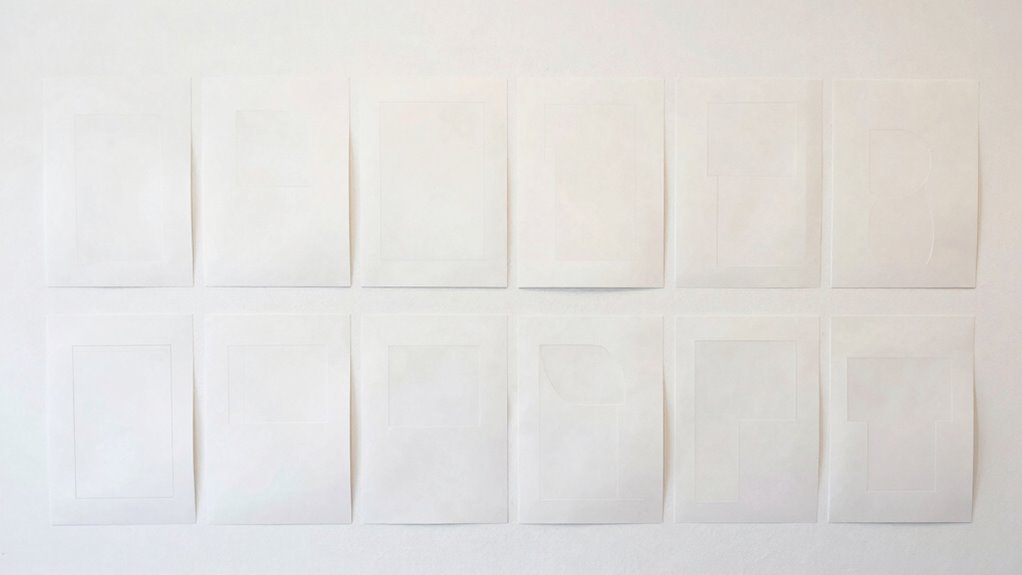
- Use paper templates of each frame size to visualize and plan your gallery wall layout before hanging.
- Arrange paper outlines on the wall to test spacing, alignment, and overall aesthetic prior to installation.
- Mark key placement points with painter’s tape or pencil for accurate and consistent positioning.
- Measure and maintain equal spacing between frames using a ruler and level for straight, balanced lines.
- Adjust and re-test the layout with paper templates to troubleshoot and perfect the final arrangement.

Big John Products The Ultimate Picture and Wall-Hanging Template
Weight: 1 lbs
As an affiliate, we earn on qualifying purchases.
As an affiliate, we earn on qualifying purchases.
How Paper Templates Make Planning Your Gallery Wall Easier

Have you ever struggled to visualize how your gallery wall will look before hanging your frames? Using paper templates can solve that problem. By cutting out paper shapes that match your frame styles and sizes, you can experiment with different layouts on your wall without commitment. This method helps you see how various color schemes and frame arrangements work together, making it easier to find a balanced design. Plus, it allows you to adjust spacing and positioning before making any holes. With paper templates, you gain a clear preview of your final look, saving time and effort. Incorporating visual balance considerations into your planning can help ensure your gallery wall has the right visual impact. Understanding media literacy can also help you select images and art that truly reflect your style. Paying attention to cultural context can enhance the storytelling aspect of your display. This simple step ensures your gallery wall aligns with your style and space, giving you confidence in your decorating choices. Additionally, practicing spatial awareness can enhance your ability to arrange elements harmoniously within your wall layout.

Crescent Creative Products Hang It Perfect Pro Picture Frame Wall Hanging Tool With Level, Black, 36 Inch
The most versatile, all-in-one easy picture hanging tool on the market
As an affiliate, we earn on qualifying purchases.
As an affiliate, we earn on qualifying purchases.
Gather Your Materials for Creating Paper Outlines
Before you start creating paper outlines for your gallery wall, gather all the materials you’ll need to guarantee a smooth process. First, pick up kraft paper or painter’s tape to serve as your outlines. Use a ruler or measuring tape to ensure accurate framing techniques, helping you maintain consistent spacing. Choose markers or pens in colors that coordinate with your decor, making it easier to visualize how each piece will look together. Have scissors or a craft knife handy for adjusting paper sizes if needed. Double-check your wall measurements and note key spots for hanging. Gathering these materials upfront streamlines the process, helping you focus on perfecting spacing and layout without unnecessary interruptions. Proper preparation ensures your gallery wall turns out just as envisioned and supports your interior design goals, including creating harmonious gallery wall arrangements.

4 Rolls Premium Painters Tape, Blue Tape, Masking Tape, Paint Tape for Multi-Purpose, Painting, Painter's, DIY Crafts Arts (88yd =0.94IN*22yd*4) Decoration Labeling No Residue, Easy Removal
Professional Mask Tape – Multi-Surface adhesive tape made of high quality blue crepe paper not easy to lift…
As an affiliate, we earn on qualifying purchases.
As an affiliate, we earn on qualifying purchases.
Create Accurate Paper Outlines of Your Photos and Art
To get your layouts just right, start by tracing the outlines of your photos and artwork onto paper. You can also use paper templates to guarantee consistent sizing and shapes. These simple steps help you visualize your gallery wall before hanging anything. Incorporating simple decorating techniques and essential oils for visual clarity into your workspace can also enhance focus and reduce stress during your decorating process. Additionally, understanding clean-home systems can help you maintain your space more easily while planning your wall arrangements. Being aware of passive voice detection can further improve the clarity and effectiveness of your writing throughout your planning documents. Using herbal teas like chamomile and ginger may also help relax your mind as you plan your layout.
Trace Photo Outlines
Creating accurate paper outlines of your photos and artwork is a crucial step in building a cohesive gallery wall. To do this, place your photo or art piece on a piece of paper, then gently trace around its edges with a pencil, guaranteeing you capture all details. Use this outline to cut out a paper template that matches your photo’s shape. When tracing, consider your wall color and how it will complement your framing choices, helping you visualize the final look. Accurate outlines ensure your paper templates fit perfectly and help you plan spacing precisely. This step simplifies the process of arranging multiple pieces, making sure each element complements the others and fits seamlessly into your gallery wall design. Incorporating precision in planning with your templates can further enhance the overall aesthetic and security of your display. Paying attention to measurement accuracy can help prevent misalignments and ensure a balanced arrangement.
Use Paper Templates
Using paper templates makes arranging your gallery wall much easier. By cutting out paper versions of your photos and art, you can test different layouts without damaging your walls. Focus on design principles like balance and spacing to create a cohesive look. Use color coordination as a guide—placing lighter and darker pieces thoughtfully enhances visual harmony. These templates help you visualize how each piece fits within your overall design, ensuring proper spacing and alignment. Once you’re satisfied with the layout, you can easily mark the wall with painter’s tape or light pencil marks, avoiding unnecessary holes. This method saves time and reduces frustration, giving you confidence that your gallery wall will look polished and intentional. Incorporating content accuracy and visualization techniques into your planning ensures your final display aligns with your vision. Additionally, understanding room lighting conditions can influence how you arrange and select your artwork for optimal impact. Considering furniture placement can also help harmonize your gallery with the rest of the room’s design.

Torpedo Level Magnetic, Firecore 9 Inch Shockproof Small Leveler Tool with 3 Bubble Spirit Level 45 90 180 Degree, Construction Levelers for Hanging Pictures Install Shelf Home Renovation
Torpedo Level Magnetic: Featuring a magnetic base, Firecore spirit level attaches securely to metal surfaces for a variety…
As an affiliate, we earn on qualifying purchases.
As an affiliate, we earn on qualifying purchases.
Arrange and Experiment With Your Paper Templates on the Wall

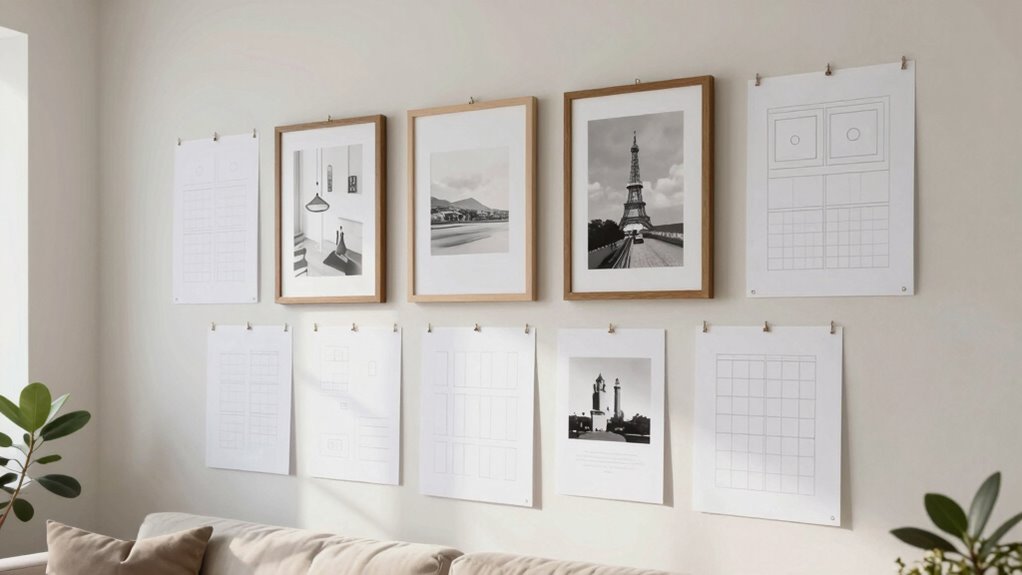
Before hanging your paper templates directly on the wall, take the time to arrange and experiment with their placement. Lay out your templates on the floor or a large surface to visualize different configurations. Play with framing styles, mixing modern frames with vintage ones to see what complements your space. Consider your color schemes—group similar hues or create contrasting arrangements for visual interest. Don’t be afraid to move pieces around, adjusting spacing and orientation until you find a layout that feels balanced and intentional. Paying attention to visual cues can help you understand how each piece interacts with others and your wall’s overall look. Additionally, experimenting with placement techniques allows you to optimize the visual impact of your gallery wall. This experimentation helps you understand how each piece interacts with others and your wall’s overall look. Once you’re satisfied, you’ll have a clear plan for hanging that guarantees a cohesive, stylish gallery wall.
How to Ensure Consistent Spacing and Alignment
To keep your gallery wall looking polished, use consistent grid spacing and measure carefully for precise alignment. Employing template guidelines can help you maintain even distances between frames. These simple steps guarantee your arrangement stays balanced and visually appealing.
Use Consistent Grid Spacing
Establishing consistent grid spacing is essential for creating a balanced and cohesive gallery wall. To maintain proper grid alignment, you need to focus on uniform spacing between all artwork. Here’s how to do it:
- Use a ruler or tape measure to set equal distances between frames, ensuring consistent spacing throughout.
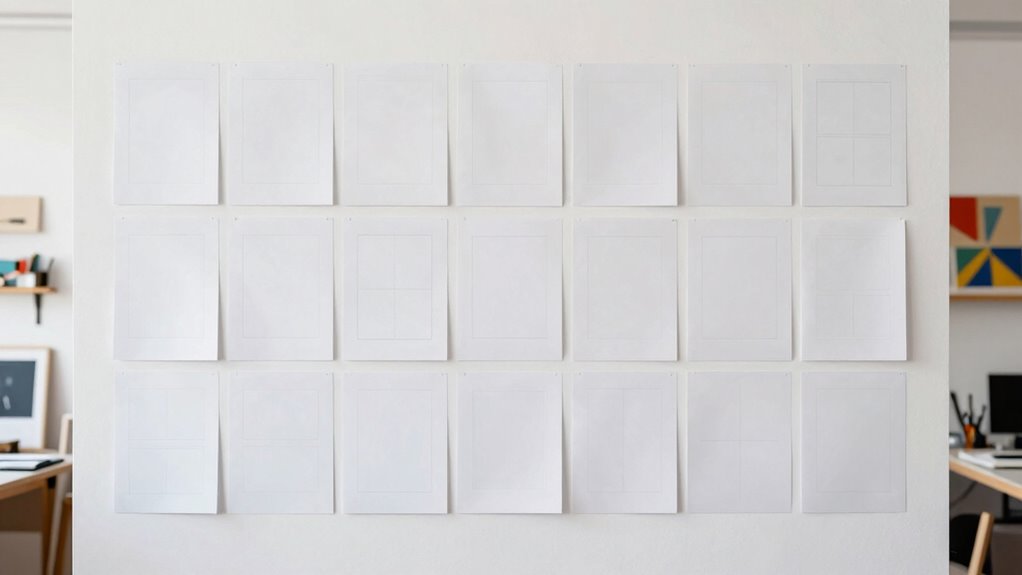
- Create paper templates for each piece, positioning them with the same gaps to visualize the overall grid.
- Keep a reference line or grid guide handy to double-check spacing as you hang each piece.
Measure for Precise Alignment
Measuring accurately is key to ensuring your gallery wall looks neat and professional. To achieve this, use a measuring tape to mark consistent spacing between frames. Alignment tools like a level or laser line help keep everything straight and aligned. Before hanging, measure and mark reference points on the wall, ensuring equal distances vertically and horizontally. Double-check these marks to prevent misalignment. Here’s a quick guide:
| Step | Action |
|---|---|
| 1 | Measure spacing with tape |
| 2 | Mark points precisely |
| 3 | Use alignment tools |
| 4 | Confirm marks before hanging |
| 5 | Adjust as needed |
This approach guarantees your gallery wall is evenly spaced and professionally aligned.
Employ Template Guidelines
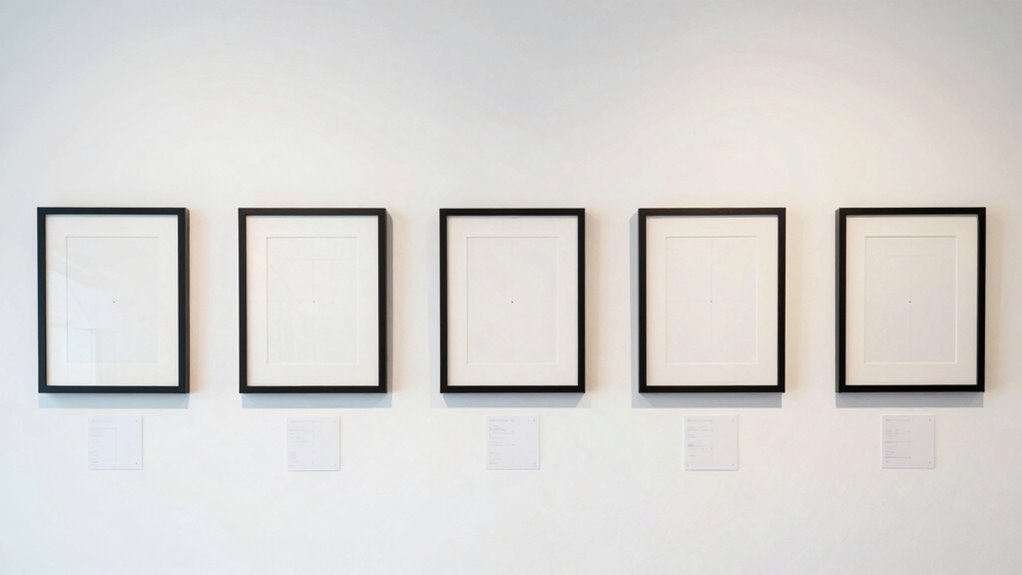
Wondering how to keep your gallery wall perfectly aligned and spaced? Using template guidelines is a game-changer for consistent art arrangements. First, create paper templates of each frame size and arrange them on your wall, mimicking your desired layout. This allows you to visualize spacing and make adjustments before hanging. Second, follow these decorating tips: keep equal gaps between frames, align edges for a clean look, and use a level to ensure straight lines. Third, mark key points lightly with painter’s tape or pencil, so your placement stays precise. Employing template guidelines saves time and prevents uneven spacing, giving your gallery wall a polished, professional appearance. Stick to these steps, and your art arrangements will look perfectly cohesive every time.
Transfer Your Paper Layout to the Wall With Nails and Hooks
Once you’ve finalized your paper layout, it’s time to transfer it onto the wall using nails and hooks. Choose the right hanging techniques to guarantee your gallery wall stays level and secure. Begin by marking the placement points for each nail or hook directly through your paper template, using a pencil for easy adjustments. Keep your wall aesthetics in mind by spacing nails consistently, following your template’s guide. Use a level to ensure each nail or hook is perfectly aligned, preventing crooked artwork. For heavier pieces, opt for wall anchors or hooks with higher weight capacities. This careful approach guarantees a polished look, making your gallery wall both visually appealing and firmly anchored. Proper transfer and hanging techniques are key to achieving that perfect, professional finish. Additionally, understanding wall anchoring methods can help ensure your gallery remains secure over time. When selecting your hanging hardware, consider the weight and size of your artwork to choose the most suitable options. To maintain optimal home safety, always double-check that your hardware can support the combined weight of your art pieces.
Troubleshoot Common Gallery Wall Challenges and Fix Issues

Even with careful planning, gallery walls can encounter issues such as crooked artwork, uneven spacing, or pieces falling unexpectedly. To fix crooked artwork, double-check your hanging hardware and ensure it’s secure and level. For uneven spacing, use your paper template to realign frames, adjusting the placement of hooks or nails as needed. If artwork falls, inspect your wall paint and hanging hardware; heavier pieces may need sturdier anchors or wall hooks.
- Re-measure and adjust your paper template before nailing to prevent misalignment.
- Switch to stronger hanging hardware or wall anchors for heavier frames.
- Clean wall paint surface to ensure hooks and hardware grip securely, preventing slips.
These quick fixes help you maintain a perfectly aligned gallery wall without hassle.
Frequently Asked Questions
How Do I Choose the Right Frame Sizes for My Gallery Wall?
To select the right frame sizes for your gallery wall, start by measuring your wall dimensions carefully. Consider frame size considerations to make certain of visual balance; mix larger and smaller frames for variety. Use the paper template hack to visualize spacing and layout before hanging. This helps you determine which sizes fit best and creates a cohesive look. Keep in mind the overall wall space and style you want to achieve.
Can Paper Templates Be Reused for Different Wall Designs?
Yes, paper templates can be reused for different wall designs, offering great template reuse. You can easily reposition and adjust them to fit various layouts, giving you wall design flexibility. Just make sure to keep the templates in good condition, and consider labeling or storing them properly. This way, you save time, reduce waste, and can experiment with multiple arrangements without starting from scratch each time.
What Are the Best Tools for Cutting and Handling Paper Templates?
Think of your tools as your trusty paintbrushes for precision cutting and template handling. Sharp scissors or a craft knife with a steady hand work wonders, slicing through paper with ease. A metal ruler guarantees clean, straight lines, turning chaos into art. Keep a cutting mat handy to protect surfaces and make handling your templates smoother. With these tools, you’ll create flawless templates that turn your wall into a masterpiece.
How Do I Prevent Paper Templates From Tearing or Curling?
To prevent your paper templates from tearing or curling, use reusable templates made from sturdy materials like cardstock or laminate them. Applying a light coat of paper reinforcement spray adds extra durability, keeping your templates smooth and flat. Handle them carefully, avoiding excessive bending, and store them flat when not in use. These steps guarantee your templates stay intact, making your gallery wall setup easier and more precise.
Are There Alternative Methods to Paper Templates for Spacing?
Yes, you can use digital mockups to plan your gallery wall precisely, saving time and avoiding mess. Alternatively, painter’s tape is a great option; you can create your layout directly on the wall by sticking tape strips to mark where each piece will go. This method allows you to visualize spacing accurately and adjust easily, ensuring your gallery wall looks perfect without relying on paper templates.
Conclusion
Using paper templates makes planning your gallery wall straightforward and stress-free. Did you know that properly spaced artwork can increase visual harmony and make your space look 30% more polished? By experimenting with paper outlines first, you’ll save time and avoid costly mistakes. So, grab your materials and start sketching—your perfect gallery wall is just paper templates away!