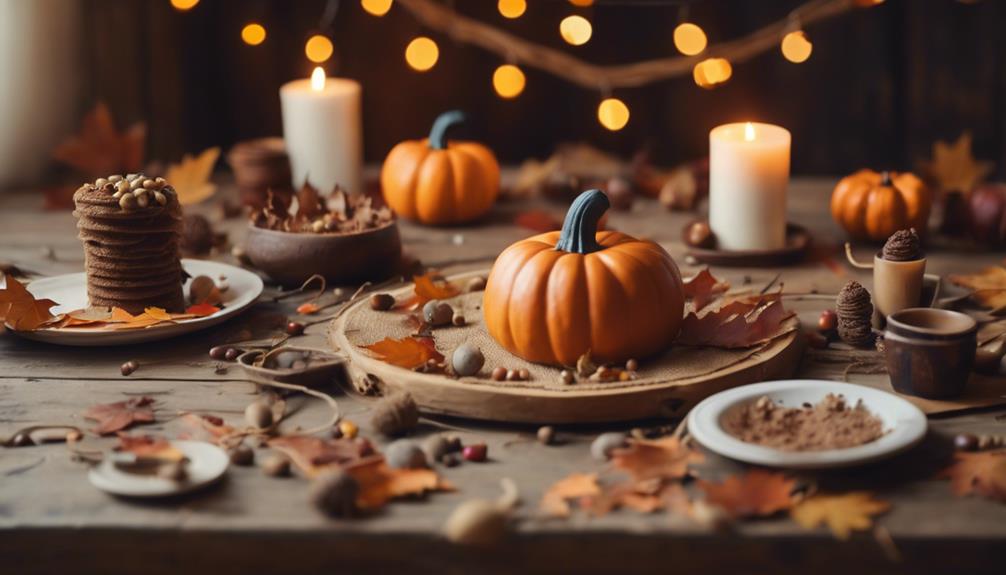
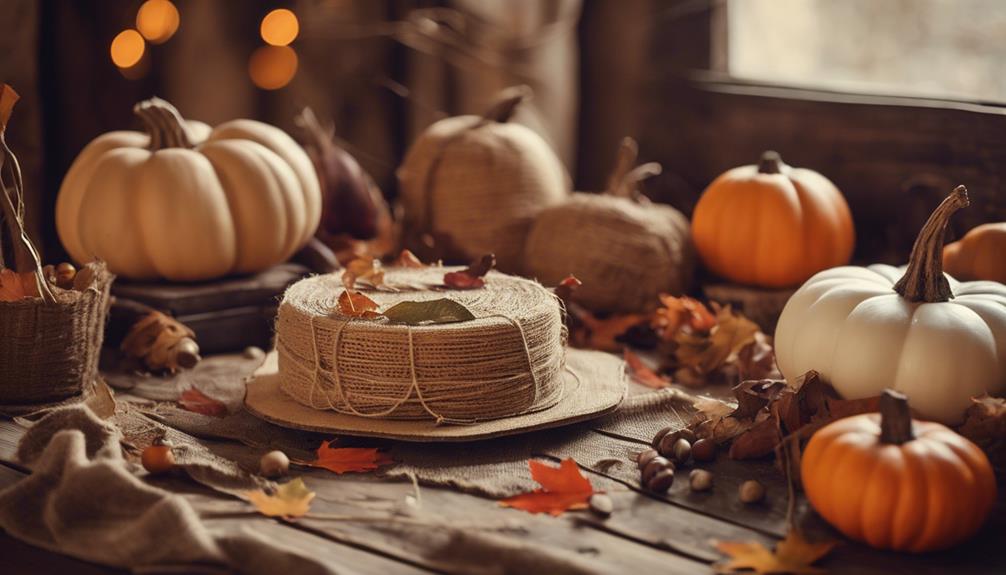
We're creating a seasonal tablescape with a rustic twist by upcycling round cake boards into charming burlap autumn placemats, perfect for adding a touch of warmth and coziness to our fall gatherings. To start, gather round cake boards, burlap fabric, scissors, and additional decorations like leaves, acorns, or ribbon. Then, cut out burlap leaf shapes using stencils, applying Mod Podge to prevent fraying. Next, add vibrant fall colors with acrylic paints and arrange the leaves on the cake boards, securing them with hot glue. Finally, embellish with fall-themed decorations and inspect for perfection. Now, let's get creative with our placemat designs!
Key Takeaways
• Use round cake boards as a base and cover them with burlap fabric for a rustic autumn look.
• Cut out burlap leaves using stencils and a cutting tool, and apply Mod Podge to prevent fraying.
• Add color and detail to the burlap leaves using acrylic paints, metallic accents, and embellishments like faux leaves and acorns.
• Arrange and secure the burlap leaves on the cake boards using hot glue, overlapping them for a natural look.
• Finish the placemats by adding ribbons, twine, or fabric pumpkins, and inspect them for any imperfections or loose elements.

8 Pcs Cake Boards, White Cake Boards 10 inch Round, Food-Graded Cardboard Cake Rounds Cake Base, Waterproof and Oil-Proof for Cake DIY, Dessert and Crafts Display(White)
【Cake Boards Set】You will receive 8 pcs of cake boards and each of which is approximately 10 inches…
As an affiliate, we earn on qualifying purchases.
As an affiliate, we earn on qualifying purchases.
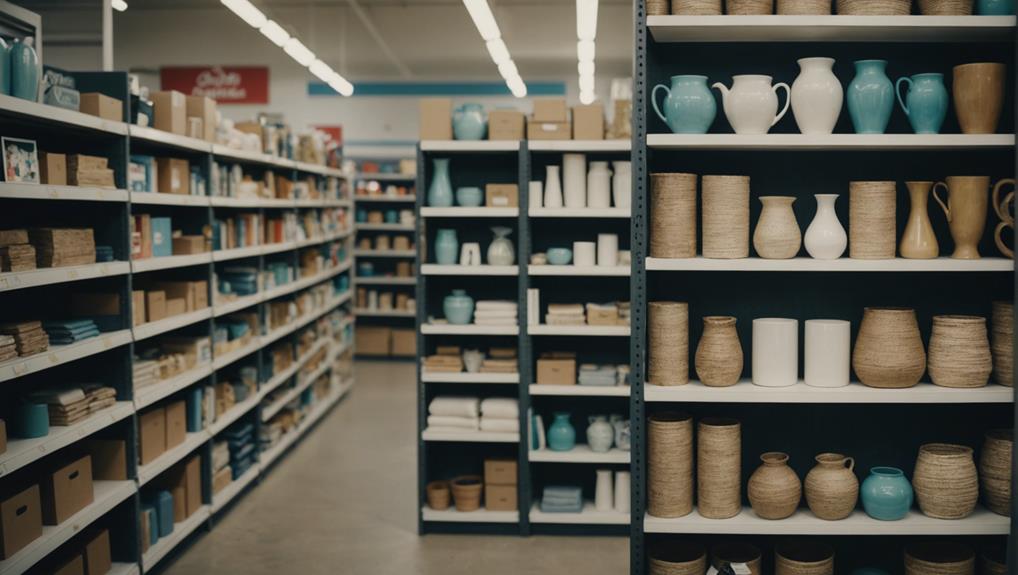
Gather Materials and Supplies
We'll start by collecting the necessary materials, including round cake boards, burlap fabric, scissors or a cutting tool, and any additional decorations we want to incorporate into our autumn-themed placemats.
We'd love to add some personal touches to make our placemats truly unique. Before we begin, we must make certain our cake boards are clean and free of any residue, providing a smooth surface for our burlap fabric. Having a clean slate will allow us to focus on the creative process without any obstacles.
We'll also prepare our burlap fabric, scissors or cutting tool, and any additional decorations, such as leaves, acorns, or ribbon, to enhance the autumn theme. With all our materials gathered, we can start transforming our cake boards into beautiful, rustic placemats that will add a touch of autumn charm to our tables.
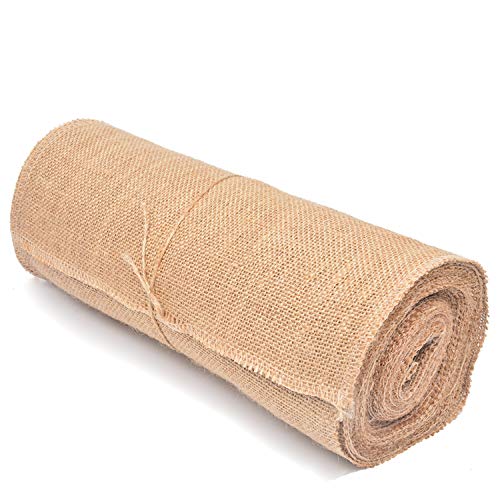
Tosnail 10 Yard Long 12" Wide Natural Burlap Fabric Roll for Craft Projects, Home Decor, Wedding Decor
Size: 9.84 yards long x 11.8" wide
As an affiliate, we earn on qualifying purchases.
As an affiliate, we earn on qualifying purchases.
Cut Out Burlap Leaf Shapes
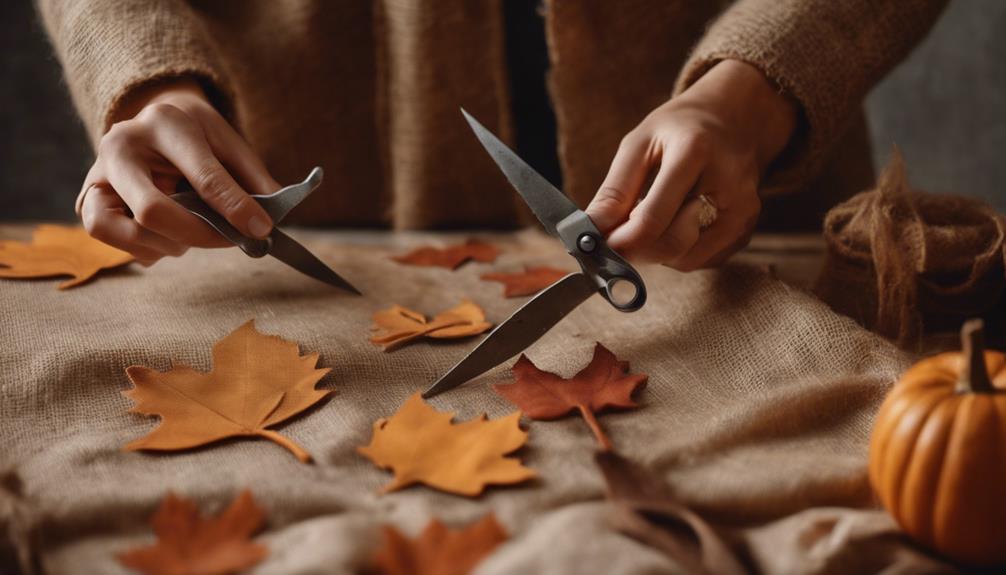
With our materials prepared, we're ready to add some autumn flair to our placemats by tracing and cutting out burlap leaf shapes.
To achieve this, we'll use leaf stencils as a guide to trace the leaf shapes onto the burlap. We'll use a Sharpie pen to outline the shapes, ensuring precision and accuracy.
Next, we'll carefully cut out the leaf shapes using scissors, taking care to maintain clean edges. As we cut, we'll make sure to apply gentle pressure to prevent the burlap from fraying or tearing.
Once we've cut out the leaves, we'll set them aside for now, ready to be used in the next stage of our placemat-making process.
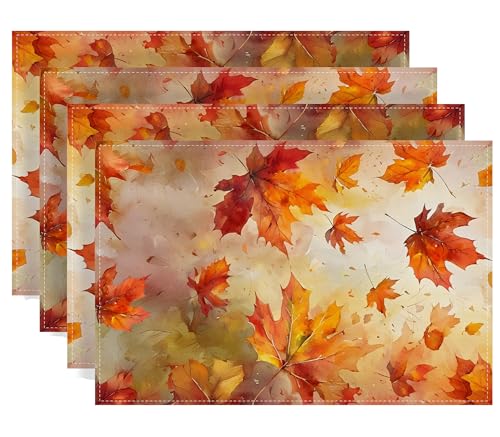
Maple Leaves Fall Placemats Set of 4 Fall Autumn Thanksgiving Harvest Festival Party Decorations and Supplies for Home Kitchen Dining Room Table-12×18''
Material: 100% Polyester Fabric,durable and reusable waterproof without fading
As an affiliate, we earn on qualifying purchases.
As an affiliate, we earn on qualifying purchases.
Prevent Fraying With Mod Podge
As we progress with our burlap autumn placemats, we'll need to address the issue of fraying, which can quickly ruin the appearance of our project.
To guarantee this, we're going to apply Mod Podge around the edges of our traced leaf shapes, a technique that seals the burlap and keeps it from unraveling.
Mod Podge Application Tips
We apply a significant amount of Mod Podge around the edges of the traced leaf shapes on the burlap fabric to prevent fraying. This is an essential step in guaranteeing that our placemats turn out beautifully.
The Mod Podge will act as a sealant, preventing the burlap from fraying when cut. We allow the Mod Podge to fully dry before cutting out the leaf shapes to ensure maximum protection against fraying.
To apply the Mod Podge evenly, we use a brush or sponge to distribute it along the edges of the leaf stencils. This creates a barrier that keeps the burlap fibers intact, making it easier to work with and achieve a clean, professional finish.
Sealing Burlap Edges
We seal the burlap edges by applying a thin, even layer of Mod Podge around the traced leaf shapes, establishing a protective barrier that keeps the fabric intact. This vital step prevents fraying, which can ruin the appearance and durability of our burlap placemats.
Mod Podge dries clear, providing an invisible shield that safeguards the burlap edges from wear and tear. We make sure to let the Mod Podge dry completely before handling the burlap leaves to guarantee its effectiveness.
Sealing the edges with Mod Podge is a simple yet necessary technique for a successful burlap placemat project. By doing so, we maintain the neat appearance and durability of our placemats. As a result, our burlap placemats will remain vibrant and intact for a longer period.

FINGERINSPIRE 6 PCS Oak Leaves Stencils with 1Pc Brush 5.9×5.9inch 6 Styles Oak Leaves Pattern Drawing Stencil Plant Theme Template for Painting on Wall Wood Furniture DIY Home Decoration
6PCS Oak Leaves Stencils: You will receive 6PCS creative hollow out painting template with a plant theme. The…
As an affiliate, we earn on qualifying purchases.
As an affiliate, we earn on qualifying purchases.
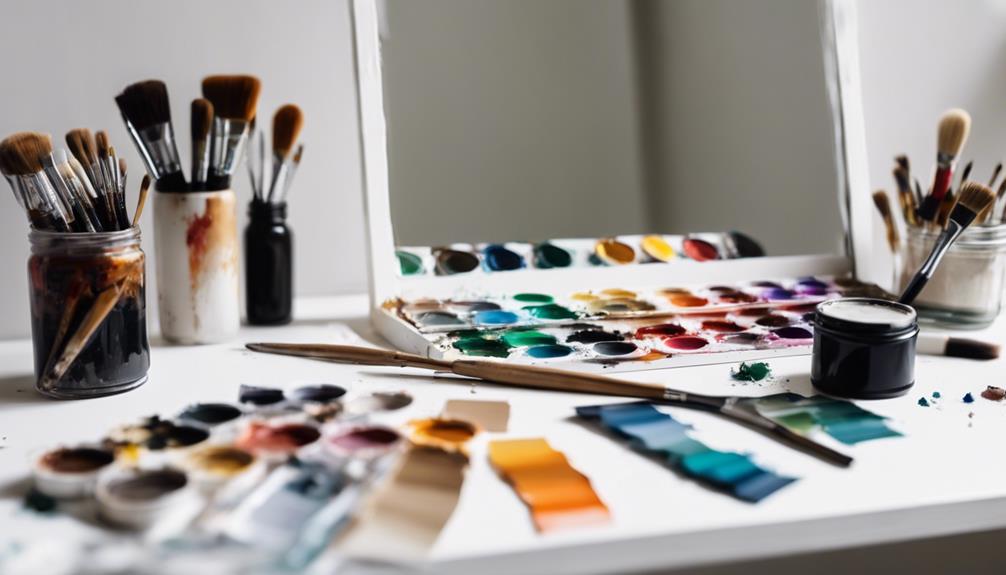
Add Fall Colors With Paint
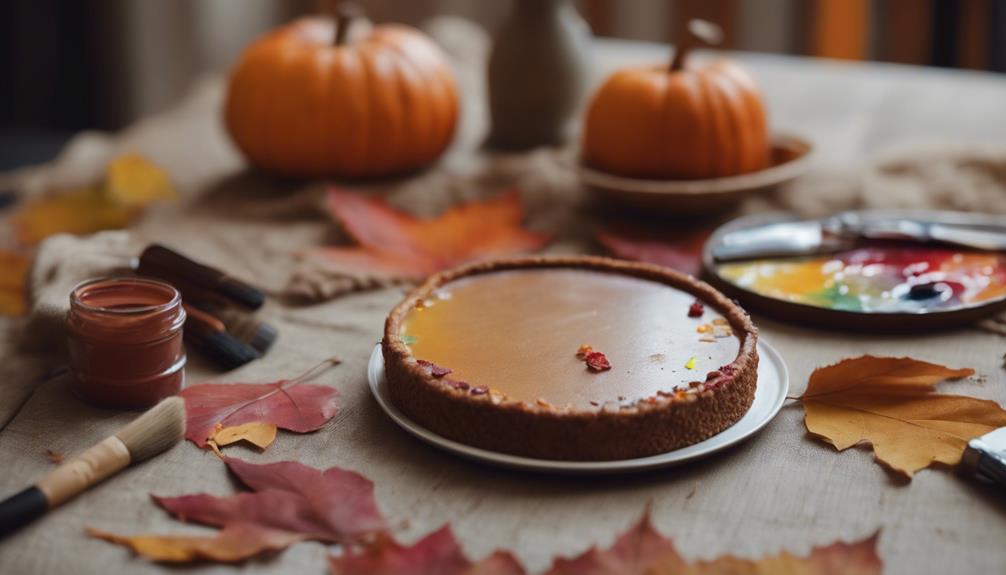
As we move on to add the vibrant hues of autumn to our burlap placemats, we'll focus on selecting a palette of rich fall colors, such as red, orange, yellow, and brown, to create a warm and inviting atmosphere.
To achieve a realistic look, we'll explore various paint application techniques, including dry brushing and stippling, to add texture and depth to our burlap leaves.
Fall Color Palette
Let's infuse our burlap placemats with the warmth of autumn by selecting a vibrant fall color palette that echoes the season's cozy atmosphere. To achieve this, we'll choose a combination of warm hues like red, orange, yellow, and brown, which are synonymous with the season.
We can use acrylic paints in shades like pumpkin orange, cranberry red, mustard yellow, and chestnut brown to create a vibrant autumn look. To add depth and dimension, we can blend colors to achieve a gradient effect on the edges of the burlap leaves, giving them a more realistic and colorful appearance.
For a touch of elegance, we can experiment with metallic paints or glitter accents in gold or copper tones. Once we've applied the paint, we'll let it dry completely to make certain the colors stay vibrant and don't smudge during assembly.
Paint Application Tips
With our fall color palette in mind, we immerse ourselves in adding those vibrant hues to our burlap leaves using acrylic paints. We opt for small brushes or sponges to apply the paint, focusing on the edges of the burlap leaves for a realistic autumn look. To achieve a natural gradient effect, we blend different colors together, creating a beautiful ombre effect on the edges of the leaves.
| Paint Application Tips | Description |
|---|---|
| Edge Painting | Focus on the edges of the burlap leaves for a realistic autumn look |
| Color Blending | Blend different colors together to create a natural gradient effect |
| Metallic Accents | Add metallic or glitter paints for a festive and eye-catching finish |
| Drying Time | Allow the paint to fully dry before using the placemats to prevent smudges or color transfer |
Arrange Leaves on Cake Boards
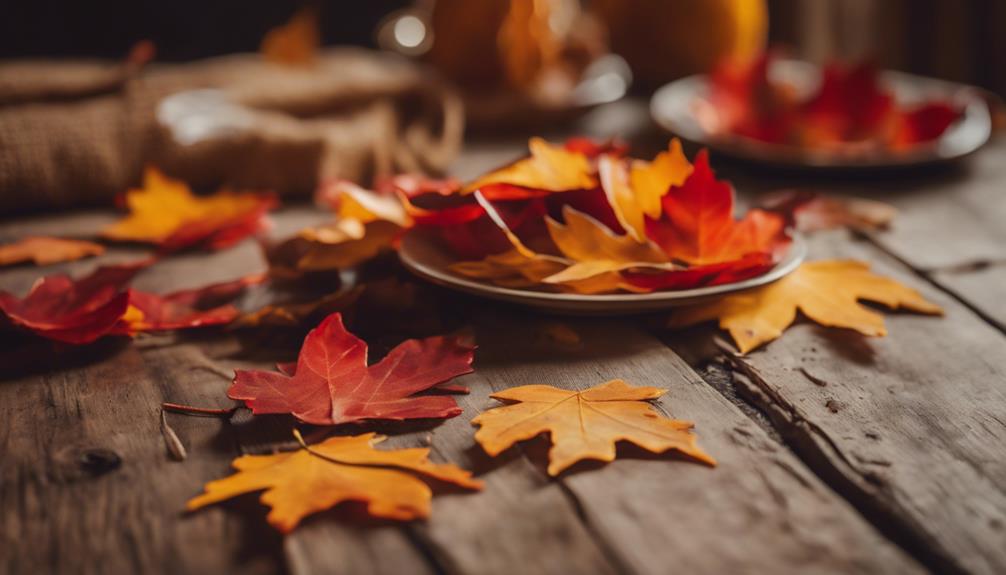
We lay out the cake boards flat on a work surface to begin arranging the burlap leaves.
This is where our creativity shines, as we position the leaves on top of the cake boards, ensuring they fit well and cover the surface evenly. We experiment with different leaf placements to create a visually appealing design on each cake board.
To add some depth and texture to our placemats, we consider overlapping the leaves slightly. This technique allows us to create a layered, dimensional look that adds to the autumnal feel of our placemats.
As we arrange the leaves, we take our time, making sure each one is placed thoughtfully to create a beautiful, organic design. By taking the time to carefully arrange our leaves, we set ourselves up for success in the next step of securing them onto the cake boards.
Secure Leaves With Hot Glue

As we move forward, our carefully arranged leaves are now ready to be permanently secured to the cake boards using hot glue.
To do this, we'll apply a thin bead of hot glue along the edges of the burlap leaves, taking care not to apply too much glue that might seep out from the edges.
Next, we'll press the leaves firmly onto the cake boards, making sure they're securely attached to prevent them from coming loose. It's vital to guarantee the leaves are properly attached, as this will ensure our placemats remain intact.
Once we've secured all the leaves, we'll let the hot glue dry completely before handling the placemats. This step is important, as it allows the glue to set properly, creating a strong bond between the leaves and the cake boards.
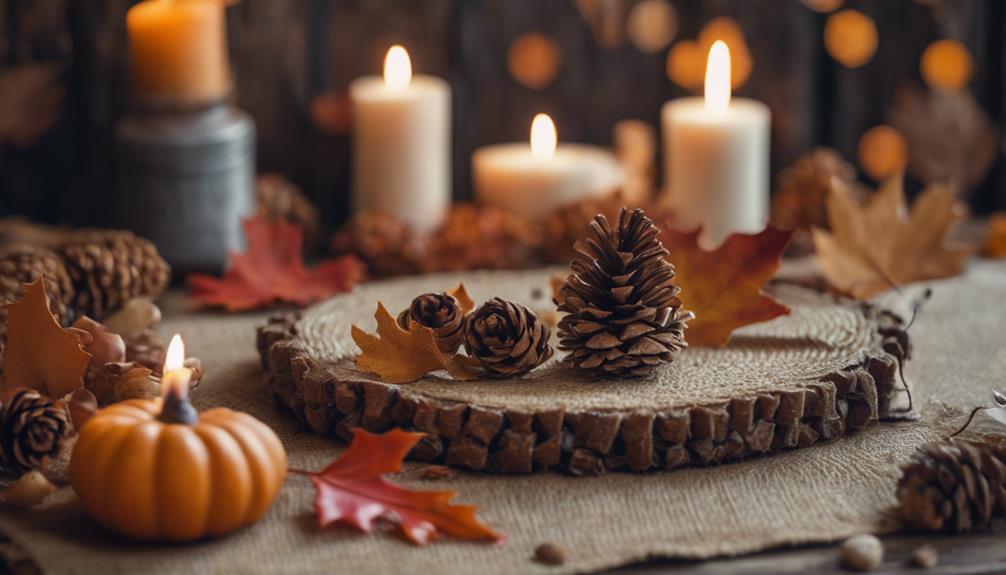
Add Embellishments and Details
Let's add some personality to our autumn placemats by incorporating embellishments that evoke the warmth and coziness of the season. We can consider adding faux fall leaves, acorns, or pinecones to enhance the autumn theme. Using a hot glue gun, we can securely attach these embellishments to the burlap placemats.
| Embellishment | Description |
|---|---|
| Faux Fall Leaves | Adds a pop of color and autumn flair |
| Acorns | Brings a natural, earthy feel to the placemat |
| Pinecones | Evokes the scent and feel of a crisp autumn morning |
When adding embellishments, we can experiment with different placements and arrangements to create a visually appealing design. We can also incorporate elements like ribbons, twine, or small fabric pumpkins for a personalized touch. However, we must make sure that the added embellishments are firmly attached to prevent them from coming loose during use. By adding these embellishments, we can create unique and inviting autumn placemats that set the tone for a cozy and intimate gathering.
Finish and Inspect Placemats
With our embellishments securely attached, our placemats are ready for a thorough once-over to ensure every detail is perfect.
We carefully inspect each placemat, checking for any loose edges or unsecured leaves that might need a little extra attention. A pair of scissors comes in handy here, as we trim any excess burlap or glue strings for a clean finish.
Next, we double-check that all leaves are securely attached and the overall design is cohesive – after all, we want our placemats to be a beautiful addition to our autumn table setting. We also keep an eye out for any smudges or paint drips that need to be corrected.
With a final inspection complete, we can't help but admire our completed burlap autumn placemats. Before we realize it, they'll be adding a touch of rustic charm to our dinner table. 'The devil is in the details,' as the saying goes, and we're thrilled to have nailed every last one.
Frequently Asked Questions
Can I Use a Hot Glue Gun Without a Low-Temperature Setting?
We're wondering if we can use a hot glue gun without a low-temperature setting. Honestly, it's possible, but we risk damaging materials or creating a mess, so we'll exercise caution and consider alternatives for a smoother crafting experience.
Will Mod Podge Damage or Discolor the Burlap Fabric?
Like a gentle summer rain, we approach the delicate dance of adhesives and fabrics. Will Mod Podge damage or discolor the burlap fabric? Fortunately, Mod Podge is a gentle partner, and we've found it to be safe for burlap, preserving its natural texture and color.
How Do I Prevent Paint From Seeping Under the Burlap Leaves?
We're worried about paint seeping under the burlap leaves, so we'll apply a thin layer of Mod Podge to the back of each leaf before painting to create a seal and prevent any paint from bleeding underneath.
Can I Use a Different Type of Fabric Instead of Burlap?
"As we weave our autumnal magic, we ponder, can we swap burlap for another fabric? Absolutely, we can! Cotton, linen, or even canvas will work beautifully, adding unique textures to our seasonal creations."
Are Cake Boards Reusable After Making the Placemats?
"We're happy to report that cake boards are reusable after making placemats, as long as they're carefully cleaned and dried. We've successfully reused ours multiple times without any issues, and we're sure you can too!"
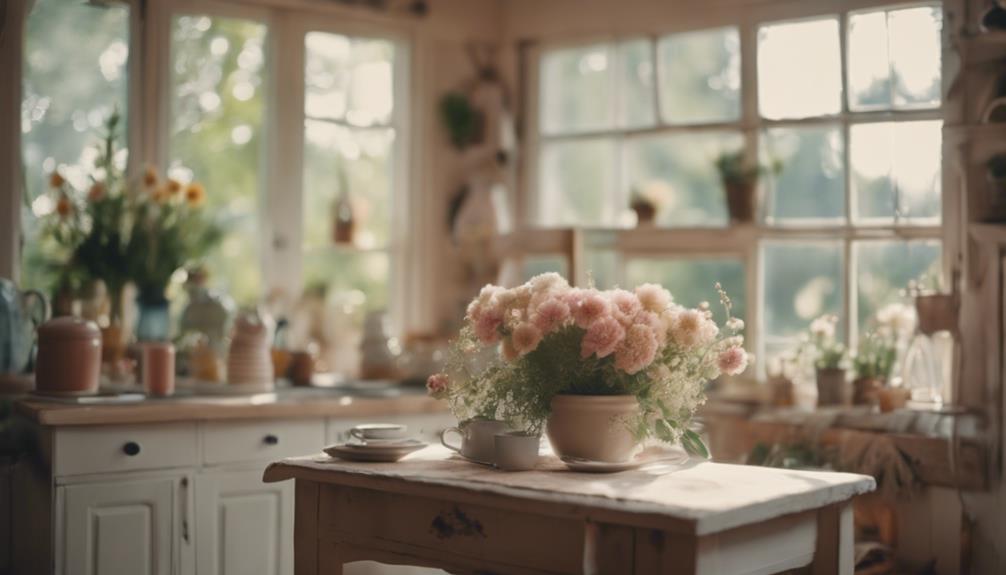
Conclusion
As we put the finishing touches on our burlap autumn placemats, we step back to admire the fruits of our labor, and the rustic charm that now adorns our tablescape.
The soft rustle of burlap, the vibrant hues of autumn, and the delicate dance of leaves come together in perfect harmony, evoking the gentle whisper of fall's arrival.
And as we set our tables, we're reminded that, indeed, 'autumn shows us how beautiful it's to let things go.'