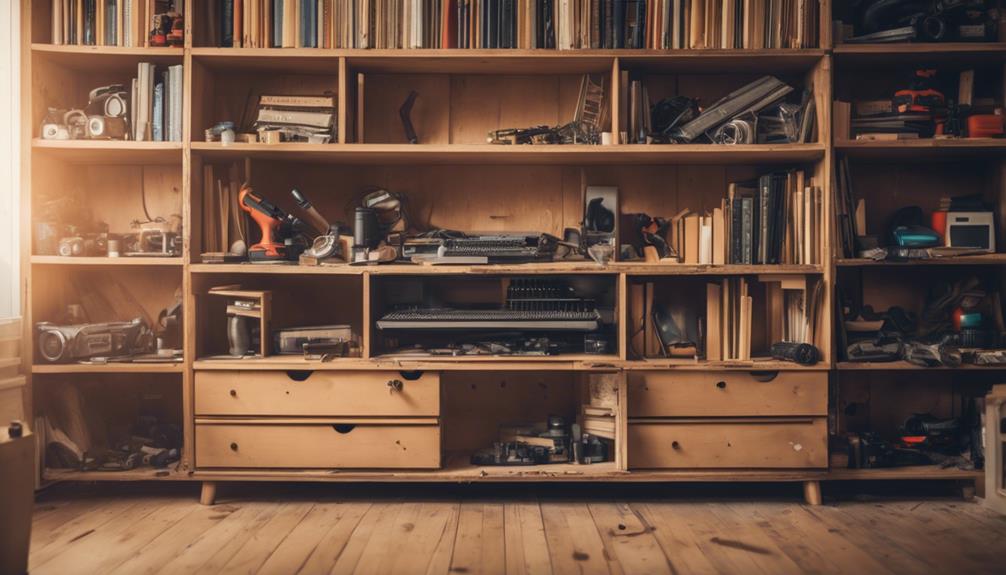

You can turn an old dresser into a functional bookshelf in 5 steps! First, remove the drawers and hardware safely, keeping track of screws and other parts. Next, prepare the drawers for upcycling by filling holes, sanding, and priming them. Then, assemble and attach the drawers securely to salvaged legs or metal plates, ensuring stability and a level surface. Arrange the drawers into shelves, maximizing storage space and visual appeal. Finally, secure the bookshelf to the wall to prevent tipping, locating wall studs behind the drywall. Now, get ready to visualize your new bookshelf taking shape!
Key Takeaways
• Remove drawers safely, inspect for damage, and remove hardware to prepare for upcycling.
• Prepare drawers by filling holes, sanding, and applying primer to ensure a smooth finish.
• Assemble and attach drawers securely to salvaged legs, metal plates, or shelves, ensuring stability and levelness.
• Arrange drawers to maximize storage space and visual appeal, considering depth, width, and uniform spacing.
• Secure the bookshelf to the wall to prevent tipping, locating wall studs and attaching screws or brackets firmly.
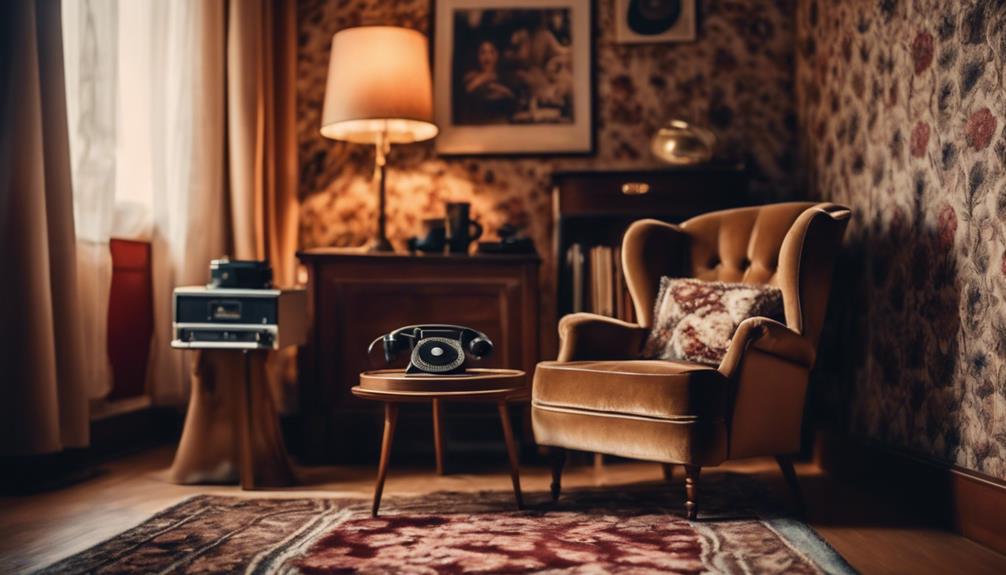
adjustable wall mounting brackets for shelves
As an affiliate, we earn on qualifying purchases.
As an affiliate, we earn on qualifying purchases.
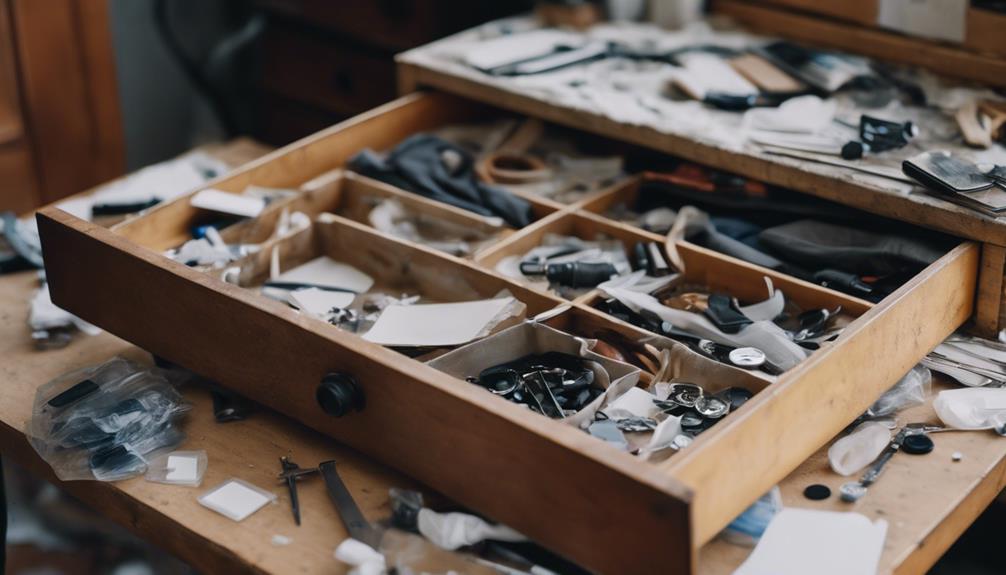
Remove Drawers and Hardware Safely
Carefully, you'll want to remove the drawers one by one, sliding them out slowly to prevent any damage to the dresser or the drawers themselves. This is an essential step in transforming your old dresser into a functional bookshelf.
As you remove each drawer, take a moment to inspect them for any damage or repairs needed before repurposing. You'll also want to remove the hardware, such as knobs and drawer slides, using a screwdriver. Be sure to keep all the hardware organized in labeled bags or containers for reassembly later.
Safety should be your top priority during the removal process, so don't forget to wear gloves and use proper tools to avoid any accidents. By taking your time and being meticulous, you'll be able to successfully remove the drawers and hardware, paving the way for the next steps in your upcycling project.

Gorilla All Purpose Wood Filler, Natural Finish, 16 Ounce Tub (Pack of 1) – Water Resistant for Indoor or Outdoor Projects and Repairs
Gorilla tough: Gorilla Wood Filler is the go-to product for strong water resistant repairs on cracks, gouges and…
As an affiliate, we earn on qualifying purchases.
As an affiliate, we earn on qualifying purchases.
Prepare Drawers for Upcycling
With the drawers removed and hardware set aside, you're ready to give them a makeover by filling any holes, sanding, and painting them with a custom Fusion Mineral Paint mix. This step is essential in transforming your old dresser into a modern bookshelf.
Fill any holes left by the hardware with wood filler, and let it dry before sanding the entire surface. This will create a smooth canvas for your paint job.
If you're missing drawers, consider using Wood Glue to attach salvaged parts together, ensuring a sturdy and cohesive structure. Once sanded, apply a coat of primer and let it dry before painting with your custom Fusion Mineral Paint mix. This will give your drawers a fresh, updated look that complements the overall design of your bookshelf.
As you work on each drawer, visualize how they'll come together to form a functional and stylish storage unit.
Fusion Mineral Paint for furniture
As an affiliate, we earn on qualifying purchases.
As an affiliate, we earn on qualifying purchases.
Assemble and Attach Drawers Securely
You're ready to assemble the drawers into a cohesive unit by attaching them securely to the salvaged legs, creating a sturdy base for your one-of-a-kind bookshelf.
Now that your drawer fronts are individually painted with a custom mix of Fusion Mineral Paint, it's time to bring them together. Take the drawers from your old dresser and attach them to the metal plates, which will provide stability to the entire structure.
As you assemble and attach the drawers, make sure they're level and evenly spaced, creating charming gaps between each shelf without the need for screws. The drawer lips will naturally create these spaces, adding character to your upcycled bookshelf.
With the drawers securely attached, your project is taking shape. You've transformed an old dresser into a unique bookshelf, all under $10 and perfectly fitting in the intended space.
safety wall anchors for heavy shelves
As an affiliate, we earn on qualifying purchases.
As an affiliate, we earn on qualifying purchases.
Arrange Drawers Into Shelves
Now that your drawers are securely attached, arrange them in the desired order to create shelves that maximize storage space and visual appeal.
Consider the depth and width of each drawer to optimize shelving space for your new bookshelf. You want to guarantee that each drawer is sturdy and stable to hold your books, so position them with uniform spacing to create a visually appealing bookshelf.
If you want a cohesive look, consider painting or staining the drawers to match your desired aesthetic.
Before you start arranging the drawers, take a step back and visualize how you want your Dresser Turned bookshelf to look. Use grit sandpaper to smooth out any rough edges, and start building your shelves.
Secure Bookshelf to Wall

To prevent your newly converted dresser-bookshelf from tipping over, secure it firmly to the wall using screws or brackets, ensuring a sturdy and safe installation. This vital step can be the difference between a beautiful, functional bookshelf and a hazardous, toppled mess.
Make sure to locate the wall studs behind the drywall to anchor your bookshelf securely. You can do this by knocking gently on the wall to find the solid sound of a stud, or by using a stud finder tool. Once you've found the stud, attach the screws or brackets firmly, following the manufacturer's instructions or DIY guidelines.
Double-check that the bookshelf is level and evenly secured to the wall to achieve a professional finish. Don't risk your bookshelf falling and causing damage or injury – take the extra few minutes to secure it properly. If you're still unsure, consider consulting online resources or reaching out to a handy friend for guidance – or simply shoot us an email at [email address] for additional support.
With your bookshelf firmly in place, you can rest easy knowing it fits perfectly in its new home.
Frequently Asked Questions
How to Build a Bookshelf Step by Step?
When building a bookshelf from scratch, you'll need a solid plan.
First, determine the size and design you want, considering factors like space constraints and personal style.
Next, choose the materials and tools you'll need, such as wood, screws, and a saw.
Then, cut and assemble the shelves and frame, ensuring stability and durability.
Can You Turn a Dresser Into a Bookshelf?
Can you really give new life to an old dresser by turning it into a bookshelf? Absolutely! You're not only reducing waste but also getting a unique storage solution. By repurposing a dresser, you'll save money and get creative.
With some DIY skills, you can easily convert it into a functional and stylish bookshelf. Remove the drawers, add some shelves, and customize to your heart's content. The result will be a one-of-a-kind piece that's both functional and conversation-worthy.
How to Make Shelves From Dresser Drawers?
You're wondering how to make shelves from dresser drawers?
Start by prepping each drawer by removing hardware, filling holes, and sanding.
Then, paint them individually with a custom mix of Fusion Mineral Paint for a unique look.
Next, attach salvaged legs using metal plates for stability.
How to Repurpose Dresser Drawers?
'Explore outside the box' when it comes to repurposing dresser drawers!
You're probably wondering how to breathe new life into those old drawers. The good news is that with some creativity and elbow grease, you can transform them into functional pieces like a bookshelf, pet bed, or even a kitchen island.
Get ready to tap into your inner DIY enthusiast and discover the endless possibilities of upcycling dresser drawers!
Conclusion
You've successfully transformed an old dresser into a functional bookshelf, and it's now ready to hold your favorite novels and decorative items.
One common concern is that the bookshelf mightn't be sturdy enough to hold heavy books, but with secure attachment to the wall and proper assembly, this bookshelf is as sturdy as any store-bought one.
Enjoy your new bookshelf and the satisfaction of giving new life to an old piece of furniture!