To easily multiply your plants, set up a simple propagation station with the right containers, like small pots with drainage, and a well-draining medium such as soil mixed with perlite. Select healthy, pest-free cuttings and root them in moist, airy environments with proper humidity. Transplant rooted plants once they’re strong enough, and keep adjusting conditions for continued growth. Keep exploring to discover more tips and tricks for successful propagation.
Key Takeaways
- Choose suitable containers with drainage holes and well-draining soil for optimal root development.
- Select healthy, pest-free cuttings during active growth for higher rooting success.
- Maintain proper humidity, moisture, and light conditions to promote healthy propagation.
- Transplant rooted cuttings carefully into larger containers or outdoors with prepared, nutrient-rich soil.
- Regularly monitor and care for your plants to ensure continued growth and thriving new plants.
Choosing the Right Container for Your Propagation Station
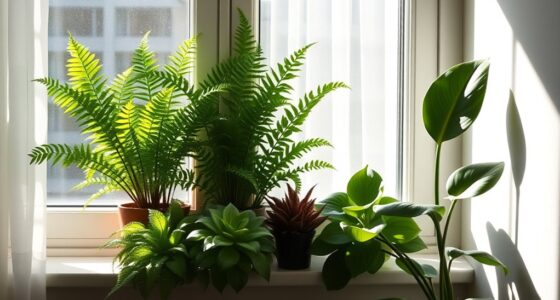
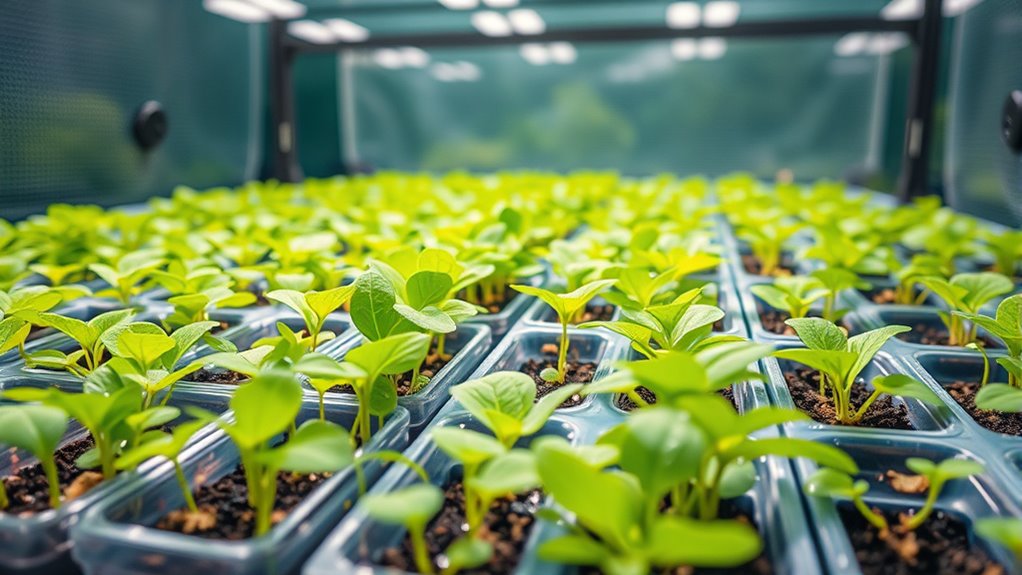
Selecting the right container is vital for successful plant propagation because it directly affects root development and overall plant health. When choosing container options, consider size, drainage, and material. Small pots work well for young cuttings, while larger containers support established roots. Drainage holes are essential to prevent waterlogging, which can cause root rot. Additionally, aesthetic considerations matter if you want your propagation station to complement your space. Sleek ceramic pots, clear plastic containers, or decorative terracotta can enhance visual appeal. Keep in mind that the container’s design should promote healthy growth and be easy to care for. Balancing functionality with style ensures your propagation station is both effective and attractive, setting your plants up for successful rooting and healthy development. Proper soil contact within the container further encourages robust root growth and minimizes transplant shock.
Selecting the Perfect Plants and Cuttings to Propagate
Choosing the right plants and cuttings to propagate can considerably increase your chances of success. Focus on healthy plants with vibrant leaves and strong stems, as good plant health is essential for successful propagation. Select cuttings that are free from pests or disease, which can hinder root development. Timing is also vital; propagate during the plant’s active growth phase, typically in spring or early summer, when they’re most receptive. Avoid taking cuttings from stressed or damaged plants, as their ability to root diminishes. By carefully choosing robust, healthy plants at the proper propagation timing, you set yourself up for a higher success rate and healthier new plants. Remember, patience and attention to plant condition are key to thriving propagation. Additionally, maintaining optimal vibrational energy during the process can enhance your overall success by aligning your intentions with positive outcomes.
Preparing Your Propagation Medium for Success

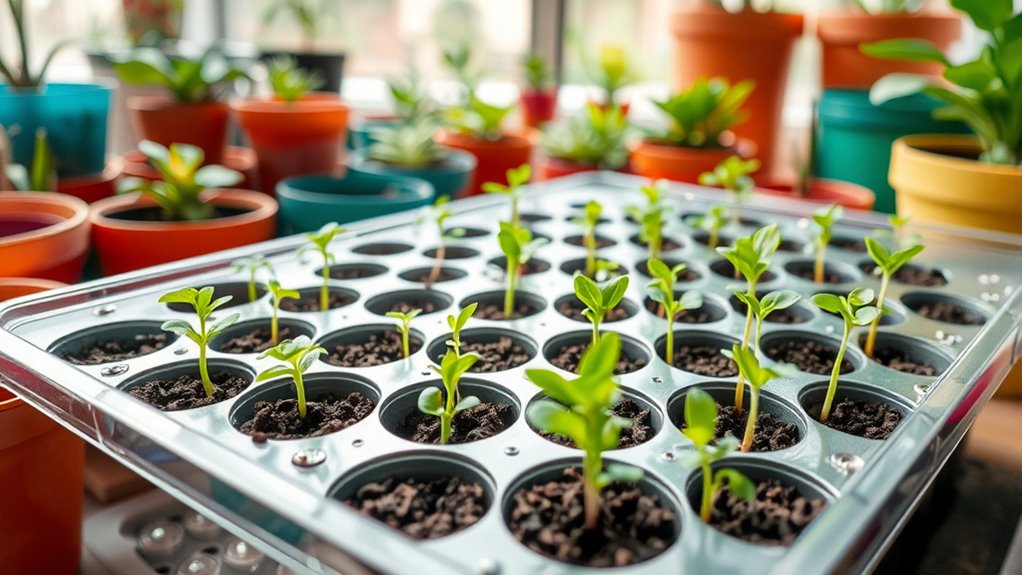
To give your cuttings the best start, choose a soil that provides the right nutrients and structure. Make sure the medium drains well to prevent waterlogging, which can cause rot. Keep the moisture level steady to encourage healthy root development without overwatering.
Selecting the Right Soil
The success of your propagation efforts hinges largely on the soil you use. Choosing the right soil means selecting a medium that provides proper nutrients and stability for root development. Start with a base of well-draining soil, then enhance it with soil amendments like compost or peat moss to improve fertility. Checking the pH balance is essential; most plants prefer a slightly acidic to neutral pH, around 6.0 to 7.0. Adjust the pH if necessary to prevent nutrient deficiencies. Avoid using garden soil straight from the yard, as it may contain pests or disease. Instead, opt for a sterile, lightweight mix tailored for propagation. Proper preparation of your soil creates an ideal environment, giving your cuttings the best chance to root successfully. Using modern soil mixes designed specifically for propagation can further increase your success rate.
Ensuring Proper Drainage
Ensuring proper drainage is crucial for healthy root development and successful propagation. Use drainage materials like coarse sand, perlite, or small gravel to improve airflow and prevent water from pooling. These materials create tiny air pockets that allow excess water to escape, reducing the risk of root rot. When watering, adopt techniques that avoid over-saturation—water thoroughly but infrequently, allowing the medium to dry slightly between applications. Proper drainage ensures roots receive oxygen and prevents stagnation, which can hinder growth. Always check that your propagation containers have drainage holes, and avoid compaction of the medium. Incorporating soil aeration techniques can further enhance root health and prevent waterlogging. By combining the right drainage materials with mindful watering techniques, you set a solid foundation for your cuttings or seedlings to thrive and develop strong, healthy roots.
Maintaining Optimal Moisture
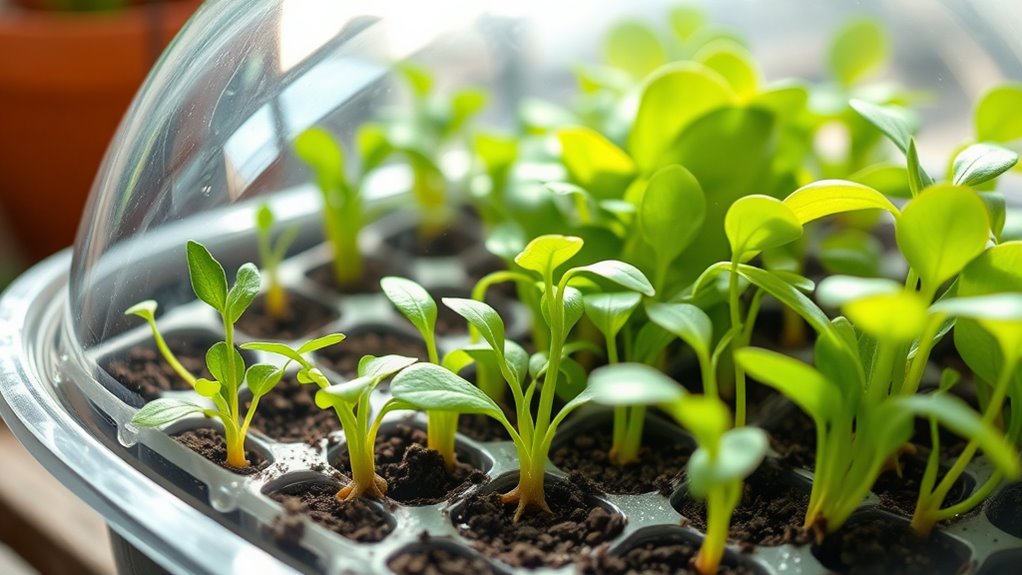
Are you maintaining the right moisture level in your propagation medium? Proper humidity control is essential for healthy root development. Keep the medium consistently moist but not soaked, as excess water can lead to rot. Establish a regular watering schedule, checking daily to prevent drying out or oversaturation. Use a spray bottle or gentle watering to maintain even moisture, especially in dry environments. Covering your propagation tray with plastic wrap or a clear lid can help retain humidity, creating a mini greenhouse effect. Adjust your watering based on the medium’s appearance and weight—if it feels dry or pulls away from the sides, it’s time to water. Monitoring cultural and regional variations in your environment can help you better understand and control humidity levels. Staying attentive to moisture levels guarantees your cuttings stay healthy and rooted successfully.
Step-by-Step Guide to Taking and Rooting Cuttings
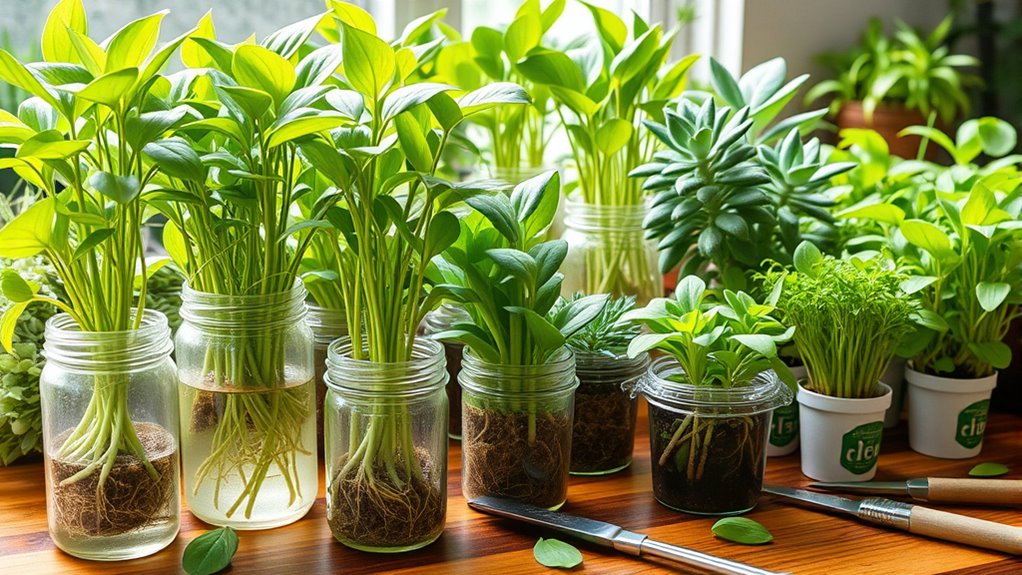
Taking cuttings is a straightforward way to propagate many plants, but success depends on following the right steps carefully. First, select healthy, disease-free stems and cut just below a node. Remove leaves from the lower half to prevent rot, and dip the cut end in rooting hormone to encourage root growth. Make sure your cutting has enough plant nutrition stored to sustain initial growth. Plant the cutting in a well-draining medium, like perlite or moist soil, and keep it moist but not soggy. To prevent pests, keep the environment clean and monitor regularly. Proper pest prevention measures, such as removing debris and avoiding overcrowding, help protect your cuttings. With patience and care, your cuttings will develop roots and grow into healthy new plants. Additionally, maintaining optimal remote work productivity conditions, such as a clean and organized workspace, can support your patience and focus during this nurturing process.
Maintaining Optimal Conditions for Healthy Growth
To promote healthy growth, you need to provide your cuttings with the right environmental conditions. Consistent watering schedules are vital; keep the soil moist but not waterlogged to prevent root rot. Use a spray bottle or gentle watering can to avoid disturbing delicate roots. Guarantee proper humidity levels by covering cuttings with plastic or a dome, but allow some airflow to prevent mold. Regular pest prevention is essential—inspect your plants frequently for pests like aphids or fungus gnats, and address issues immediately with organic treatments. Keep the temperature steady, ideally between 65-75°F, to support root development. Additionally, monitoring air quality considerations such as proper airflow and humidity can significantly influence plant health. By maintaining these conditions, you’ll encourage strong, healthy growth and give your propagated plants the best start possible.
Transferring Rooted Plants to Larger Pots or Your Garden
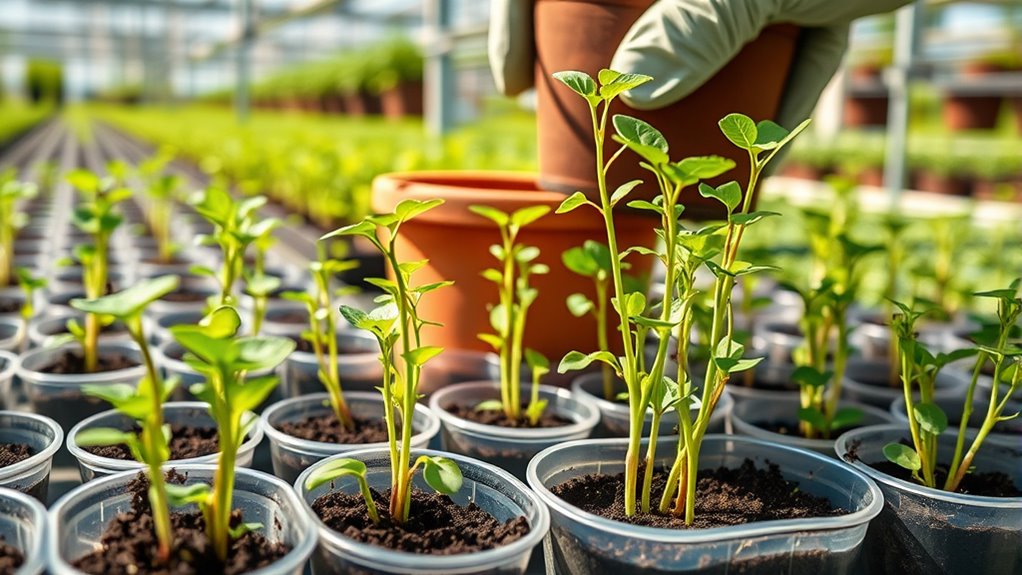
Wondering when to transfer your rooted cuttings? Once they develop a healthy set of roots and show new growth, it’s time to move them to larger pots or your garden. Carefully loosen the plant from its current container, being gentle to avoid damaging the roots. Use soil amendments like compost or organic matter to enrich the new soil, ensuring proper drainage and nutrients. When planting outdoors, choose a site with good airflow and sunlight. Incorporate pest management strategies, such as applying organic mulch or natural repellents, to protect your plants from pests during this shift. Keep the soil moist but not waterlogged, and monitor regularly for signs of stress or pests. Properly timed and prepared, this step helps your plants thrive in their new environment.
Tips for Expanding and Customizing Your Propagation Station
Expanding and customizing your propagation station allows you to optimize your plant growth and create a setup that suits your space and style. Use effective propagation techniques, such as maintaining proper humidity and lighting, to guarantee healthy root development. Incorporate adjustable shelves or containers to maximize space and make future expansions easier. Keep your station clean and monitor plant health regularly, removing any signs of disease or rot. Consider adding tools like misting bottles or small fans to improve airflow and moisture levels. Personalize your station with decorative elements or labels to stay organized. Tailoring your setup not only boosts your success rate but also makes plant care more enjoyable. Using analytical cookies can help you track which propagation methods are most effective for your plants. With these tips, you’ll create a thriving, customizable propagation station that grows with your gardening skills.
Frequently Asked Questions
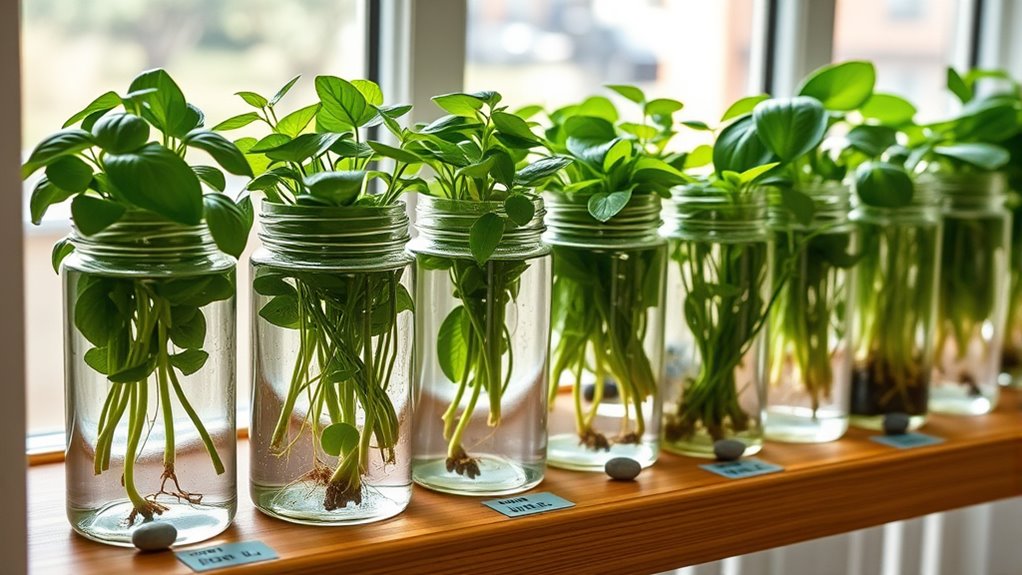
How Often Should I Change the Water in My Propagation Station?
You should change the water in your propagation station every 1 to 2 weeks to maintain water quality and prevent bacteria buildup. Regularly check the container for cleanliness, ensuring it’s free of algae or mold, which can harm your cuttings. Fresh water helps keep your plants healthy and promotes better root growth. If you notice murky or foul-smelling water sooner, change it immediately to keep your propagation environment ideal.
Can I Propagate Multiple Plant Species Together?
Yes, you can propagate multiple plant species together, but you need to consider species compatibility and container diversity. Make sure that the plants have similar water, light, and humidity needs to prevent conflicts. Use separate containers within the propagation station or group compatible species to avoid issues. By paying attention to these factors, you’ll increase your chances of successful propagation for all your diverse plants.
What Are Signs That My Cuttings Are Not Rooting Properly?
Your cuttings might be struggling if they show no signs of roots forming after a few weeks. Look for healthy signs like new leaves or slight swelling at the base. If you notice wilting, discoloration, or a foul smell, it’s a sign of rooting failures. These signs indicate your cuttings aren’t thriving, so you may need to adjust watering, humidity, or cuttings’ health to boost your chances of success.
Is Artificial Light Necessary for Successful Propagation?
Artificial light isn’t always necessary, but it can boost your propagation success. Grow lights provide consistent light, especially if natural sunlight is limited. You should aim for about 12-16 hours of light per day, adjusting based on the plant type. Using proper light duration guarantees your cuttings get enough energy to root quickly. If natural light is sufficient, additional grow lights may not be needed, but they can improve your results.
How Long Does It Usually Take for Cuttings to Develop Roots?
You might worry about how long it takes for cuttings to root, but don’t fret—most roots develop within 2 to 8 weeks. The rooting timeline varies with environmental factors like humidity, temperature, and light. Keep the cuttings in a warm, moist environment, and you’ll see roots form sooner. Patience is key, and with proper care, your new plants will thrive in no time.
Conclusion
Think of your propagation station as a garden in miniature—each plant a tiny miracle waiting to grow. I once started with just a few cuttings, and now I have a lush, thriving space that’s doubled in size. With patience and the right care, you’ll watch your plants flourish just like mine did. Remember, every great forest begins with a single seed—your propagation journey is just getting started!