
To get started with LED lights in recessed lighting, the first step is to check your current fixtures to ensure compatibility and make any necessary adjustments. Carefully remove the trims and modify the lampholder as needed. Improve safety by installing the adapter and placing the LED bulb in the designated area. Secure the LED unit by aligning it properly with the housing brackets and turning on the power for bright lighting. LED lights are known for their energy efficiency, long lifespan, and wide range of color choices. Select the right bulbs, consider insulation, and follow installation instructions for optimal performance. If you run into any issues, promptly address problems like flickering lights, dimness, or overheating. Explore different lighting techniques to enhance the aesthetics of your room.
Key Takeaways
- Check existing fixtures for compatibility with LED retrofit kits.
- Adjust or remove lampholders to accommodate LED bulbs.
- Properly install LED units by aligning with housing brackets.
- Consider energy efficiency and durability benefits of LED lights.
- Enhance room aesthetics with dimmable and colored LED options.

Feit Electric LED Downlight Retrofit Kit with Baffle Trim, 75W Equivalent, 5/6-Inch Dimmable Recessed Light, Adjustable White 2700K–5000K, 90+ CRI, for Living, Bathroom, Dining & Kitchen Room
ADJUSTABLE WHITE COLOR TEMPERATURE WITH FLIP SWITCH CONTROL – Customize your lighting experience effortlessly with 5 selectable color…
As an affiliate, we earn on qualifying purchases.
As an affiliate, we earn on qualifying purchases.
Compatibility Check for LED Conversion
To determine if existing recessed lights are compatible with LED retrofit kits, check for v-shaped torsion springs. These springs are essential in holding the trim in place.
Different mounting methods can impact the feasibility of converting recessed lights to LED. Inside the housing, look for two brackets attached on opposite sides. The presence of these brackets signifies compatibility with LED retrofit kits.
Ensuring that existing recessed lights possess the necessary features for easy LED retrofit installation is vital for a smooth switch to energy-efficient lighting. In cases where incompatible mounting systems are identified, replacing the entire recessed fixture may be necessary for successful LED conversion.

GOOACC 5PCS Auto Trim Removal Tool Kit No-Scratch Pry Tool Kit for Car Door Clip Panel & Audio Dashboard Dismantle -5PCS
SAVE TIME, FRUSTRATION AND MONEY -There are 5 pcs different kinds of trim tools, including 4 pcs car…
As an affiliate, we earn on qualifying purchases.
As an affiliate, we earn on qualifying purchases.
Remove Existing Trims
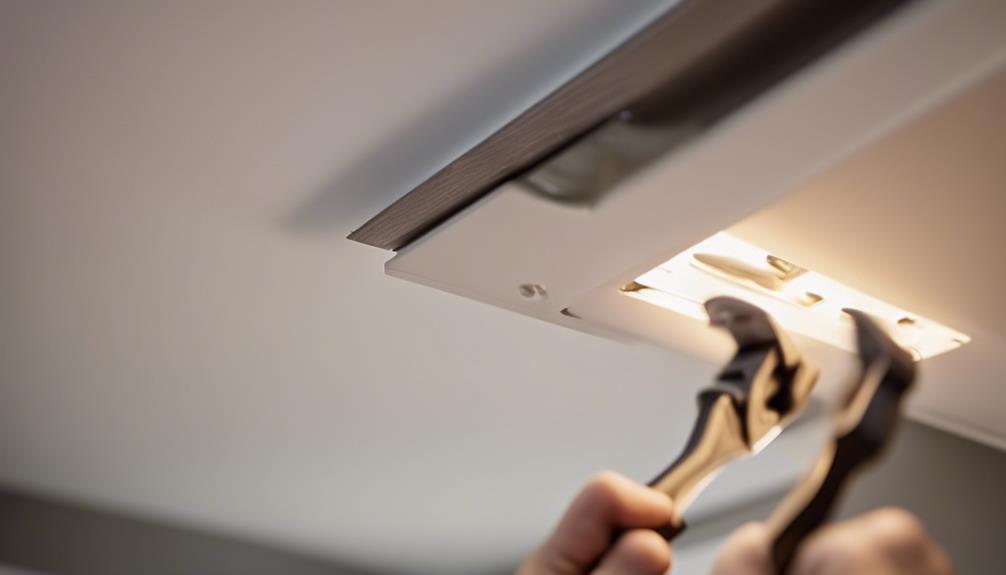
Begin by carefully detaching the existing trims from the recessed light fixtures to access the interior of the housing for the LED retrofit installation. When removing the trims, it's important to handle them delicately to avoid damaging the housing interior.
Here are some tips to guide you through this process:
- Gently pry the existing trims off the recessed lights to avoid causing any harm to the fixtures.
- Inspect the trims for any screws or clips that may be securing them in place before attempting removal.
- Take your time to ensure a smooth removal process, allowing you to prepare the space for new LED units effectively.
- Clear out any debris that may have accumulated around the trims to create a clean workspace for the LED conversion.
- By removing the existing trims carefully, you pave the way for a successful shift to LED lighting in your recessed fixtures.

SKUNTUGUANG Black 5.75" LED Motorcycle Headlight housing brackets Assembly Compatible with Motorcycle Sportster XL1200 (2004-2014), 5 3/4" lamp Bracket Standard
【DURABLE】The 5.75-inch headlight housing bucket with precision, die-cast formed aluminum buckets for a show-quality appearance, replaces the black…
As an affiliate, we earn on qualifying purchases.
As an affiliate, we earn on qualifying purchases.
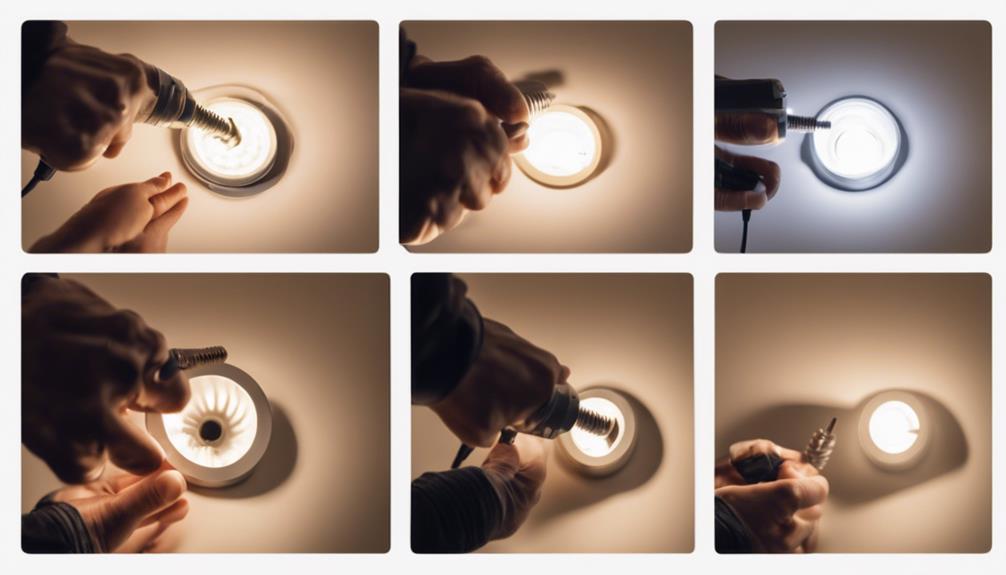
Adjust or Remove Lampholder
Adjusting or removing the lampholder in recessed lighting fixtures is important to make room for the installation of LED retrofit kits. LED recessed lighting often requires adjustments to the lampholder to accommodate the installation of LED bulbs.
To do this, one must first remove the light bulb from the fixture with a universal or standard base. Then, the lampholder can be adjusted or removed to create the necessary space for the new LED unit. Once the lampholder has been modified, the LED unit can be installed securely in place.
Properly addressing the lampholder is a vital step in converting recessed lights to LED for best performance. By adjusting or removing the lampholder as needed, you guarantee a smooth and successful shift to energy-efficient LED lighting in your recessed fixtures.

Sunco 12 Pack BR30 Light Bulbs LED, Recessed Can Light Bulbs, Indoor Flood Bulb, 850 LM, 11W (65W Equivalent), 3000K Warm White, Dimmable, E26 Base, for Home, Kitchen, Bedroom UL
BR30 LED Light Bulb – Indoor Flood Light
As an affiliate, we earn on qualifying purchases.
As an affiliate, we earn on qualifying purchases.
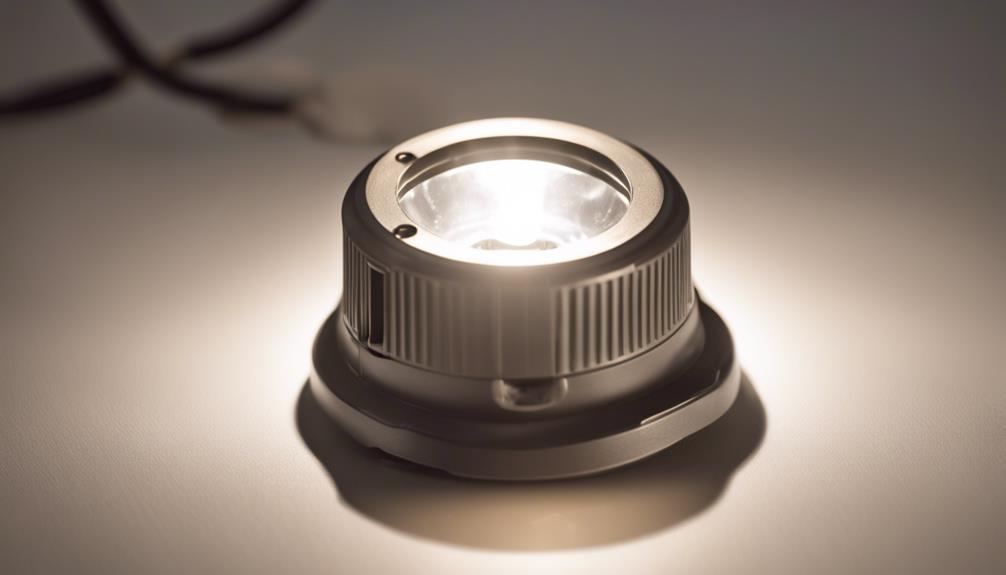
Screw in the Adapter
The adapter screws into the existing light bulb socket to facilitate the attachment of the LED unit securely. This important step creates a stable connection point for the LED bulb, ensuring proper electrical contact and effective functionality. Acting as a bridge between the old socket and the new LED technology, the adapter is designed for easy installation and compatibility with standard light fixtures.
- Enhances Safety: Installing the adapter correctly reduces the risk of electrical hazards.
- Promotes Efficiency: Properly connecting the adapter improves the energy efficiency of the LED lights.
- Ensures Durability: A secure socket connection prolongs the lifespan of the LED unit.
- Saves Money: By using the adapter, you can upgrade to LED technology without the need for costly rewiring.
- Facilitates Change: The adapter simplifies the process of moving to energy-efficient LED lighting.
Attach the LED Unit
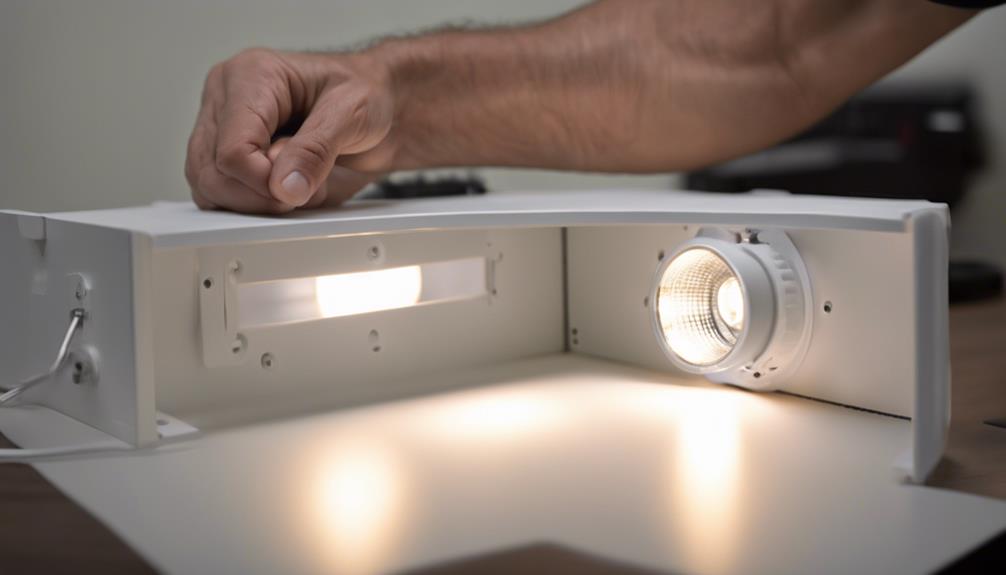
Securing the LED unit in place involves squeezing the spring arms together and sliding it into the housing brackets before pushing it upward until it clicks against the ceiling. Make sure the LED bulb is properly aligned with the housing inside to guarantee a snug fit. Once in position, adjust the rear panel of the housing if necessary to achieve a flush look with the ceiling. After confirming everything is securely in place, it's time to turn on the power at the breaker to illuminate your recessed lights.
| Steps to Attach the LED Unit |
|---|
| Squeeze spring arms together |
| Slide into housing brackets |
| Push upward until it clicks |
Insert Torsion Springs
Torsion springs play a vital role in securing LED retrofit units in recessed lighting housings.
By inserting these springs into designated brackets inside the housing, users guarantee proper installation and alignment.
This process is essential for securely attaching LED lights and maintaining their position against the ceiling.
Proper Spring Alignment
When installing LED retrofit units in recessed light housings, ensuring the proper alignment of springs is vital for a secure and professional setup. Torsion springs play an important role in securing the LED unit in place, preventing it from falling out of the ceiling.
To achieve the desired alignment, insert the torsion springs into the designated brackets inside the housing. This simple step helps distribute the weight evenly, ensuring a stable installation. Proper spring alignment not only guarantees a secure fit of the LED lights but also contributes to a neat and polished look for your recessed lighting setup.
- Ensure precise alignment for a snug fit
- Maintain stability and prevent potential mishaps
- Create a professional and sleek appearance
- Enhance the longevity of the LED lights
- Achieve a secure and reliable installation
Securely Attach LED Lights
Proper alignment of the springs guarantees a secure attachment of LED lights in recessed lighting, maintaining stability and preventing any potential issues. Torsion springs play an essential role in providing a stable connection between the LED unit and the housing brackets.
By securely attaching the LED lights, the springs ensure that the lights remain in place without the risk of falling or shifting. Ensuring the correct insertion of the torsion springs is vital for achieving a flush and seamless installation of the LED lighting.
Additionally, properly secured torsion springs contribute greatly to the longevity and effectiveness of LED recessed lighting systems, enhancing their overall performance and durability.
Push LED Unit Into Place

To secure the LED unit in place, compress the spring arms and slide it into the housing brackets, ensuring a firm fit before pushing upward until it clicks against the ceiling. This step is important in ensuring a stable and safe installation of the LED light in the recessed lighting fixture.
Once the unit is securely in place, adjustments can be made to the rear panel on the housing to achieve a flush fit if needed.
Finally, remember to turn on the power at the breaker to activate the LED unit and enjoy the efficient and bright lighting it provides.
- Take a moment to appreciate the seamless installation process.
- Feel the satisfaction of a job well done as the LED unit clicks into place.
- Embrace the modernity and energy efficiency that LED lights bring to your space.
- Bask in the bright and clear illumination that LED recessed lighting offers.
- Enjoy the peace of mind knowing you have successfully completed the installation process.
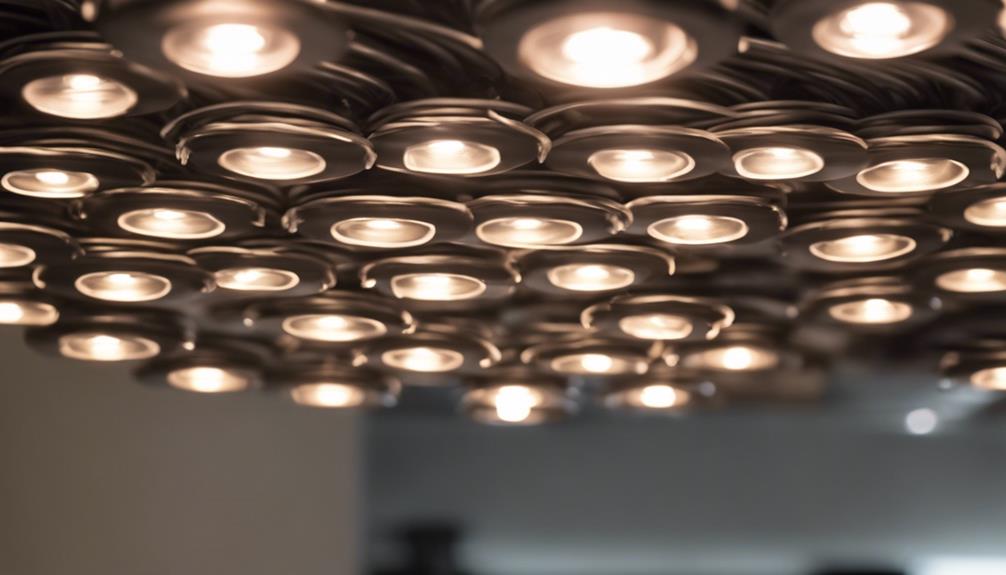
Enjoy Energy Efficiency and Brightness
Additionally, the LED unit securely clicks into place, one can immediately appreciate the energy efficiency and brightness it brings to the room.
LED lights in recessed fixtures not only offer significant energy savings of up to 90% compared to traditional bulbs but also provide a brighter and cleaner light output. The longevity of LED bulbs, lasting up to 25 times longer than incandescent ones, reduces the need for frequent replacements, making them a cost-effective and practical choice for any space.
Additionally, LED lights come in various color temperatures, allowing for customizable warmth settings to suit different preferences and activities. Furthermore, these lights help maintain a fresh and modern look in your room by reducing the yellowing of metal trims over time.
Frequently Asked Questions
Can You Use LED Lights in Recessed Lighting?
LED lights can indeed be used in recessed lighting fixtures. Many modern recessed lighting fixtures are designed to work seamlessly with LED bulbs for increased efficiency. LED bulbs have a long lifespan, lasting up to 50,000 hours, making them a durable and cost-effective choice.
Checking for internal brackets in existing recessed light housings is crucial to guarantee compatibility. Switching to LED lights can lead to significant energy savings on utility bills.
How Do You Change a Recessed Light Bulb to Led?
When swapping a recessed light bulb to LED, verify compatibility by checking for v-shaped torsion springs.
Remove the trim and adjust the lampholder to fit the LED unit.
Screw in the adapter and attach the LED securely.
Insert the torsion springs into the housing brackets and push the LED unit against the ceiling.
Follow these steps for energy efficiency and long-lasting illumination in your recessed lighting.
How Do You Layout LED Recessed Lighting?
When laying out LED recessed lighting, it's important to take into account the room's purpose for achieving the desired lighting effects. Proper spacing between lights is vital for even illumination. Using a template to mark installation locations guarantees precision.
Opt for downlights for focused lighting or baffle trim for softer illumination. Attention to wire type and spacing enhances functionality and aesthetics. Planning the layout thoughtfully guarantees excellent performance and visual appeal in any space.
Do LED Recessed Lights Need a Box?
LED recessed lights don't require a separate box for installation. The LED retrofit kit fits directly into existing recessed light housings. These lights are usually IC-rated, allowing direct contact with insulation.
The LED unit itself acts as a protective enclosure, eliminating the need for an extra box. Their compact design makes them versatile for various ceiling types without requiring a box, making installation simpler and more efficient.
Conclusion
To sum up, upgrading to LED lights in recessed lighting fixtures is a simple process that can enhance energy efficiency and brightness in your home. By following the steps outlined above, you can easily convert your existing fixtures to LED technology.
So go ahead and make the switch to LED lights for a brighter, more efficient lighting experience. Remember, a well-lit home is like a warm hug on a cold day – comforting and inviting.